Mixed Media Reversed Canvas
Mixed Media Reversed Canvas using various products to create a cherished keepsake

I needed to make a mixed media project for a class. I chose the "reversed canvas" style as I thought it would be relatable to our audience of Paper Crafters and Scrapbookers.
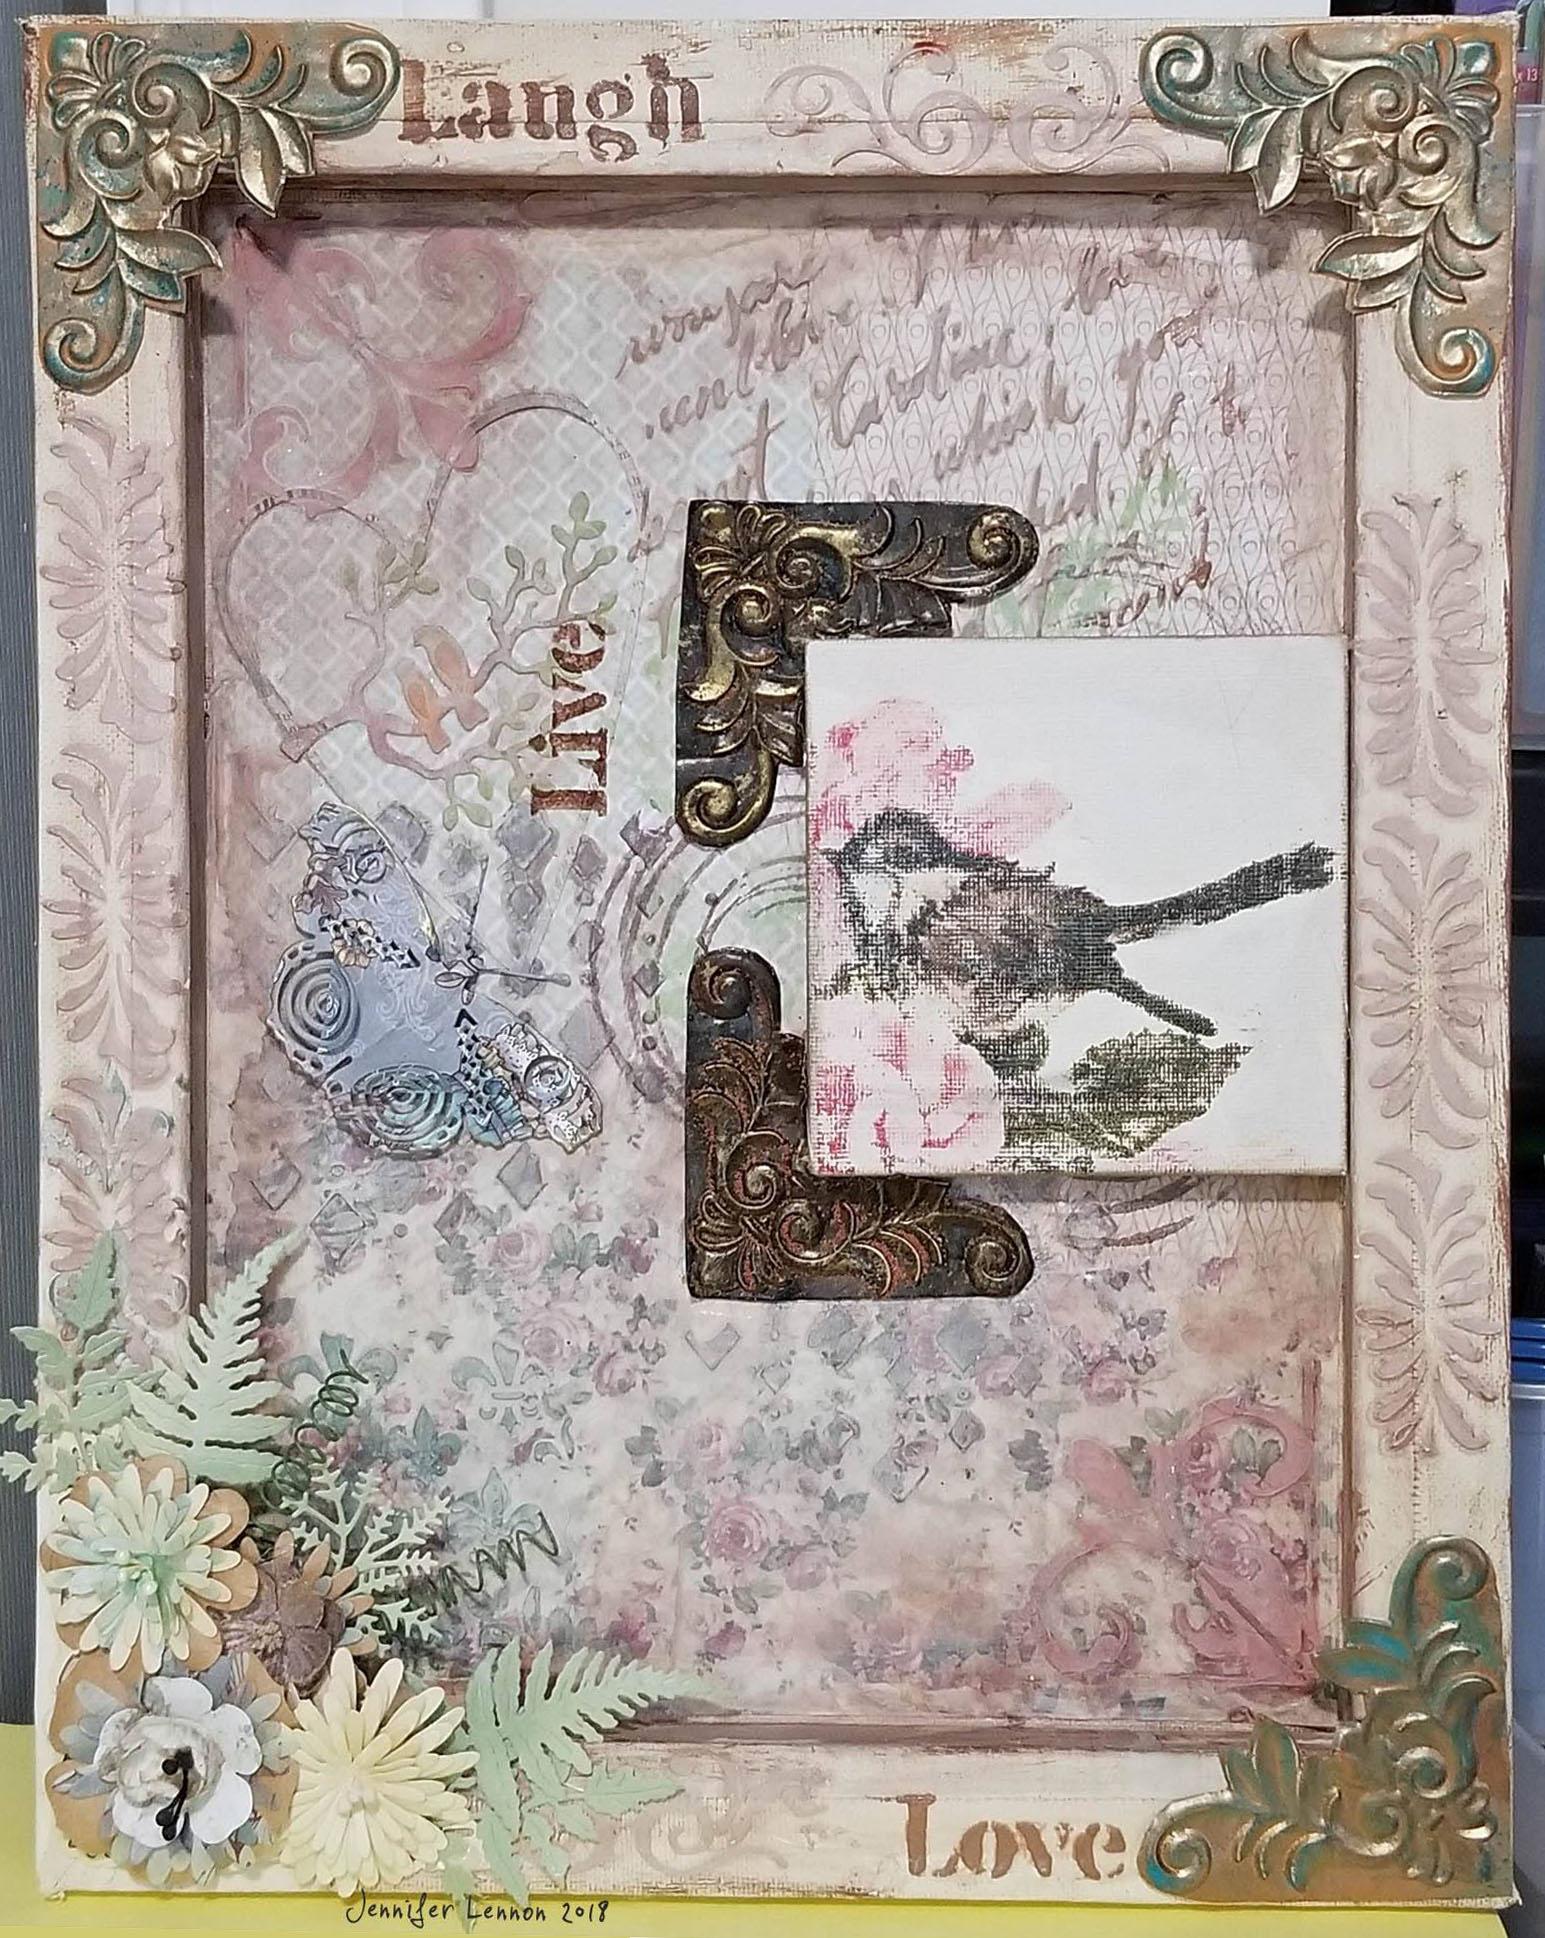
Thinking of this finished piece as a scrapbook page you hang on your wall, I used the outside "reversed" canvas as the frame and the inside canvas as the focal point.
If you have done mixed media, you know how many layers are used. I saw a post "you can never have too many layers." This is so true. And really is what I "teach" in mixed media classes that it's all about the layers.
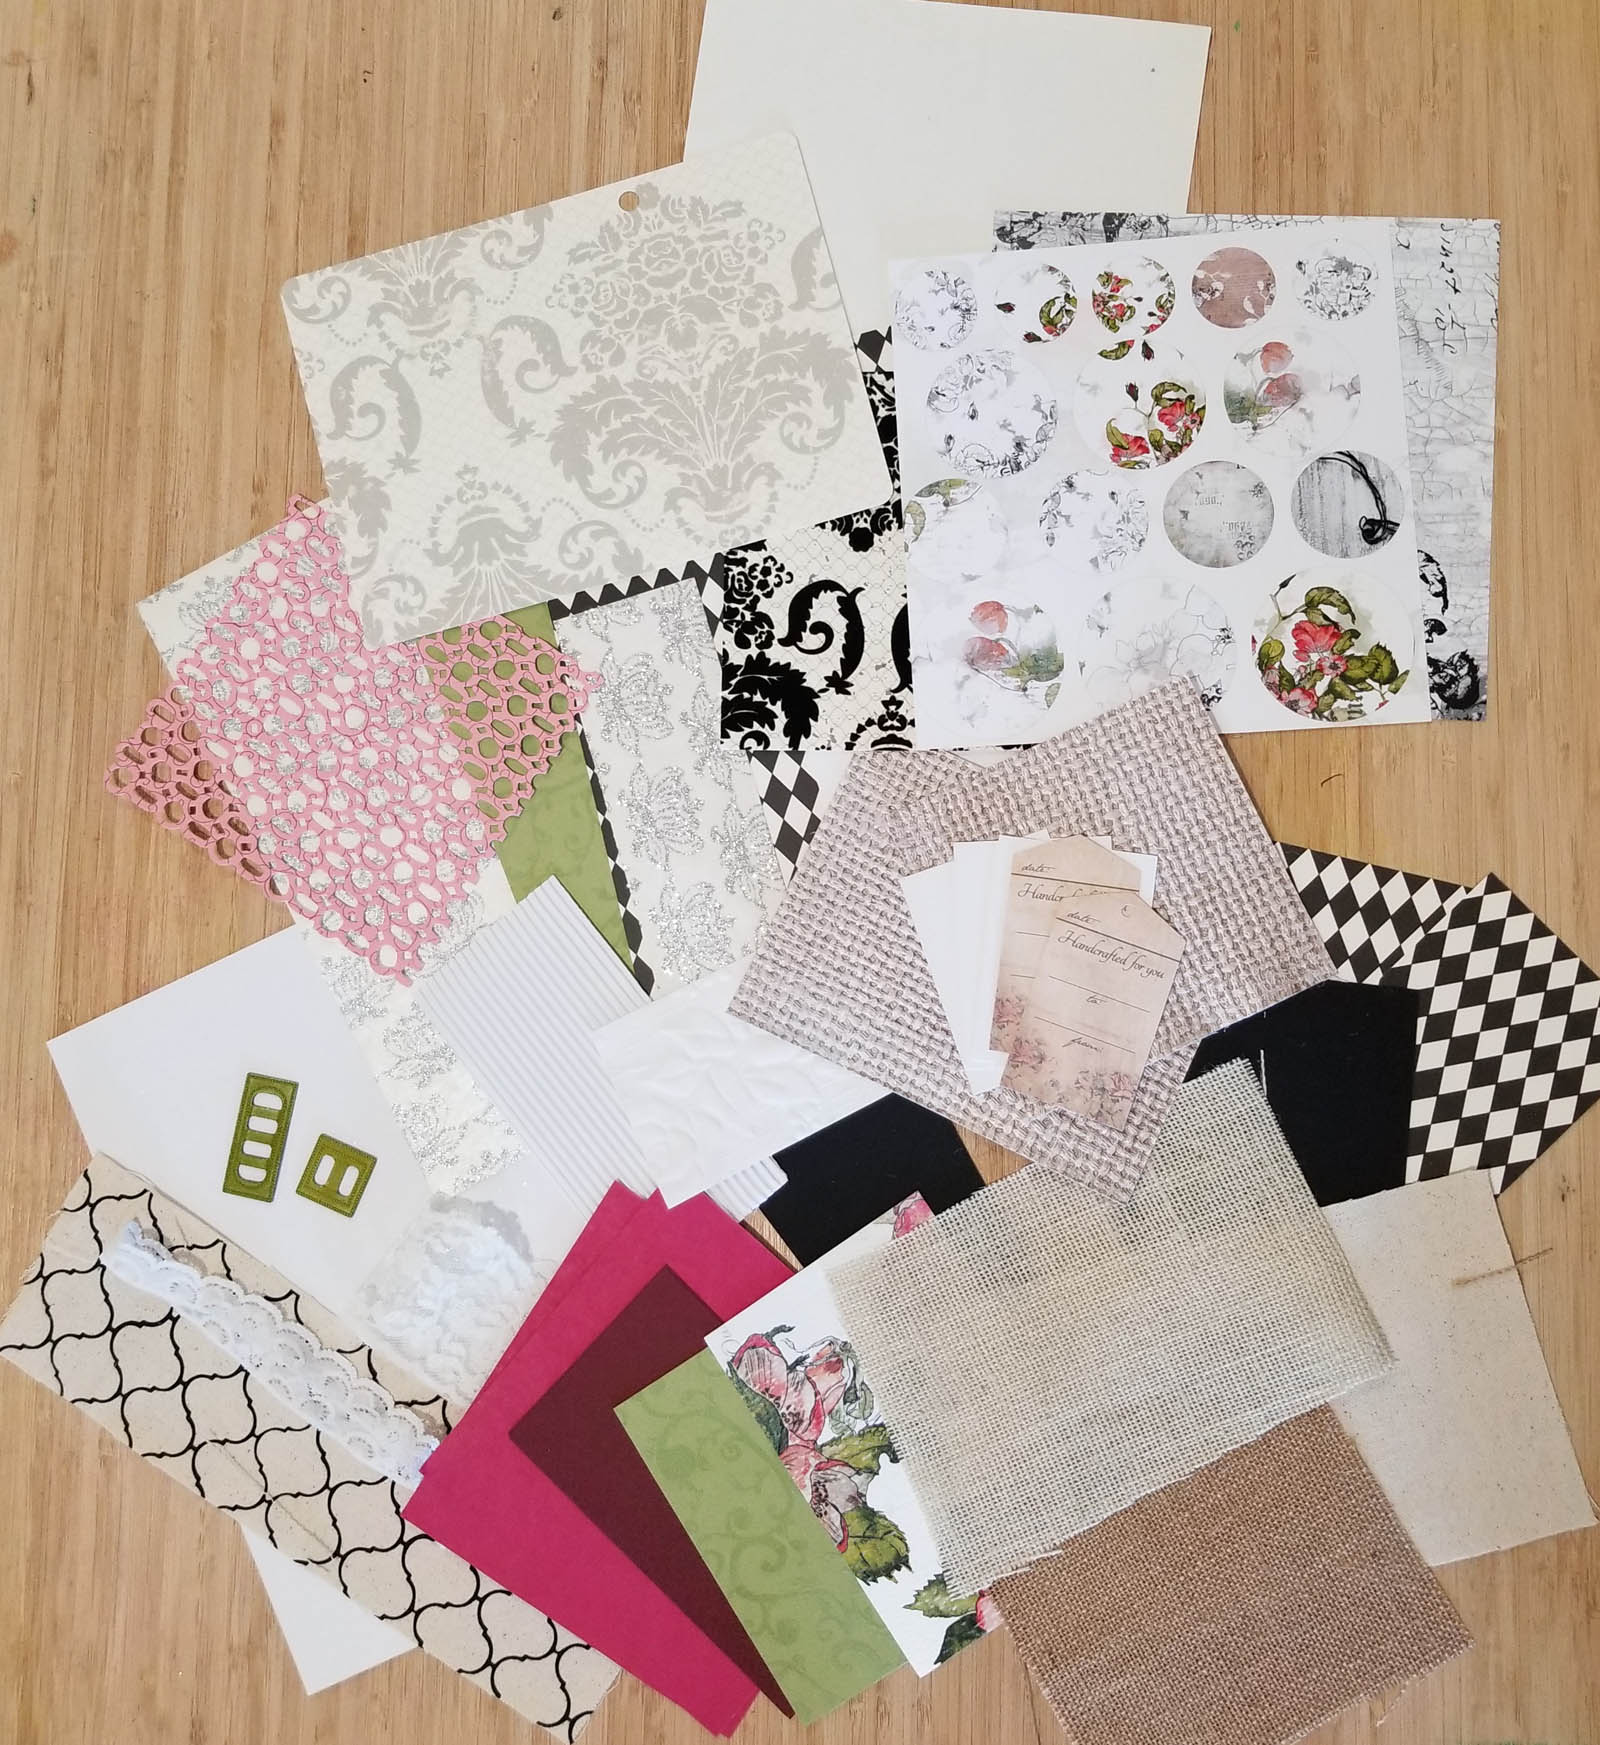
This project started with the Decoupage Papers from Craft Consortium from Creative Expressions. I've written about these papers before, I have actually used them as the background in card making "Decoupage Paper". One of the points I highlight when added paper to mixed media is the necessity of tearing the paper instead of having a straight, cut edge. The tearing allows for better background blending.
There is much trial and error in working with mixed media, the good news is that nothing is permanent, there are always ways to correct choices that don't work out once the project evolves.
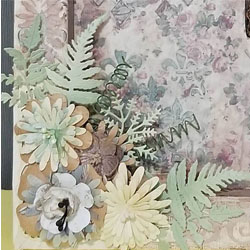
This piece has 8 stencils, only 1 stamp, various flower dies (a mix-and-match from my Flower Making Project that I blogged about.
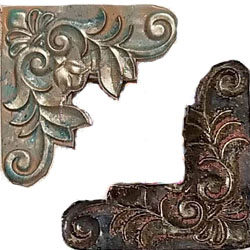
The corner pieces are done using Creative Expressions 3D embossing folder Opulent Frame embossed on a thin sheet of aluminium (heavier than aluminium fold used in the kitchen) and I cut out the inside portions so just left the corners. The darker ones (on the inner canvas) I did the rust effect technique using Cosmic Shimmer Special Effects Rust Kit and the ones on the outer canvas are painted using the Special Effects Patina Kit. I think they turned out so fabulous! I will be using that on other mixed media projects for sure! The stencils were all applied using the Cosmic Shimmer Grit Paste and tinted using the Shimmer Shakers.
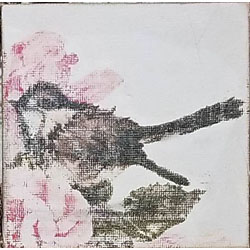
And I found a technique which I quite enjoyed to create the bird on the smaller canvas. I had the class put a photo that meant something to them, and we catered the feel of each project to best suit their "subject". But for mine, I learned a nifty technique which uses a laser printed image, then put face down on the canvas and apply (in my case) Dorso oil, and "barnish" the surface uisng a ball tool or the back of a spoon to transfer the image to the canvas. This can be done on any fabric.
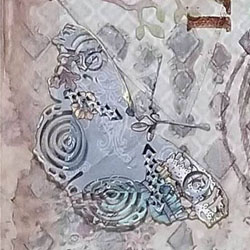
The last piece that I added to finish out the center is a delightful and different butterfly die from Joy!Crafts, they call it a "Mix and Match Butterfly" (#60021068). When this die arrived, it just caught my eye. Has delicate enough aspects but is also "outside the box" as far as butterfly images. I love it!! I edged up the edges with Aladine Metalic Gold ink and it gives it a lovely finished look ... again adding a delicate touch to the finished die cut.
I just love the many aspects of this canvas piece.
Jenn
Stencils used:
Creative Expression Ornate Elements (inside corners) CSMK06
Creative Expressions Mask Delicates (script) MASKDELICATES
Creative Expressions Phill Martin Inspirational (Live, Laugh, Love) SYSCI
Creative Expressions Phill Martin Diamond Trails (Diamond under butterfly) SYSCDT
Creative Expressions Phill Martin Nouveau Flourish (frame sides) SYSCNF
Creative Expressions Phill Martin Swirly Delight (frame top and bottom) SYSCSD
Stamp used: Marianne Designs Doodle Circles MM1628
Grit Paste
Shimmer Shakers (to tint the grit paste)
3D Embossing Folder
Decoupage Papers
JoyCrafts Butterfly
Finish spray from Aladine that I used on the frame
You can also grab the "Compose Your Life, Mixed Media Pack" from Canvas Corp, which will provide you with various papers, textures, embelishments, etc.