Giving new life to your stencils.
On the market there are existing stencils that are specifically made for the shifting technique but I don't have any of those and wanted to achieve that same kind of look.. here's how I did it.
A simple technique often forgotten in my crafting world, stencils. I have visited them not to long ago for a class and we made 4 backgrounds with one stencil. If your interested in that blog you can find the link down below, but today I wanted to use the stencils in my stash a different way.
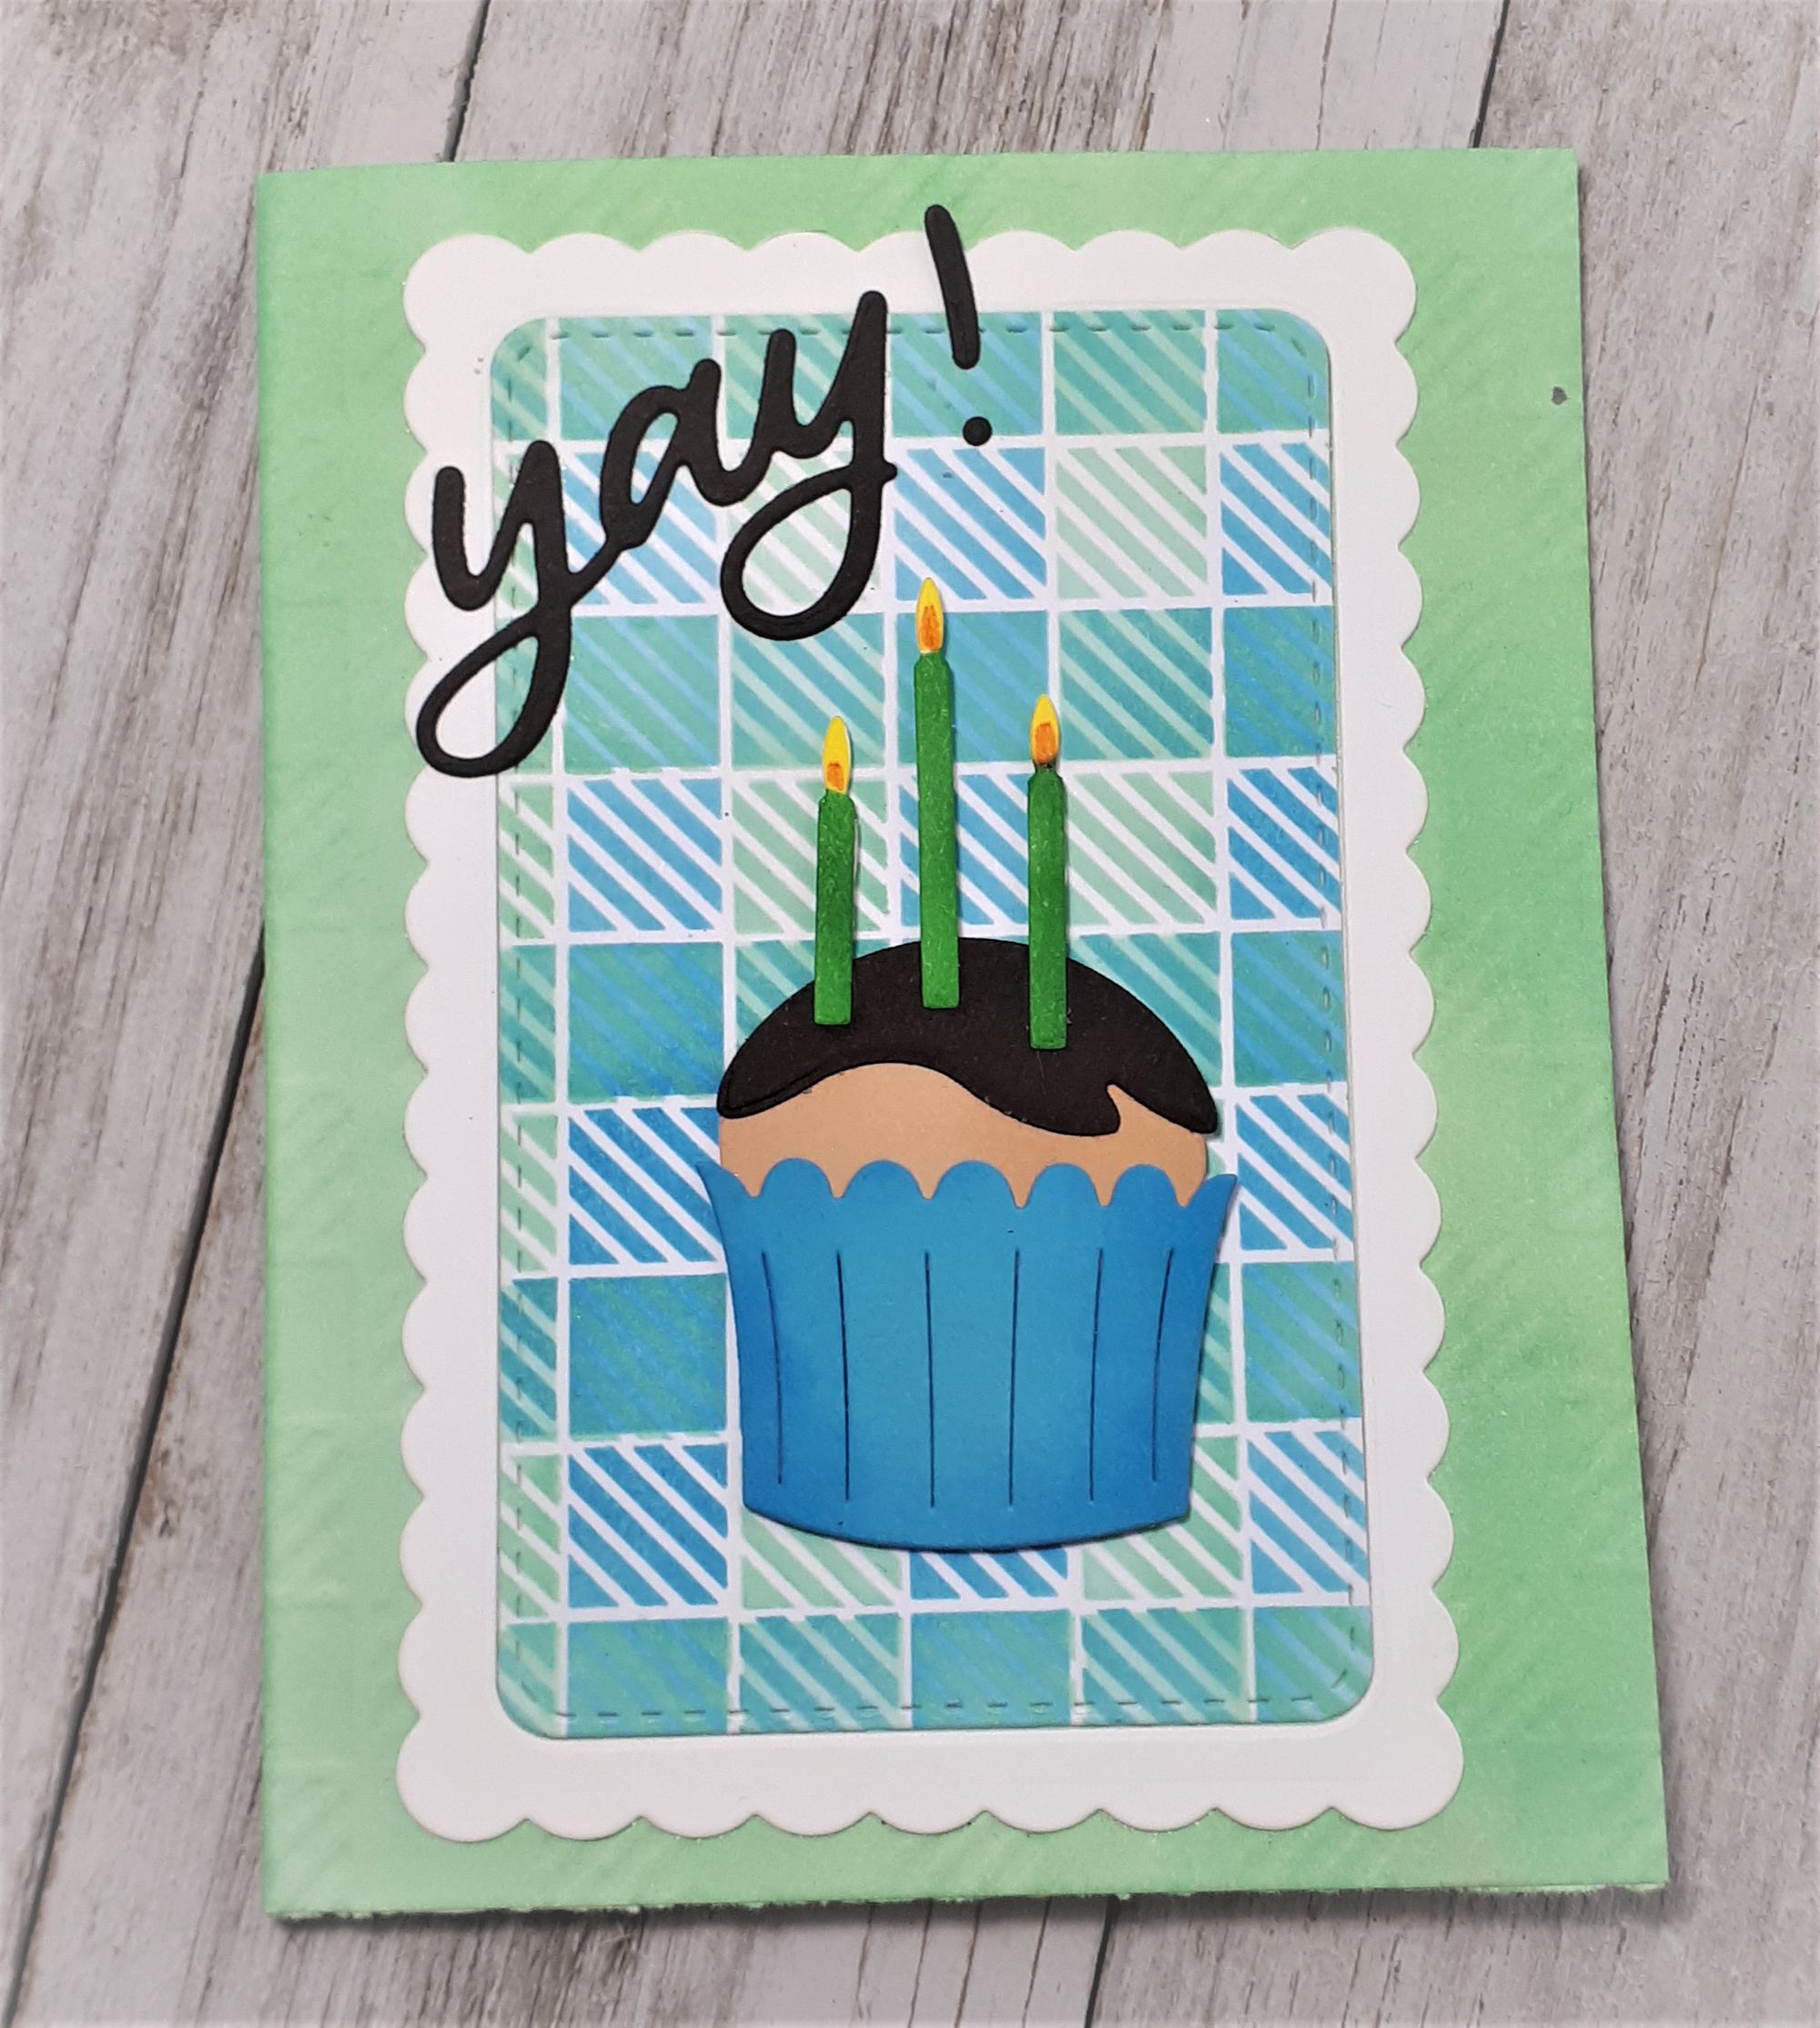
The first technique I explored was the shifting technique. On the market there are existing stencils that are specifically made for the shifting technique but I don't have any of those and wanted to achieve that same kind of look.. here's how I did it. First choosing a stencil is a tricky part. Not all stencils will work for this but you wont know for sure until you try it. So pull out your stash and start inking. I found that geometrical stencils worked best for me. Your first step is to simply lay your stencil down and apply a layer of ink thru your stencil. Then once you clean off your stencil you'll shift it in any direction and re-ink your stencil. How much you shift it is up to you. For this sample I shifted it so that the pattern is shifted one block over. For this second sample I shifted it twice to get three lines of color.
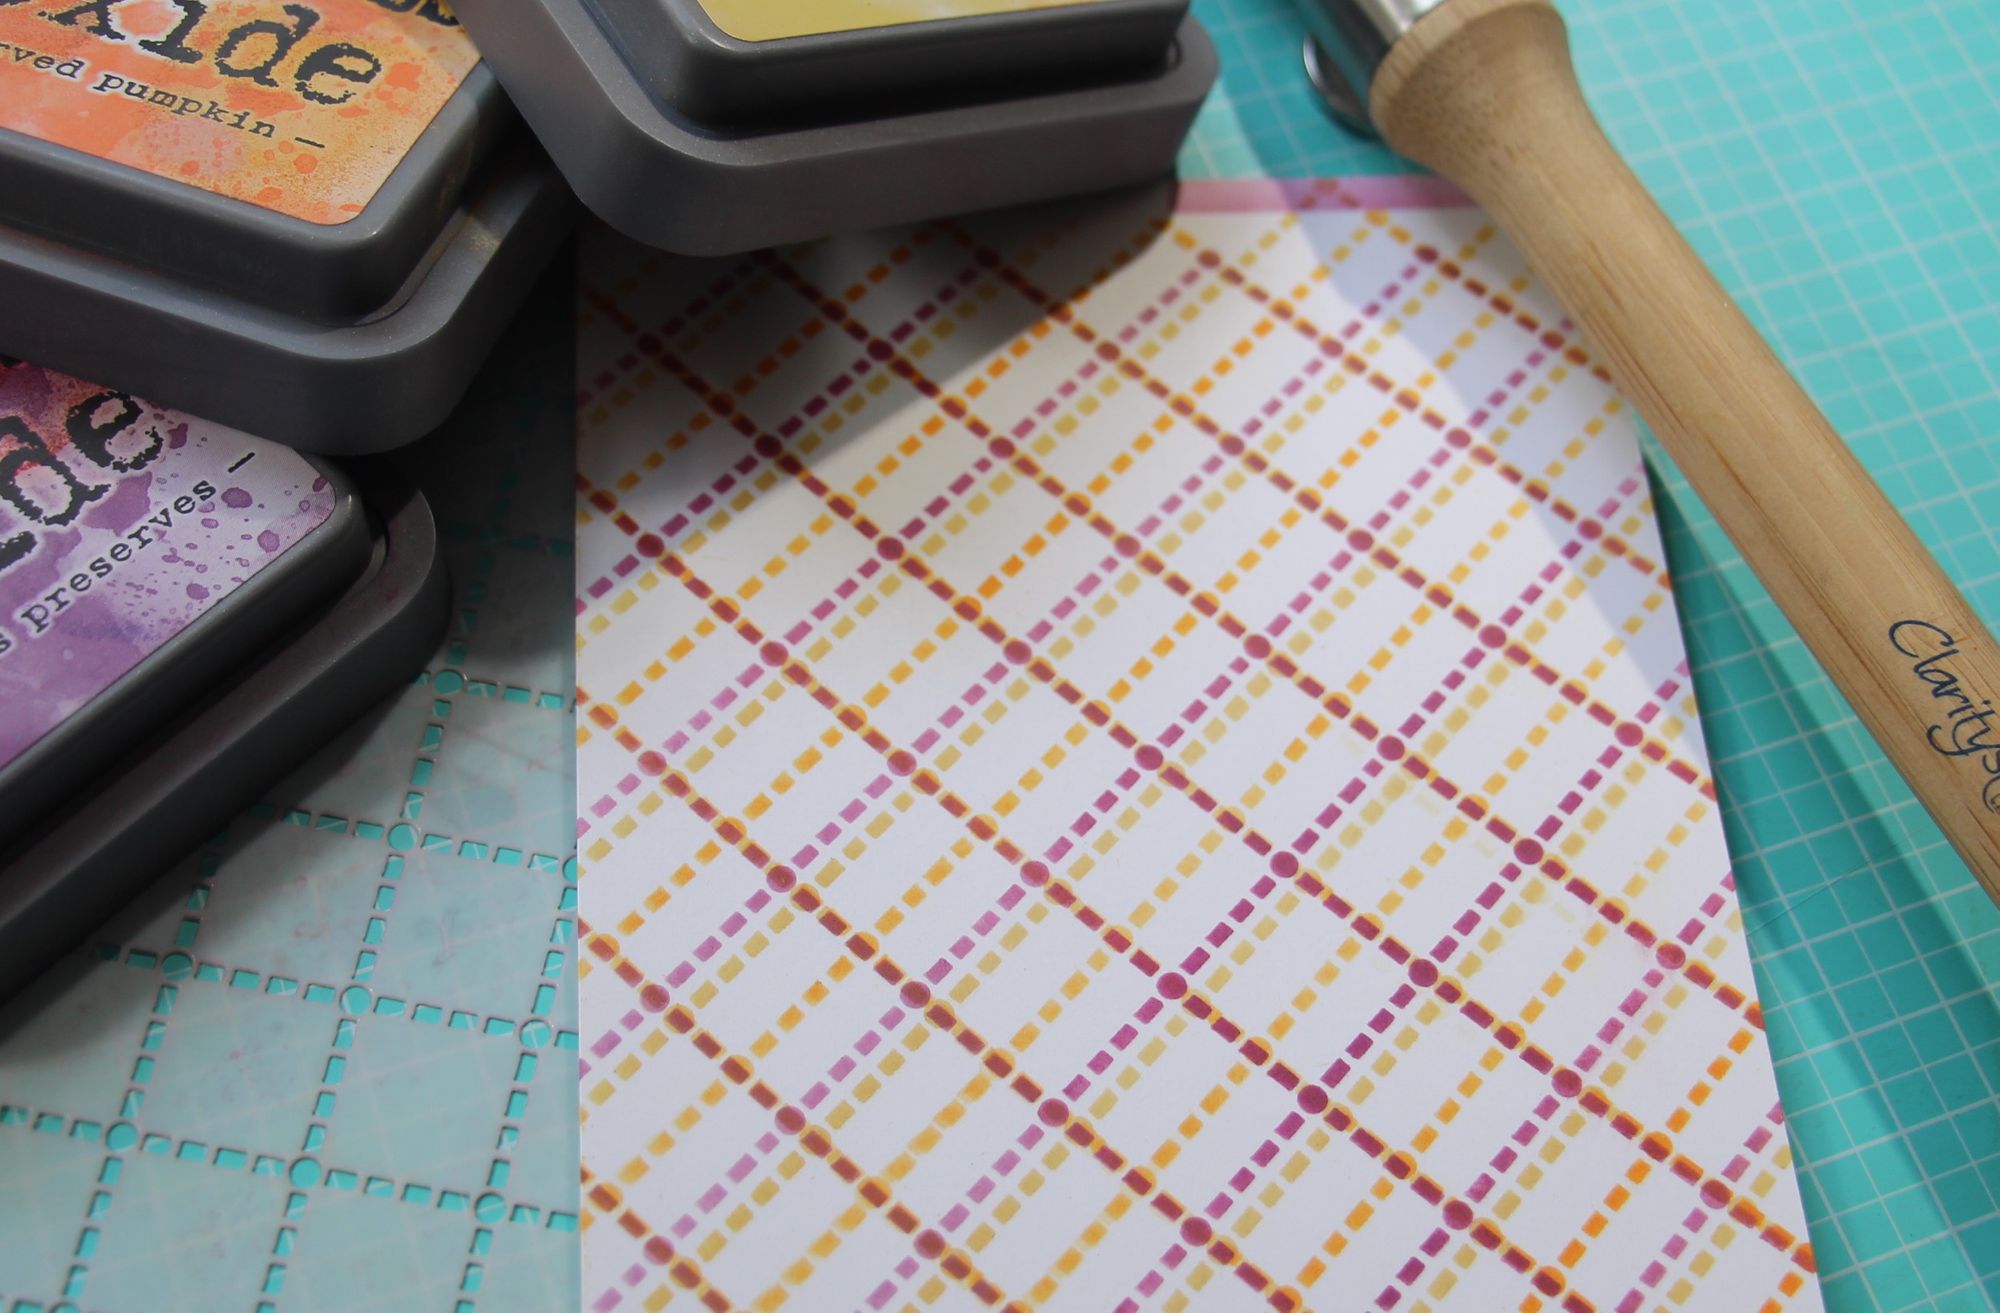

So even though this is not specifically a shifting stencil you can get a unique look just by doing it yourself.
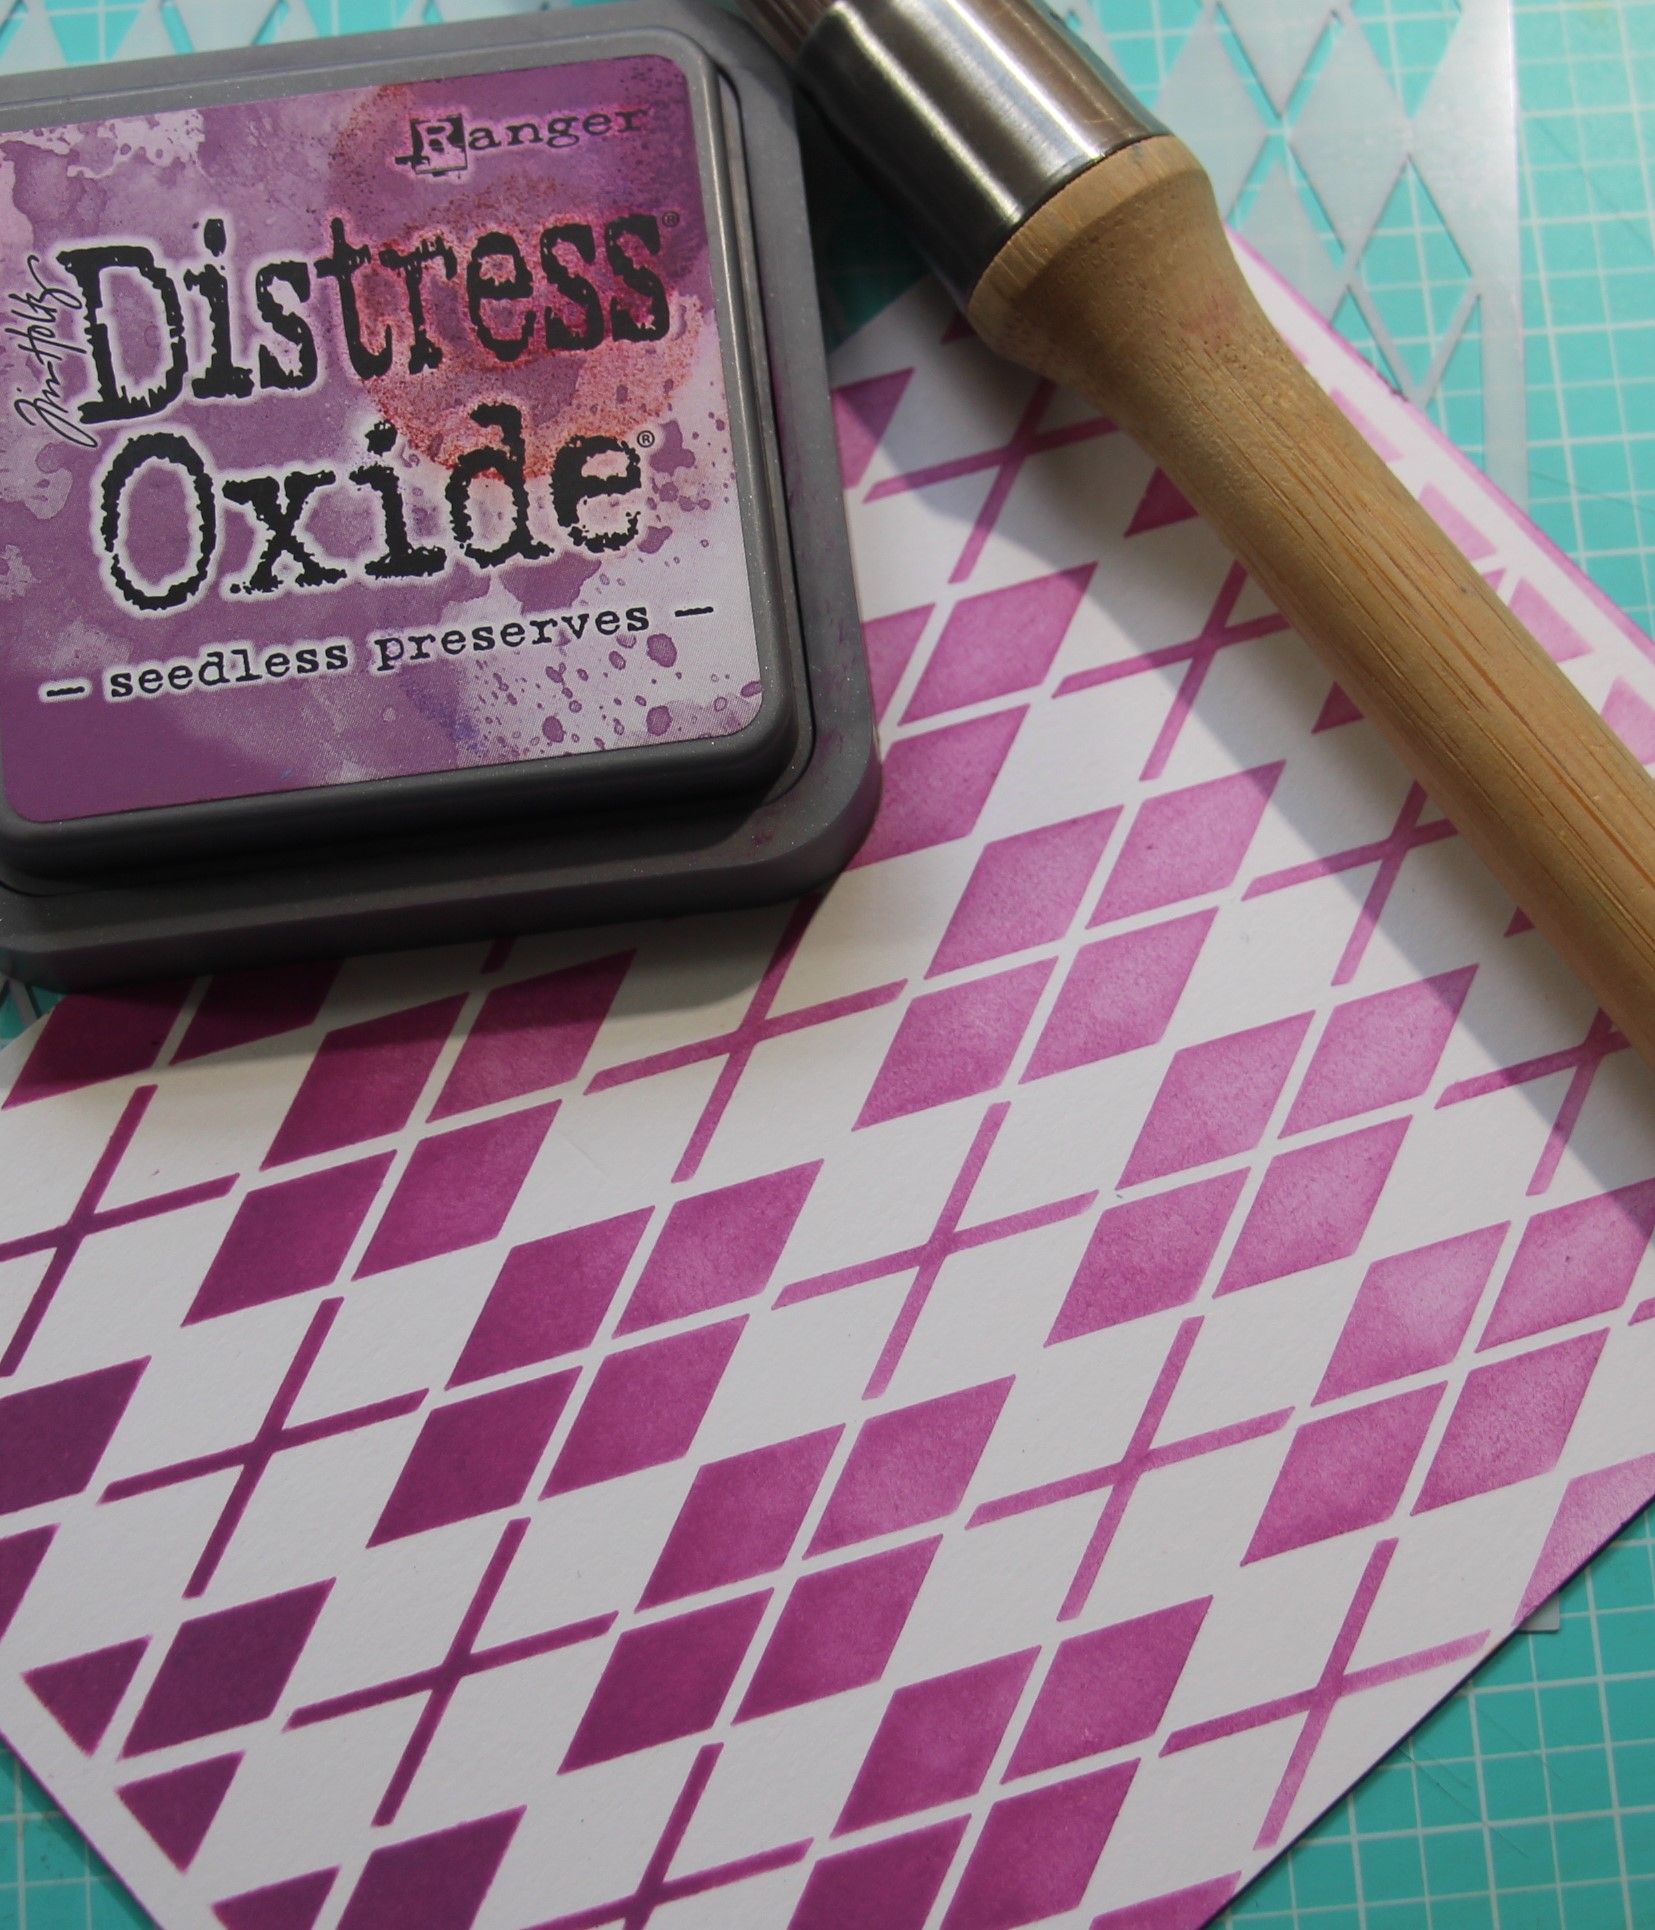
The second technique is giving your stenciled image an Ombre look. This simply means having the color applied from dark to light. You'll begin by applying the ink you choose using a blending tool. I used my ink applicator from Aladine. You can use smoothies or any other tool that will give you a dark coverage. Apply the color to the edge of your stencil and slowly work your way to the other side stopping before the halfway mark. Now you'll change tools to something that applies color softly like the Clarity stencil Brushes. Using this tool you will apply the lighter shade of this ink onto the other side of the stencil. For this technique you can even start of light and fade to none like in this sample. The great thing about this technique is you can use any stencil in your stash.
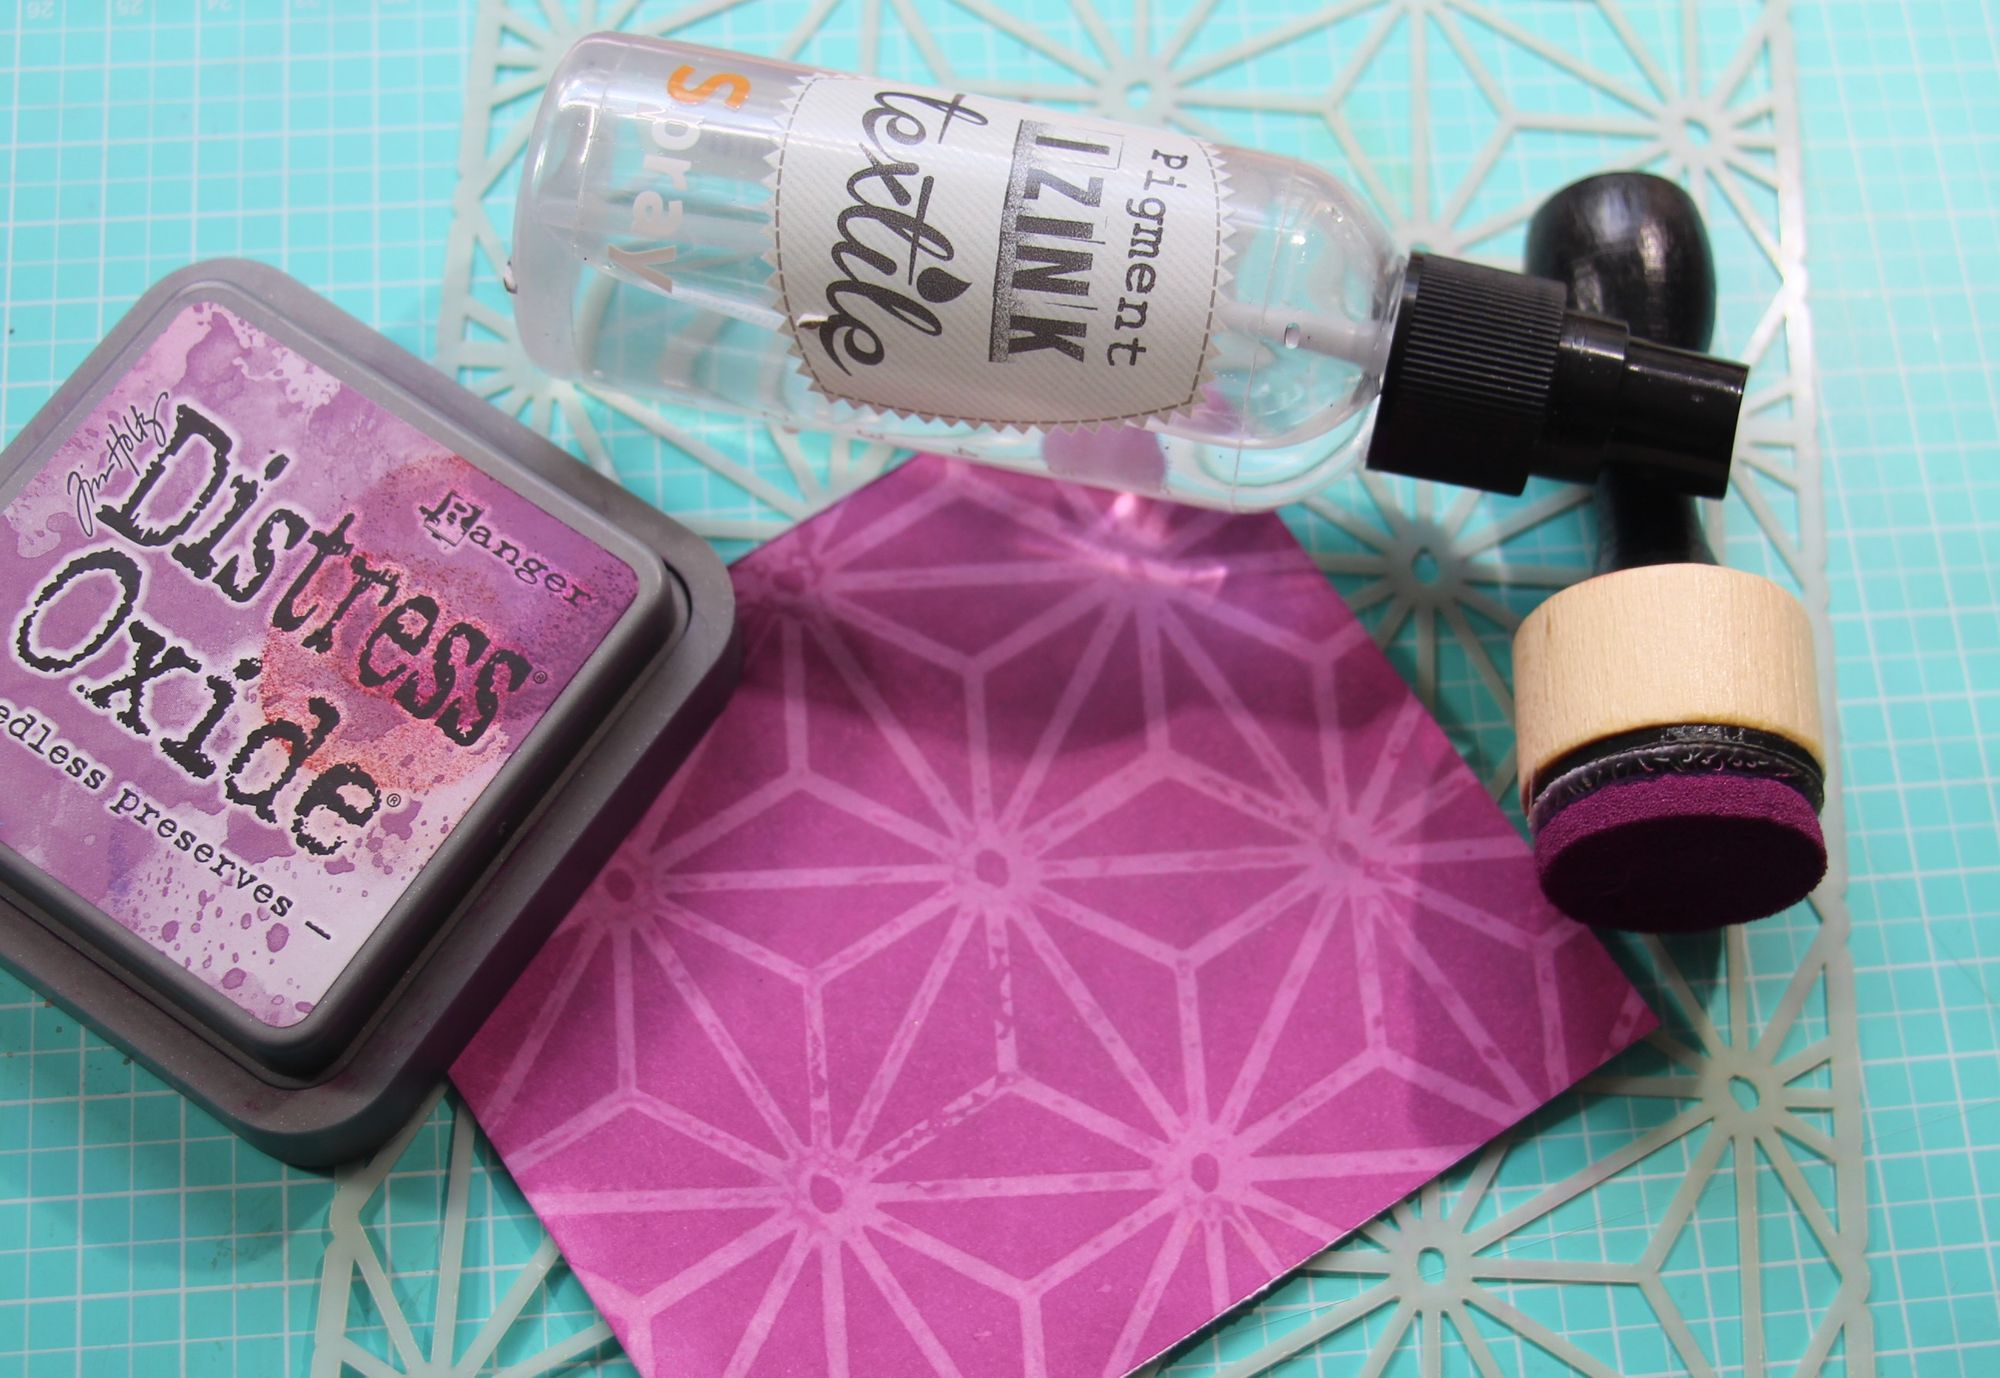
Finally the last technique I was playing with is stamping with your stencil. For this technique you really need an ink that reacts with water. I used Distress Oxide Inks. I covered my background with Rusty Hinge in a nice thick coat. Then off to the side spray your stencil with plenty of water, in a quick motion flip the stencil and lay it onto the inked background. Using a paper towel sop up the extra water. Allow the ink to react with the water for a few moments and then remove the stencil and sopping up the remaining water. This technique gives you a whole new look with the same old stencil, love it!
There you have just a few new techniques that I have been playing with. I hope you enjoyed the video and blog. If you missed the live video you can check it out on our Facebook page EC Crafts inc, where I have a segment on Monday's, Wednesday's and Friday's at 1:00 pm.
Until next project
Katarina
Here is the link to the other blog about stencils.
 Katarina
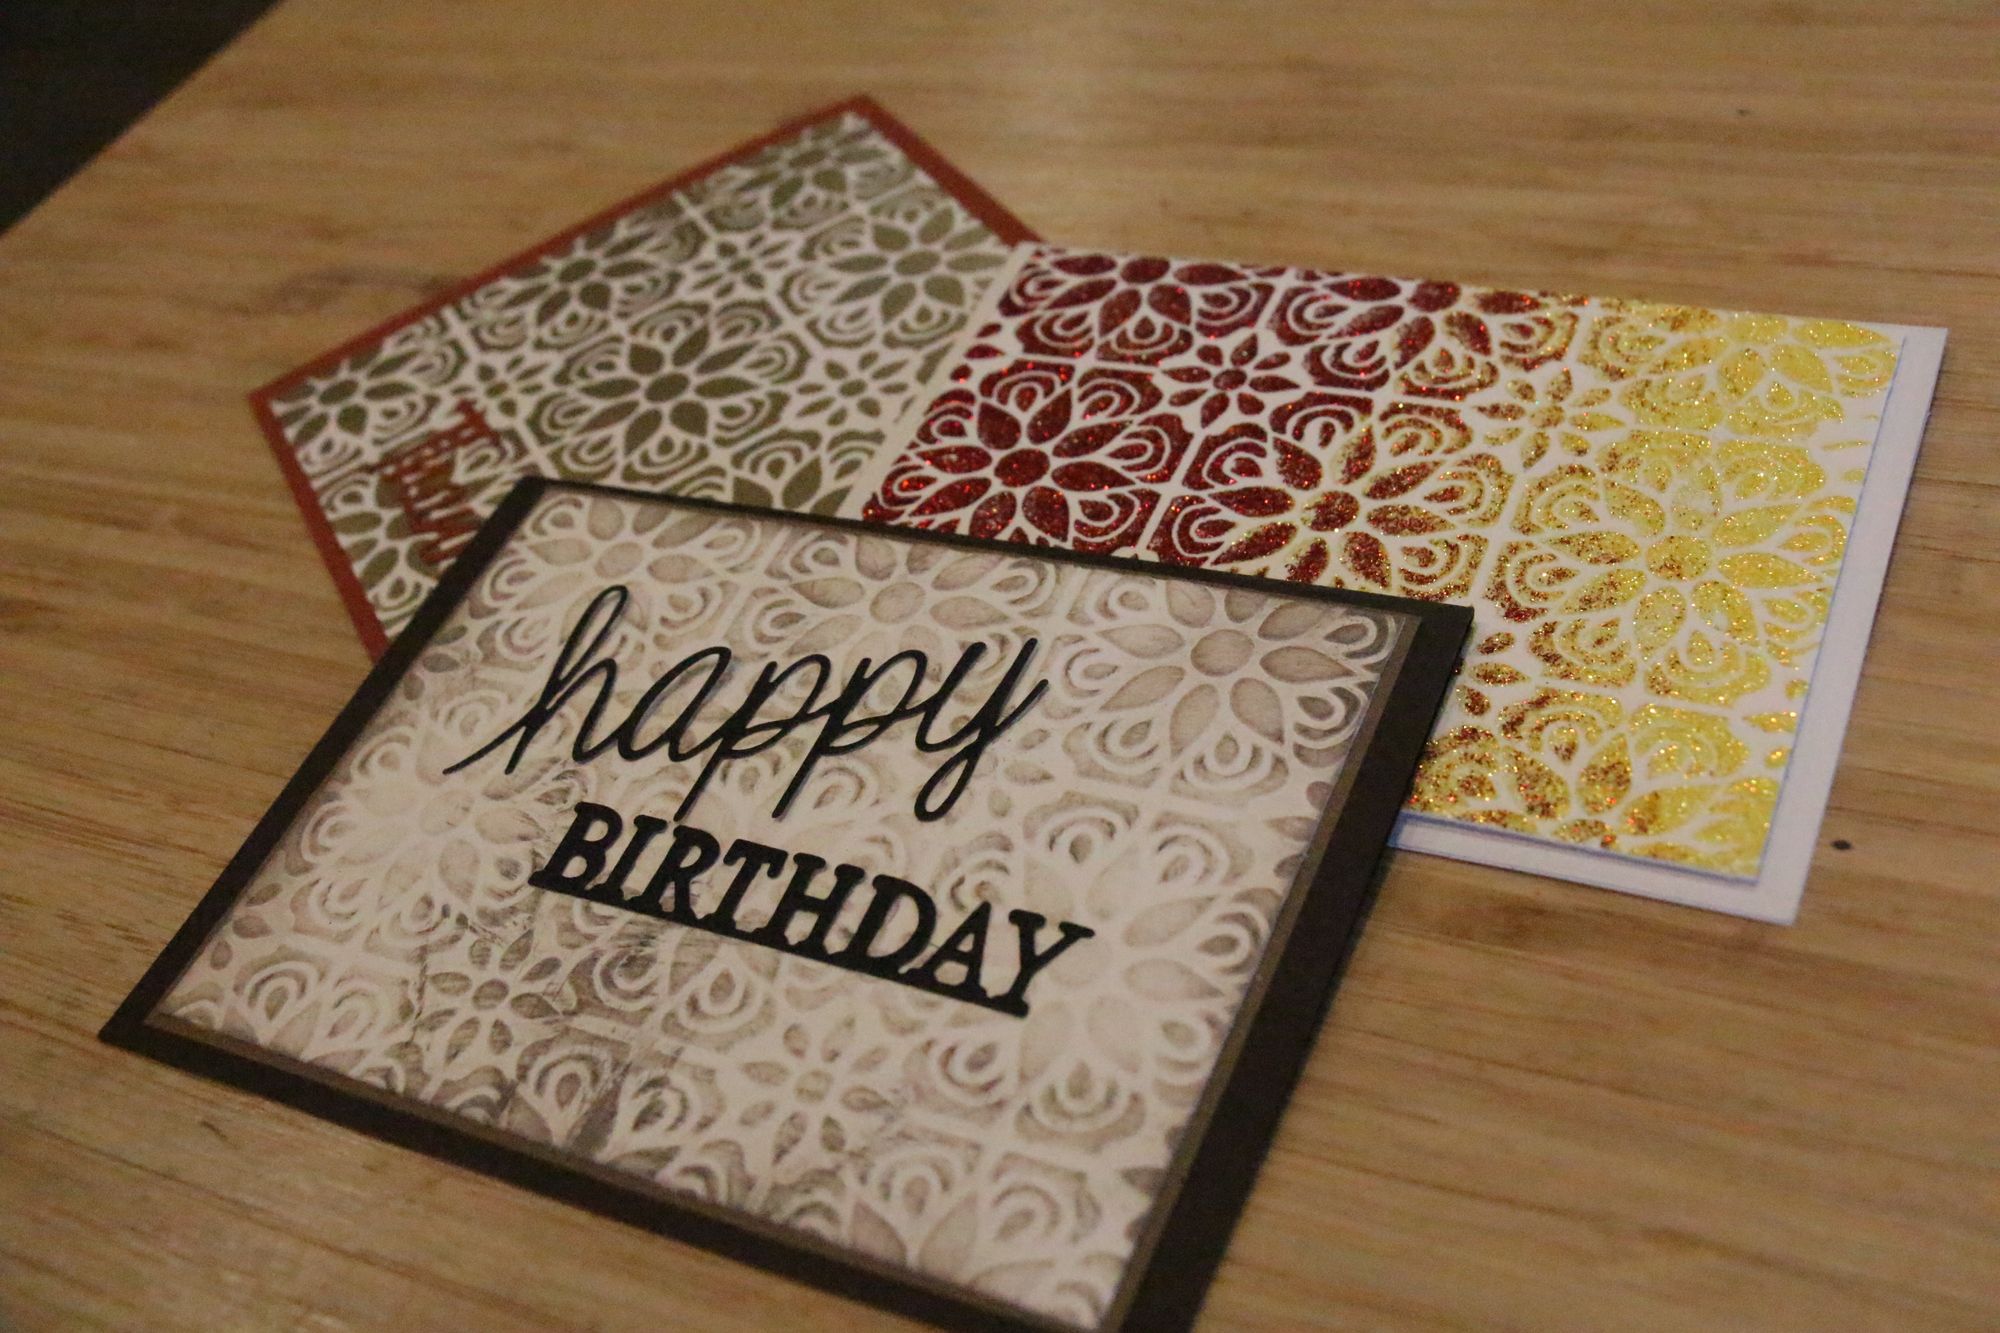
Products Used:
Clarity stencil Brushes ACCBR30006
Frantic Stamper - Stitched Quilt FRASTN025
Creative Expressions - Geometric Stars CEST020
Frantic Stamper - Argyle Stencil FRASTN026
Frantic Stamper - Gingham - FRASTN003