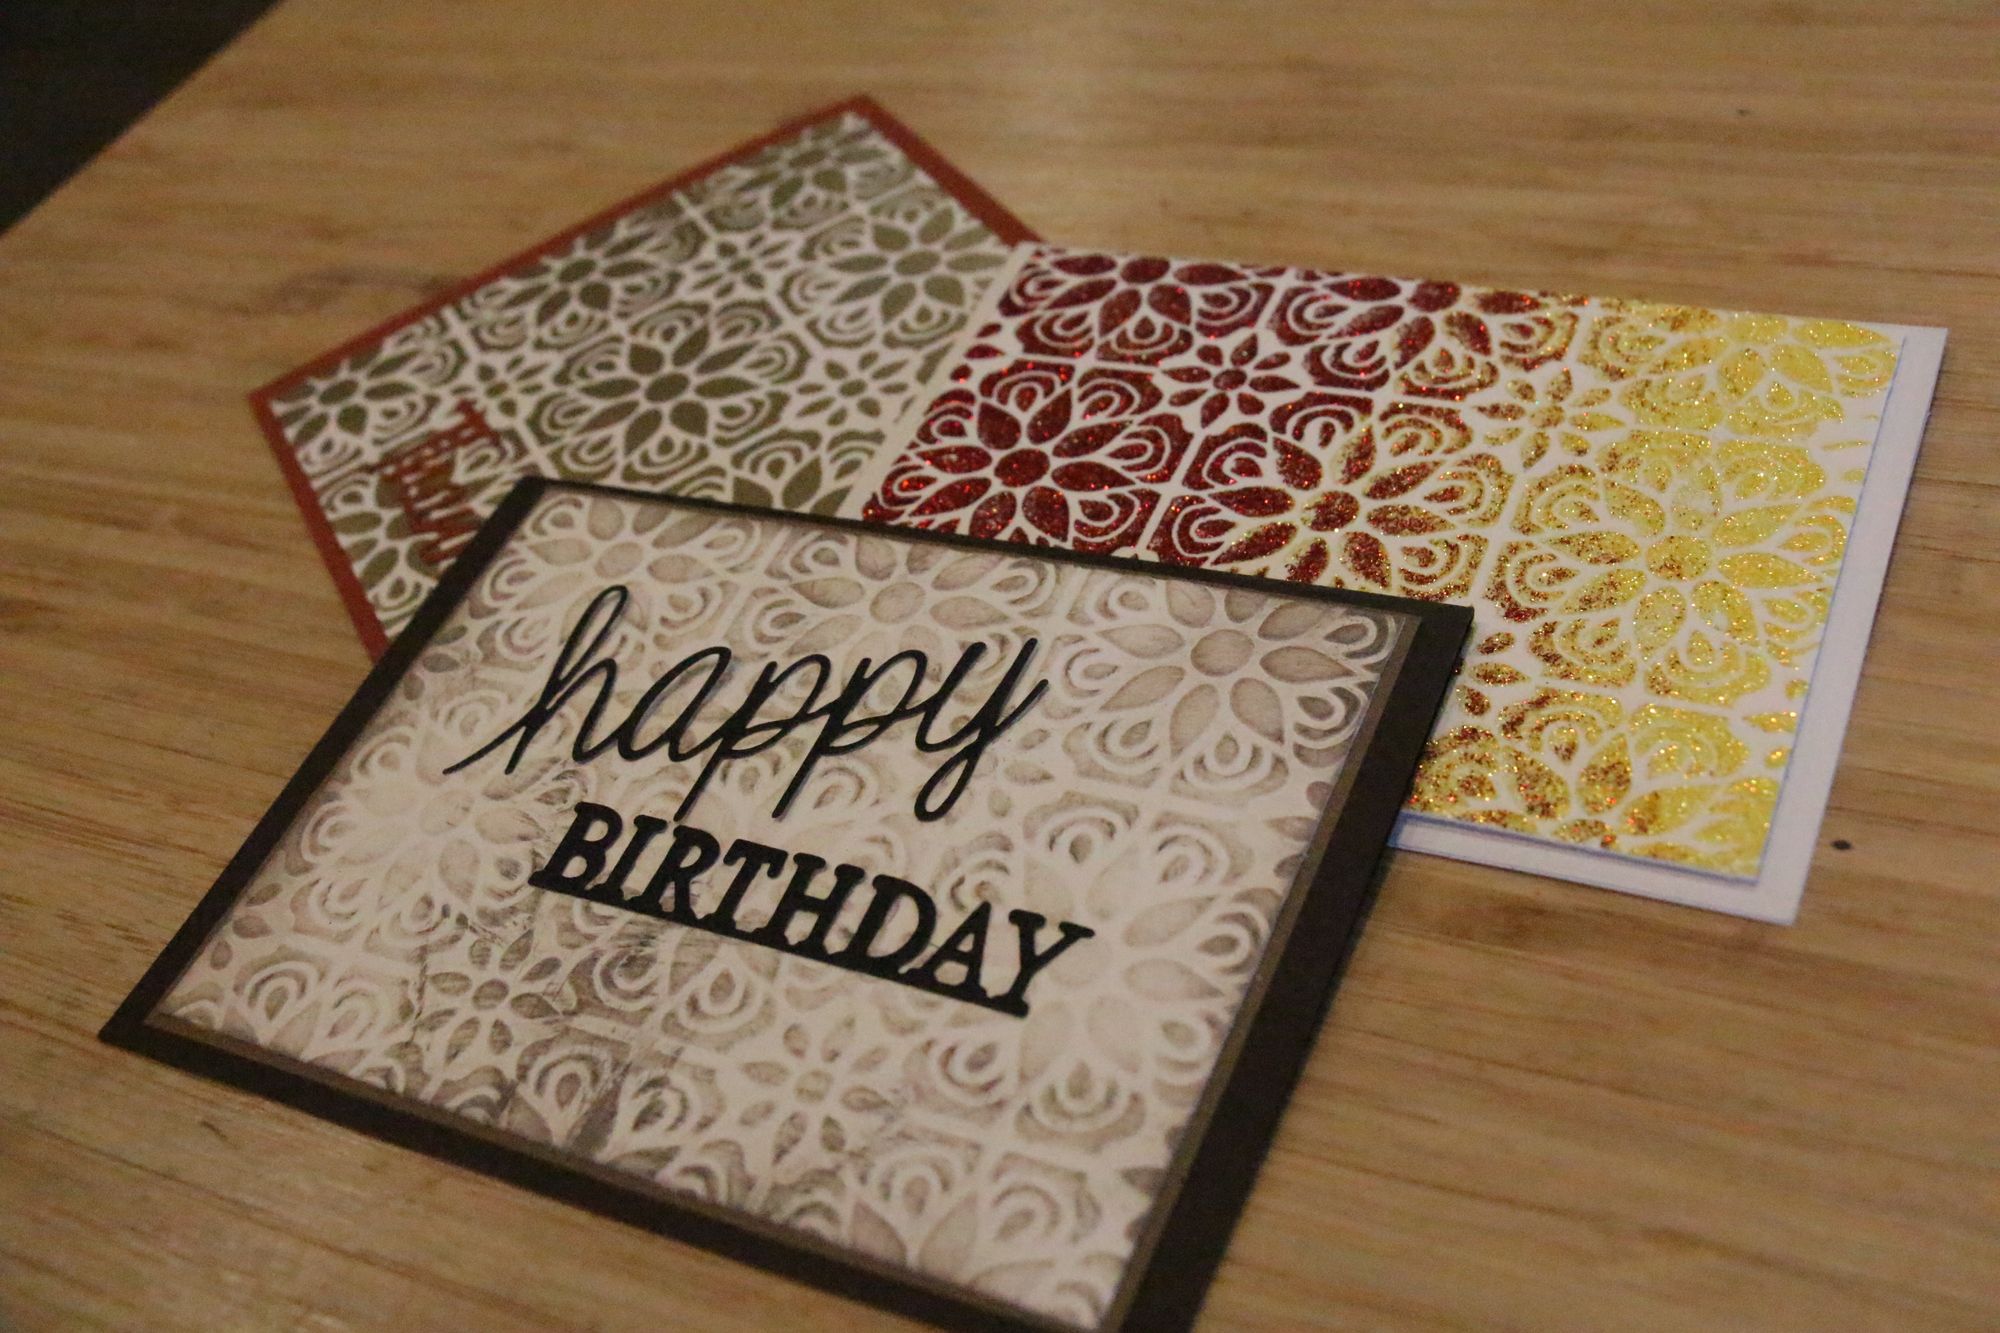
1 Stencil 4 Backgrounds
Welcome back today I'm playing with my stencils and let me tell you I have more than I know what to do with. Although, today I wanted to challenge myself and make 4 background with only one stencil. This is a great way to make the most of your stencils.
Welcome back today I'm playing with my stencils and let me tell you I have more than I know what to do with. Although, today I wanted to challenge myself and make 4 background with only one stencil. This is a great way to make the most of your stencils. So lets get started.
I prepared my base card-stock by cutting a 8.5 x 11 sheet of heavy card-stock to 4 pieces at 4 1/4 x 5.5".
Background #1 - Heat Embossing

The first card background I made was done with heat embossing. The trick here is to tape the card-stock to the back of the stencil as you use tinted Versamark to saturate your paper thru the stencil. I use the Versamark Dazzle Champagne Ink Pad so that I can see what I have covered and what I missed. Peel off the stencil and add your embossing powder, here I used Cosmic Shimmer Metallic Gold embossing powder and heat set it.
Background #2 - Stencil Embossing

The second background I made was using my stencil and embossing it. Run it thru your cutting machine in this order Stencil, paper and embossing mat. I run this thru on a tight setting so that it embosses. At this point you can run your ink pad over it, like I did, to catch all the raised areas or you can use it as a textured background on a card. I used IZINK Pigment Ink in grey although it looks brown on the card.
Background #3 - Masked off
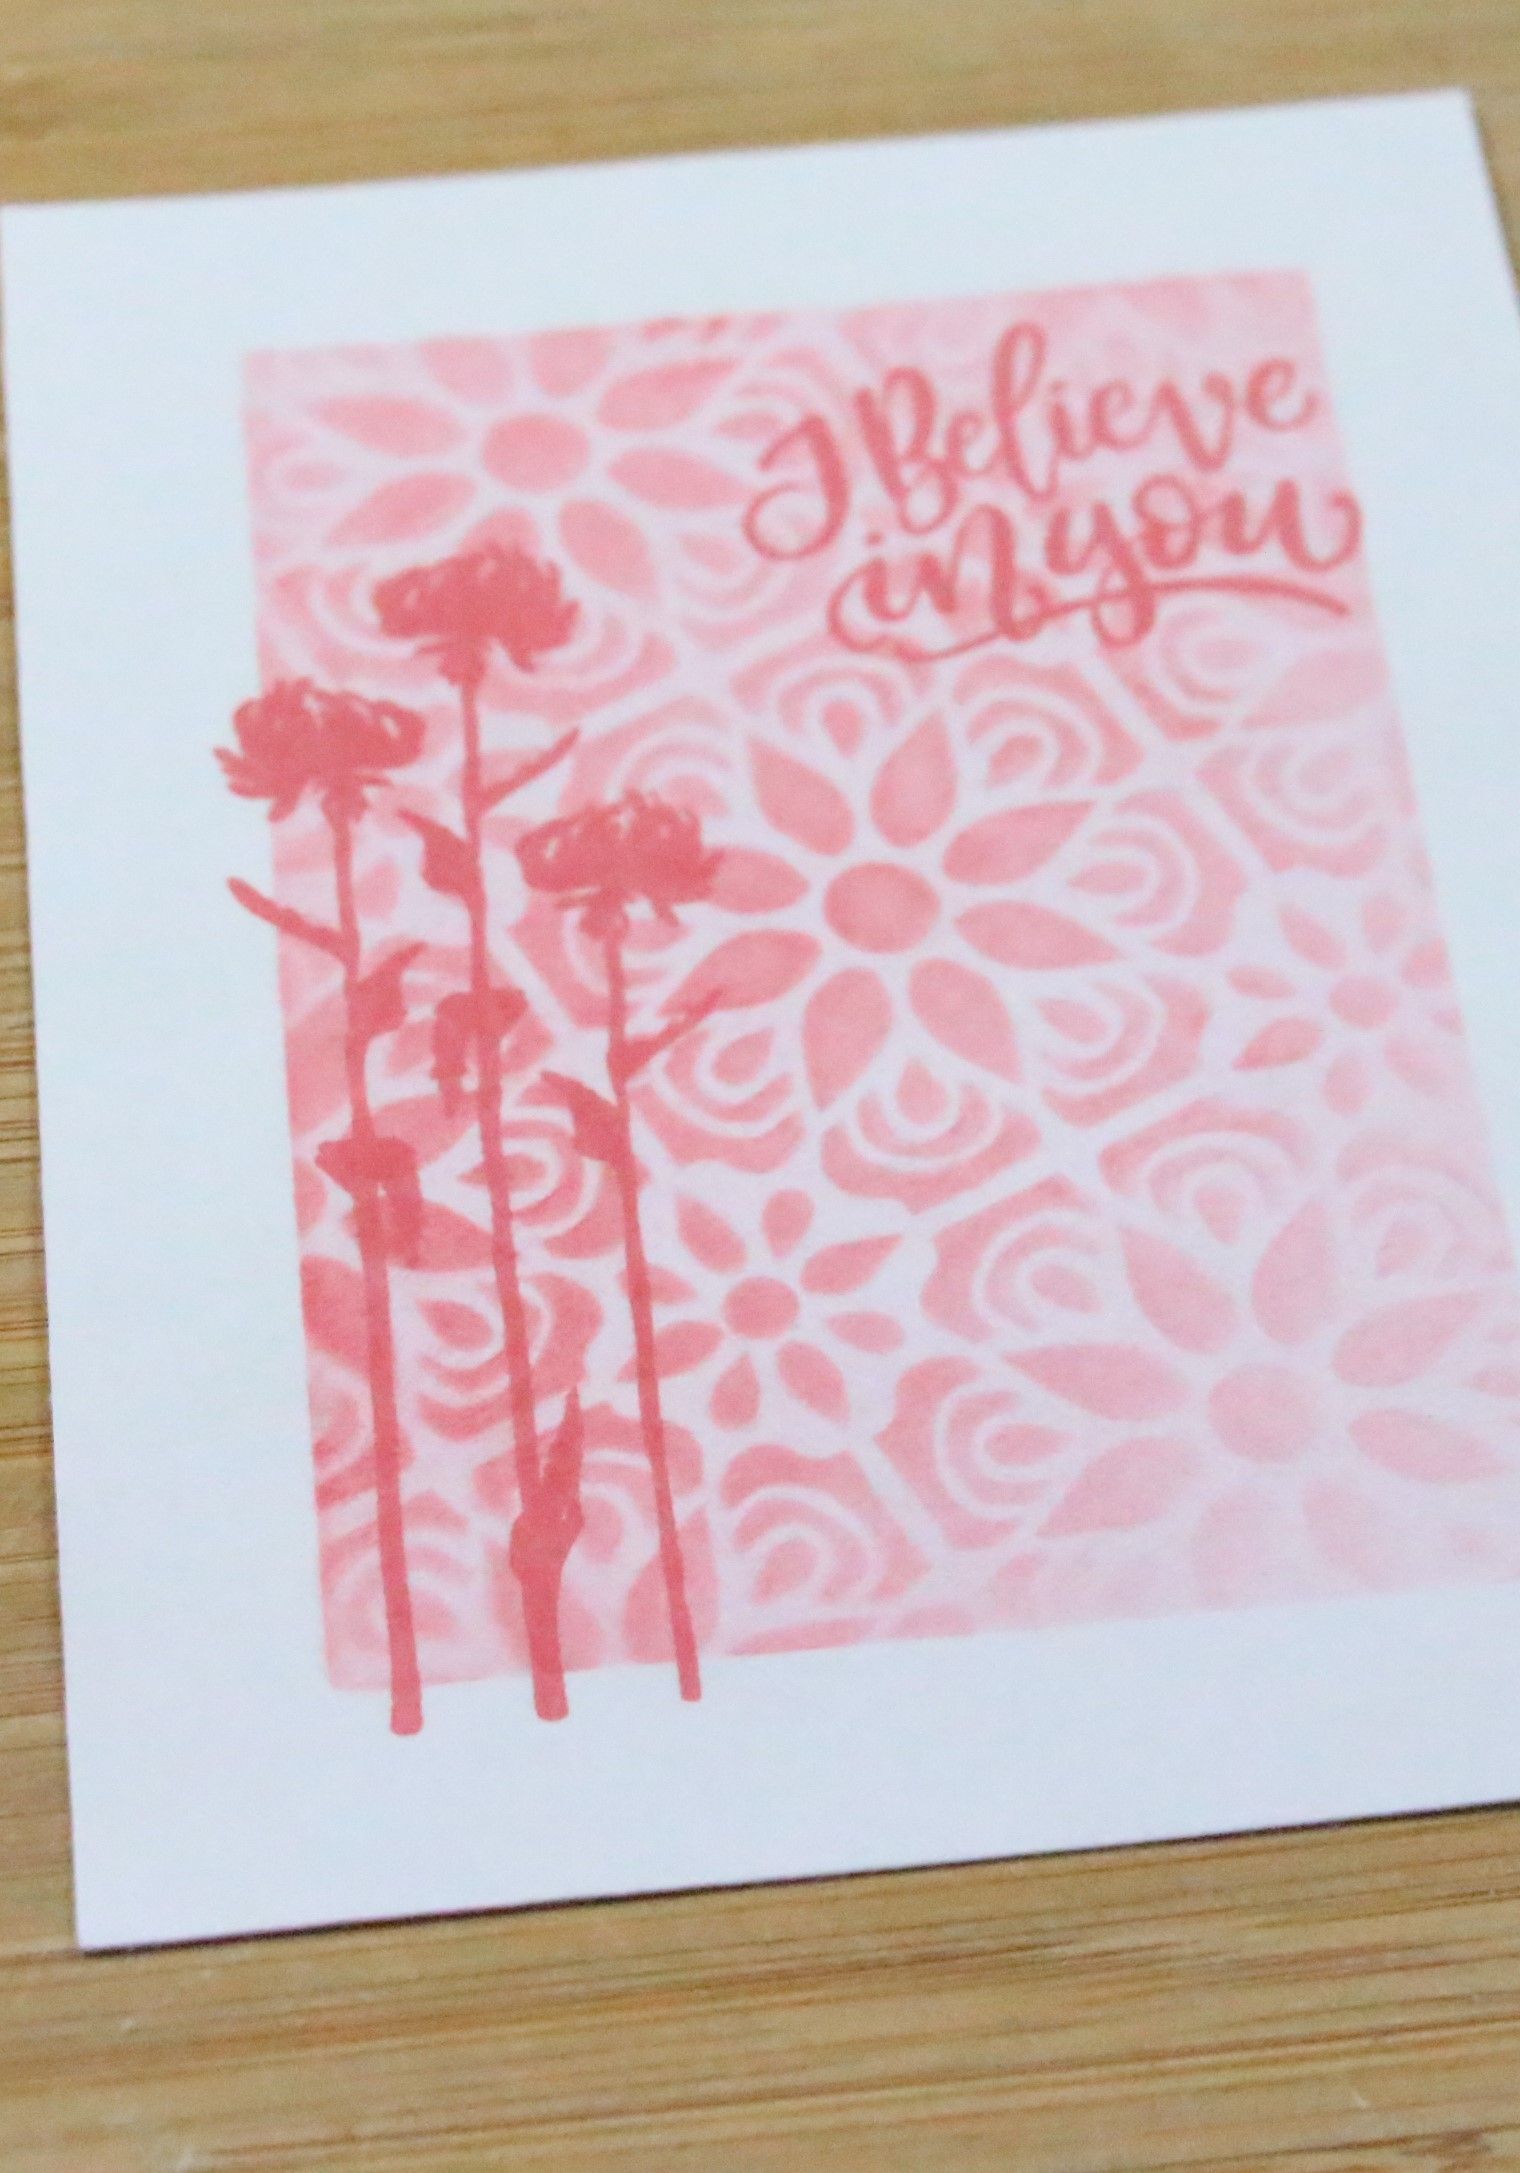
The third background I made was using the same IZINK Inks with a frame mask. I cut a scrap piece of paper the same size as my card-stock and cut a shape out of it, in this case a rectangle. Using some washi tape I attached them together and layered my stencil on top securing all this to my work surface. I ran my smoothie over the stencil and did so that it has a gradient from light to dark. Then remove the stencil and very gently and with little ink on my smoothie I covered the entire area so that the areas between the stencil imprint is not so stark white. Now remove the rectangle mask. I used the same color of ink to stamp a couple of simple things on the front to finish off this card.
Background #4 - Sparkle Texture Paste
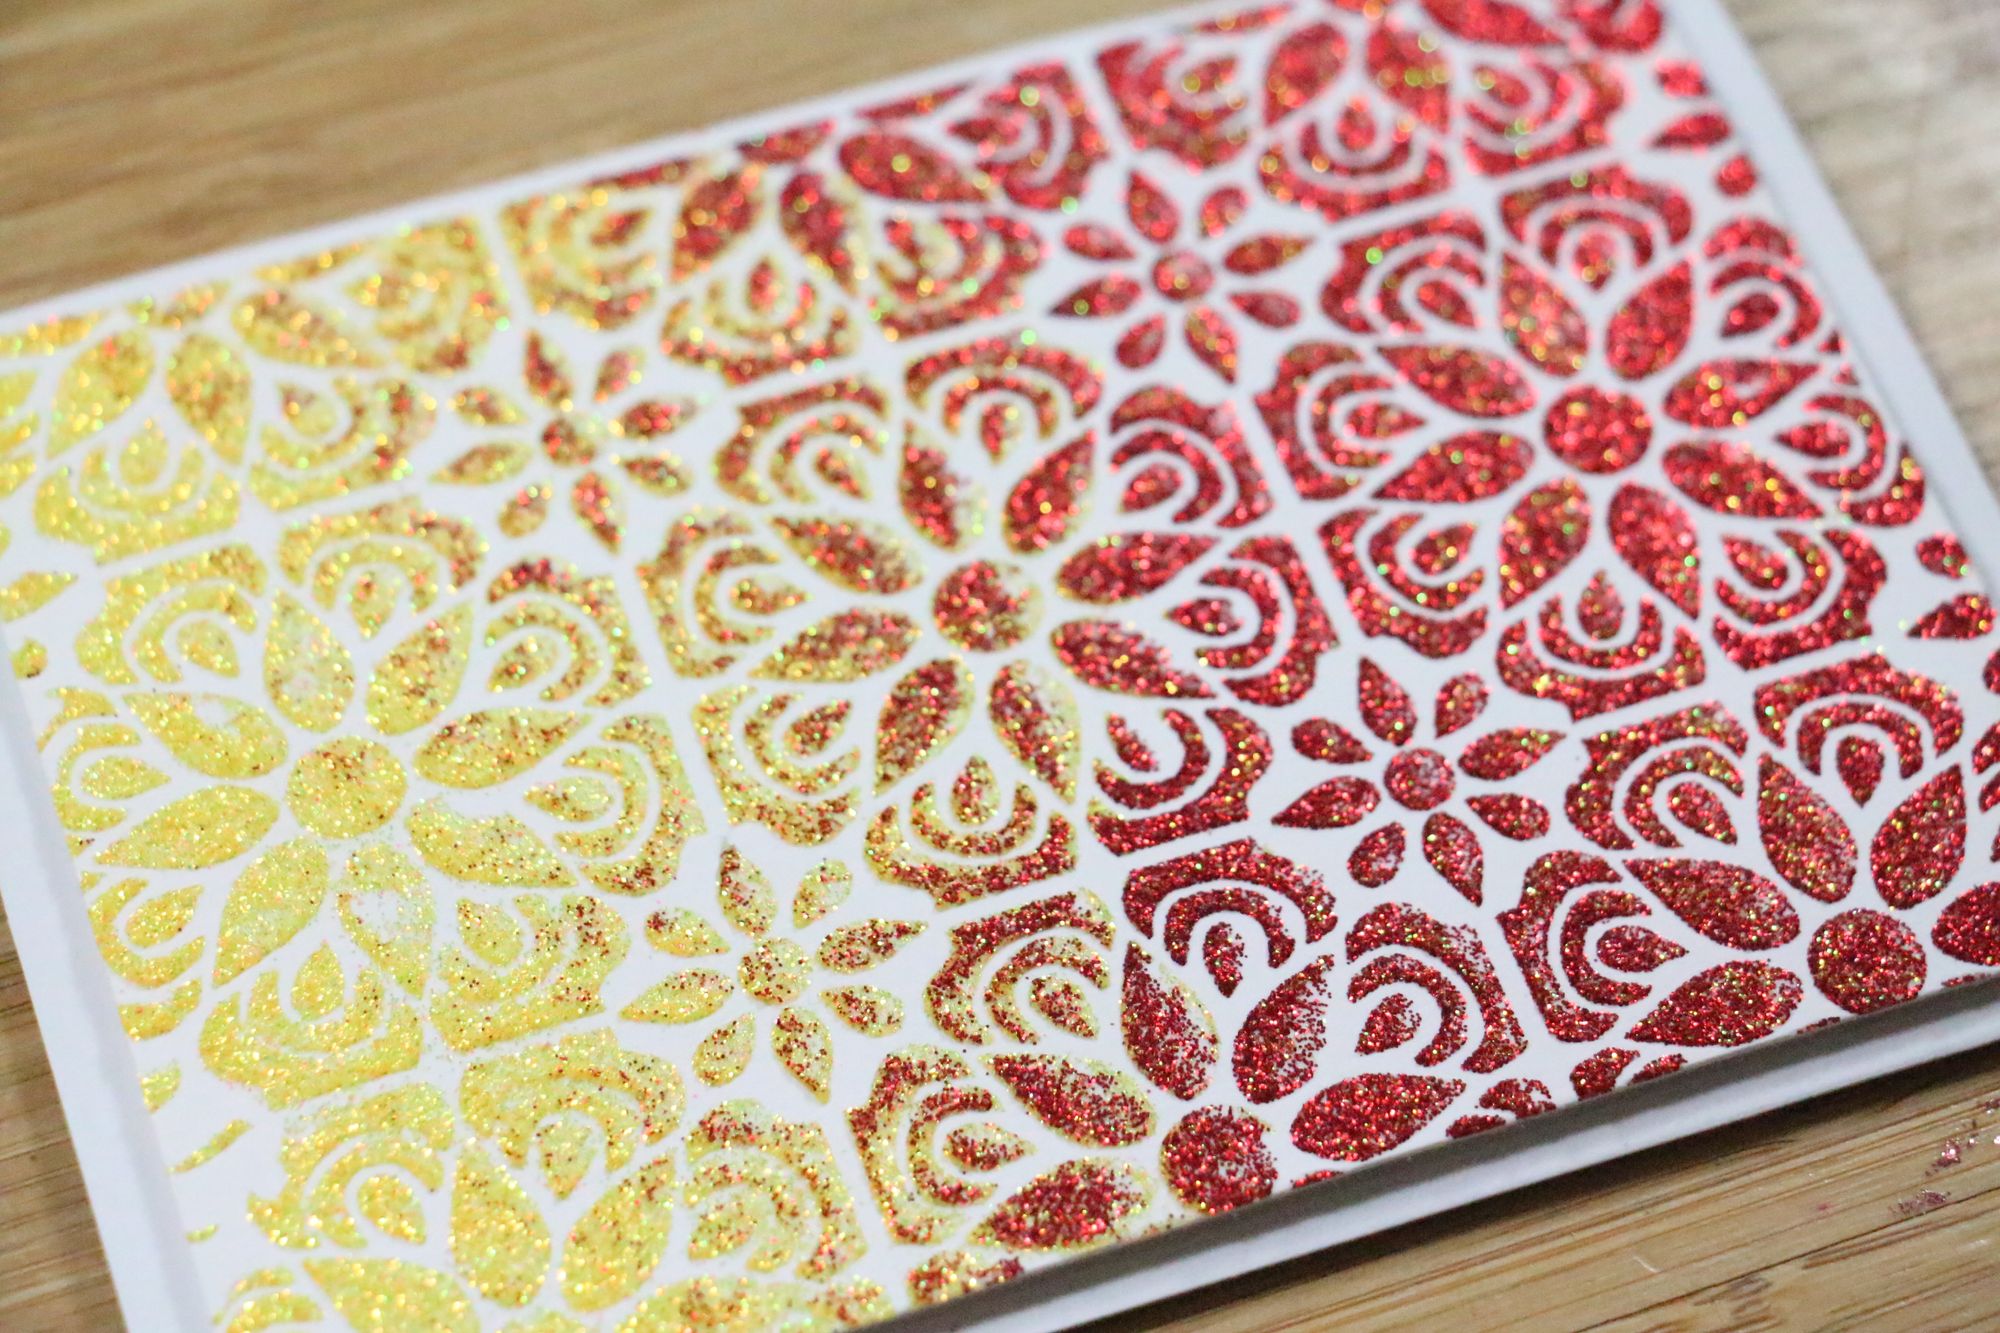
The last background I made was using Sparkle Texture Paste with my stencil. Here I started with the lighter of the two colours, applied it to the left side and then swiped to the right. Then I applied the other color on the right side and swiped to the left to blend the tow colours together. Here you can use any colours you love and as many as you like. A few tips for you here, apply a small amount at a time, and always wash your spatula and work surface once done otherwise the paste will dry to everything. This card is left with no sentiment at this time so that I have a blank card in my stash for when I need it.
There are so many different ways to use your stencils and I encourage you to try some new thing out and have fun with it, you never know what the results will be.
Until next project...
Katarina
Versamark Dazzle Ink Pad -ChampagneVM-003
Cosmic Shimmer Metallic Embossing Powder
Aladine IZINK Pigment Inkpad ADPP - 19177
Cosmic Shimmer Sparkle Texture Paste
Silhouette Clear Stamp - Flower 7-SIL004
Marianne Design Stamps Encouraged-KJ1724
Stamping Buddy Pro - Only available in Canada