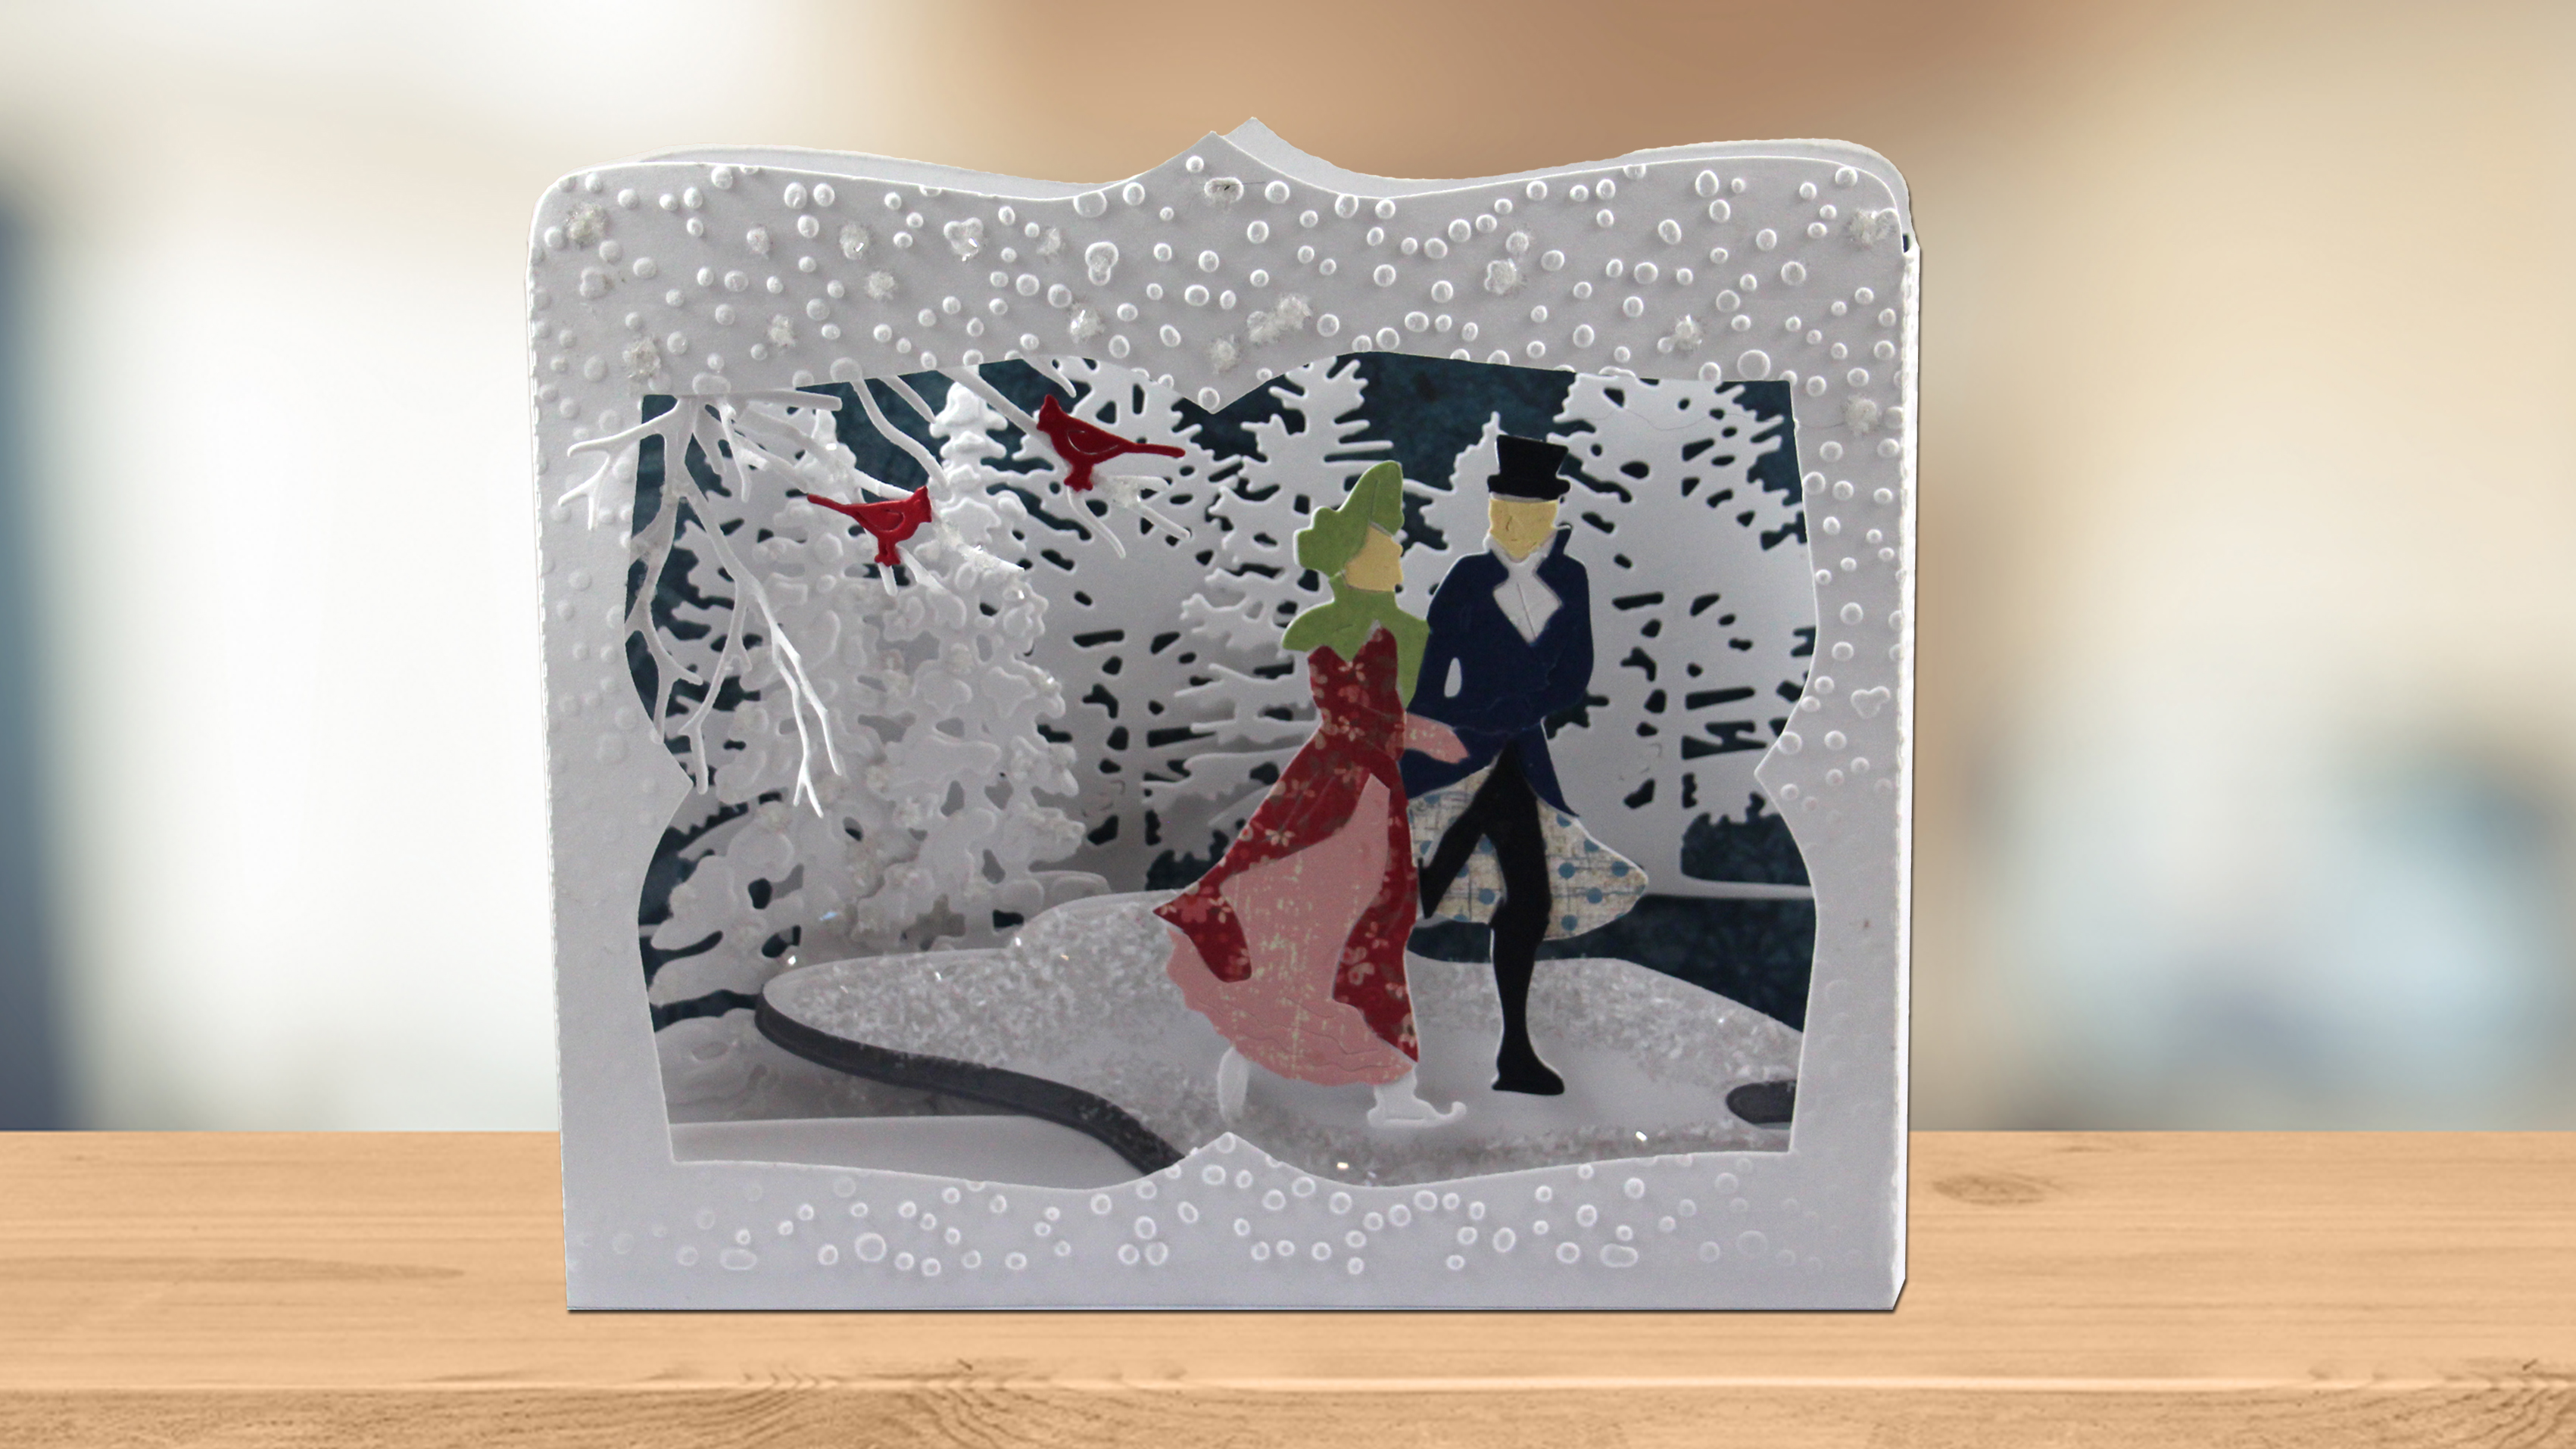
Winter Romance Box Card
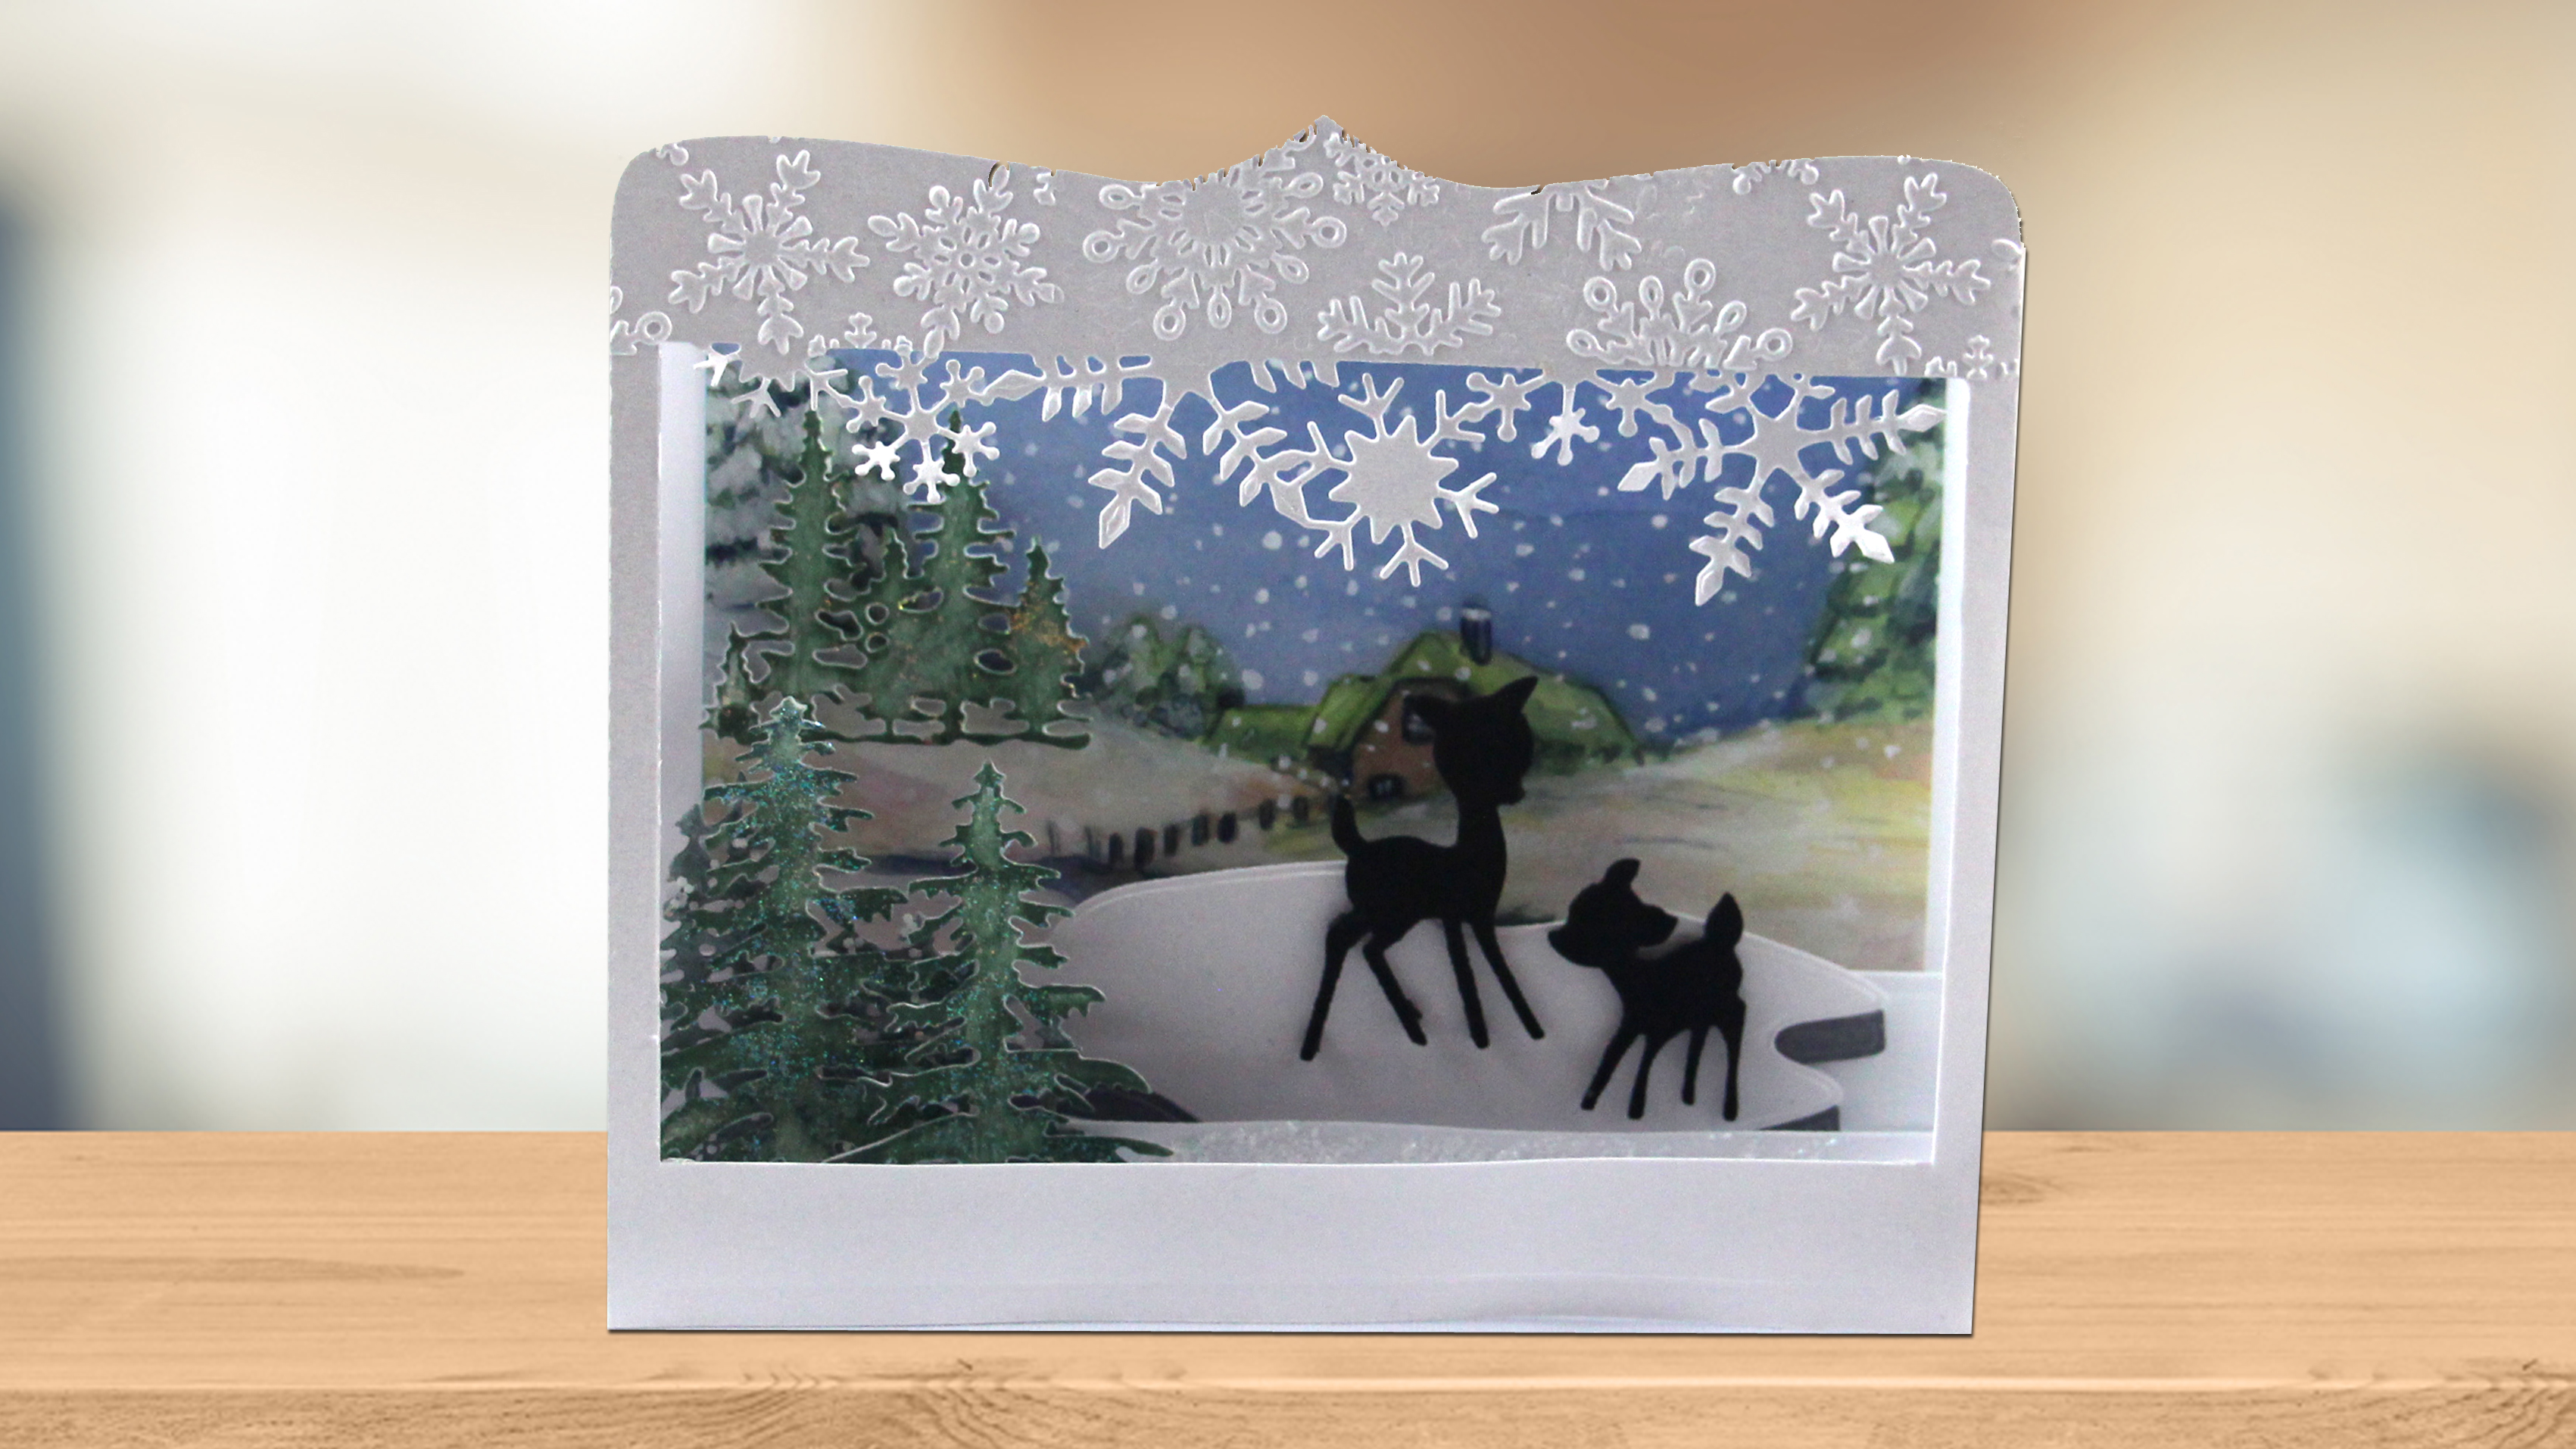
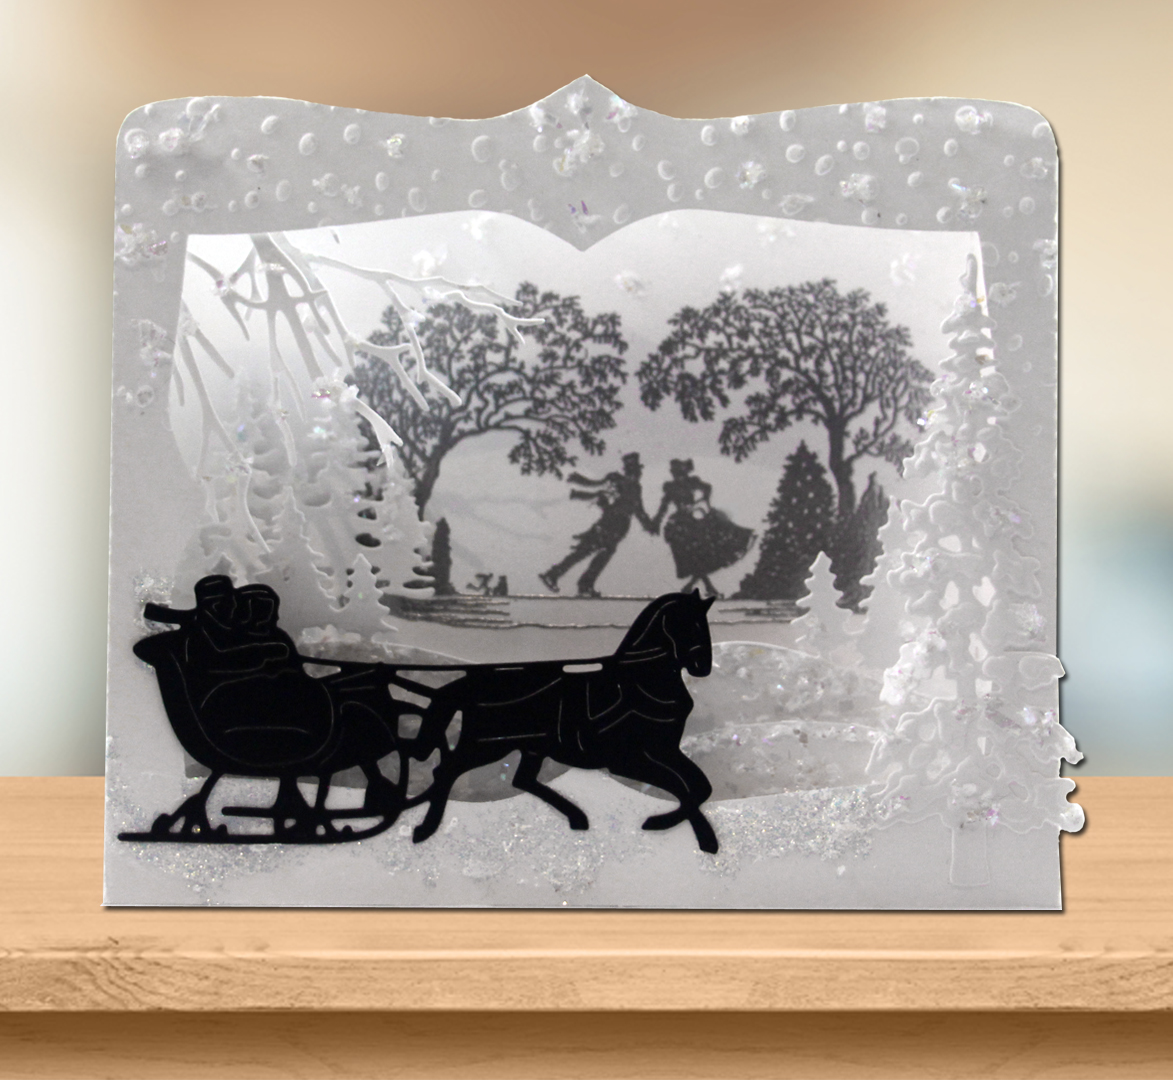
A beautiful 3D scene card using the Box Card die by Marianne Design.
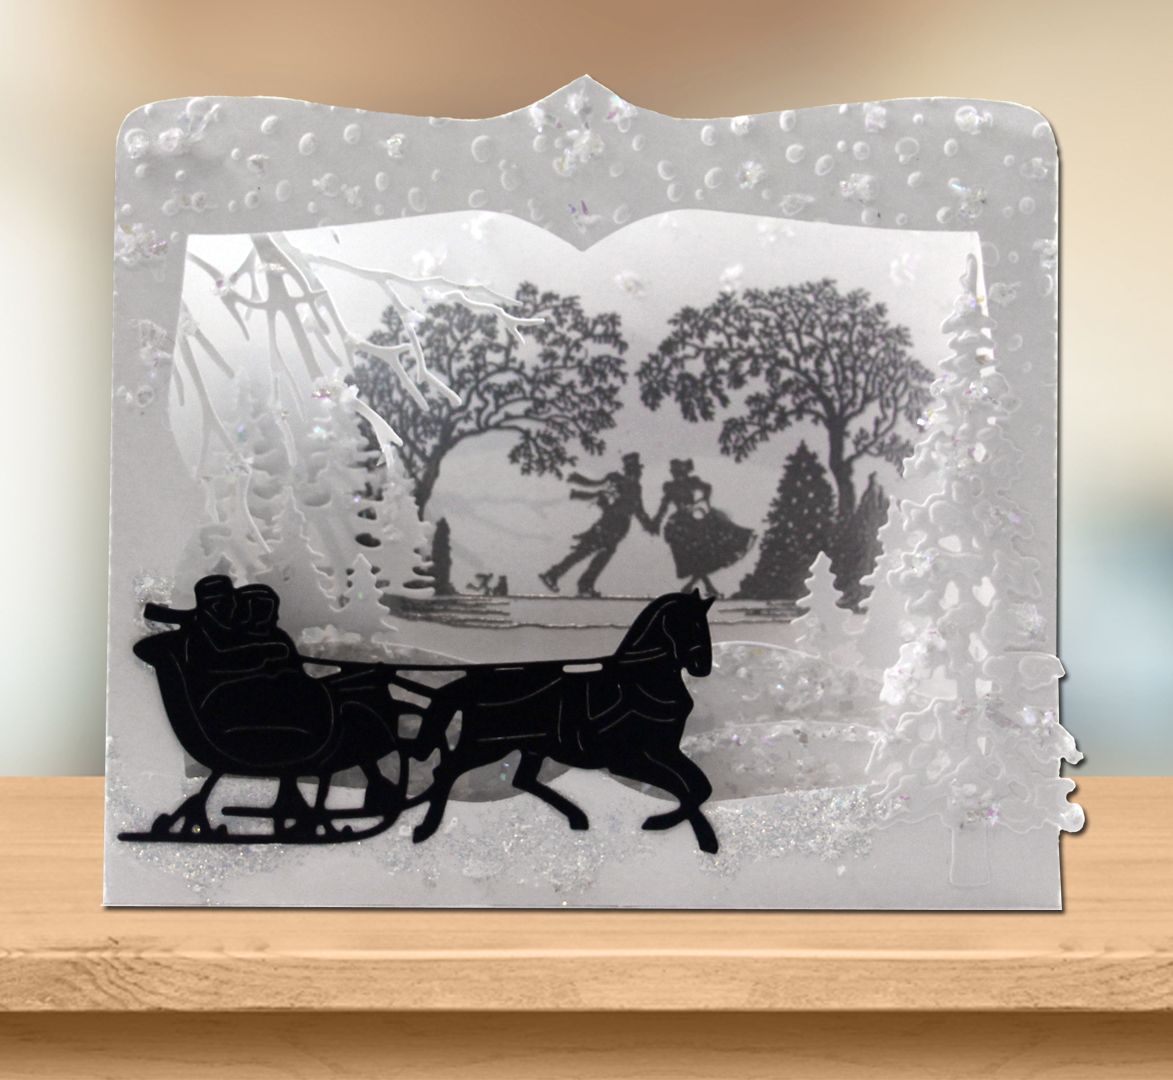
A beautiful 3D scene card using the Box Card die by Marianne Design.
Materials
- Marianne Design Craftables Box Card Die (CR1374)
- Cutting Machine
- Marianne Design Snowflakes Embossing Folder (DF3419)
- Sue Wilson Winter Trees Die (CED3041)
- Marianne Design Tiny's Pinetrees Die (CR1287)
- White and Black Card Stock
- Tattered Lace Horse and Carriage Die (Out of Stock) *Substitute Victorian Sleigh Ride Die* (FRA9992)
- Versamark Transparent Ink (VMP001)
- Frog's Whiskers Ink Ice Skating Stamp (CJ12051)
- Cosmic Shimmer Metallic Embossing Powder in Silver Shine (CSMEP06)
- Heat Gun
- Glue or Double-Sided Tape
- Cosmic Shimmer Glitter Jewels in Iced Crystal (CSJ05)
Get all of the supplies you need to make this project on our website:
Directions
 Step 1
 Step 3
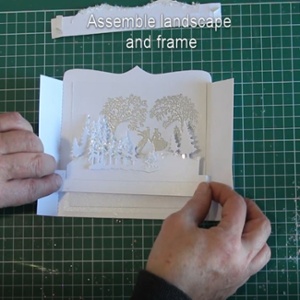 Step 7
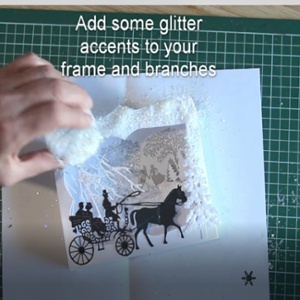 Step 11
- Preparation
Using your cutting machine, cut the following pieces from white card stock: Using the Marianne Design Box Card Die, cut out the box card frame twice to make the front and back of the card. - Use the Snowflake Design Folder to emboss the top half of one of these two pieces. This will create a falling snow effect. This is the front of the card.
- Use the frame die that comes with the Box Card set to cut a window in the centre of the embossed piece.
- Using the long rectangle/strip die that comes with the box card die, cut out two strips.
- Using your cutting machine, cut the pieces you will use to decorate your scene: Using the branches dies that come with the Box Card set, cut out two branches in white.
- Using the Sue Wilson Winter Trees Die, cut the tallest tree in white.
- Using the Marianne Design Tiny's Pinetree Die, cut the each die in white.
- Using the Marianne Design Horizon Pinetrees die, cut twice in white. Be sure to leave about an inch of space below the die to ensure your hill will be visible. Using scissors, trim the trees off of one of these horizons so you are left will only the hills.
- Using scissors, or a rectangle shape die, cut out a rectangle of 4.25 inches by 5.5 inches from white card stock.
- Using the Frantic Stamper Victorian Sleigh die, cut out once in black.
- Stamp Background
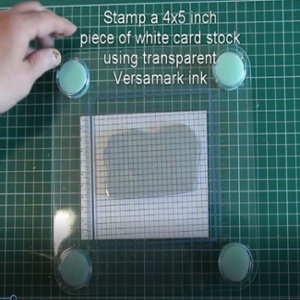
Using your Versamark transparent ink pad and your Frog's Whiskers Ice Skating stamp, stamp the rectangle you cut from white card stock. The stamp should not be centred, instead orient your stamp near the top right-hand corner, about 1/2 inch from the top and 1/4 from the right edges. - Once you have stamped your cardstock with the Versamark transparent ink, pour your embossing powder on top to cover the inked image. Shake off the excess embossing powder. Be sure there are no excess flecks of embossing powder on the card stock.
- Heat up your heat tool for about a minute before use then, holding the heat tool about 6 inches away from your paper, apply heat to your embossing powder. Be sure to move your heat tool continuously as you heat the powder. You will notice the change in texture as the embossing powder melts and becomes smooth and lustrous. This will take about 45 seconds.
- Assemble card
Once your stamped card stock has cooled, use glue or double-sided tape to adhere it to the back of the box card die cut. You can fold both the front and back piece along the perforated lines and put them together to help visualize proper placement, but don't glue the front and back together yet. - Using glue or tape, adhere your Tiny's Horizon Pinetrees die cut to one of the strips you cut from the Box Card die set. Pay attention to the height of the hills - you want your horizon die to sit high enough on the strip that your hills will be visible just below your stamp once the card has been assembled.
- Using glue, attach Glitter Jewels to the hill to create a shimmering snow effect. Also, add Glitter Jewels to your remaining Tiny's Pinetrees die cut. Use scissors to remove the two smallest trees if you wish and attach this piece to your hill.
- Bend the strip backwards (away from the front of the trees) along the perforated sides. Attach the strip to the sides of the back piece of your box card. The strip should be even with the bottom and will protrude about 1/2 an inch.
- Using glue or tape, adhere the second Tiny's Horizon Pinetrees die cut to the second strip from the Box Card die set. If you haven't already done so, trim off the trees with scissors so you are left with a hill. Be careful to adhere this hill in a lower position on the strip than the first, you want the hill to be visible behind the front "window", but you do not want to block the background hills.
- Using glue, attach Glitter Jewels to the top of the hills to create a snow effect.
- Bend the strip backwards along the perforated sides and adhere the strip to the sides of the back piece of your box card in front of your tree-filled horizon.
- Now it is time to prepare the front of the card. Take you front piece (the one with the window) and using foam tabs, adhere the branches on the back of the window in the top left corner. You will need to trim the branches a bit with scissors so they don't protrude too far. You don't want them to extend more than halfway across in either direction.
- Using glue, attach the large Sue Wilson Winter Tree die to the front of the card on the right hand side. The tree will overlap the window a bit.
- Use glue to adhere the Frantic Stamper Victorian Sleigh die cut to the front of the card. The back of the sleigh will line up with the left hand side of the frame.
- Bend the front piece of the card back along the perforated edges (away from the front of the card). These sides will match up perfectly with the back side of your box card. Use glue or tape to adhere the sides.
- Using your glue, dab a bit around the front of the frame, on the branches and on the tree and adhere Glitter Jewels to add snow to the front of your card.
Note: to ensure the card will fit in a 5 x 7 envelope it is best to use an A4 piece of card stock and line the die up width-wise in the centre of the page. The die will overhang on both sides, trimming off about an inch on each side resulting in a shallower card.
Tip: Your box card should be able to fold flat to fit easily inside an envelope.
Want to save these instructions for later?
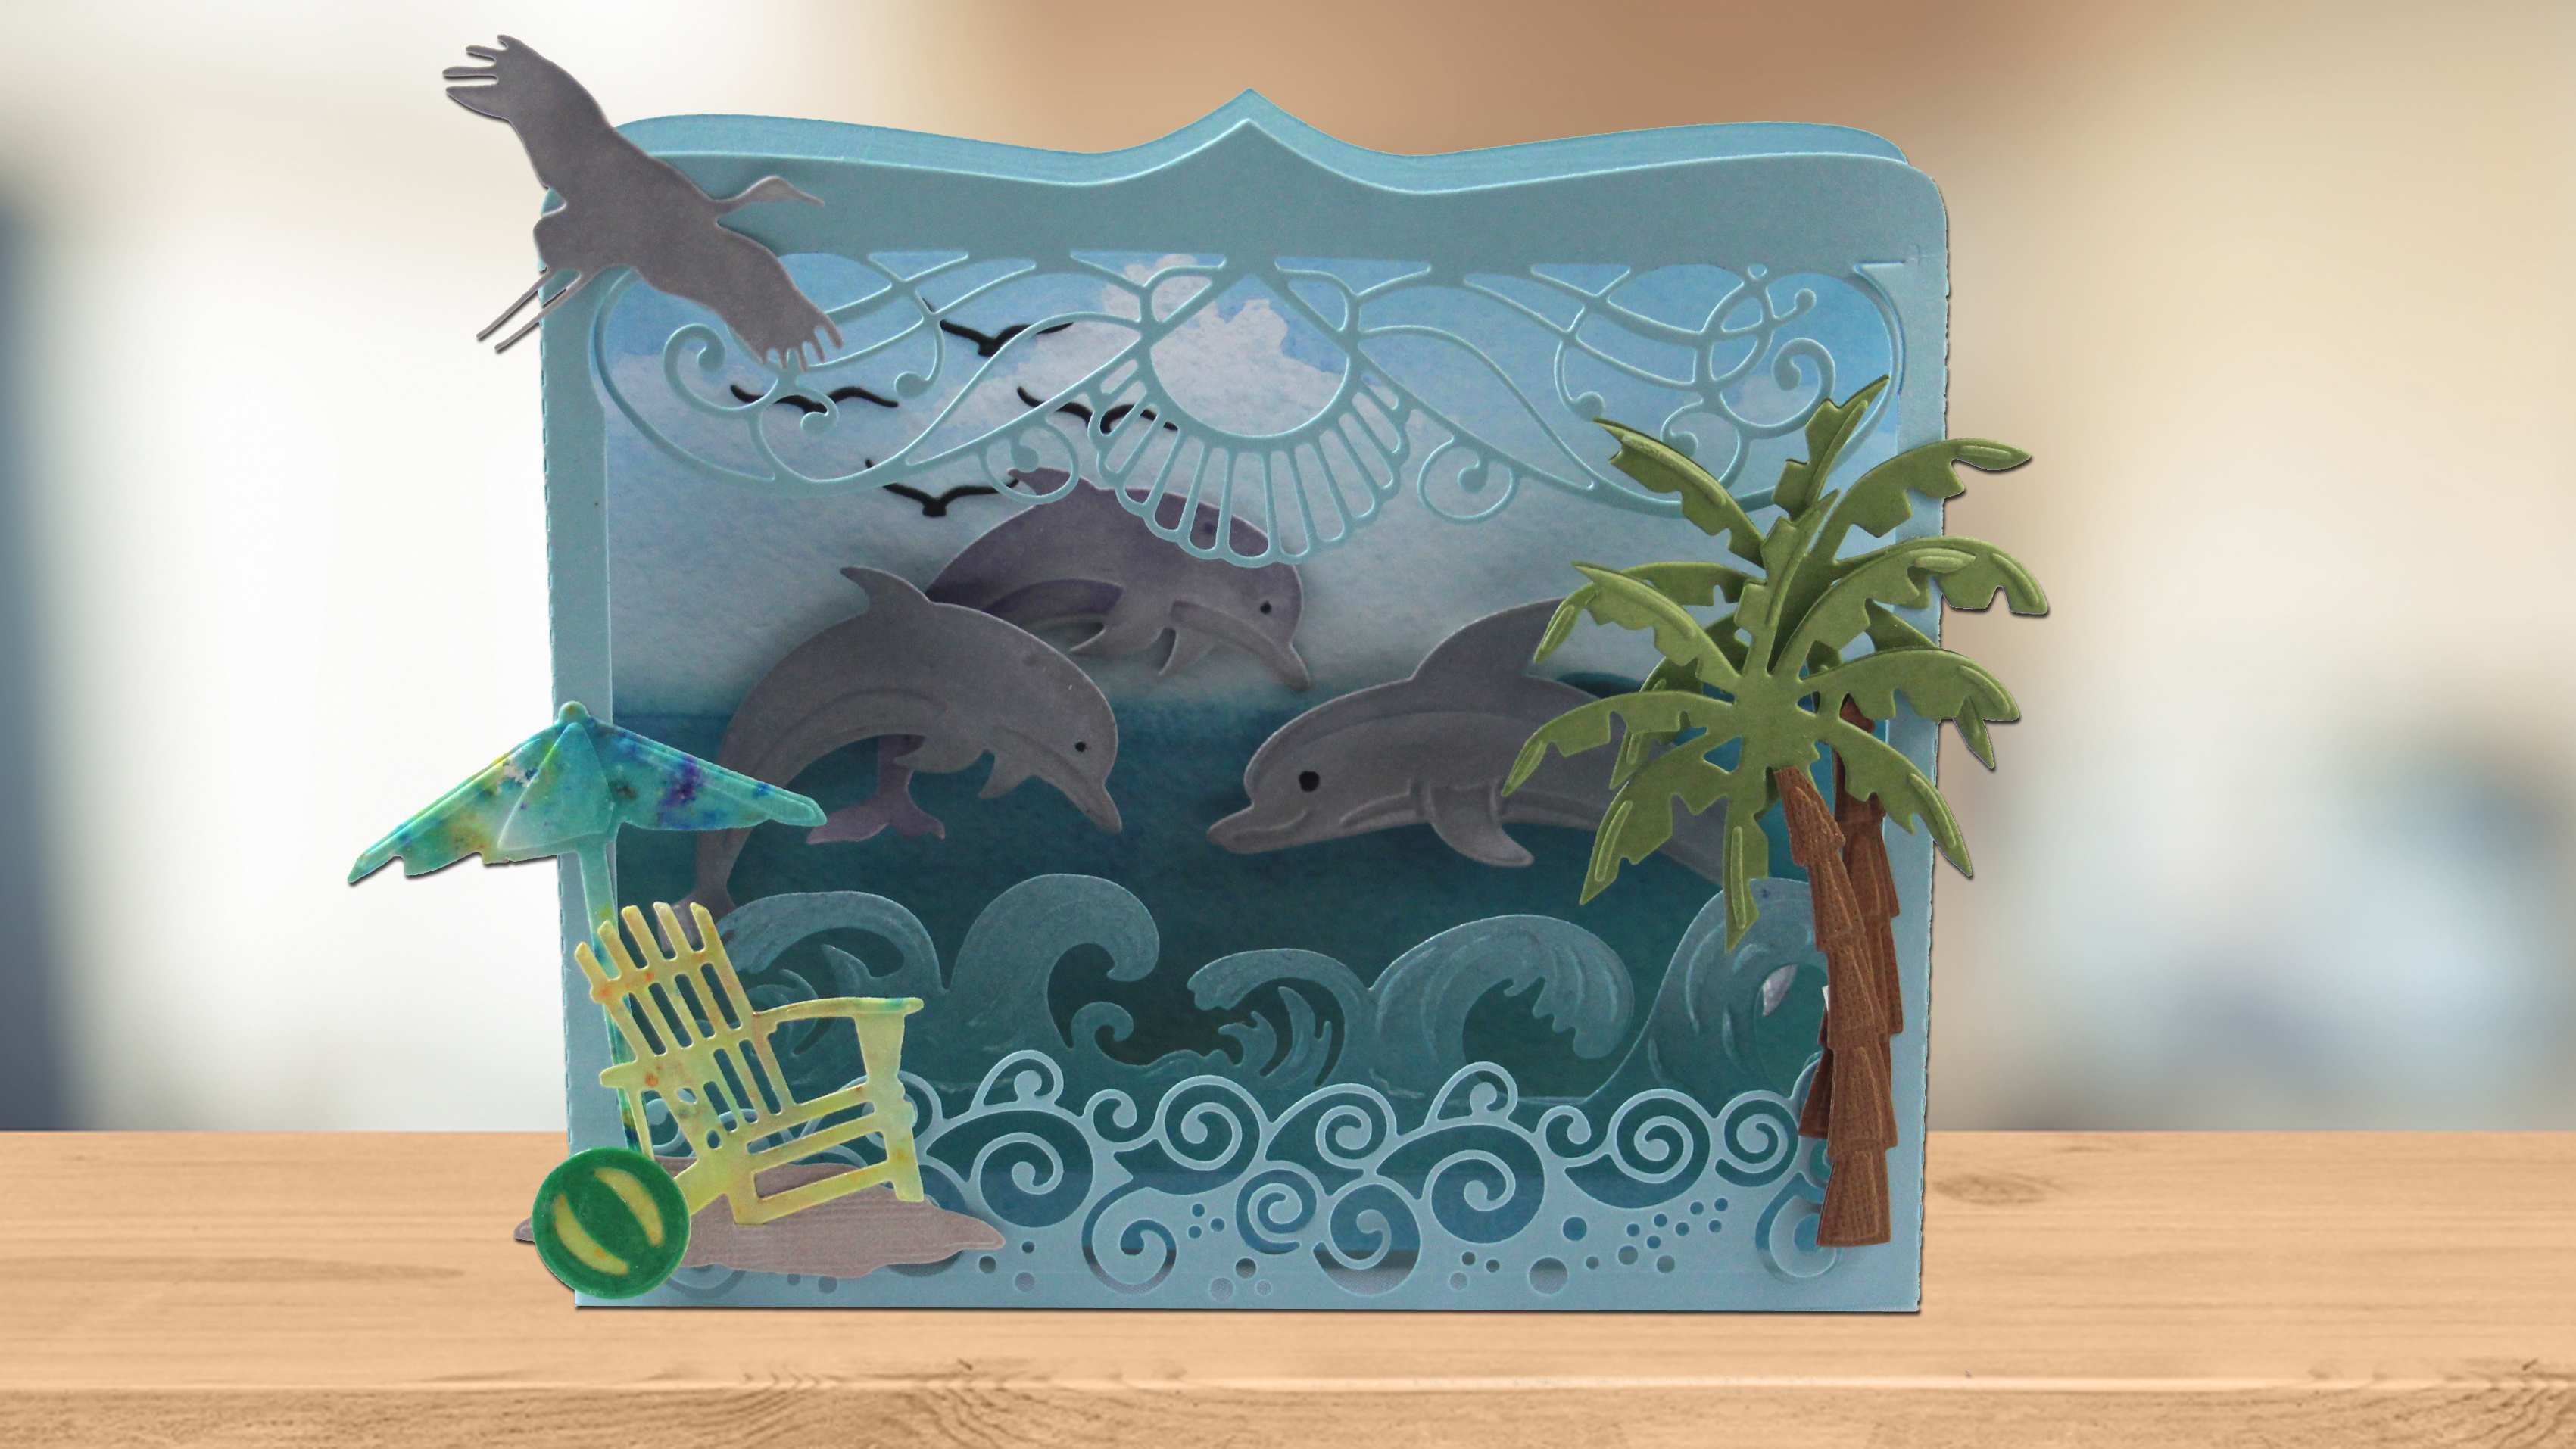
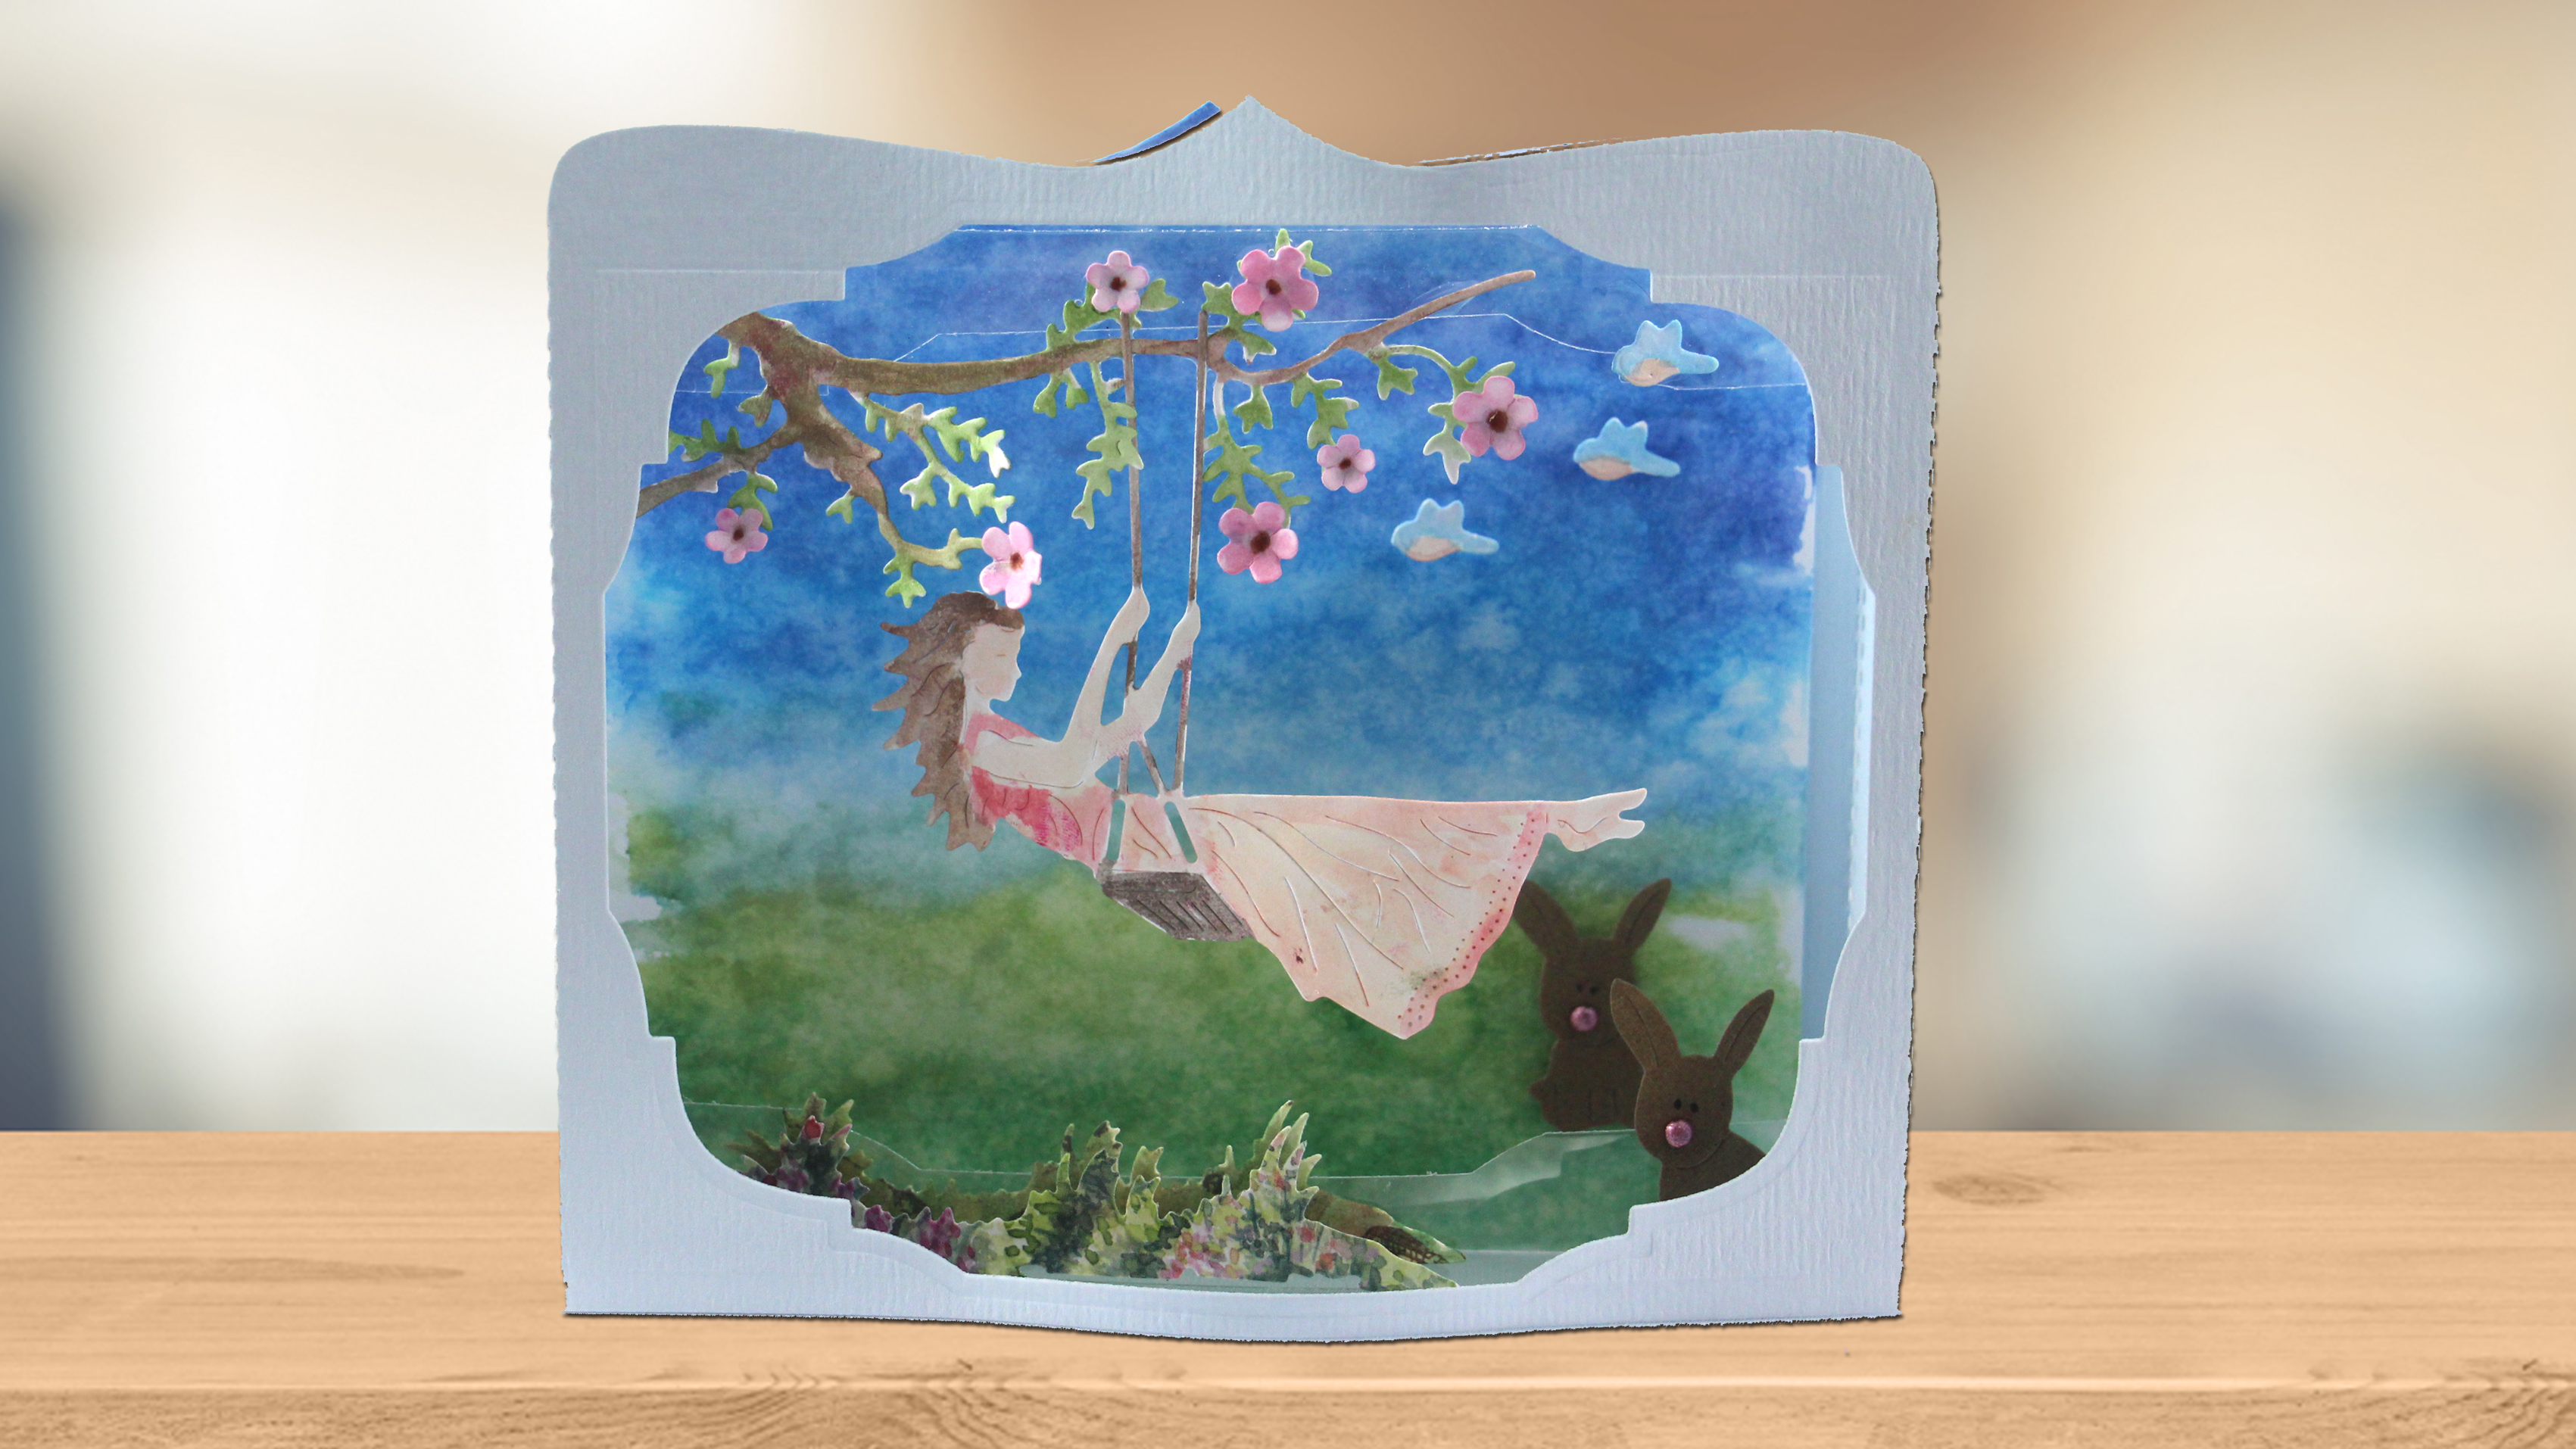
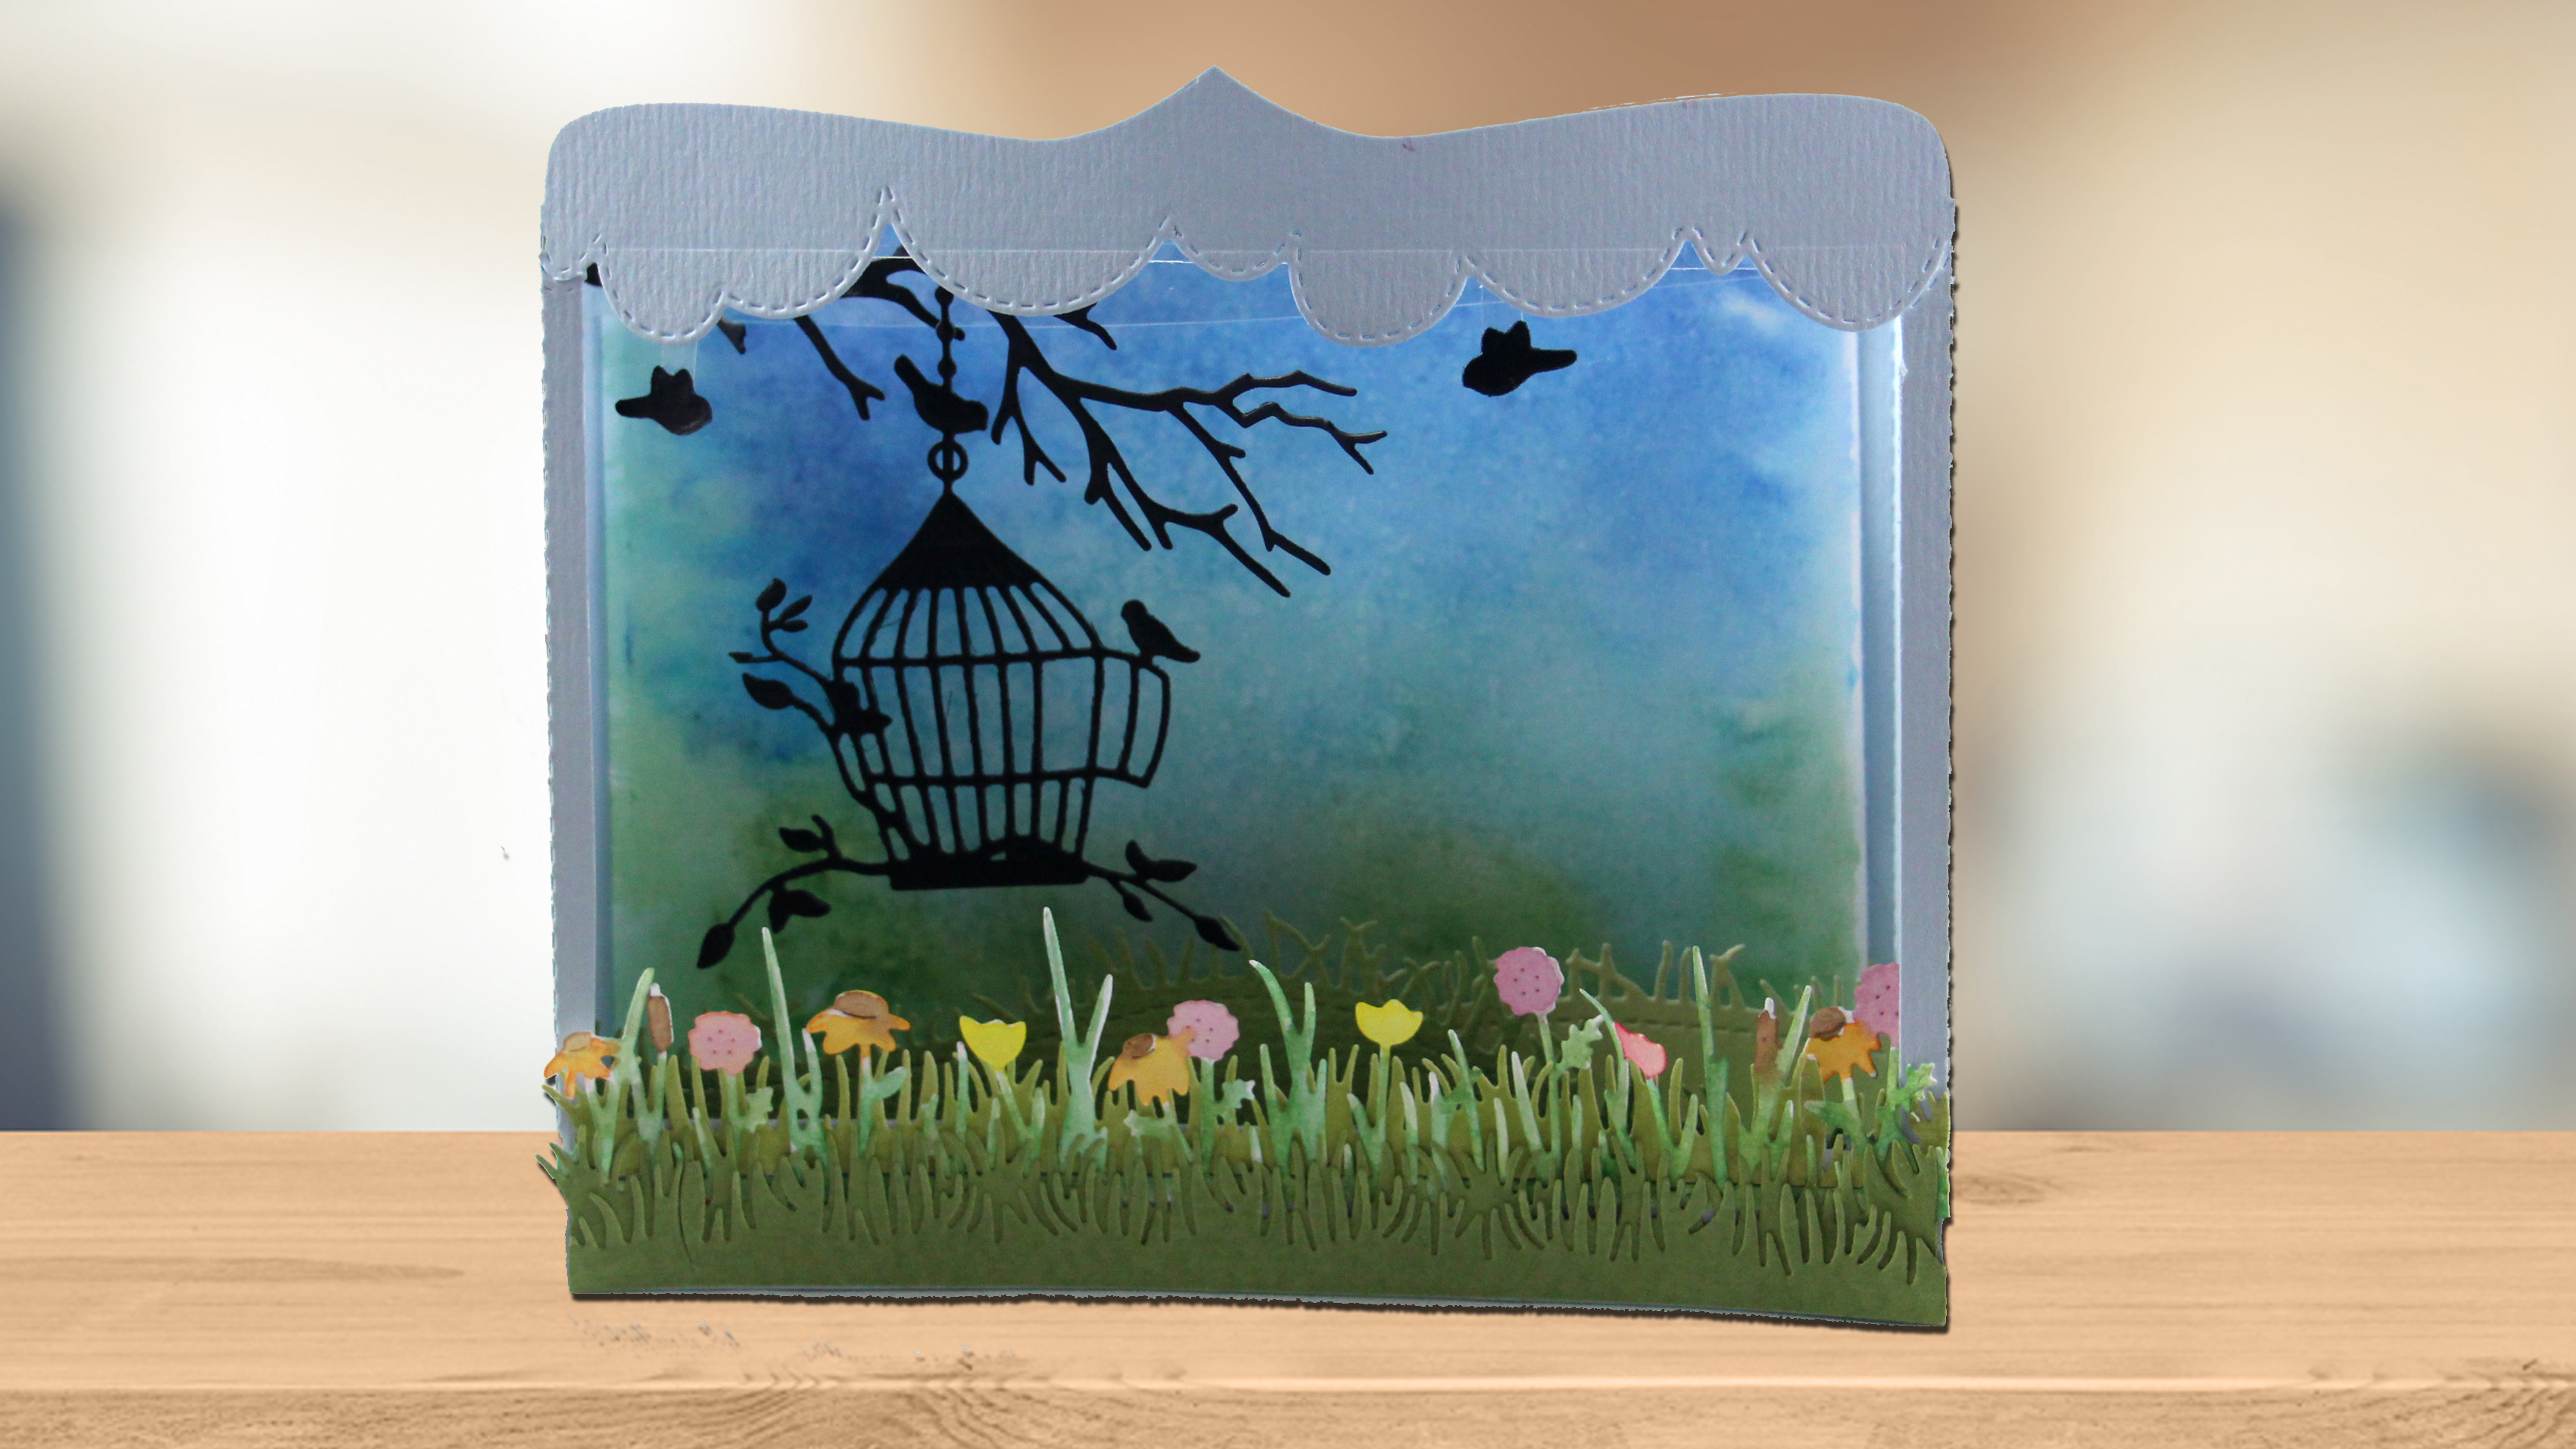
More Box Card Inspiration
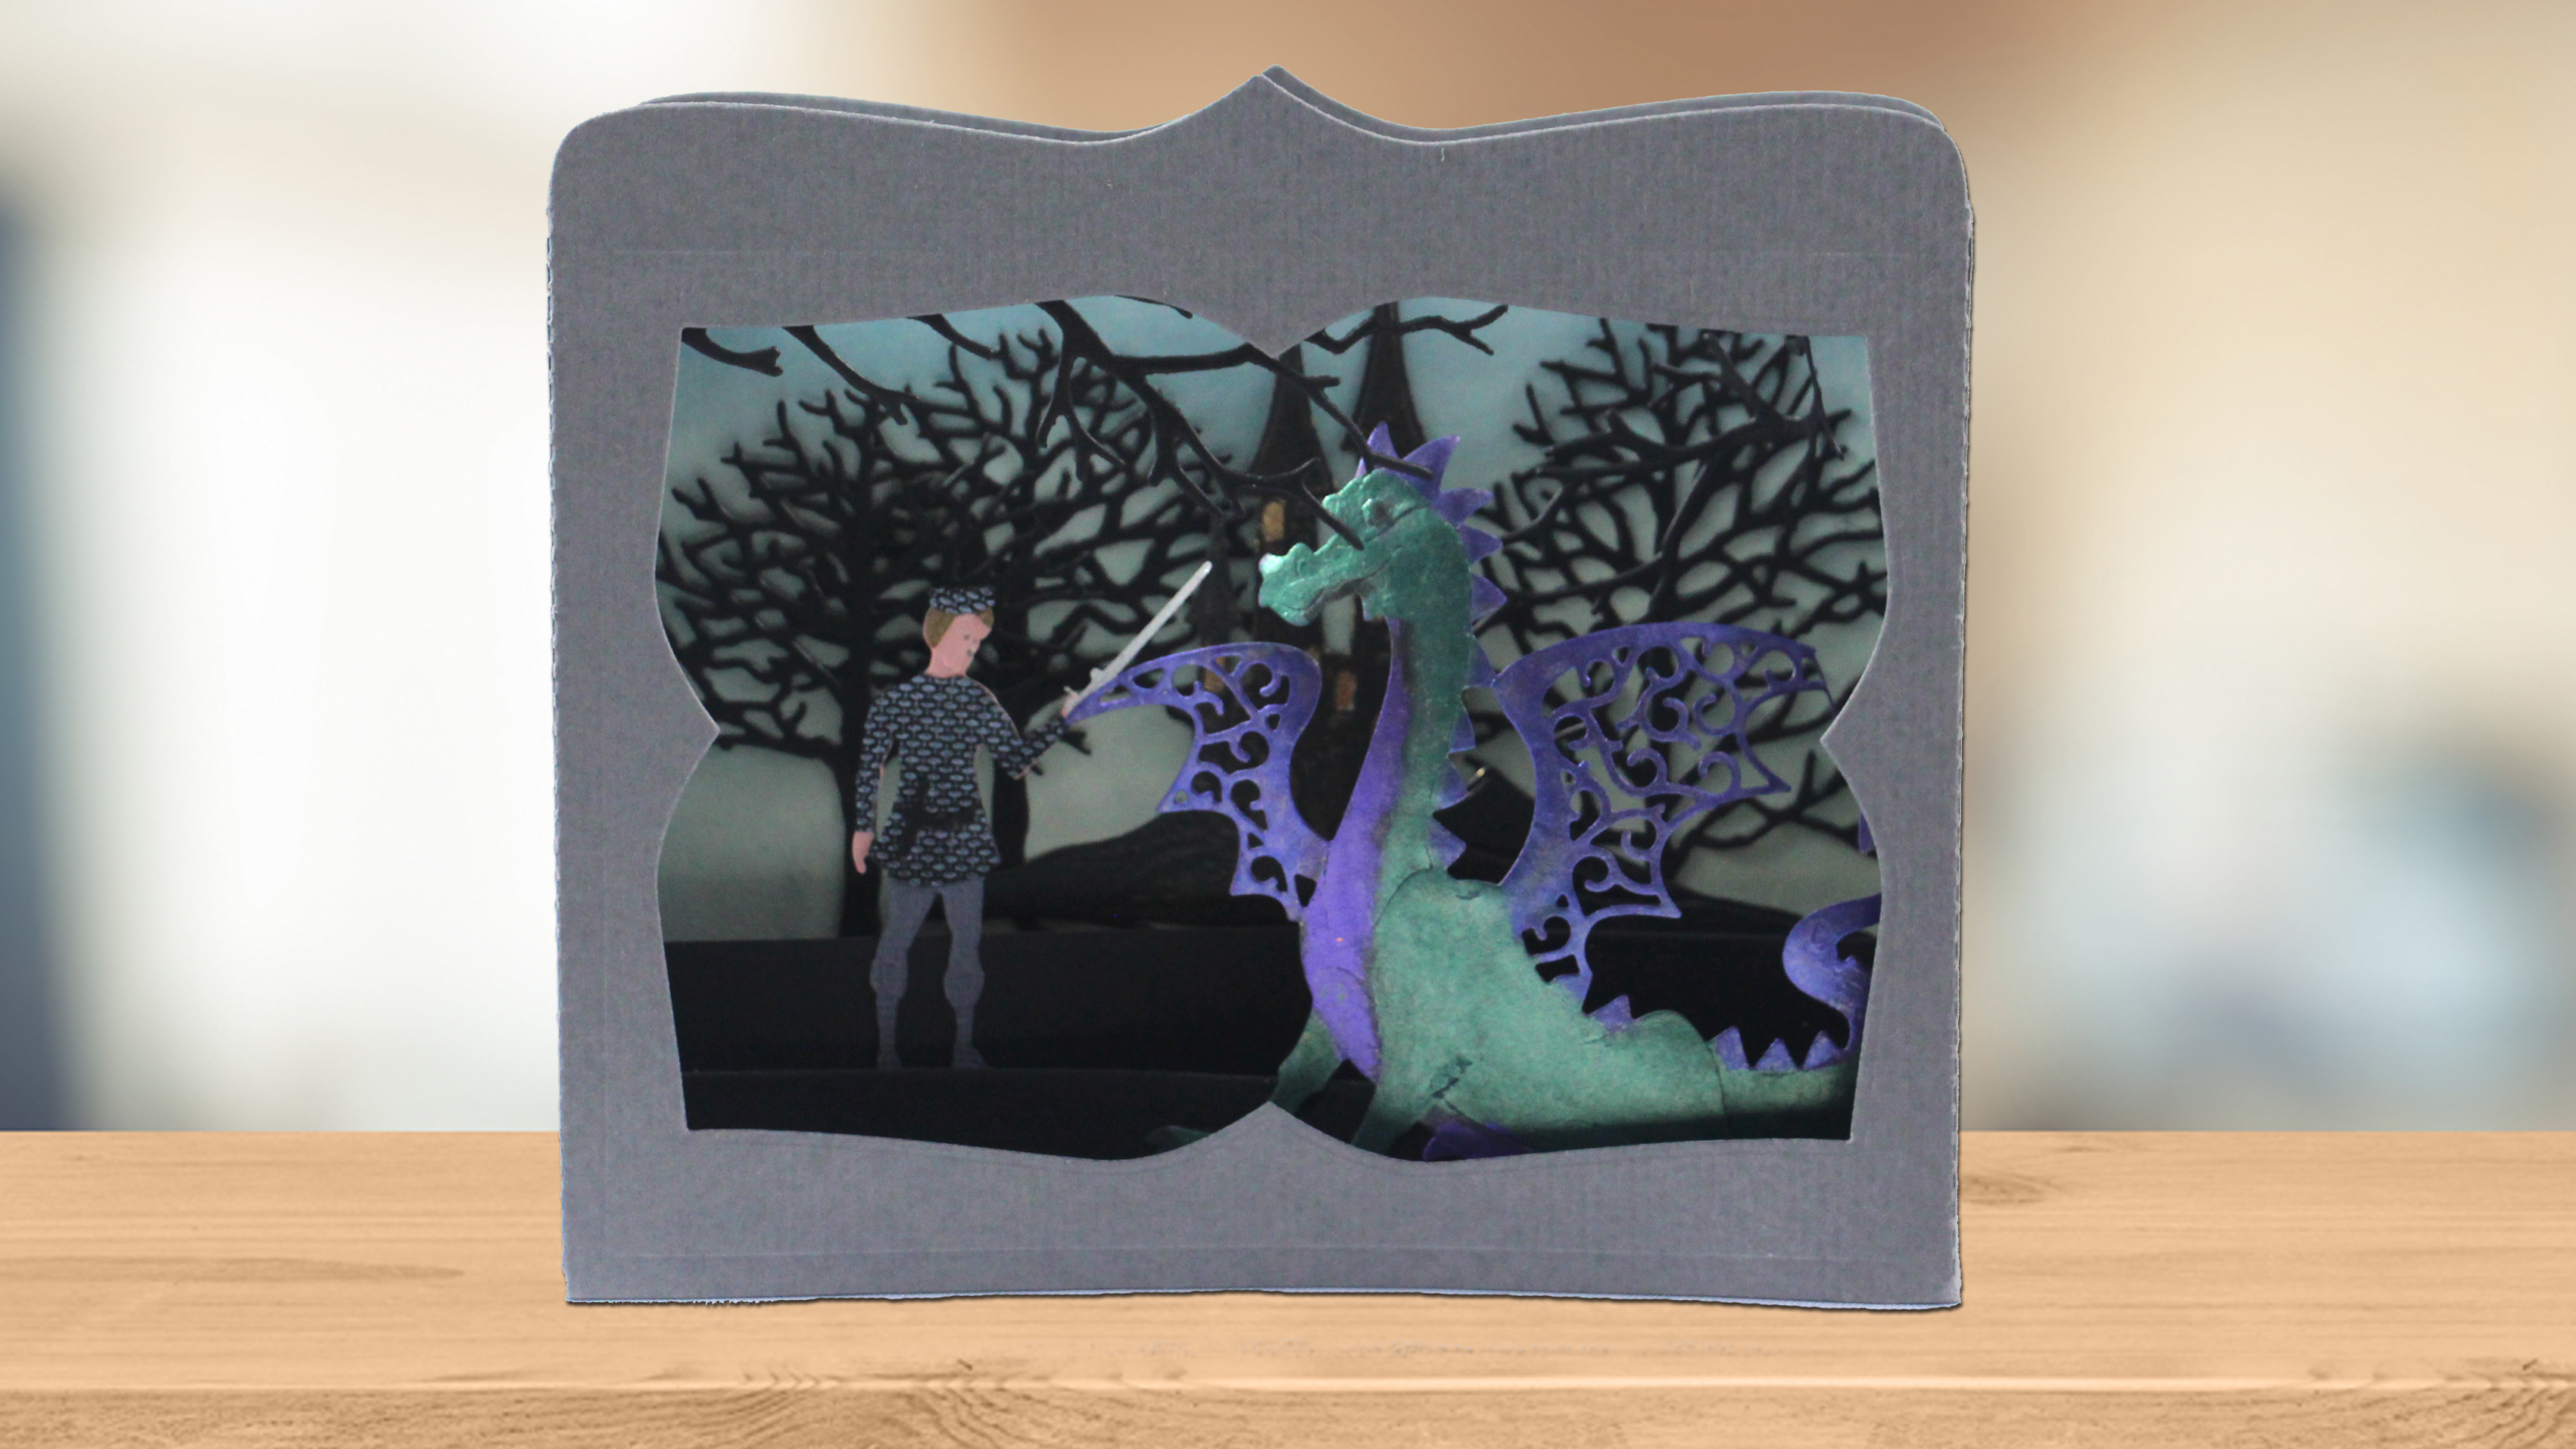
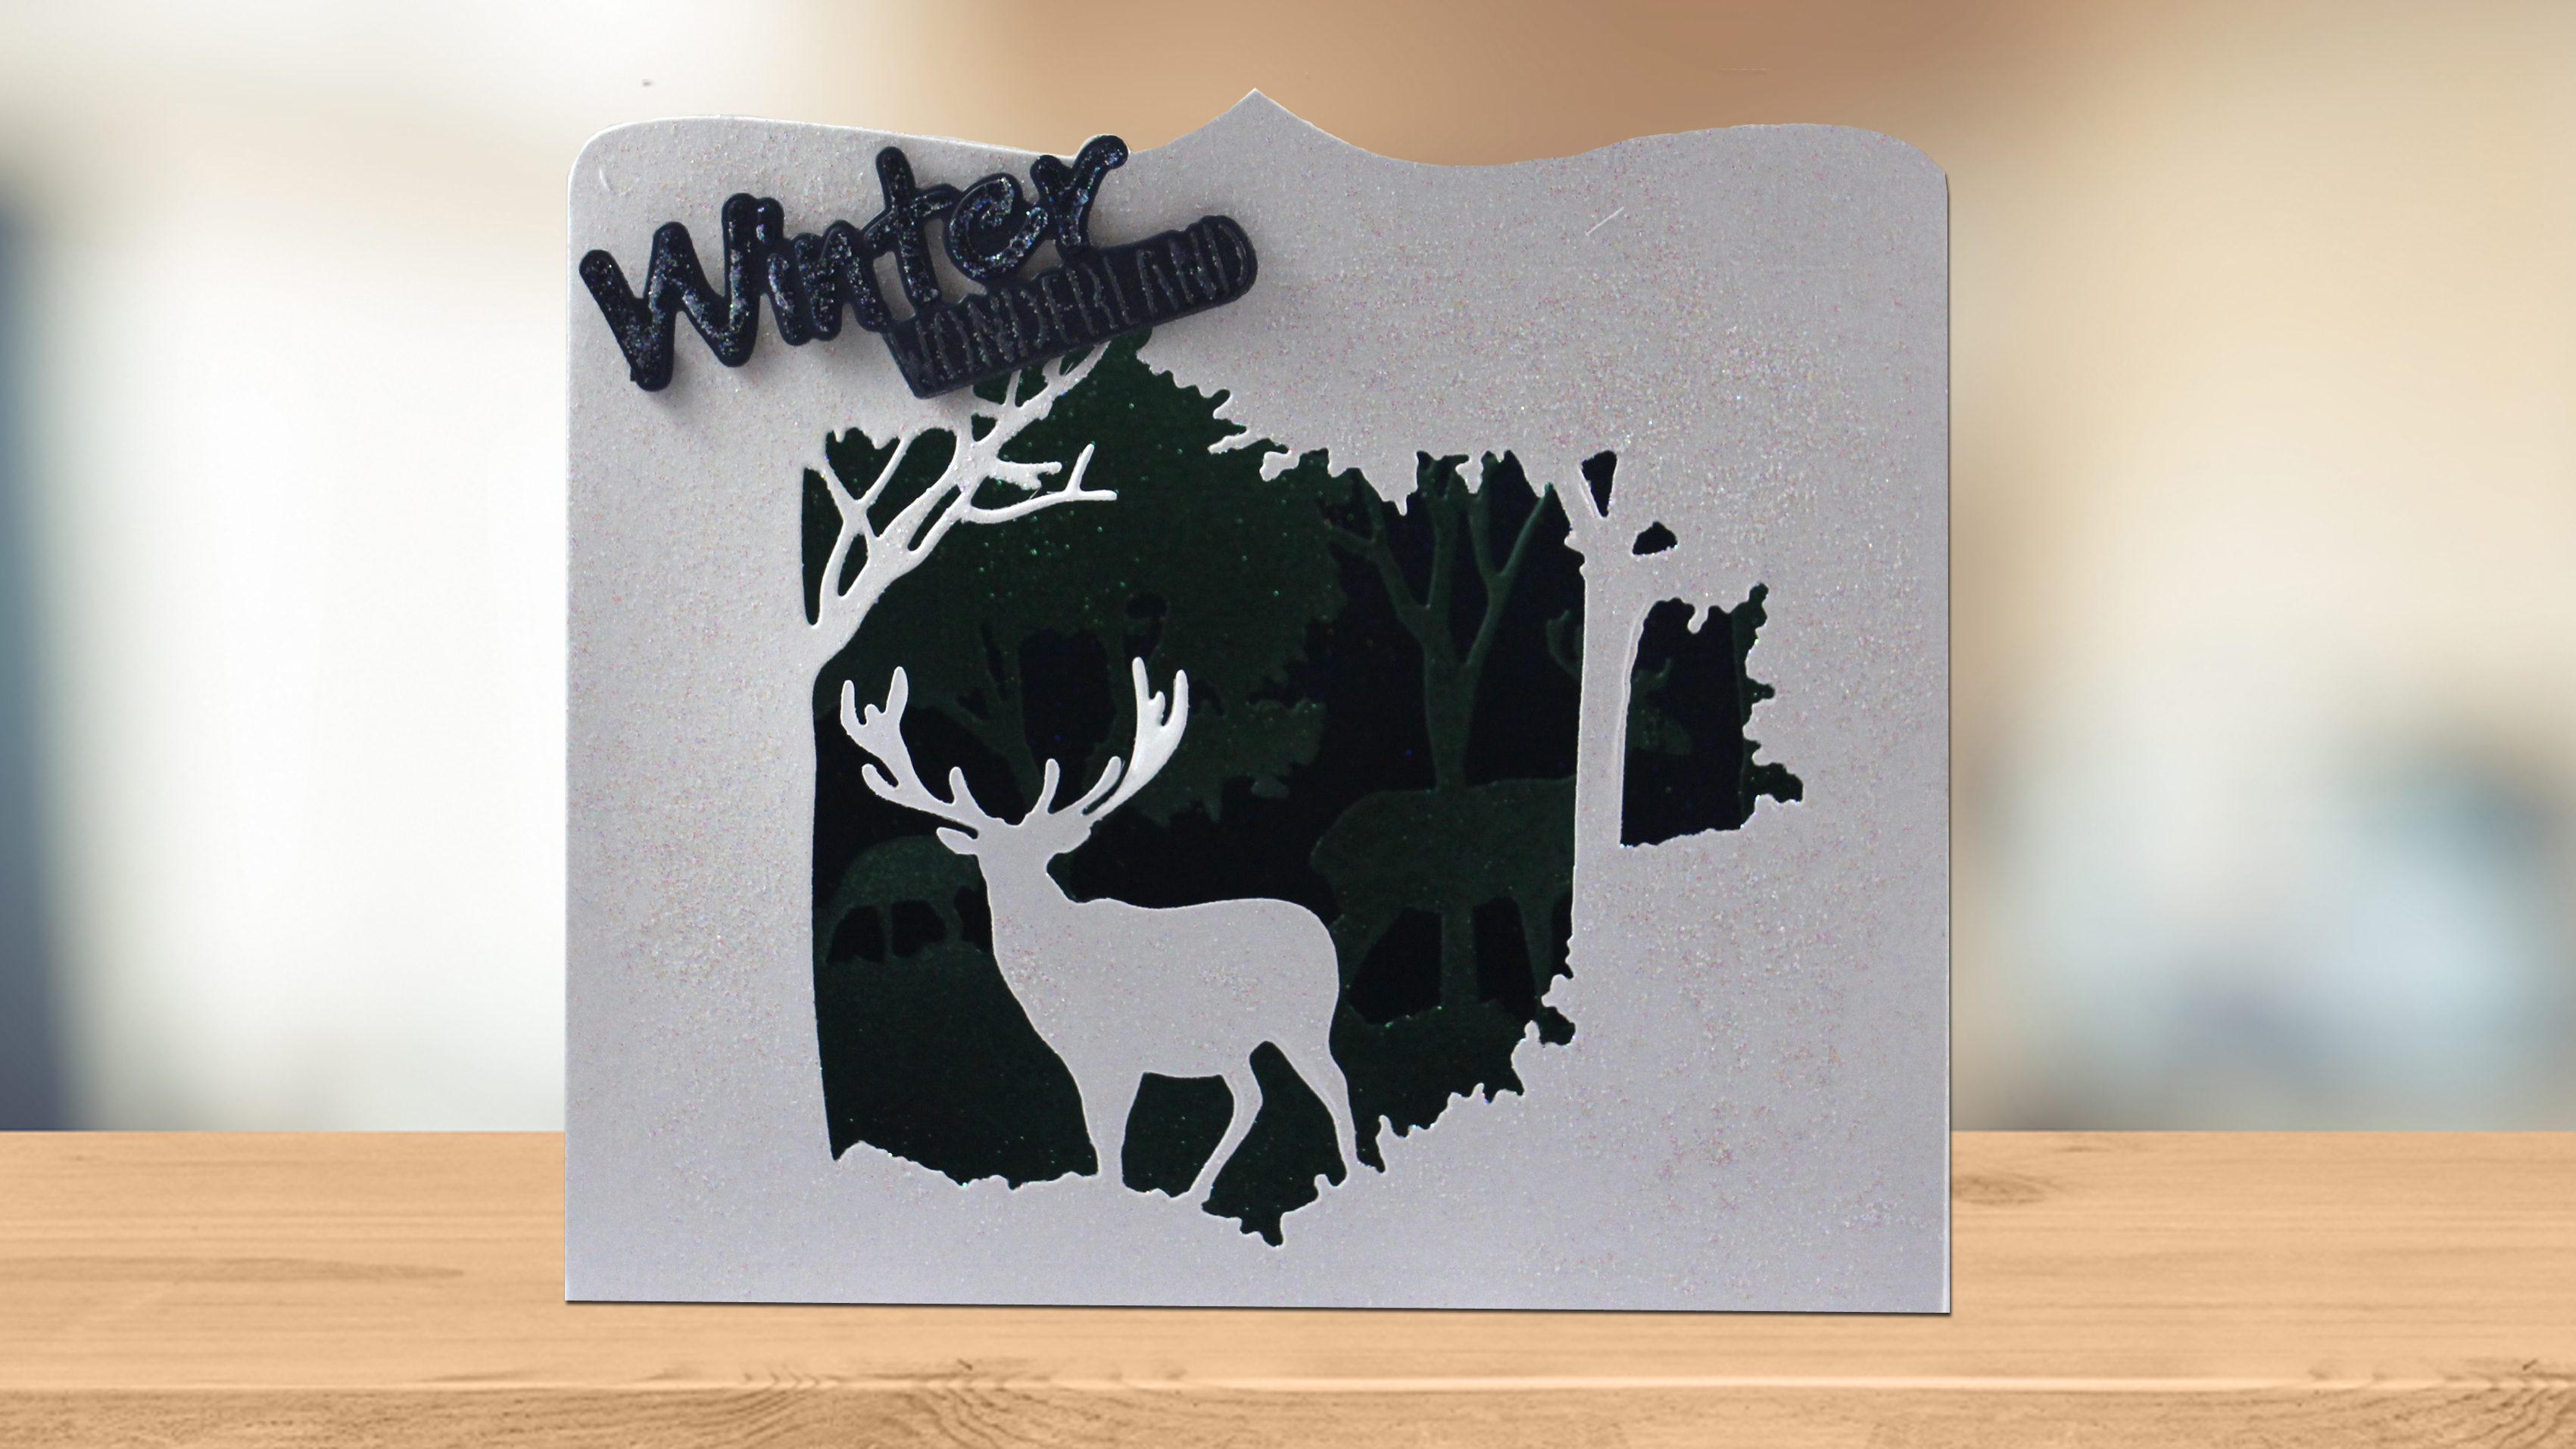
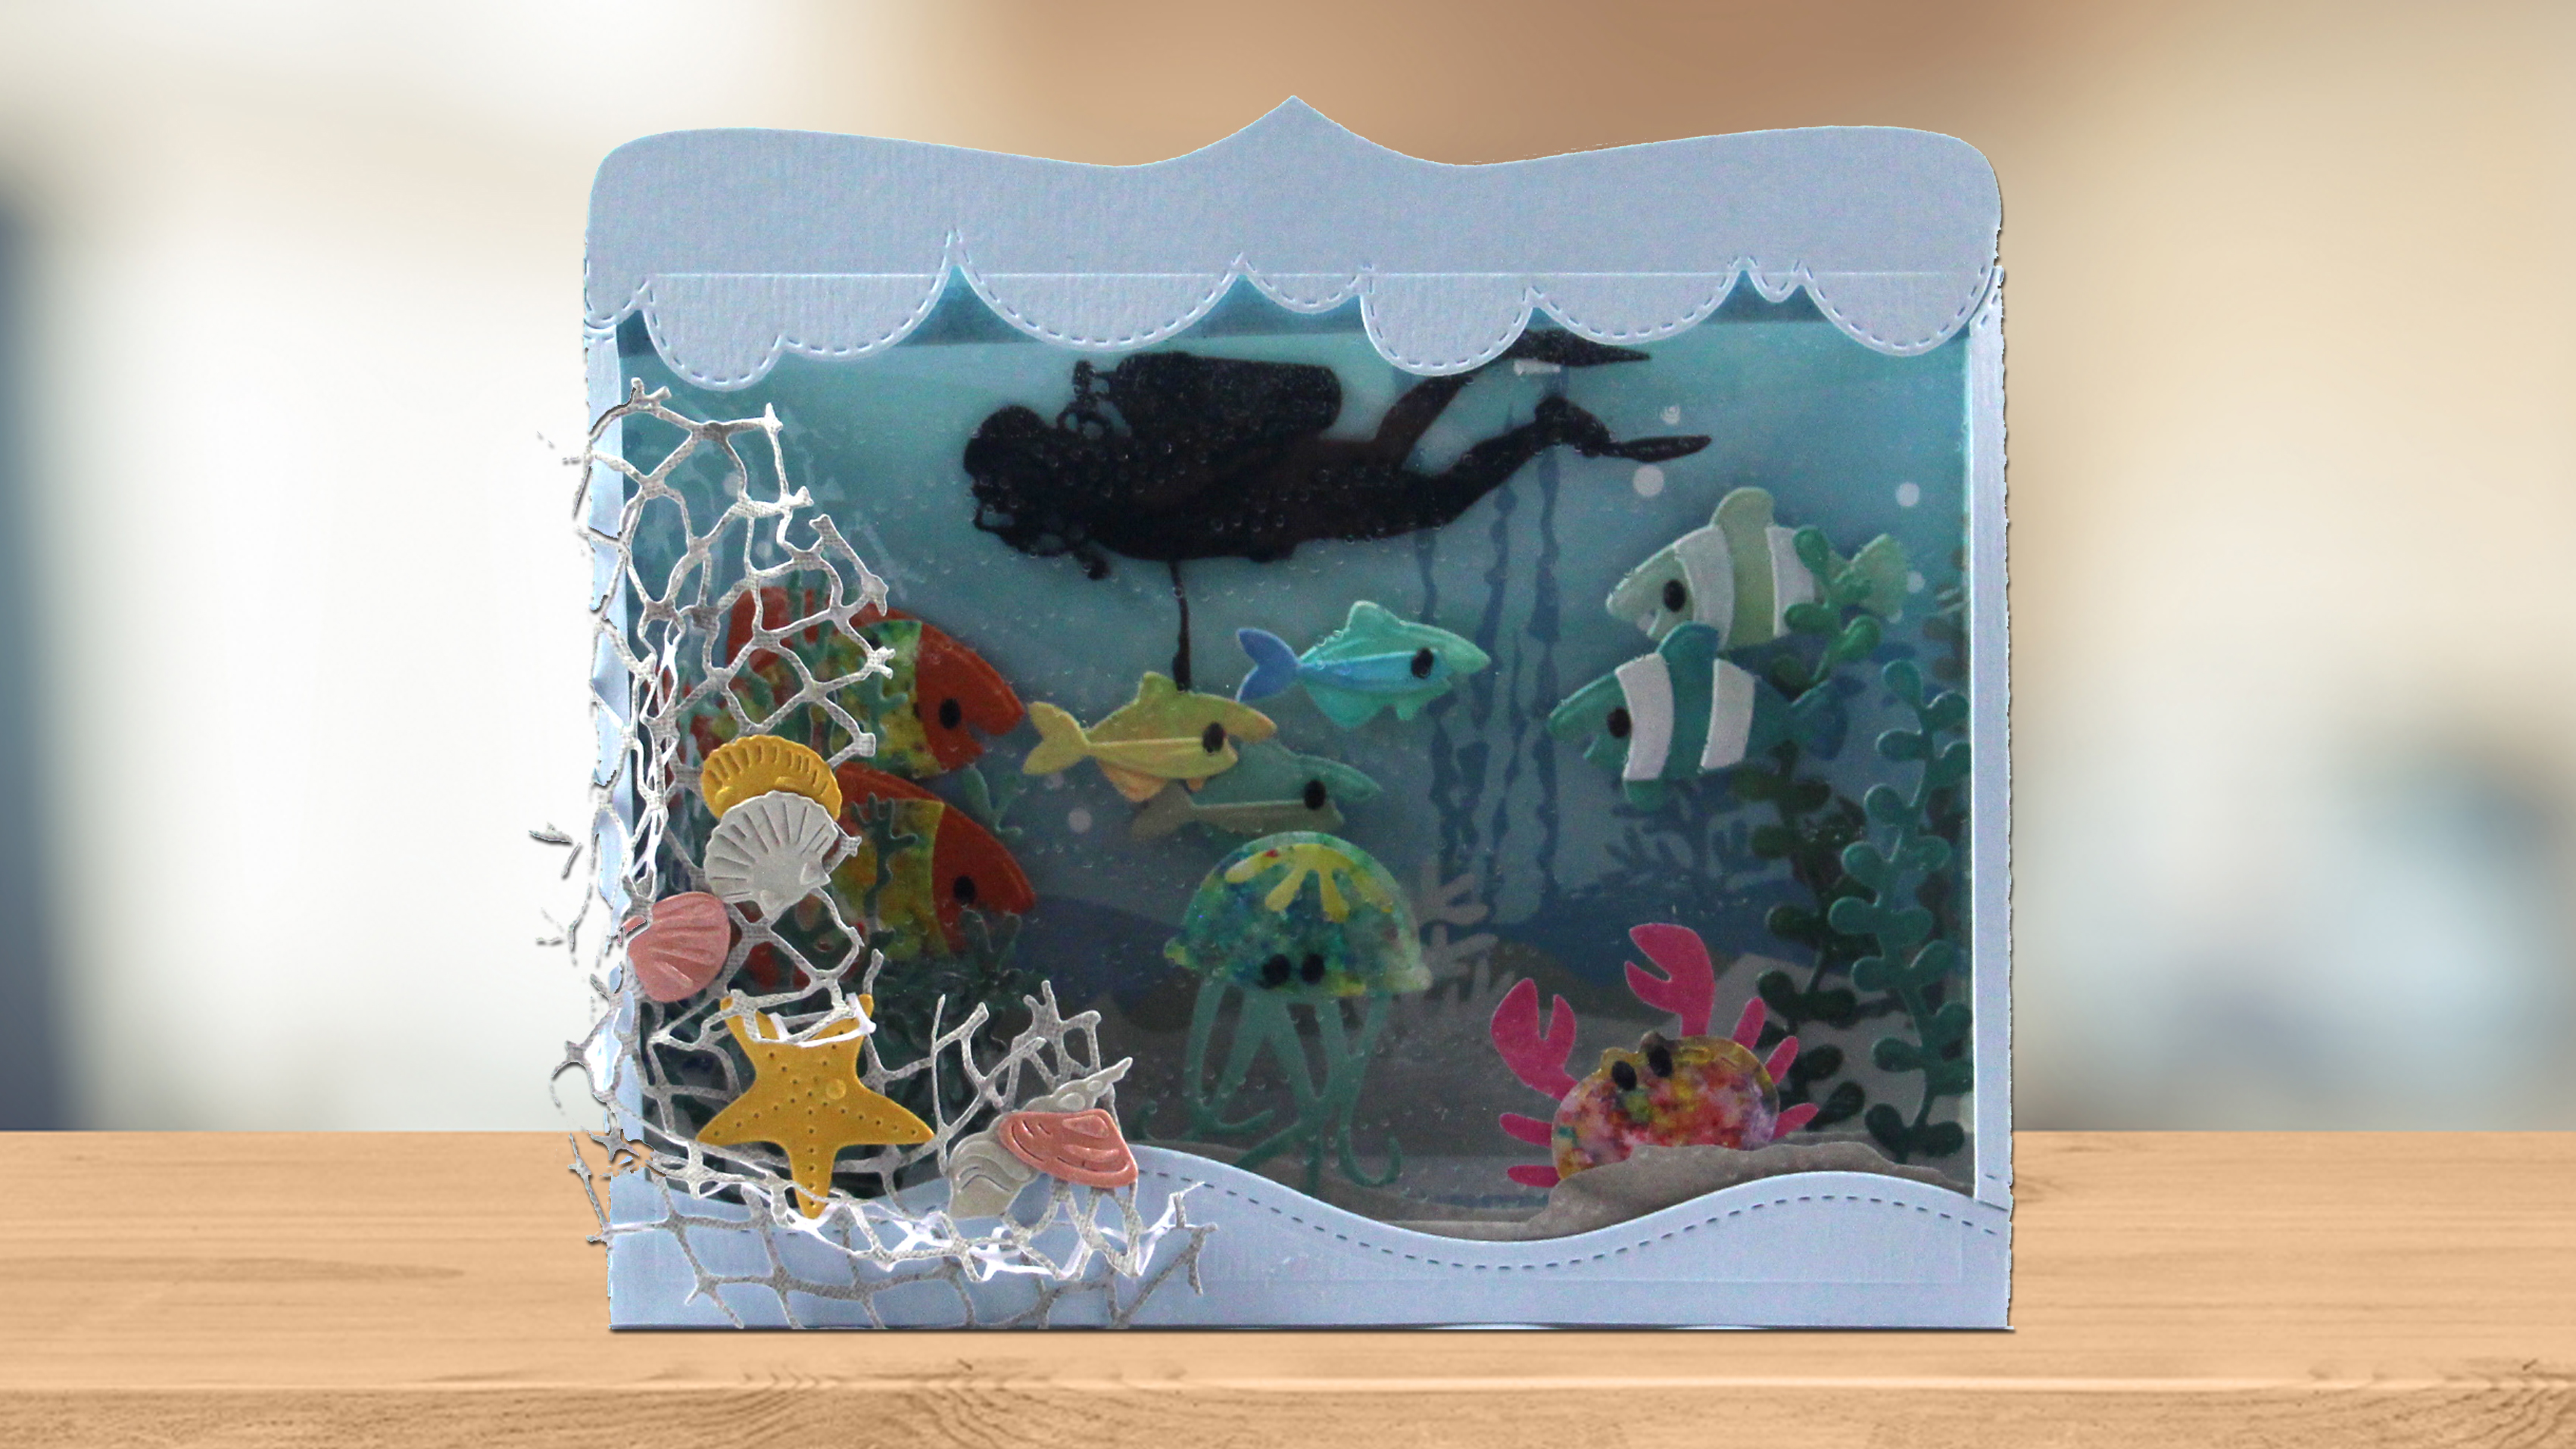
If you liked the Winter Romance Box Card project, you may be interested in some of our other great ideas using this versatile die. Click on the images below for links to our inspiration gallery. Also, don't forget to pick up your own Marianne Box Card Die.
