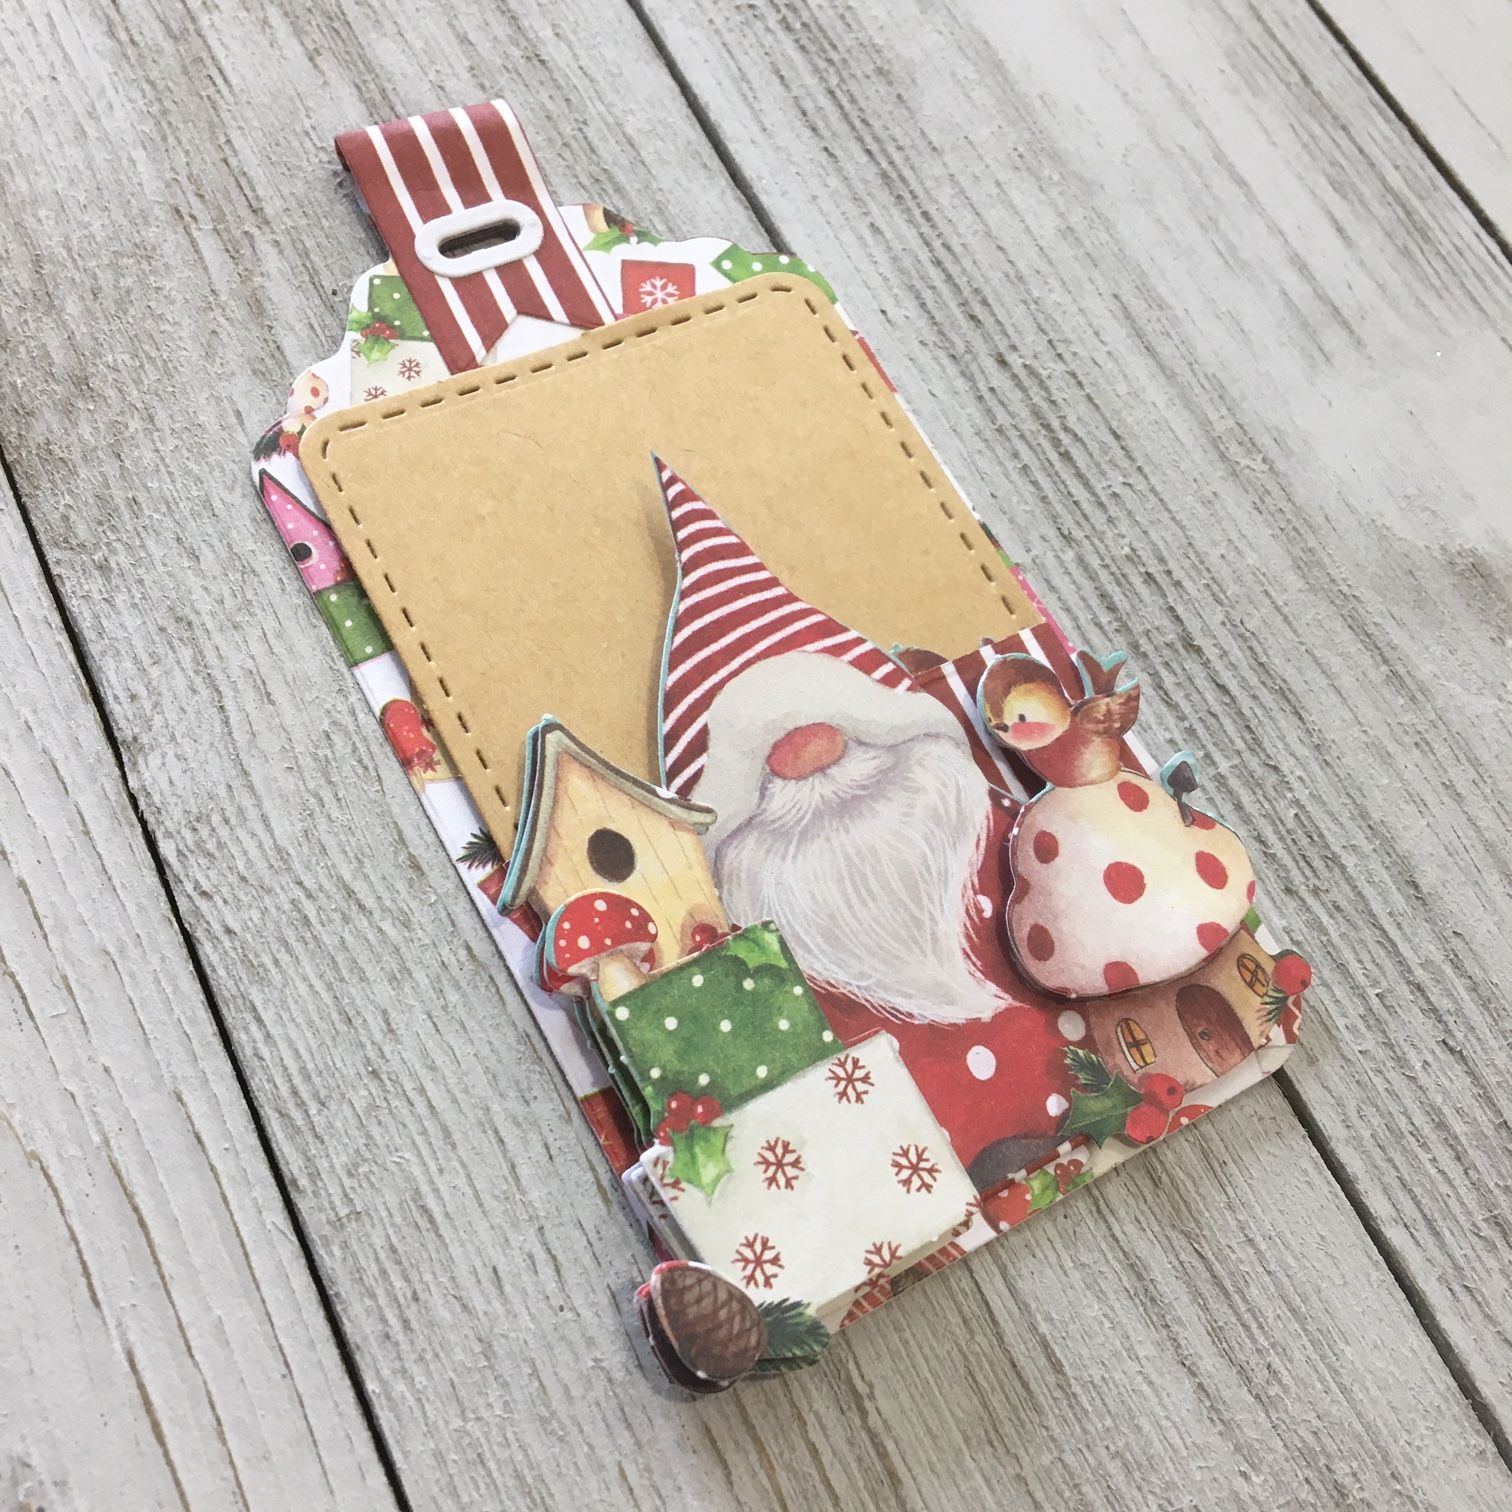
Virtual Open House - Snome Time Tag
The Snome Time Toppers take this tag making die set to the next level!
The cute little Snome Time Toppers take this tag-making die set to the next level!
Follow along with the video as we assemble the Christmas Virtual Open House Kit. or you can skip to the instructions at the bottom of this post to create the card from scratch!
Assembly of Virtual Open House Kit
If you purchased a Virtual Open House Kit, follow along with these instruction to assemble your card.
- With double sided tape, attach the top tag die cutout to the back of the tag base.
- With double sided tape, attach one end of the ribbon die cutout to the front of the tag. Line up the holes. Wrap the ribbon die cut around to the back and line up the holes on the back of the tag and attach with double sided tape.
- Use glue to attach the ribbon re-enforcers to the ribbon die cut.
- Fold the front pocket die cutout around the Kraft Paper insert to ensure the sizing is correct. Attach the pocket to the front of the tag using double sided tape.
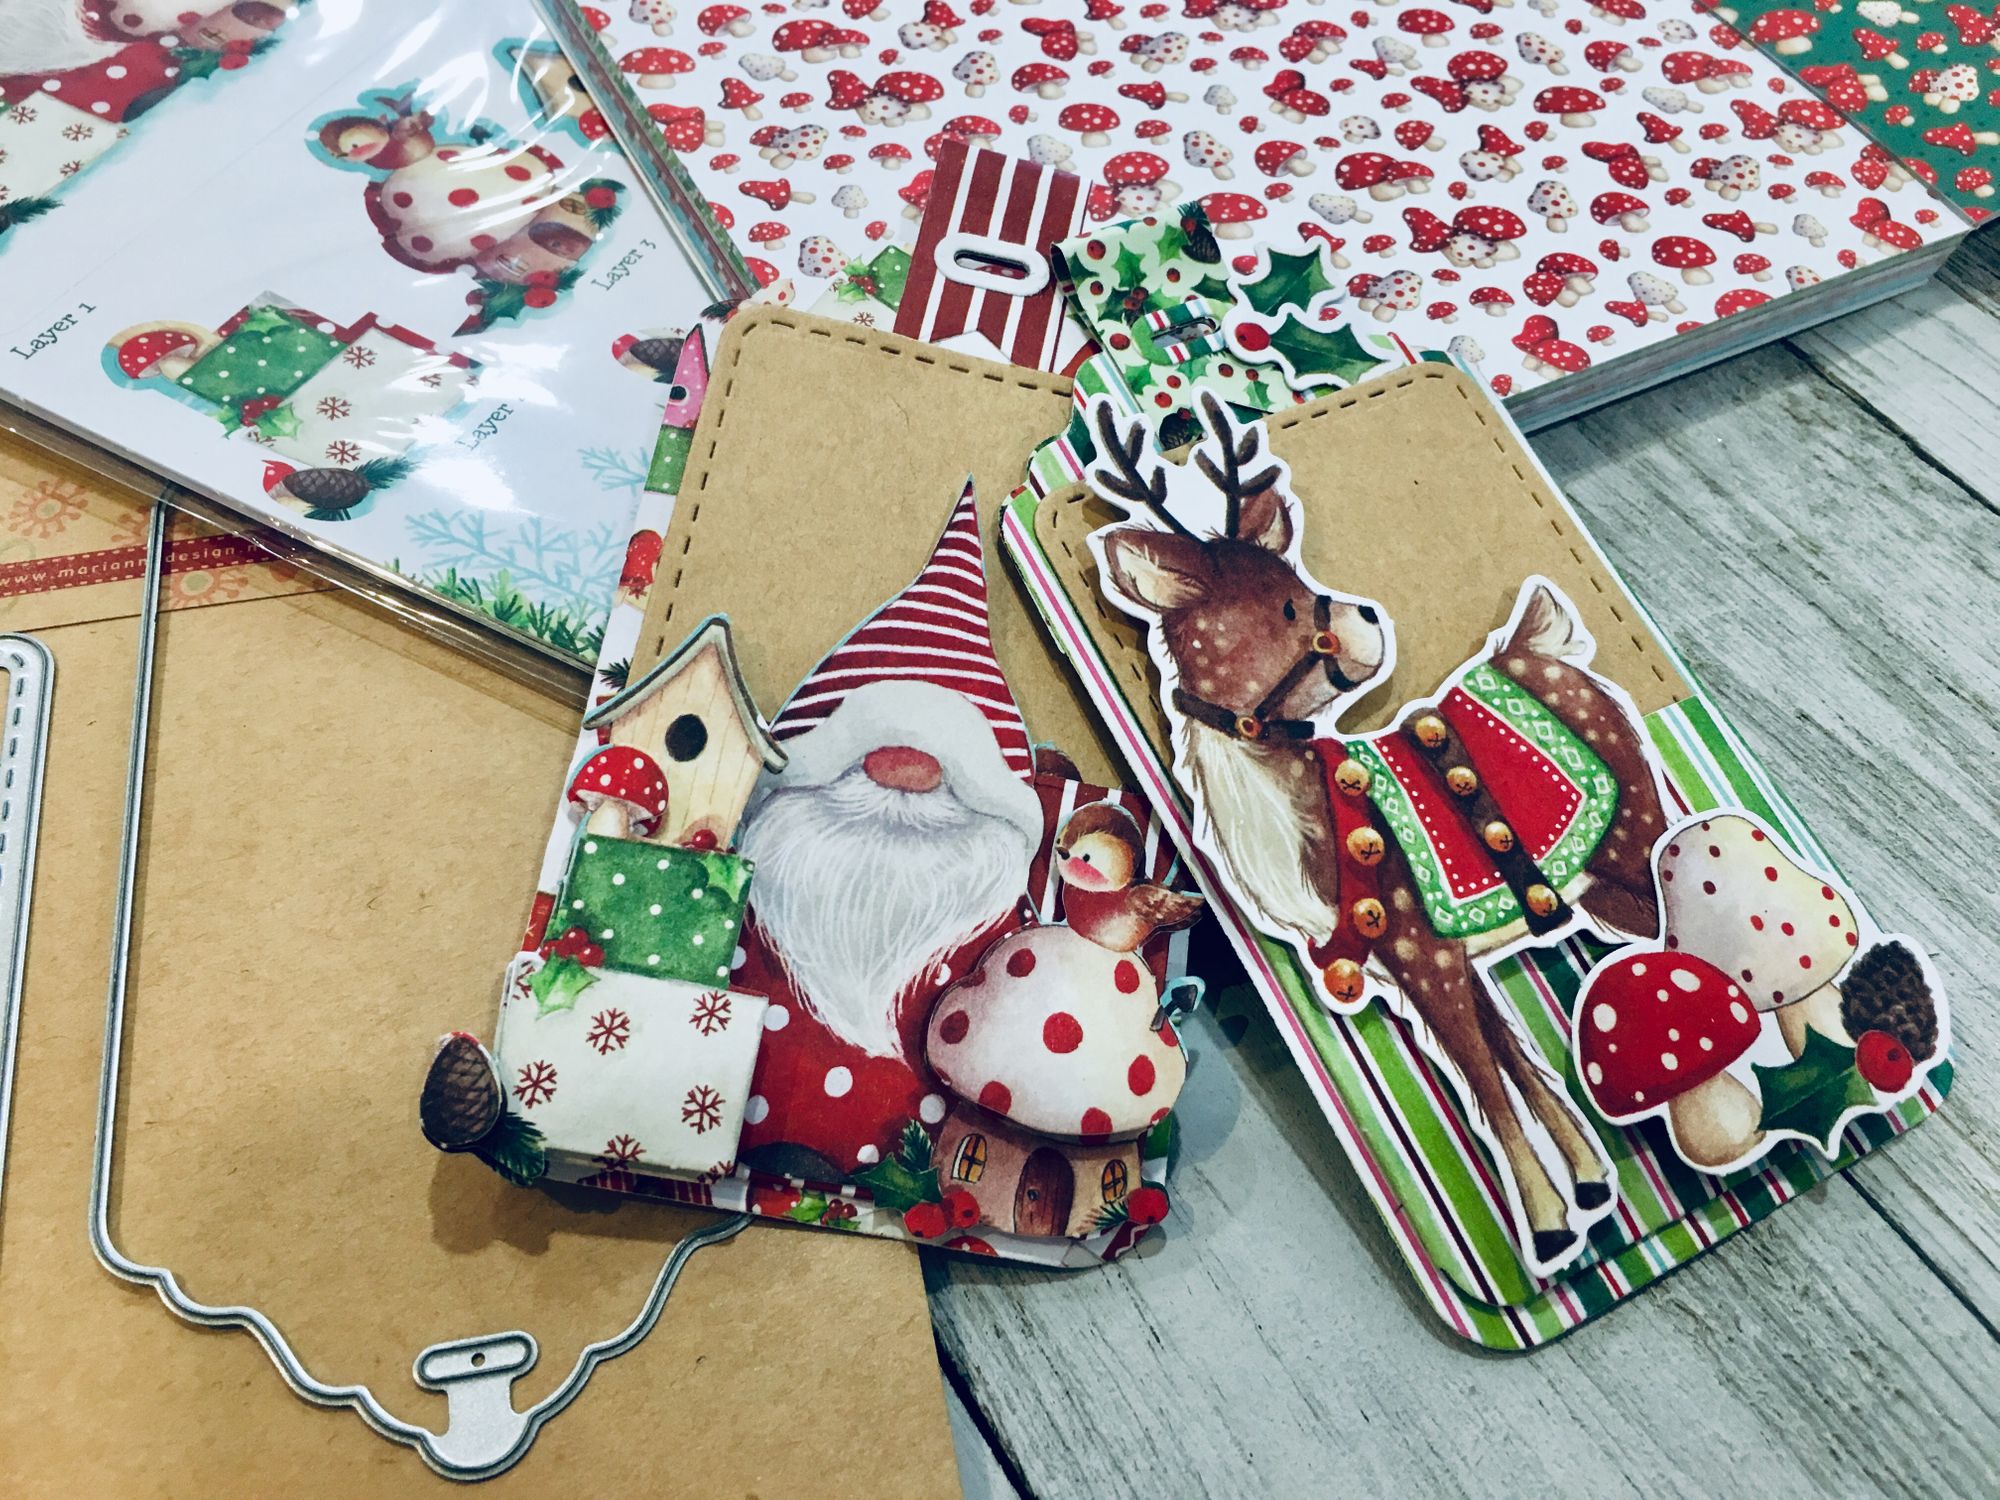
- Using foam pads, decorate the front pocket of the tag with a sheet of It’s Snome Time Toppers.
- Add an It’s Snome Time Topper to your Kraft Paper insert by placing the Topper on the Sticky Specks sheet, then onto the rectangle insert.
Your tag is complete!
From Scratch
To make this card from scratch, follow along with these instructions:
- Using Studio Light Die Cut on a sheet of It’s Snome Time 6x6 paper, cut out all pieces except the floral embossing die and the rectangle insert die.
- Cut the rectangle insert die out of the Kraft Paper.
- With double sided tape, attach the top tag die cutout to the back of the tag base.
- With double sided tape, attach one end of the ribbon die cutout to the front of the tag. Line up the holes. Wrap the ribbon die cut around to the back and line up the holes on the back of the tag and attach with double sided tape.
- Use glue to attach the ribbon re-enforcers to the ribbon die cut.
- Fold the front pocket die cutout around the Kraft Paper insert to ensure the sizing is correct. Attach the pocket to the front of the tag using double sided tape.
- Using foam pads, decorate the front pocket of the tag with a sheet of It’s Snome Time Toppers.
- Add an It’s Snome Time Topper to your Kraft Paper insert by placing the Topper on the Sticky Specks sheet, then onto the rectangle insert.
Your tag is complete!
We hope you enjoyed making this card with Ecstasy Crafts.

Products Used:
Dies:
STUDIO LIGHT STENCILSL277 Embossing Die Cut Stencil Essentials
Topper:
CRAFT CONSTORTIUM CCDPAK001 It’s Snome Time Topper Set
Other:
CRAFT CONSTORTIUM CCPPAD011B It’s Snome Time 6x6 Paper Pad
MARIANNE DESIGN PK9109 Kraft Paper
BE CREATIVE - Double Sided Tape
3D Foam Pads
Acrylic Glue