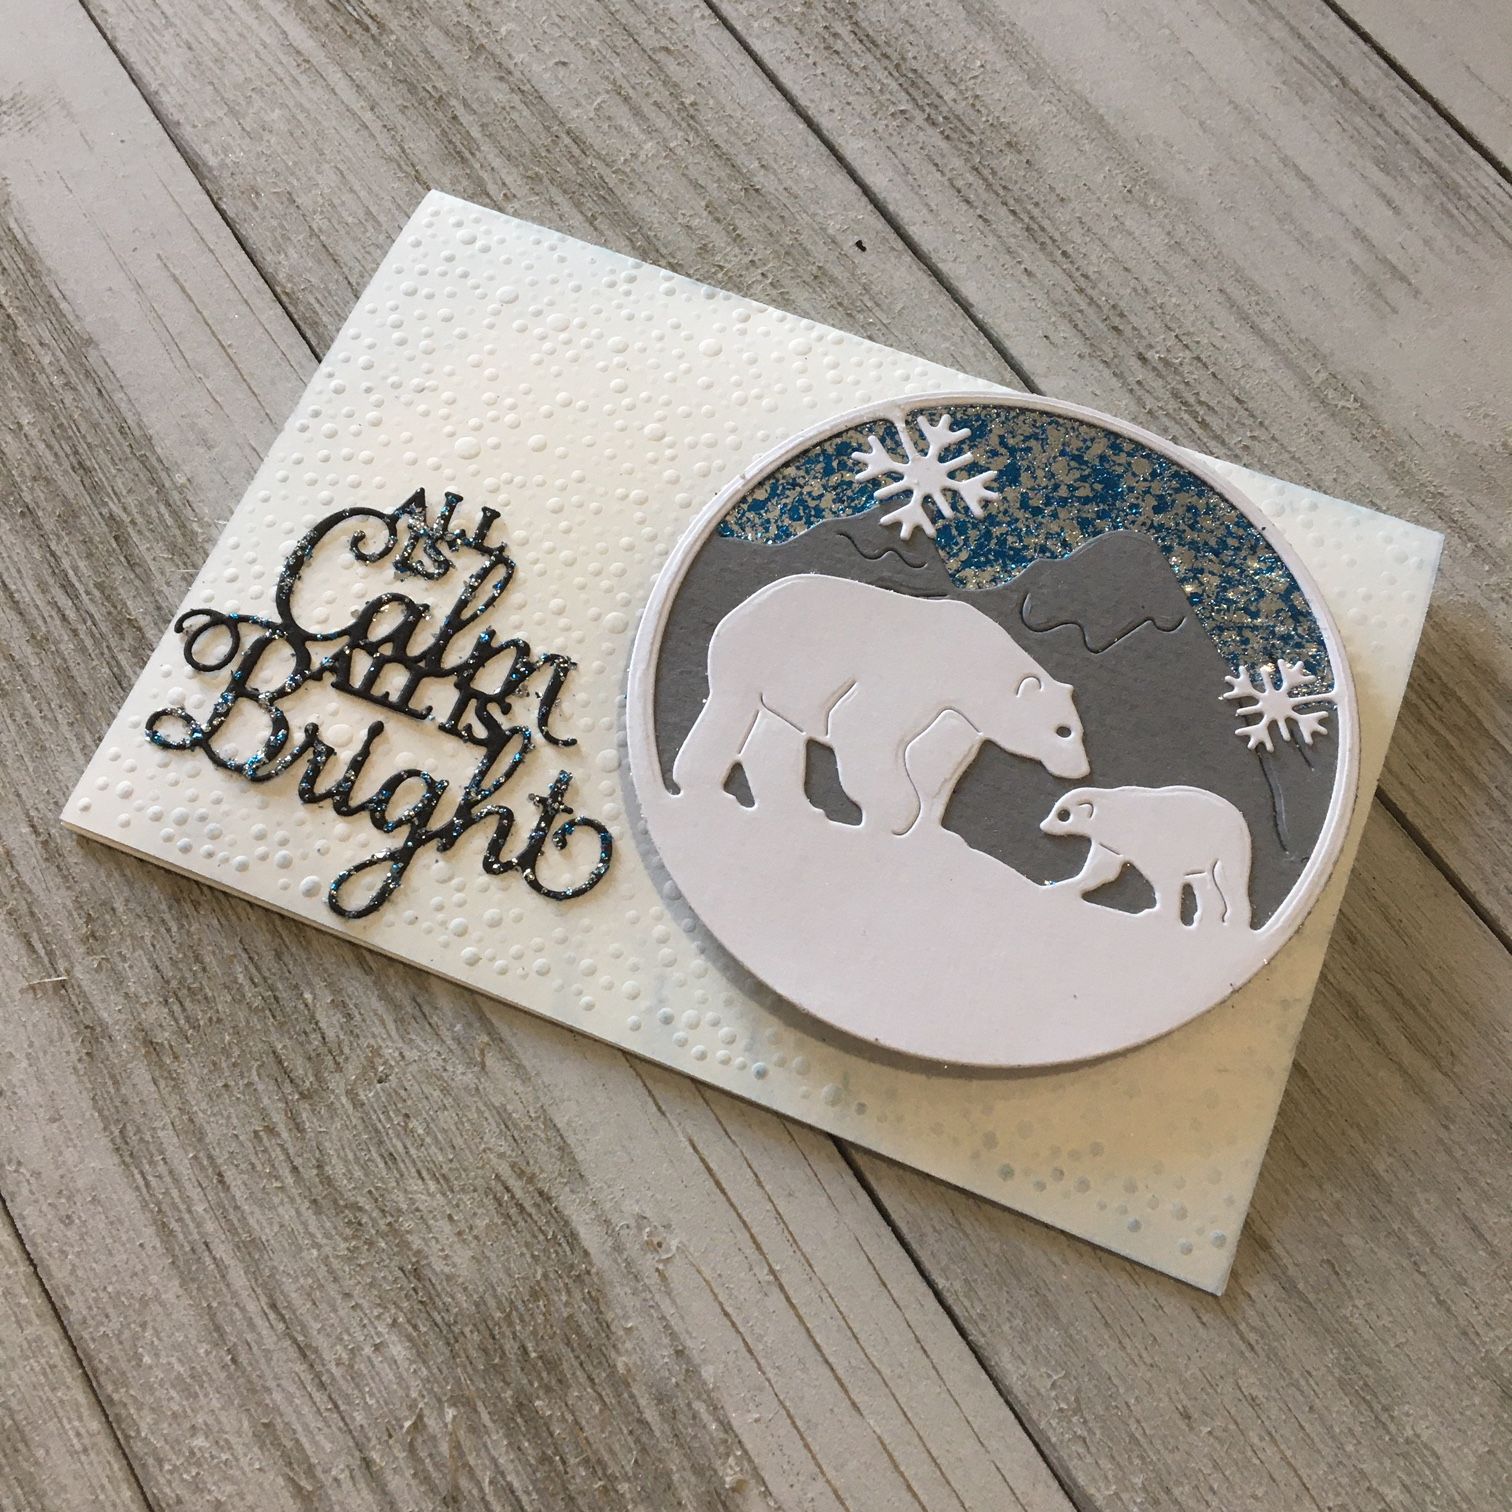
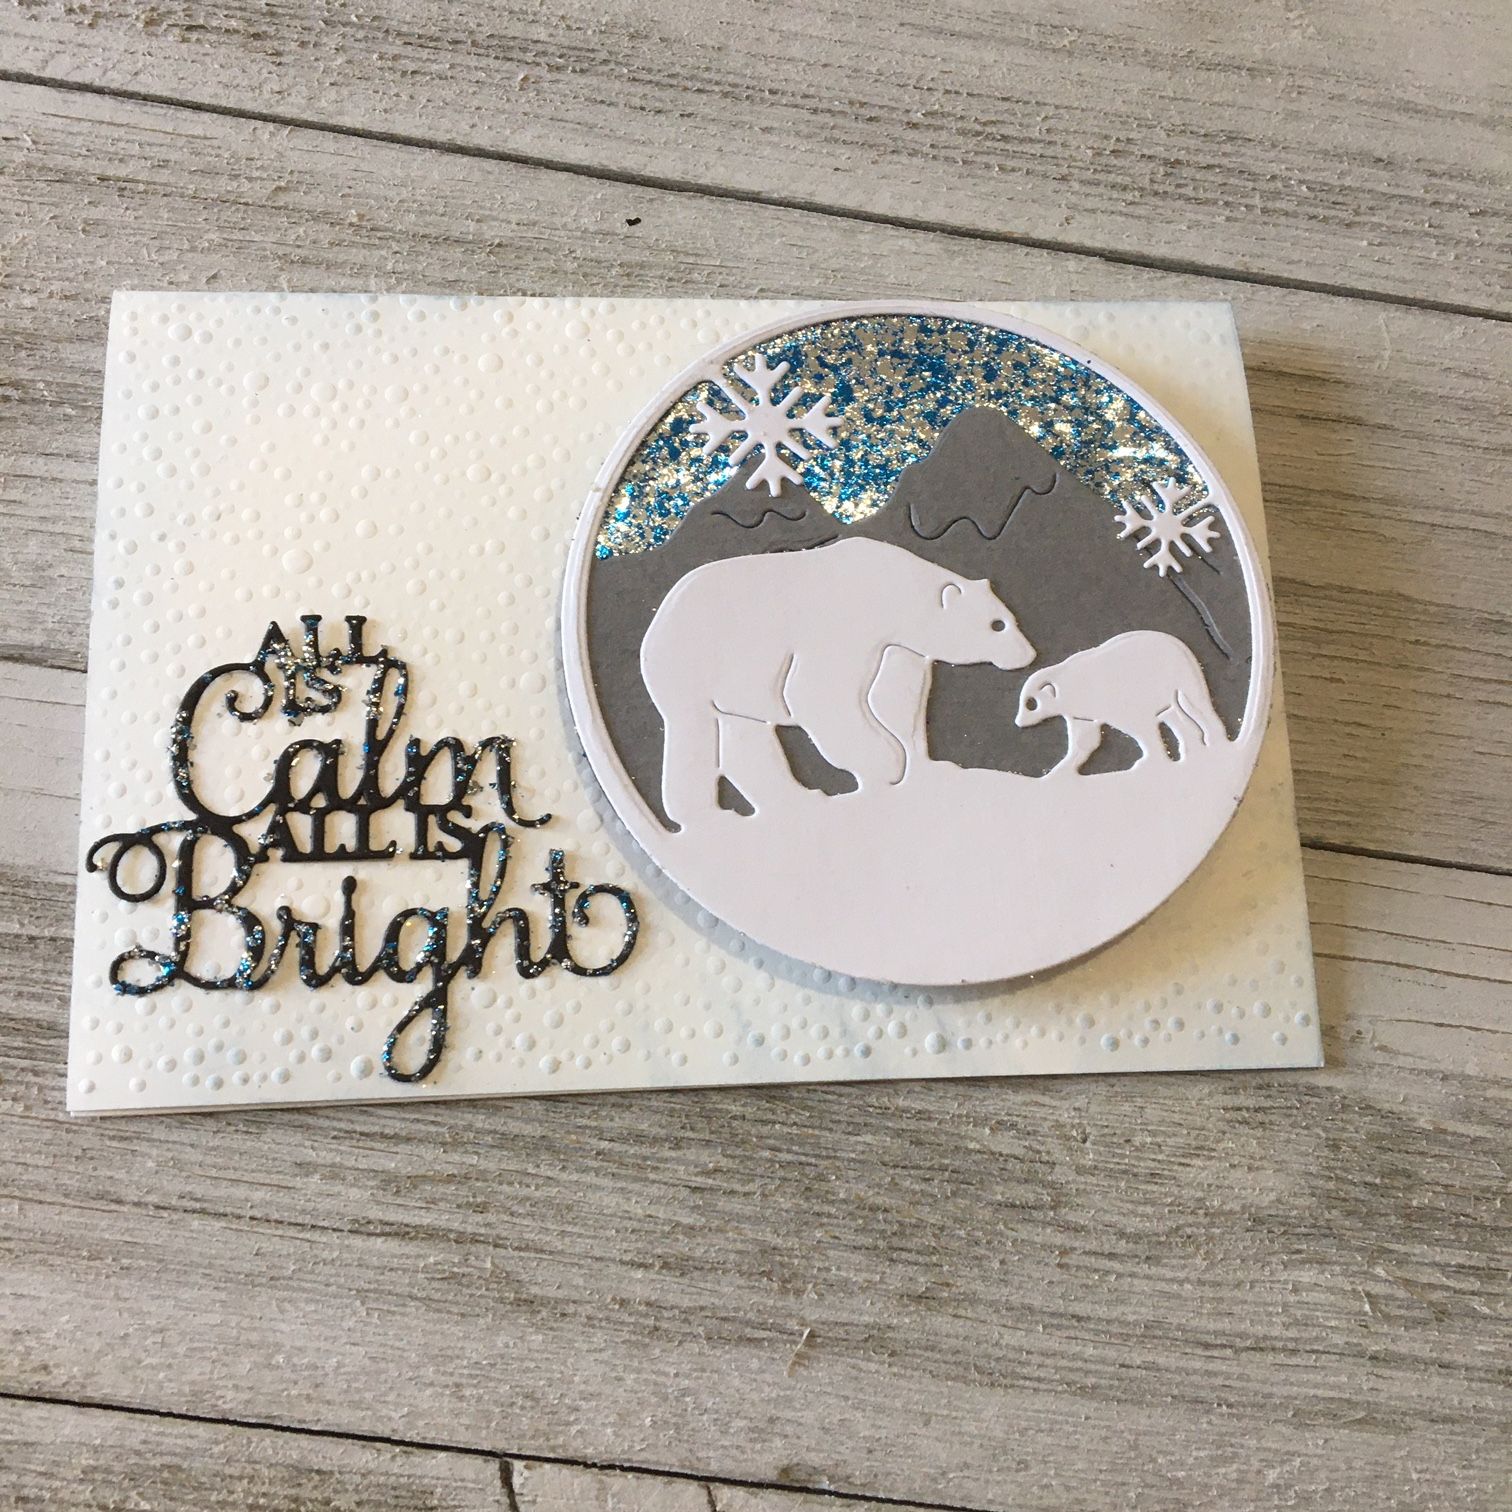
Virtual Open House Polar Bear Card
Cosmic Shimmer Aurora Flakes add a perfect Winter sparkle to this Polar Bear card.

Cosmic Shimmer Aurora Flakes add a perfect Winter sparkle to this Polar Bear card.

If you purchased a Christmas Virtual Open House Kit, you can skip to the Assembly portion of these instructions.
Full instructions
To make this card from scratch, follow along with these instructions. If you purchased a Virtual Open House Kit, some of these steps are already completed for you. Scroll down for Virtual Open House Kit Instructions.
- Cut the card base out of white cardstock 8 ¼” x 5 ⅞”. Score down the middle.
Emboss the front of the card with the Dots embossing folder. - Using an ink applicator rub a blue ink in circular motion around the edges of the front of the card.
- Place a 4” x 4” piece of double-sided tape (BC SHEETS) onto cardstock. The die comes in 3 pieces, 1 circle die, 1 die with mountains and 1 die with polar bears. Using the plain circle die only, cut the cardstock so that the tape is covering the circle.
- Nest the mountain die inside the circle die and cut from grey cardstock.
- Nest the polar bear die inside the circle die and cut from white cardstock.
- Remove the backing from the taped circle and place the mountain cutout onto the tape, being careful to line up the edges of the circles. It is easier if you start by lining up the narrow top part of the die cut first and line up the bottom part last.
- Next place the polar bear die cut onto the Sticky Specks sheet to add the sticky dots to the back. Place the polar bear die cut on top of the mountains lining it up the same way.
- Place a small amount of the Aurora Flakes over the sticky background that is left open and using a soft bristle brush or toothbrush, rub the flakes over the sticky tape. Remove any loose flakes with a soft cloth.
- Cut the sentiment from black cardstock. Dab the a piece of the sticky specks on top of the sentiment to deposit a small amount of the sticky dots to the top side of sentiment. Add a small amount of Aurora Flakes to the top of the die cut until it is no longer sticky and rub off any access or loose flakes with your brush or soft cloth. This adds just a little sparkle to the sentiment. Now place the sentiment onto the Sticky Specks again to deposit the sticky dots onto the back of the sentiment and attach to the lower left corner of the front of the card.
- Add several foam pads to the back of the circle die and attach to the front of the card.
Your card is complete!
Virtual Open House Kit Instructions
If you purchased a Virtual Open House Kit, follow along with these instruction to assemble your card.
- Locate your card base that is cut from white cardstock and embossed with the Dots embossing folder. Using an ink applicator rub a blue ink in circular motion around the edges of the front of the card.
- Locate the pre-cut circle of cardstock with a piece of double-sided sheet attached, and the pre-cut grey mountains. Remove the backing from the taped circle and place the grey mountain cutout onto the tape, being careful to line up the edges of the circles. It is easier if you start by lining up the narrow top part of the die cut first and line up the bottom part last.
- Locate the pre-cut white polar bear. Place the polar bear die cut onto the Sticky Specks sheet to add the sticky dots to the back. Place the polar bear die cut on top of the mountains lining it up the same way.
- Place a small amount of the Aurora Flakes over the sticky background that is left open and using a soft bristle brush or toothbrush, rub the flakes over the sticky tape. Remove any loose flakes with a soft cloth.
- Locate the pre-cut sentiment. Dab the a piece of the Sticky Specks on top of the sentiment to deposit a small amount of the sticky dots to the top side of sentiment. Add a small amount of Aurora Flakes to the top of the die cut until it is no longer sticky and rub off any access or loose flakes with your brush or soft cloth. This adds just a little sparkle to the sentiment. Now place the sentiment onto the Sticky Specks again to deposit the sticky dots onto the back of the sentiment and attach to the lower left corner of the front of the card.
- Add several foam pads to the back of the circle die and attach to the front of the card.
Your card is complete!
We hope you enjoyed making this card with Ecstasy Crafts.
Supplies:
- Studio Light Cutting & Embossing Die Layered Favourites nr.297 (STENCILSL297)
- Creative Expressions Dies by Sue Wilson Festive All Is Calm All Is Bright (CEDME063)
- Nellie's Choice Background Embossing Folders Dots (EEB030)
- Cosmic Shimmer Aurora Flakes in Blue Ice (CSAFBLUE)
- Black cardstock
- White cardstock
- Grey cardstock
- Creative Expressions A4 Adhesive Sheets (ADHA4)
- Ecstasy Crafts Sticky Specks (ECSSA5)
- Blue ink