Virtual Open House - Bumble Bee Edger Card
With so many edger dies to chooses from this bumble bee has to be the cutest. I decided to use it in a very different way from how we traditionally see these edger dies used.
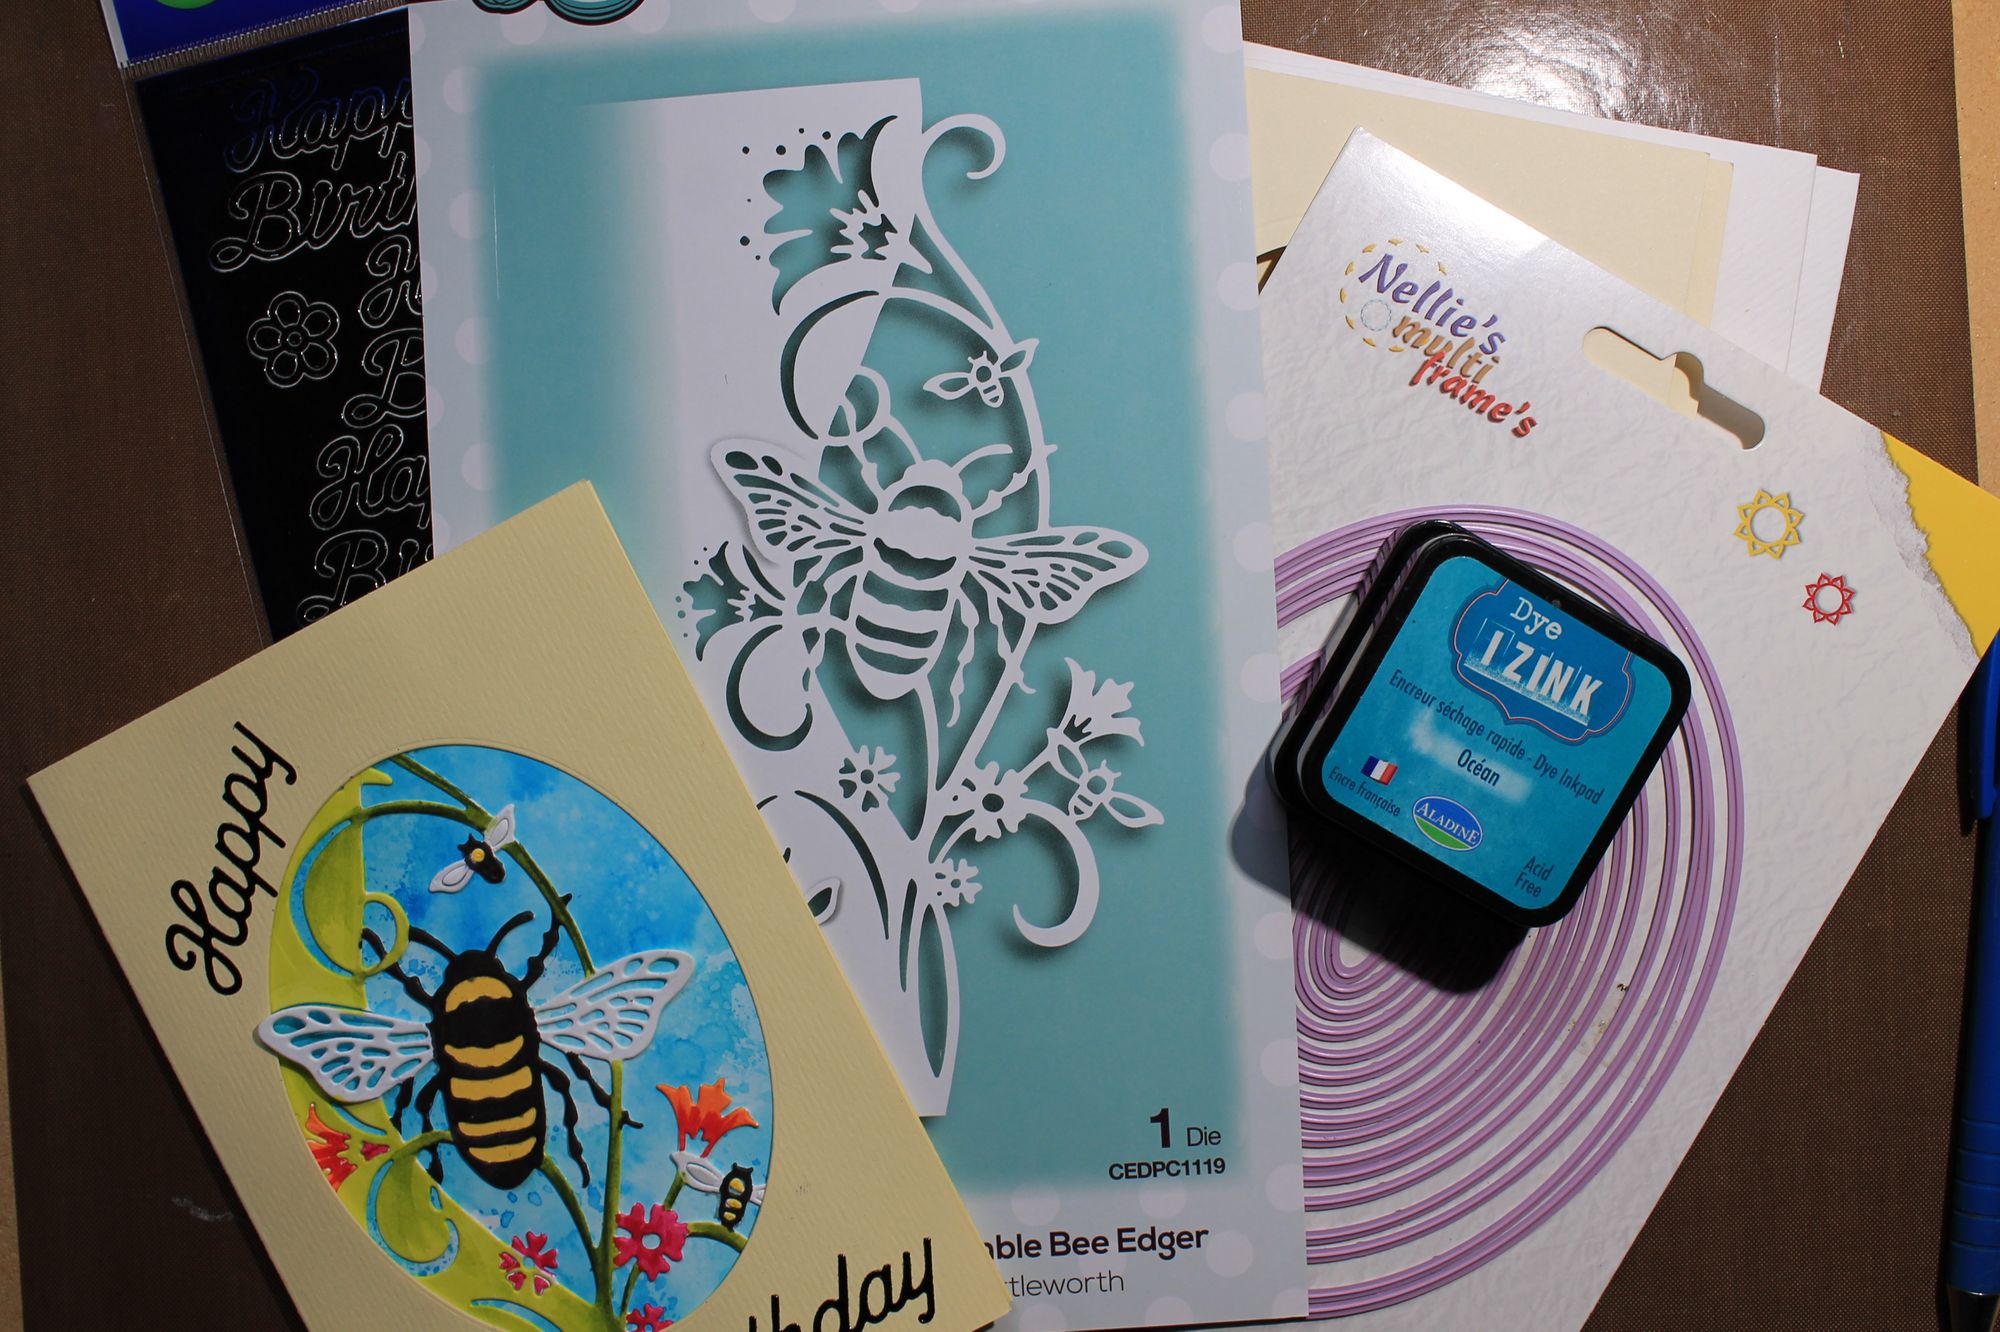
To make this simple card you first need some supplies.
- Bumble bee edger die - in white cardstock
2. Card base with an oval cut in the front panel
3. Markers to color your edger die cut
4. Dye Ink ( or any ink that reacts with water) to create your background.
5. A piece of white cardstock cut to 4.5 "x 5"
Let's get started in creating this card.
- We will start off with the background piece. This will be your sky in behind the bee edger. Simply smoosh your ink onto your work surface, spritz with water and place your pre-cut background piece onto the ink. Moving it and pouncing it around will add more texture and interest. If you have a second color then heat set the first color and apply the second the same way. Set aside to dry
- Begin coloring in your bee edger with the markers or medium you have chosen. I like to start with the lightest colors first and then finish off with the black.
- Using your edger as a stencil trace the large bee body onto a scrap piece of paper and cut out the oval. Color it in yellow and adhere it to the backside of the bee body using sticky specks.
- Once your done coloring the edger you will adhere it to the background you have created using Sticky Specks. Place the entire edger onto you sticky specks sheet, lay the film back down press gently, remove it and then adhere it to the sky piece you created. Trim off any excess.
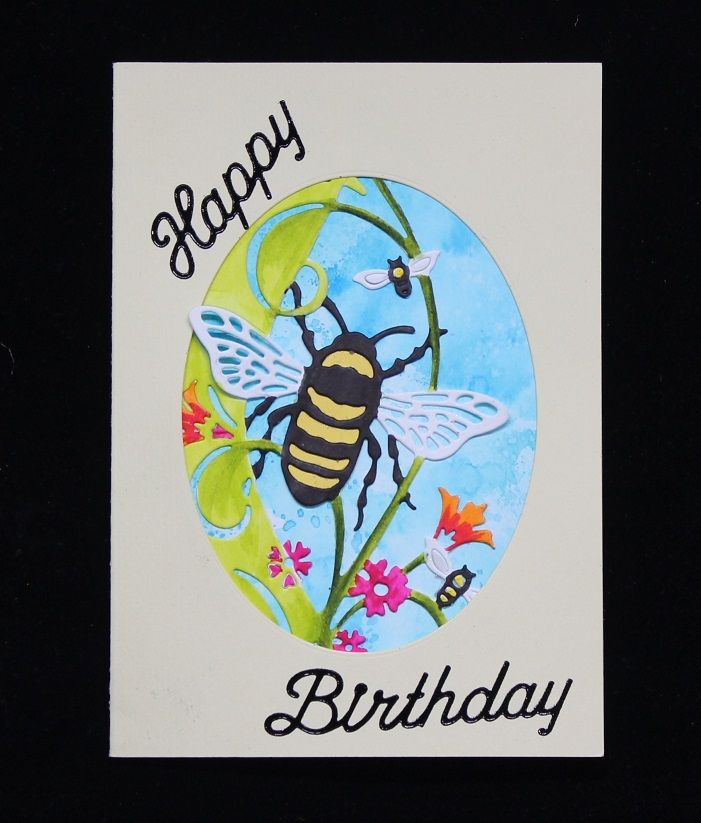
- Attach this piece to the card base with the oval cut out from the inside of the card so that you can see the edger thru the window.
- You can then add any sentiments, I added the Happy Birthday sticker to mine.
Products used for this card: