Using apertures to create interesting backgrounds
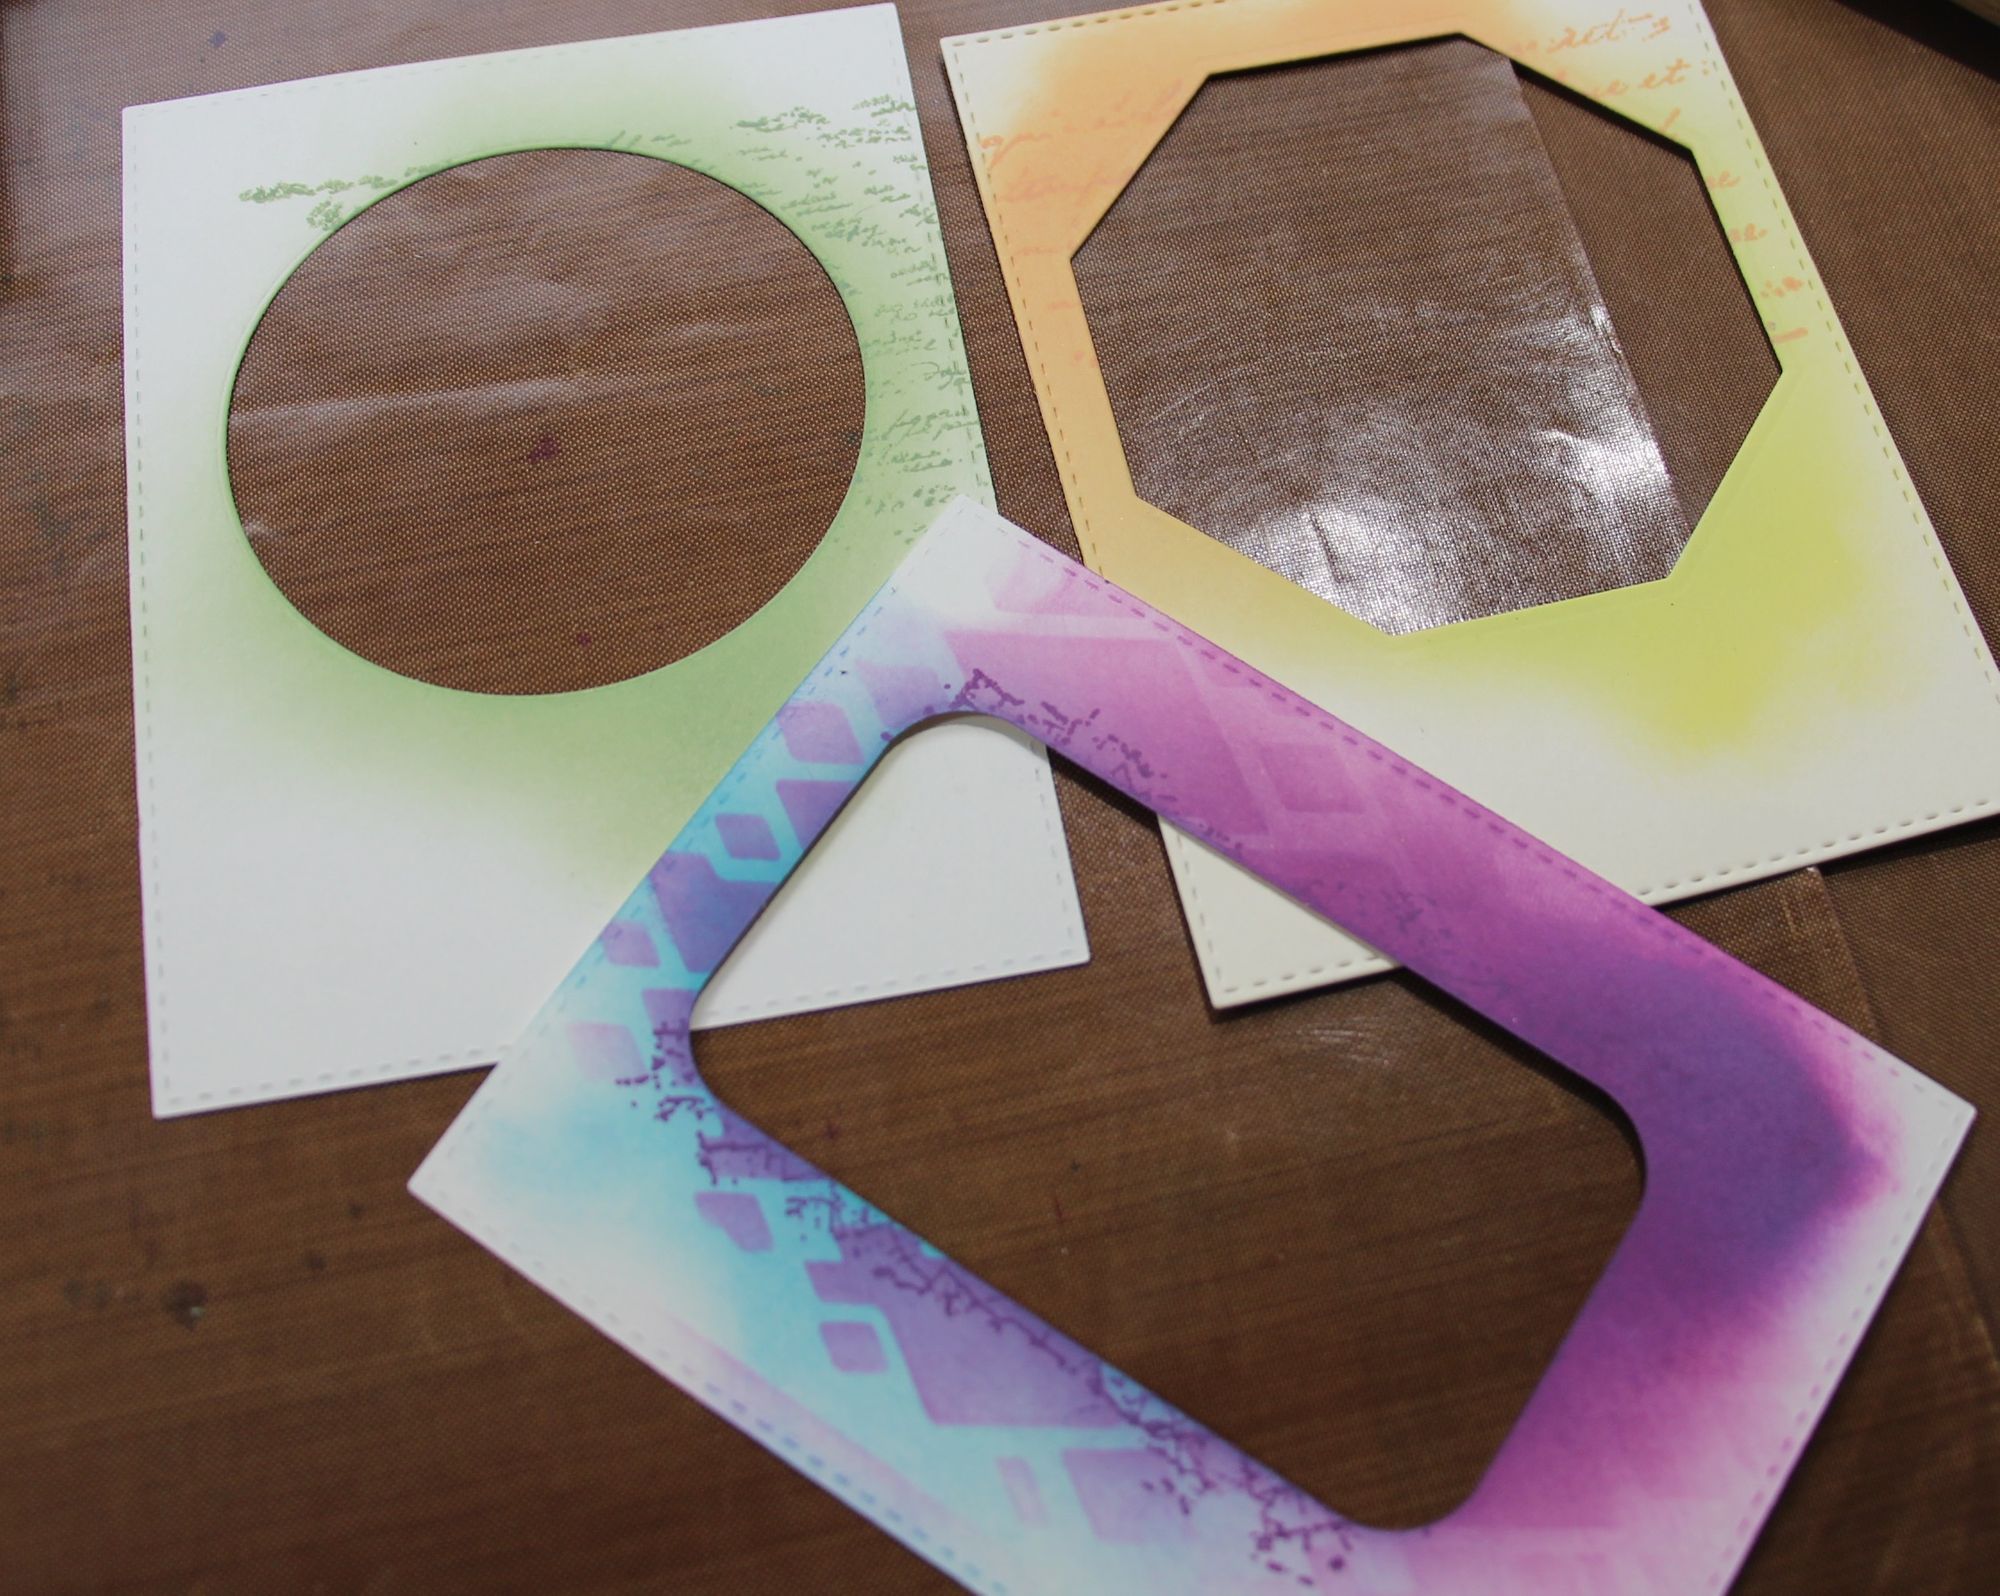
I simply used three different nesting frame dies to create three different apertures for my cards.
There are many aperture stencils out in the market these days but there is a simple way to make your own. You can simply use your die cuts to create shapes to use as your aperture on your background. I used just scrap paper but if you want to make a permanent stencil you can always cut out the shape from acetate and that way you can reuse it many times.
Here I simply used three different nesting frame dies to create three different apertures for my cards. To make stenciling easier for me, I first cut the paper to the same size as my card front that I will be adhering to the card base before I cut the shape out. This way I can just line up my card front to the aperture stencil quickly and exact every time.
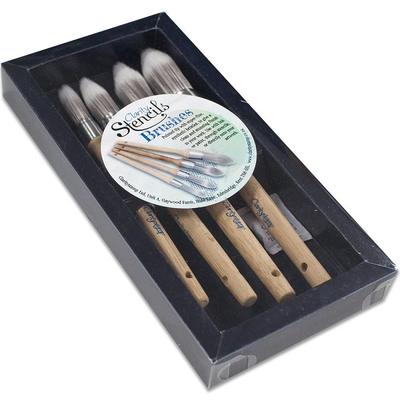
To make stenciling easy I used the new magnetic platform by Nellie's Choice to hold the stencil and card front in place while I ink blend my cards. You can always use tape to hold everything in place while you do this. I used distress oxides for today's samples but you can use any ink you have on hand. I also used the Clarity Brushes to apply the ink because I wanted a soft background, but any application tool should work for this technique.

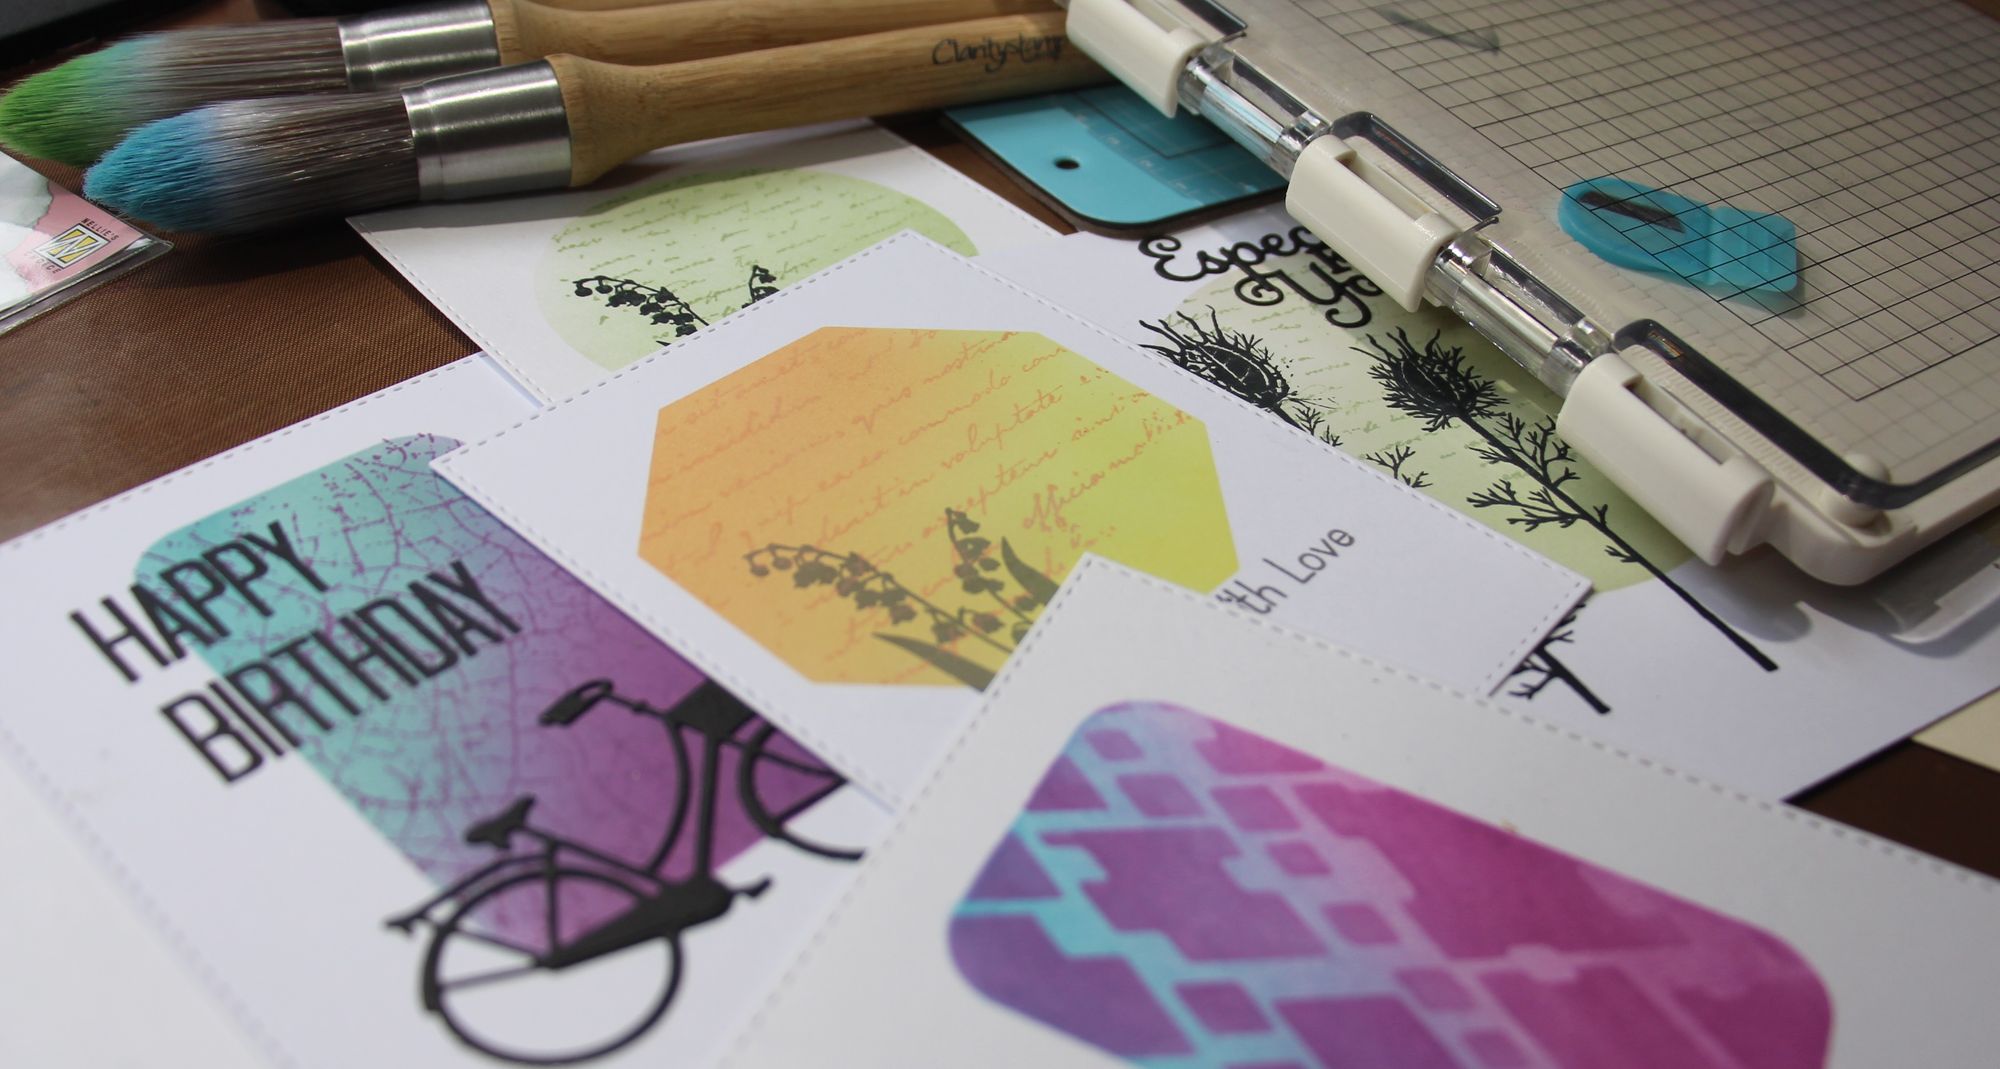
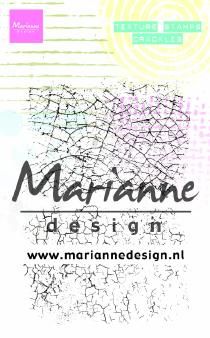
To make these cards more interesting the technique I wanted to show you today is how to add a second layer of texture to your aperture stenciling. To do this you want to wait until your initial ink has dried, line up your aperture stencil and stamp a texture stamp on top of your aperture ink blending. I used the new Marianne Design Texture stamps to do this for my samples.
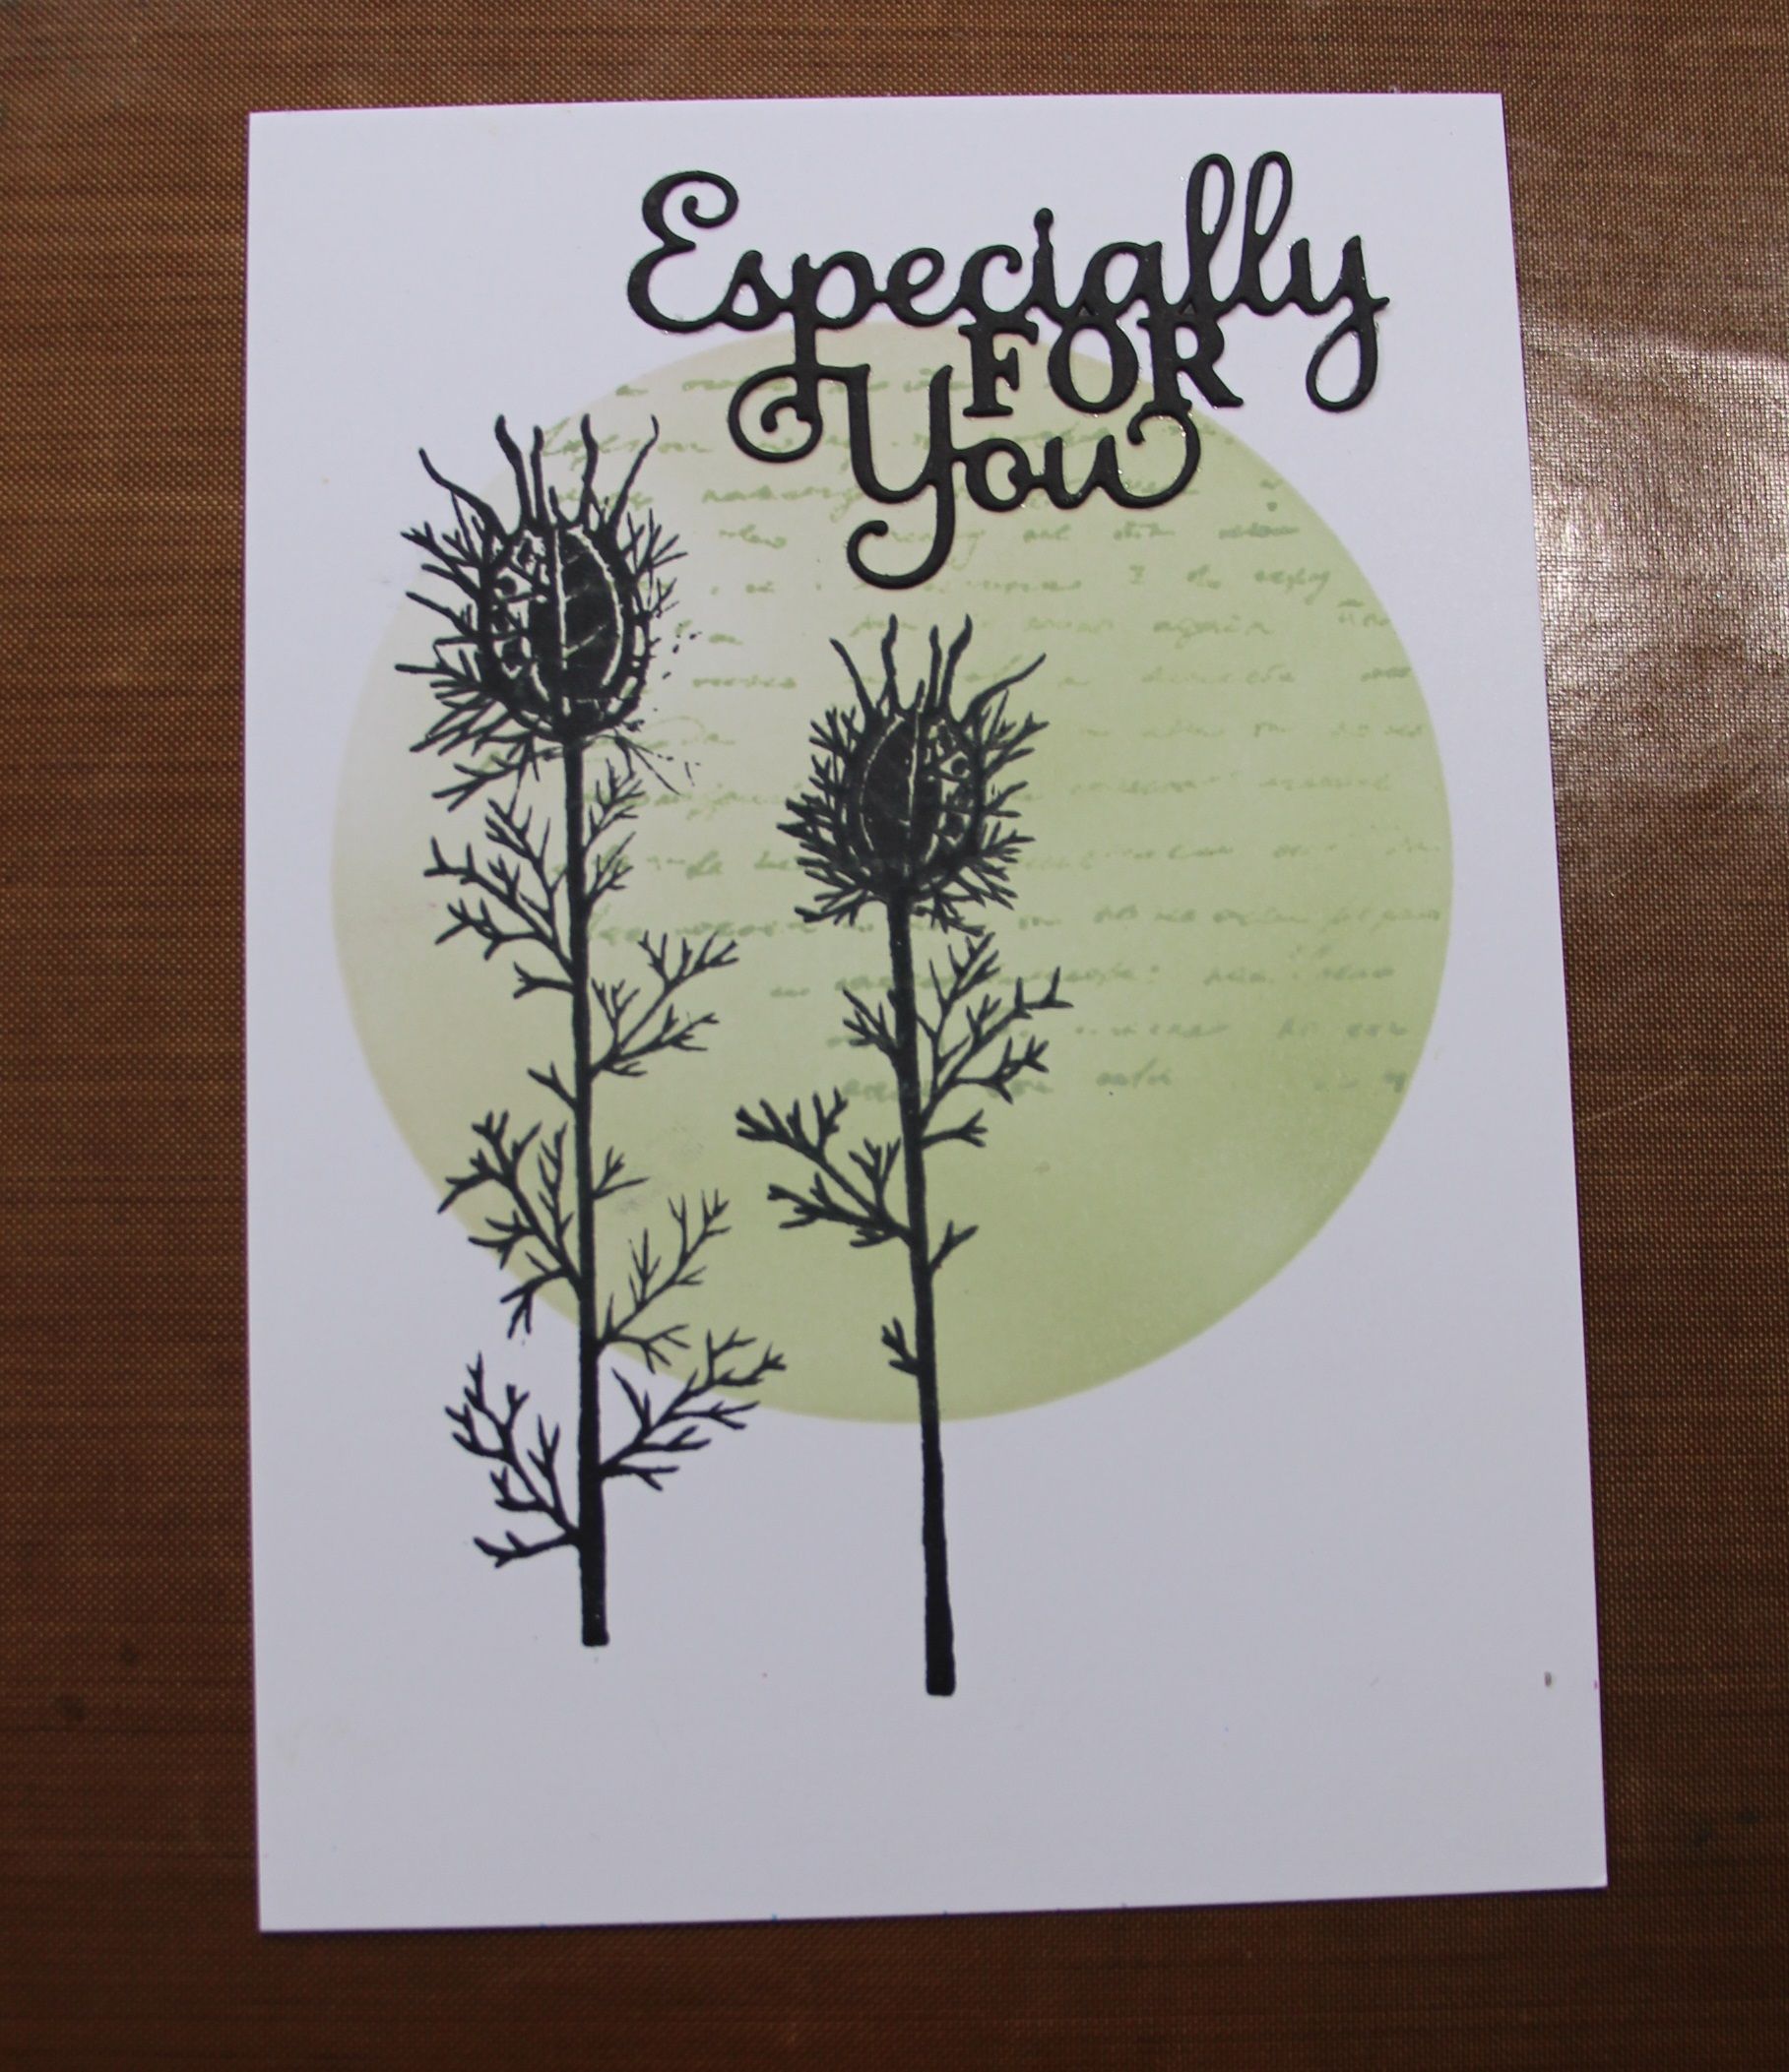
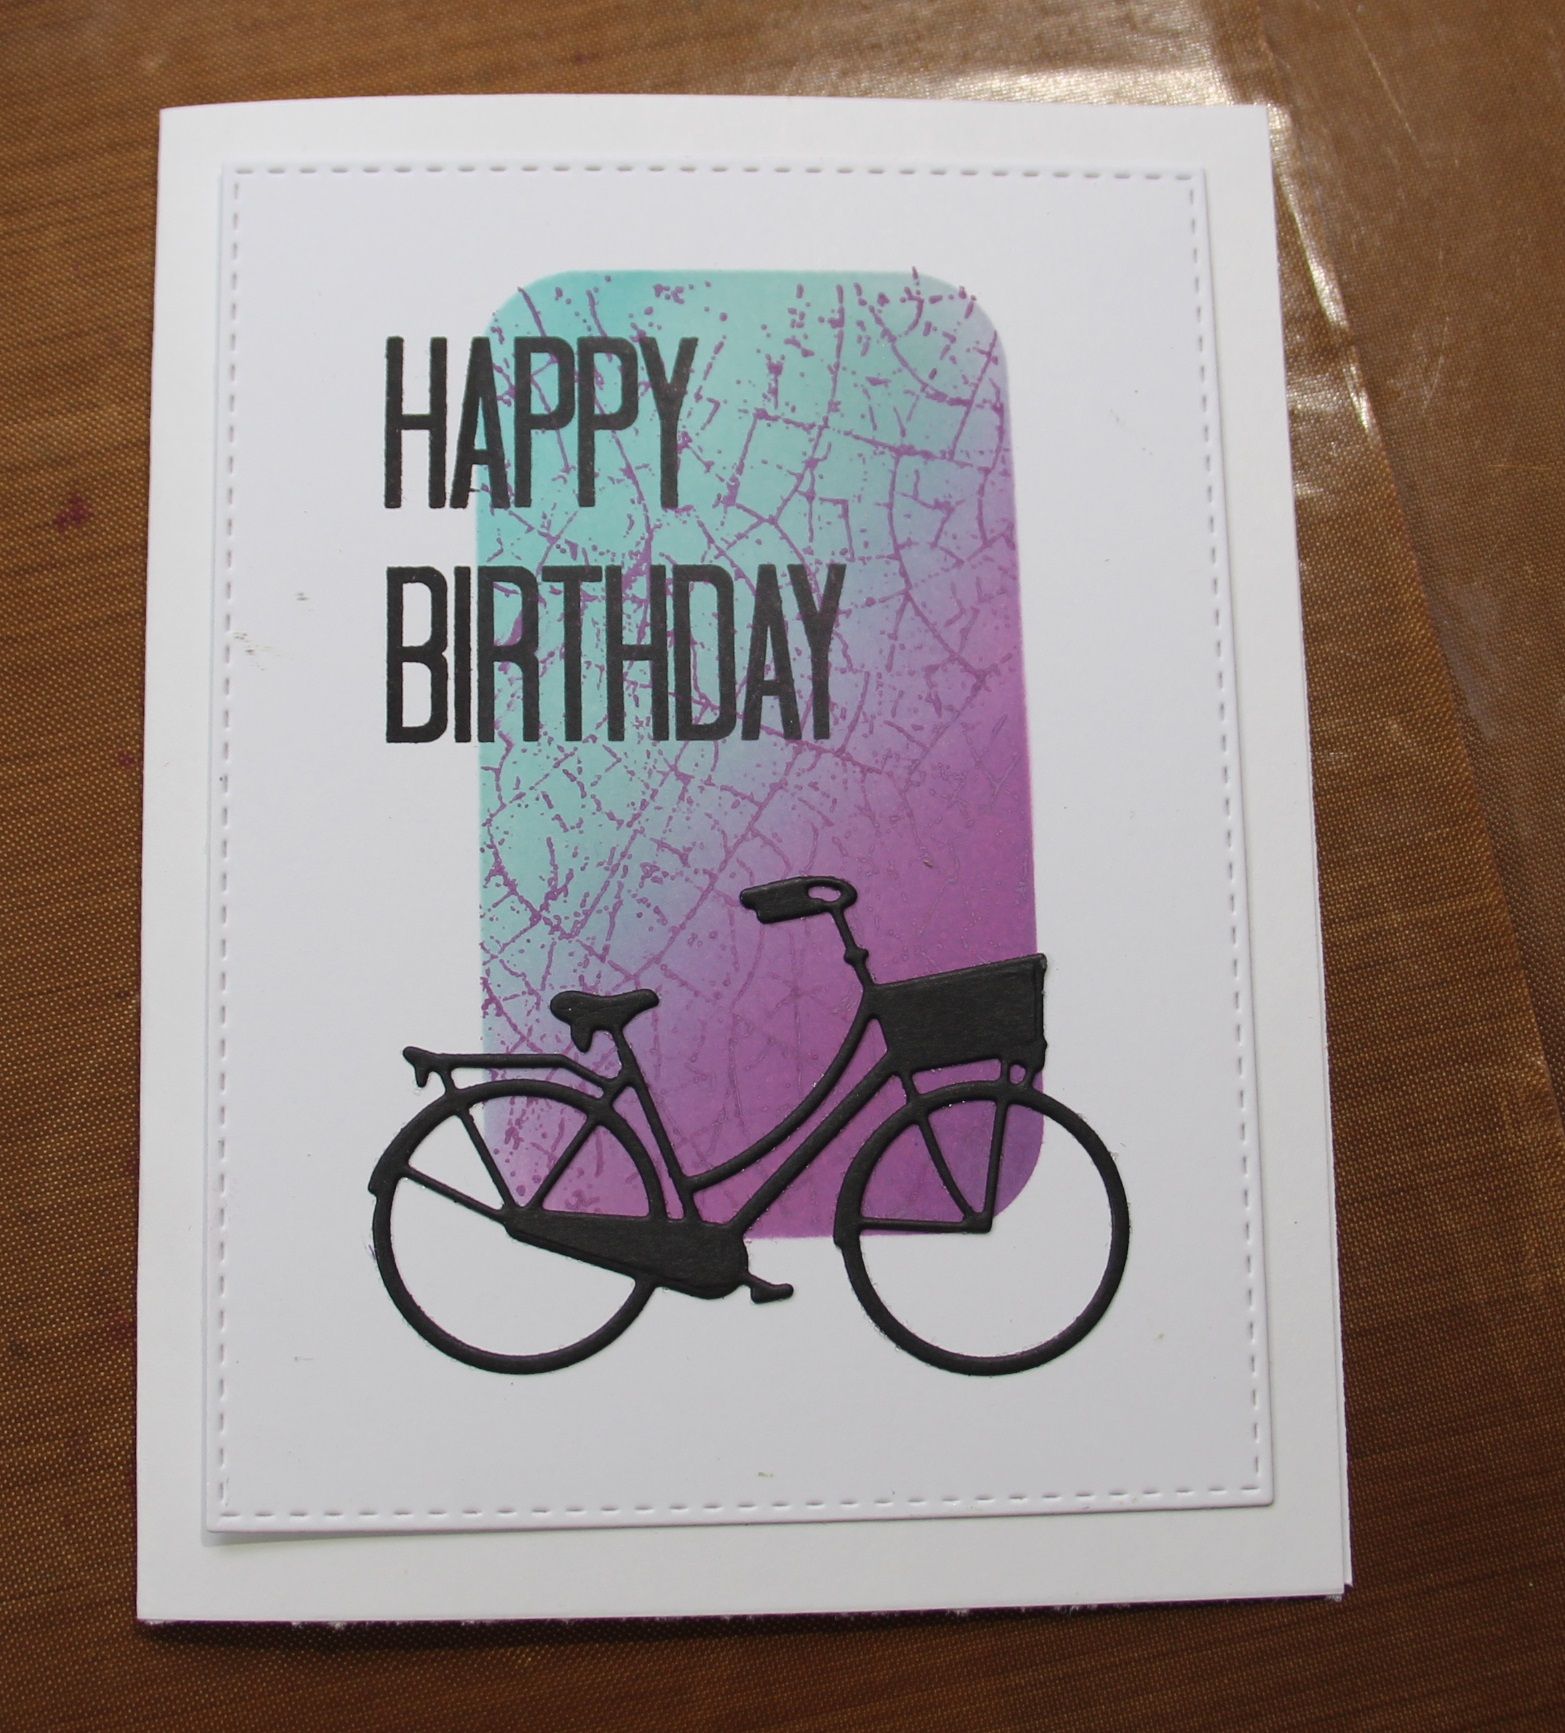
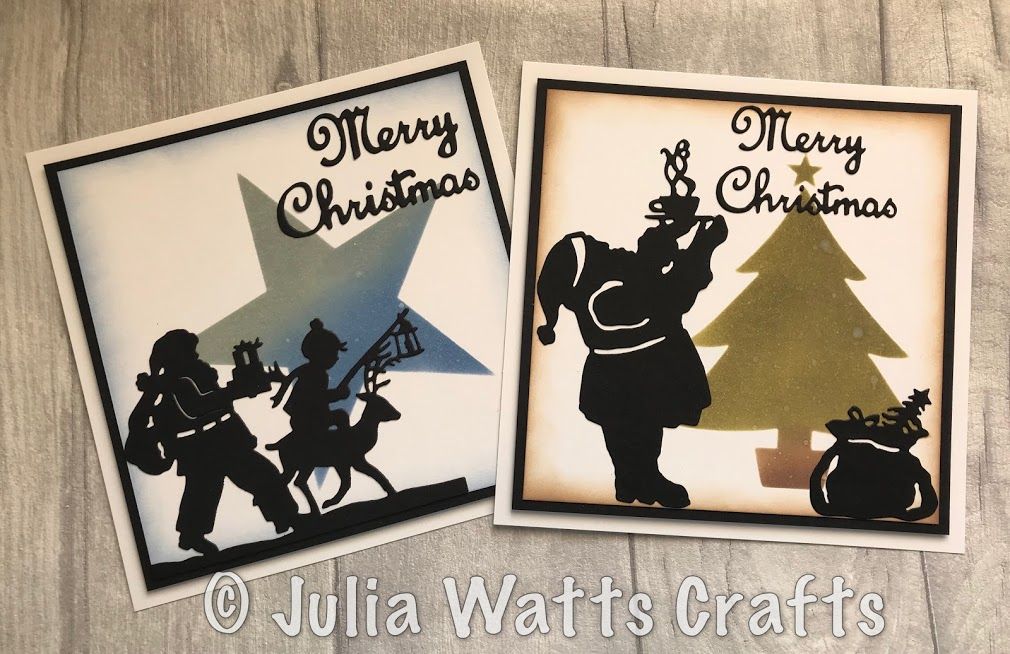
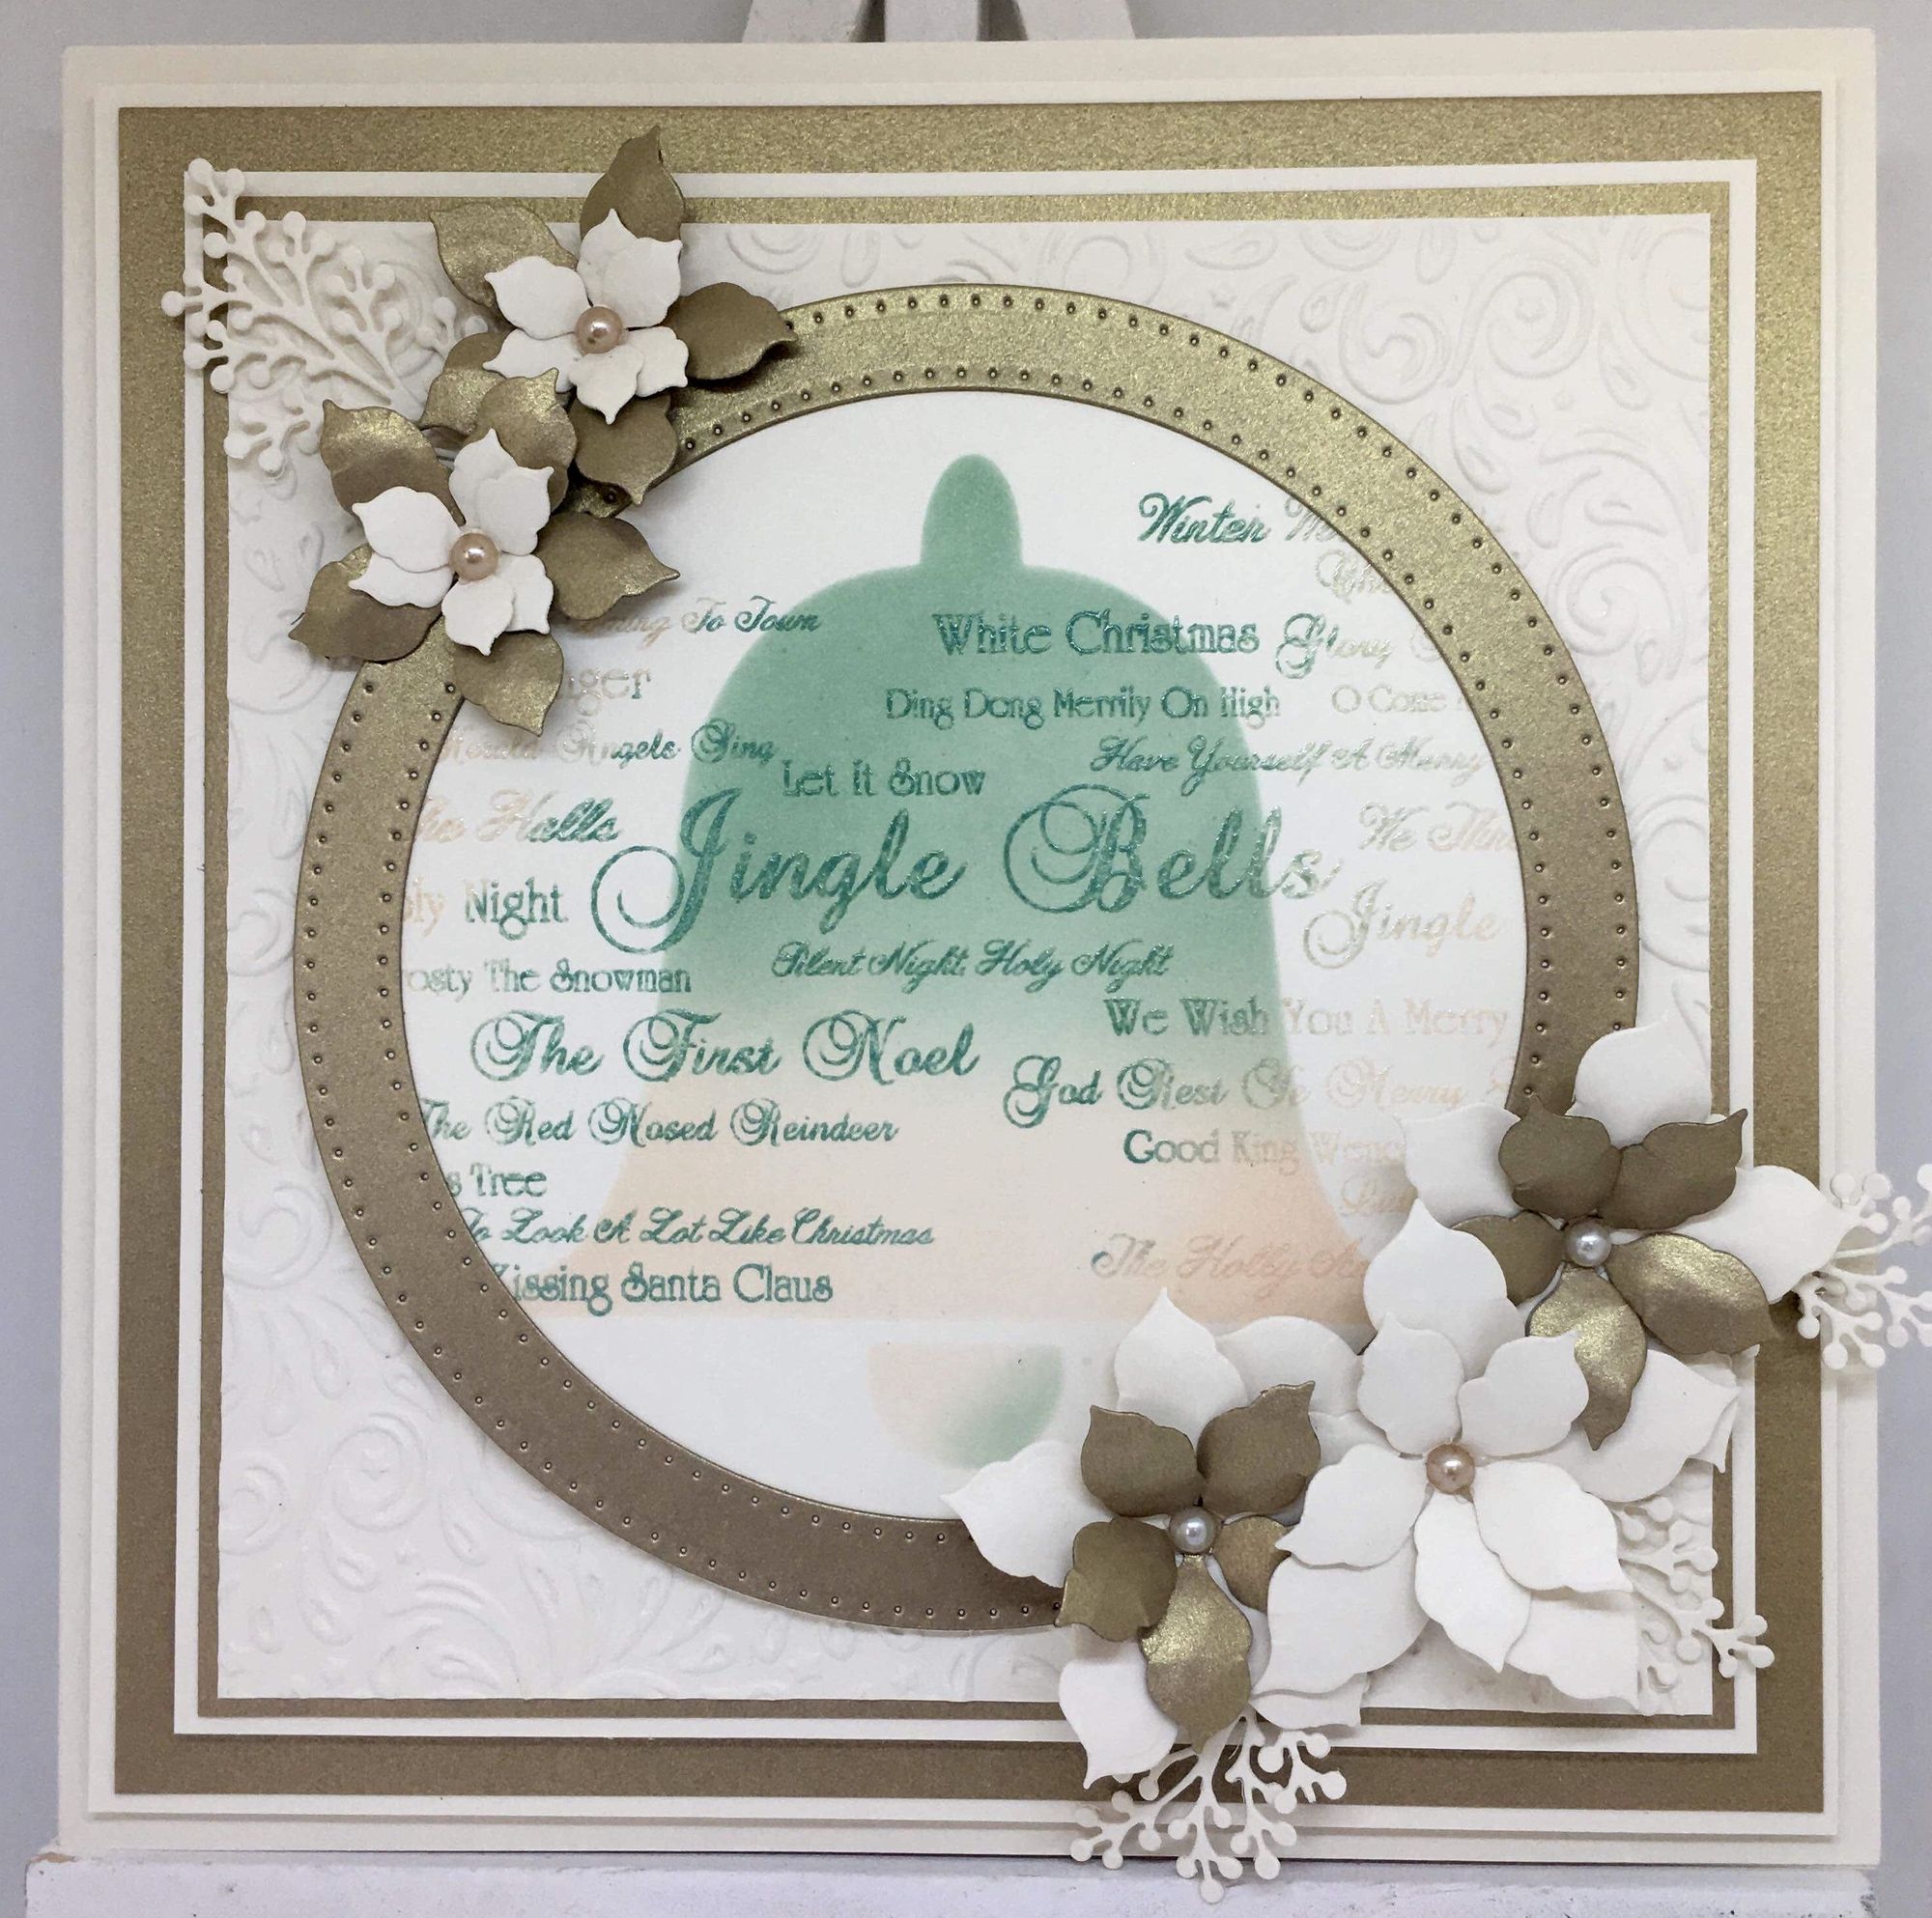
For the first card sample I used a simple silhouette images to stamp over the aperture shapes and a simple sentiment. For the card on the left I used a lavinia stamp - Nigela Damscena and a die cut sentiment to finish off this card. The third sample is done with a Happy Birthday stamp and a die cut form Marianne Design.
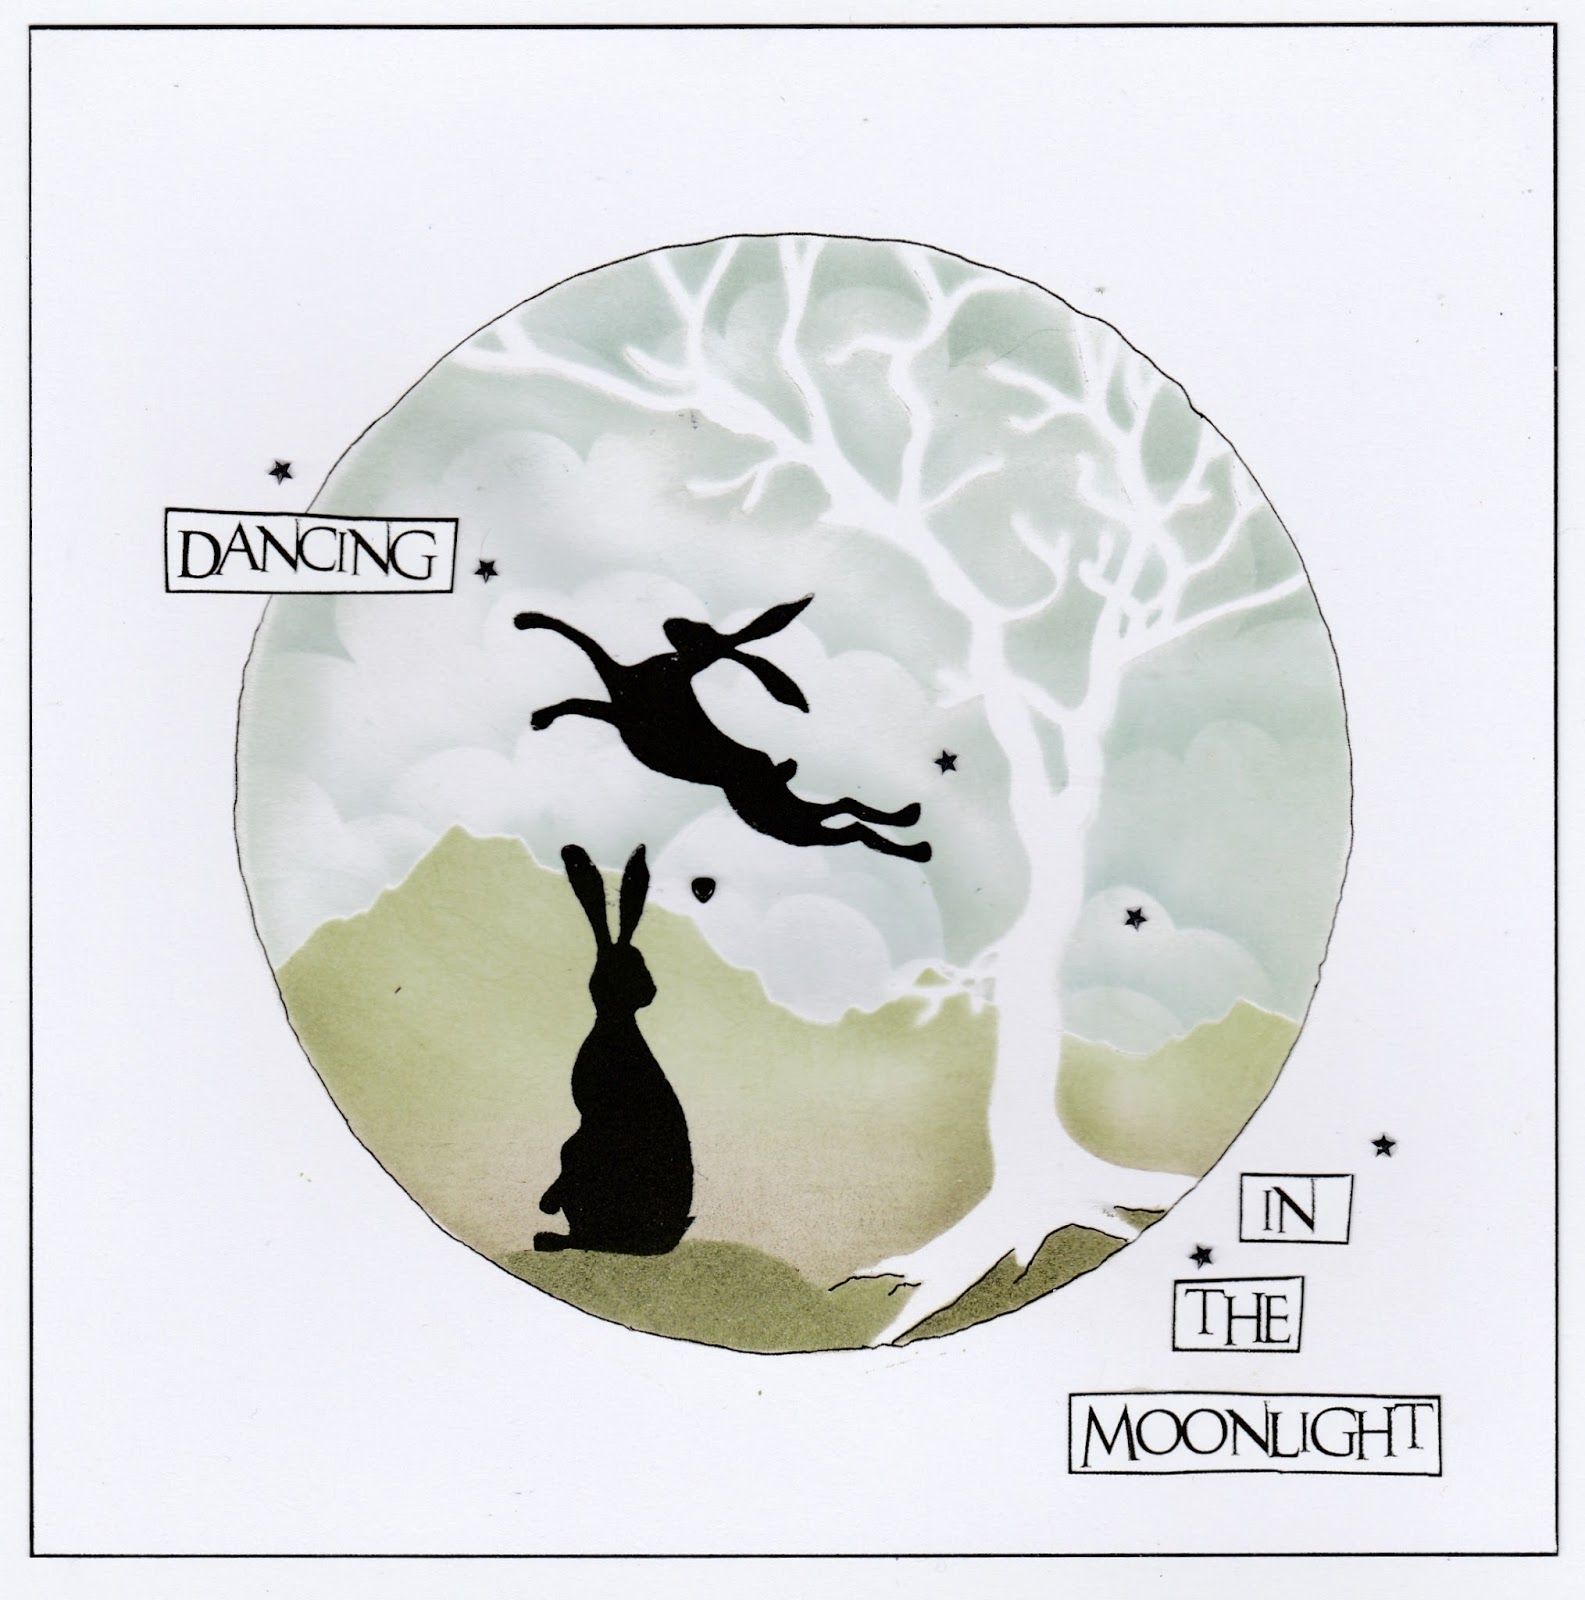
There are so many ways to use these aperture backgrounds and I encourage you to give them a try because if anything they are fun to make. I have included images from other designers who used this technique in their card making.
Until next project
Katarina
Products used:
Multi- frame die rounded rectangles
Nellie's Choice Magnetic Stencil platform
Couture Creations Stamping Press