The flip side of the coin ... the cards that teach us!
I think it is an experienced card maker to identify the level of complexity by looking at a card. I'm always up for a challenge!

I think it is an experienced card maker to identify the level of complexity by looking at a card. I'm always up for a challenge! So I attempted a card with a few techniques and scheduled it as a card class before I'd even made the card. "Sure, we stencil, mask, reverse stencil and colour ... no problem."
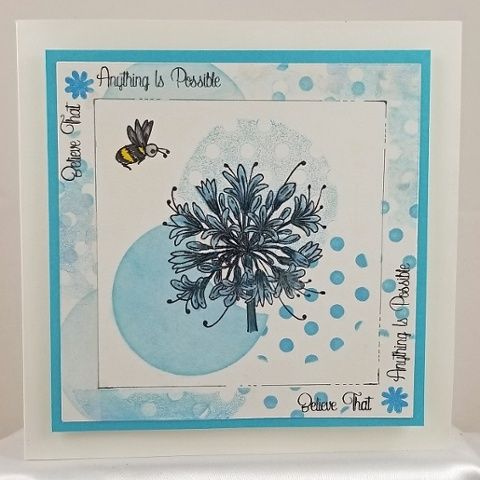
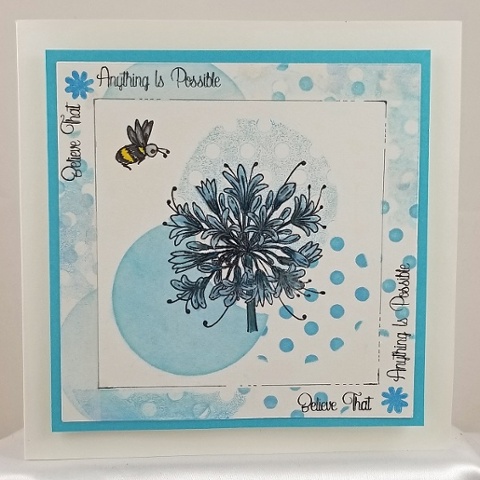
Here is the finished product ... a delightful card with lovely colouring and inking. A departure from the norm here. Katarina and I had decided January and February was going to be technique-heavy for classes. And this sure fits the bill.

And oh did I tackle this one for a solid 8 hours.
I am limited slightly in the products at my disposal. I'm sure much like any of us, we don't have a limitless supply of inks, etc. Some times, well often-times, we have to improvise. Again, something I'm totally comfortable with. But this one broke my (proverbial) back!
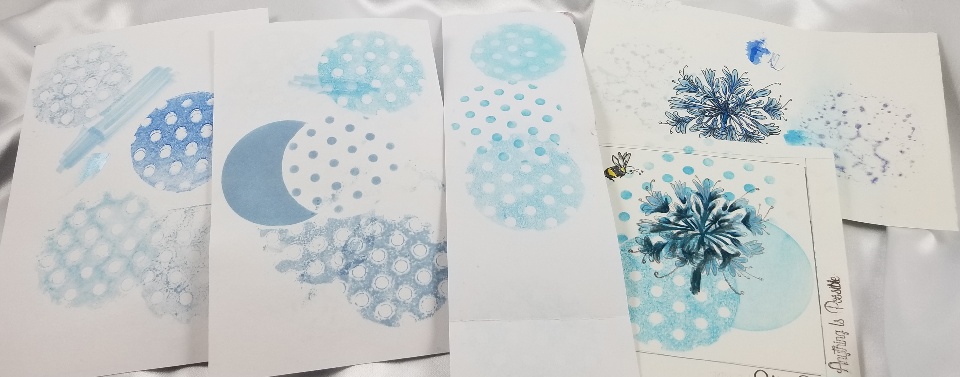
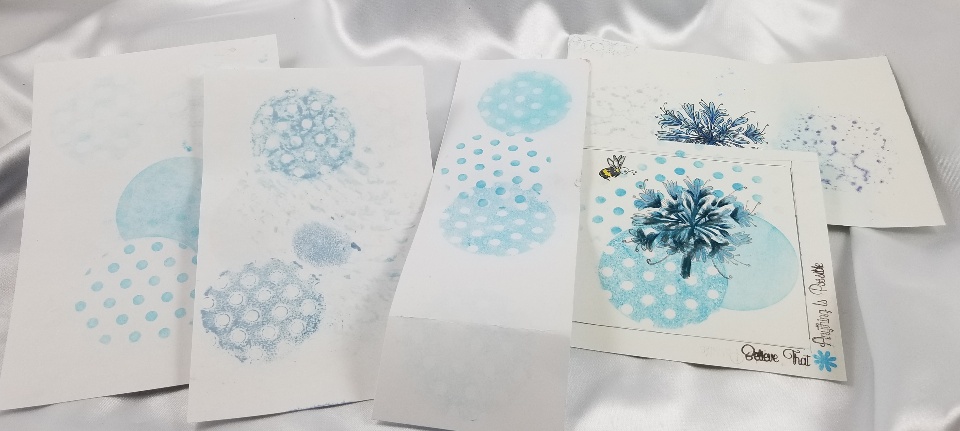
Here is some "outtakes" of this card creation!


And both sides of the paper have stamping tries. My biggest obstacle was that I wanted to use more of a bluebell blue and only had that in the water-based Cloud Inks. Which was fine for everything but the reverse stencil. The reverse stencil is painting the stencil with the ink and then stamping it off onto a "reverse stamp" pad then transferring that image to my card stock. The watery inks pooled up and were not uniform. I tried several different ways to try to get that to work. But ended up having to use a stamp pad in a more teal blue.
This is technique rich using the Clarity Brushes to apply the ink with a masked off circle, that same mask to block off a circle out of a larger stencil and then using that inked stencil and apply the ink to the "reverse stamp" which is designed to do exactly that, reverse a stamp's direction or you can use it to do a mirror image, like a reflection in a lake.
But I'm happy to say I conquered the beast and am quite happy with the end result. Now let's hope I get people signing up for the class!!
March 27, 2019 UPDATE: I made a quick video as a follow up to this card. Here's the link to that blog & video: GHOST_URL/agapantus-stamp-card-follow-up/
Products used:
- Clarity Brushes
- Clarity Stamp Agapanthus stamp
- Creative Expressions Mask
- Creative Expressions Inspirational Sentiment Stamp
- Reverse Stamp (We will be stocking this stamp soon)