Technique: Watercolor Background Card Tutorial
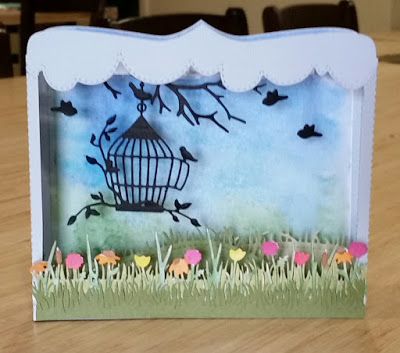
I had been aching to do two things and was able to combine the two techniques into one box card. I am a scene card maker so the Marianne Design Box Die (CR1374) is so up my alley.
I saw a watercolor background technique using the watercolor markers and an acrylic block. So I did that for the background of this card.
The second thing I was wanting to try was use the 3D tab inserts of the box card die to have something dangling from the top of this box card. I accomplished that with this card as well.
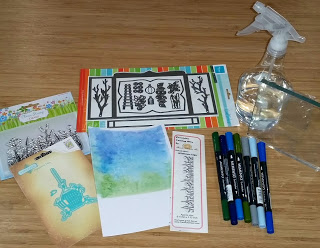
The first technique I did was a watercolor background.
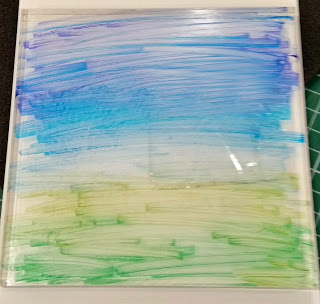
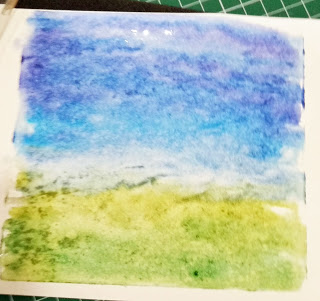
Using 4 different blues and 2 different greens, I colored an acrylic block top to bottom.
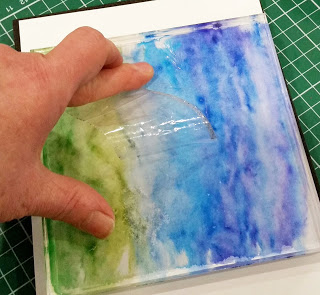
Spritzed the acrylic surface with a water mist, let it run a bit then placed down on white card stock. And this is my finished background. As you can see, this can be used for a multitude of outdoor scenes. Once dry, it lightens up a bit.
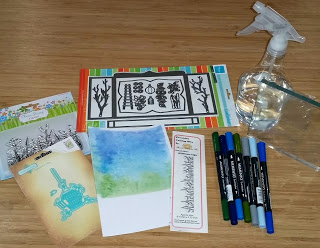
I used watercolor markers and watercolor paper to then paint a "wildflower edger" (FRA9371) for the front of the card.
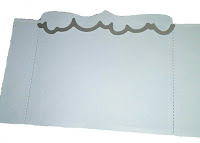
Using my favorite "box card" die (CR1374) I made my box frame and used a cloud stitched edger from Frantic Stamper as my top cut out piece.
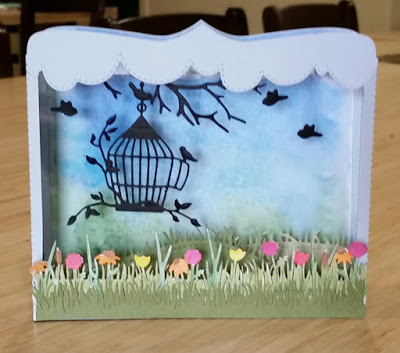
I fancied a bird cage die that came with a flying bird (VIND036), I used acetate to adhere it to the top of the card so it is dangling freely within the box.
And here is the finished card. I used a few different grass edgers and hills to layer the ground area of the card.
Dies used
- Marianne Designs Box card die (CR1374)
- Frantic Stamper Wildflower Edger (FRA9371)
- Frantic Stamper Stitched Grassy Hill Edger (FRA9986)
- Frantic Stamper Stitched Cloud Edger (FRA9794)
- Nellie Grass Edger (straight edger) (SD111)
- Bird cage with flying bird (VIND036)
- Various blue and green shades of Memento Watercolor markers