Getting Frosty with Layered Snowflake Dies
I absolutely LOVE the versatility of these Layered Snowflake Dies by Nellie's Choice! In this blog post, we will use different finishes and die cut combinations to make each snowflake unique.
I absolutely LOVE the versatility of these Layered Snowflake Dies by Nellie's Choice! In this blog post, we will use different finishes and die cut combinations to make each snowflake unique.
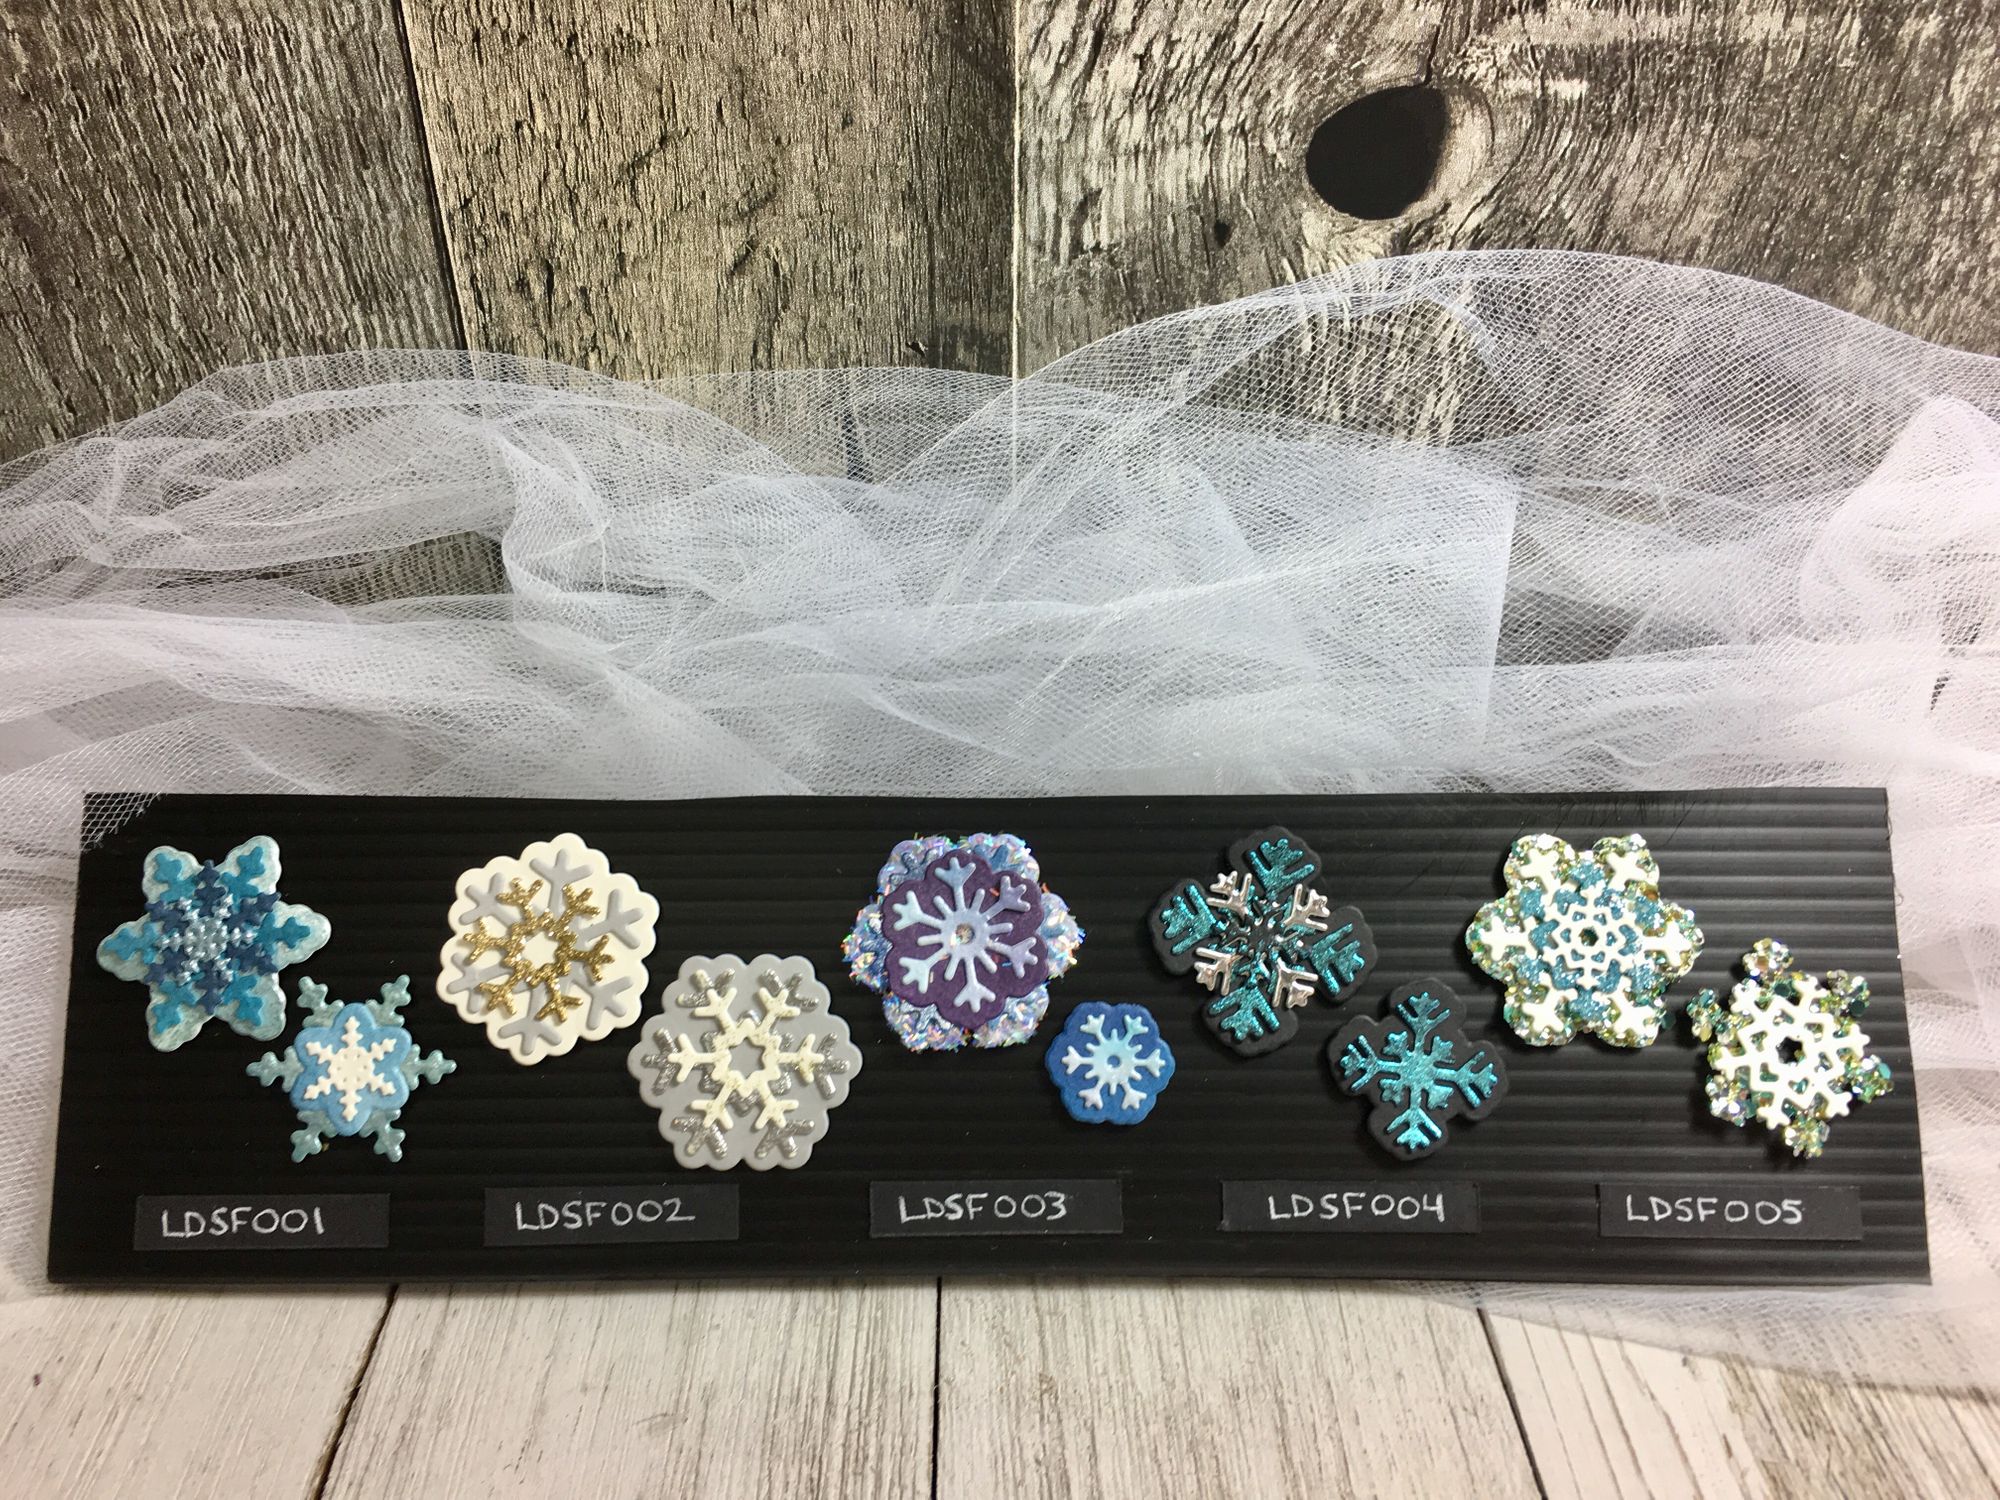
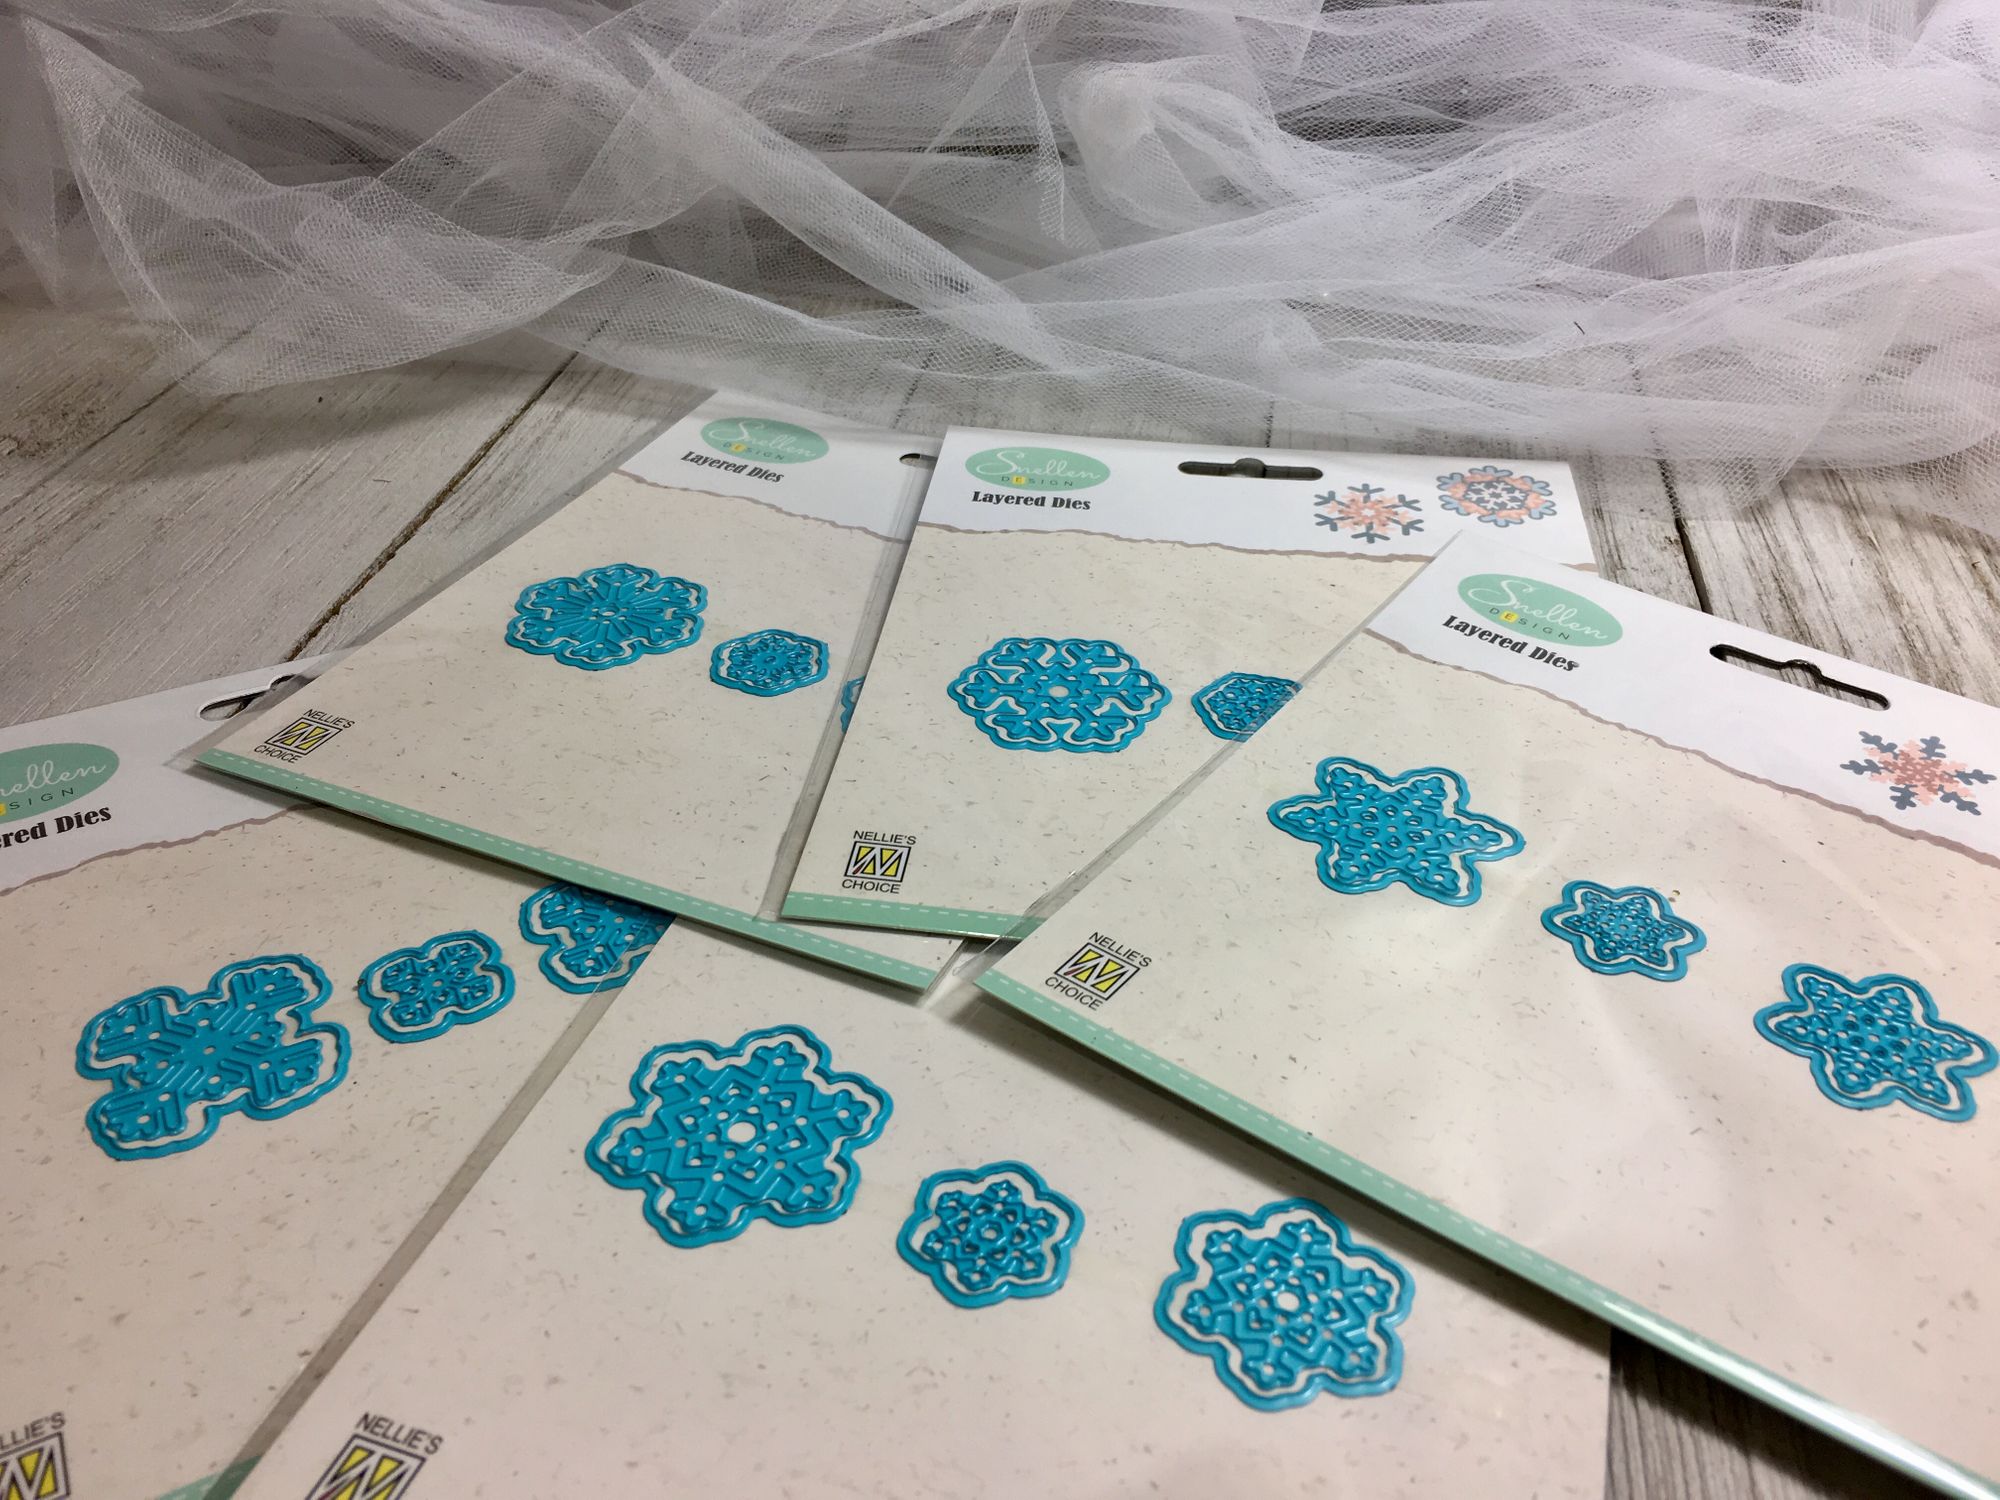
First off, within the Layered Snowflake Die collection, there are five different sets, each including three different sizes of the snowflake design (Small, Medium and Large).
Just by rotating and layering the die cuts in different ways, we can get many different versionsof each snowflake! We can also add in different colours or finishes within a colour scheme to create a blizzard effect where each snowflake is unique. These variations can be as simple or complex as you like.
Whether you're using the Layered Snowflake Dies, or any other snowflake die, here are some examples of products that could be used to create lovely and unique winter-y finishes:
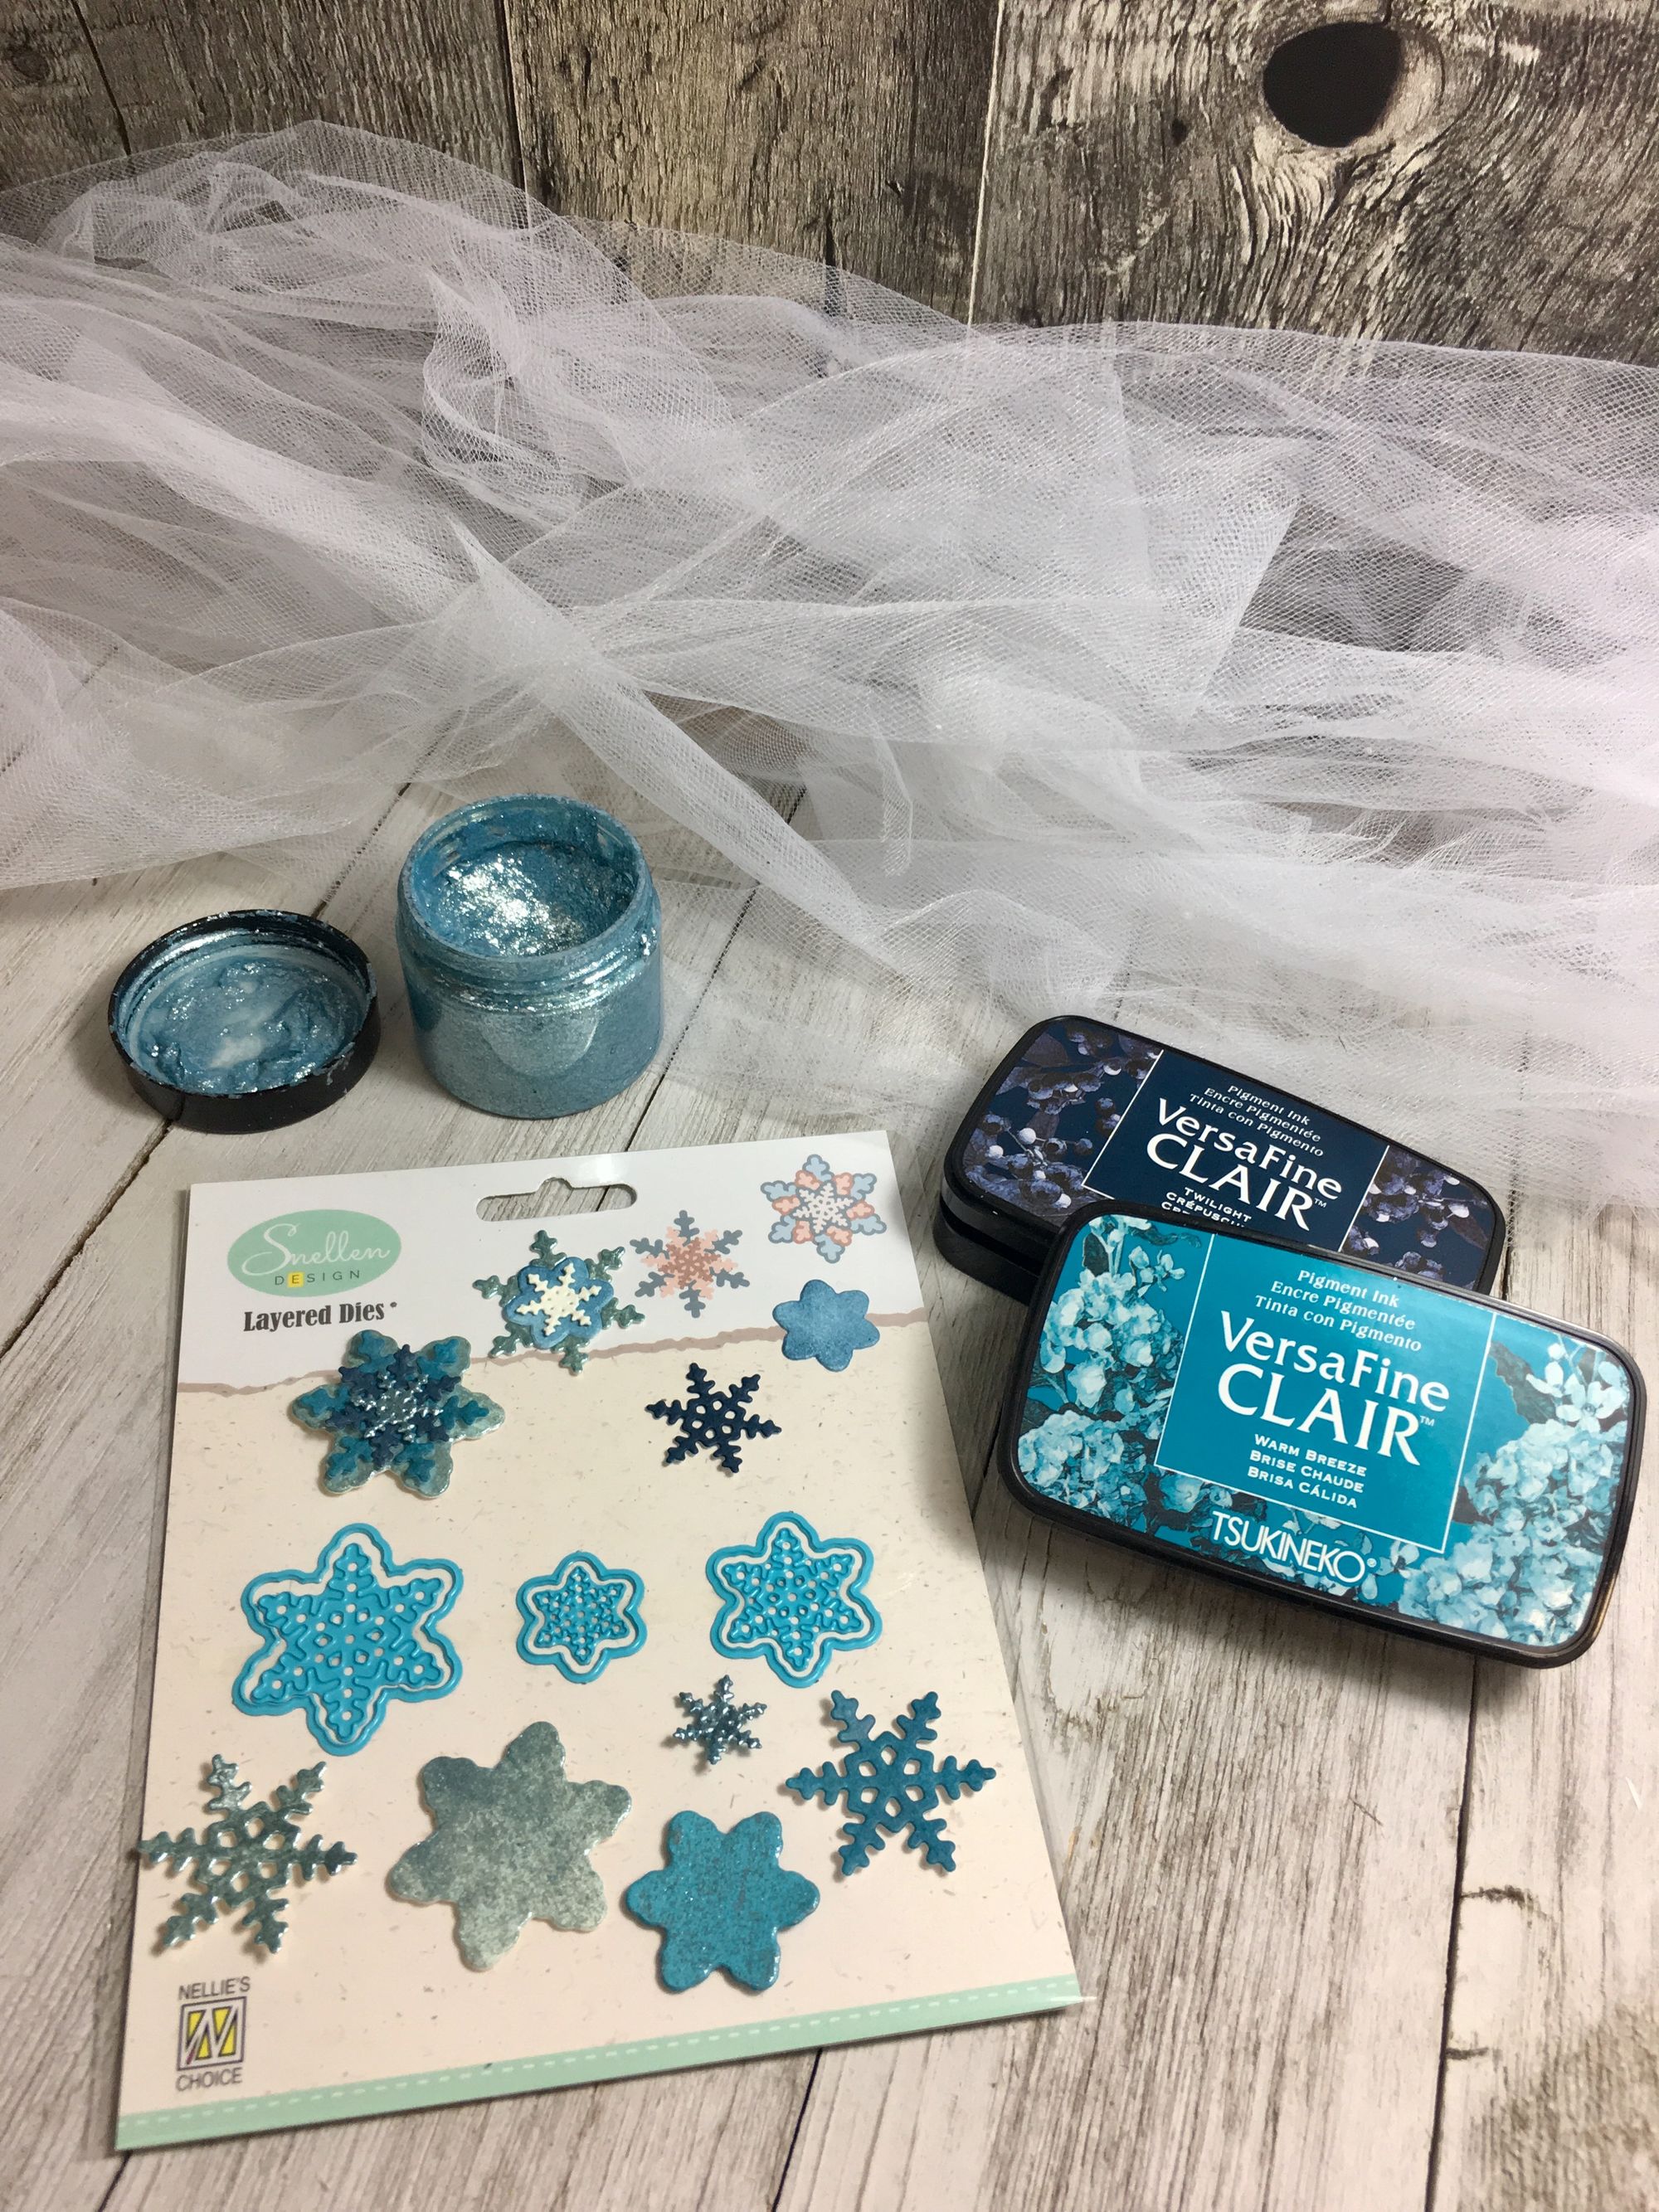
Here I polished some white card stock with the Moonlight Ocean Luna Paste and just loved the depth it gave this variation! I also added some blue hues by blending some VERSA FINE CLAIR inks.
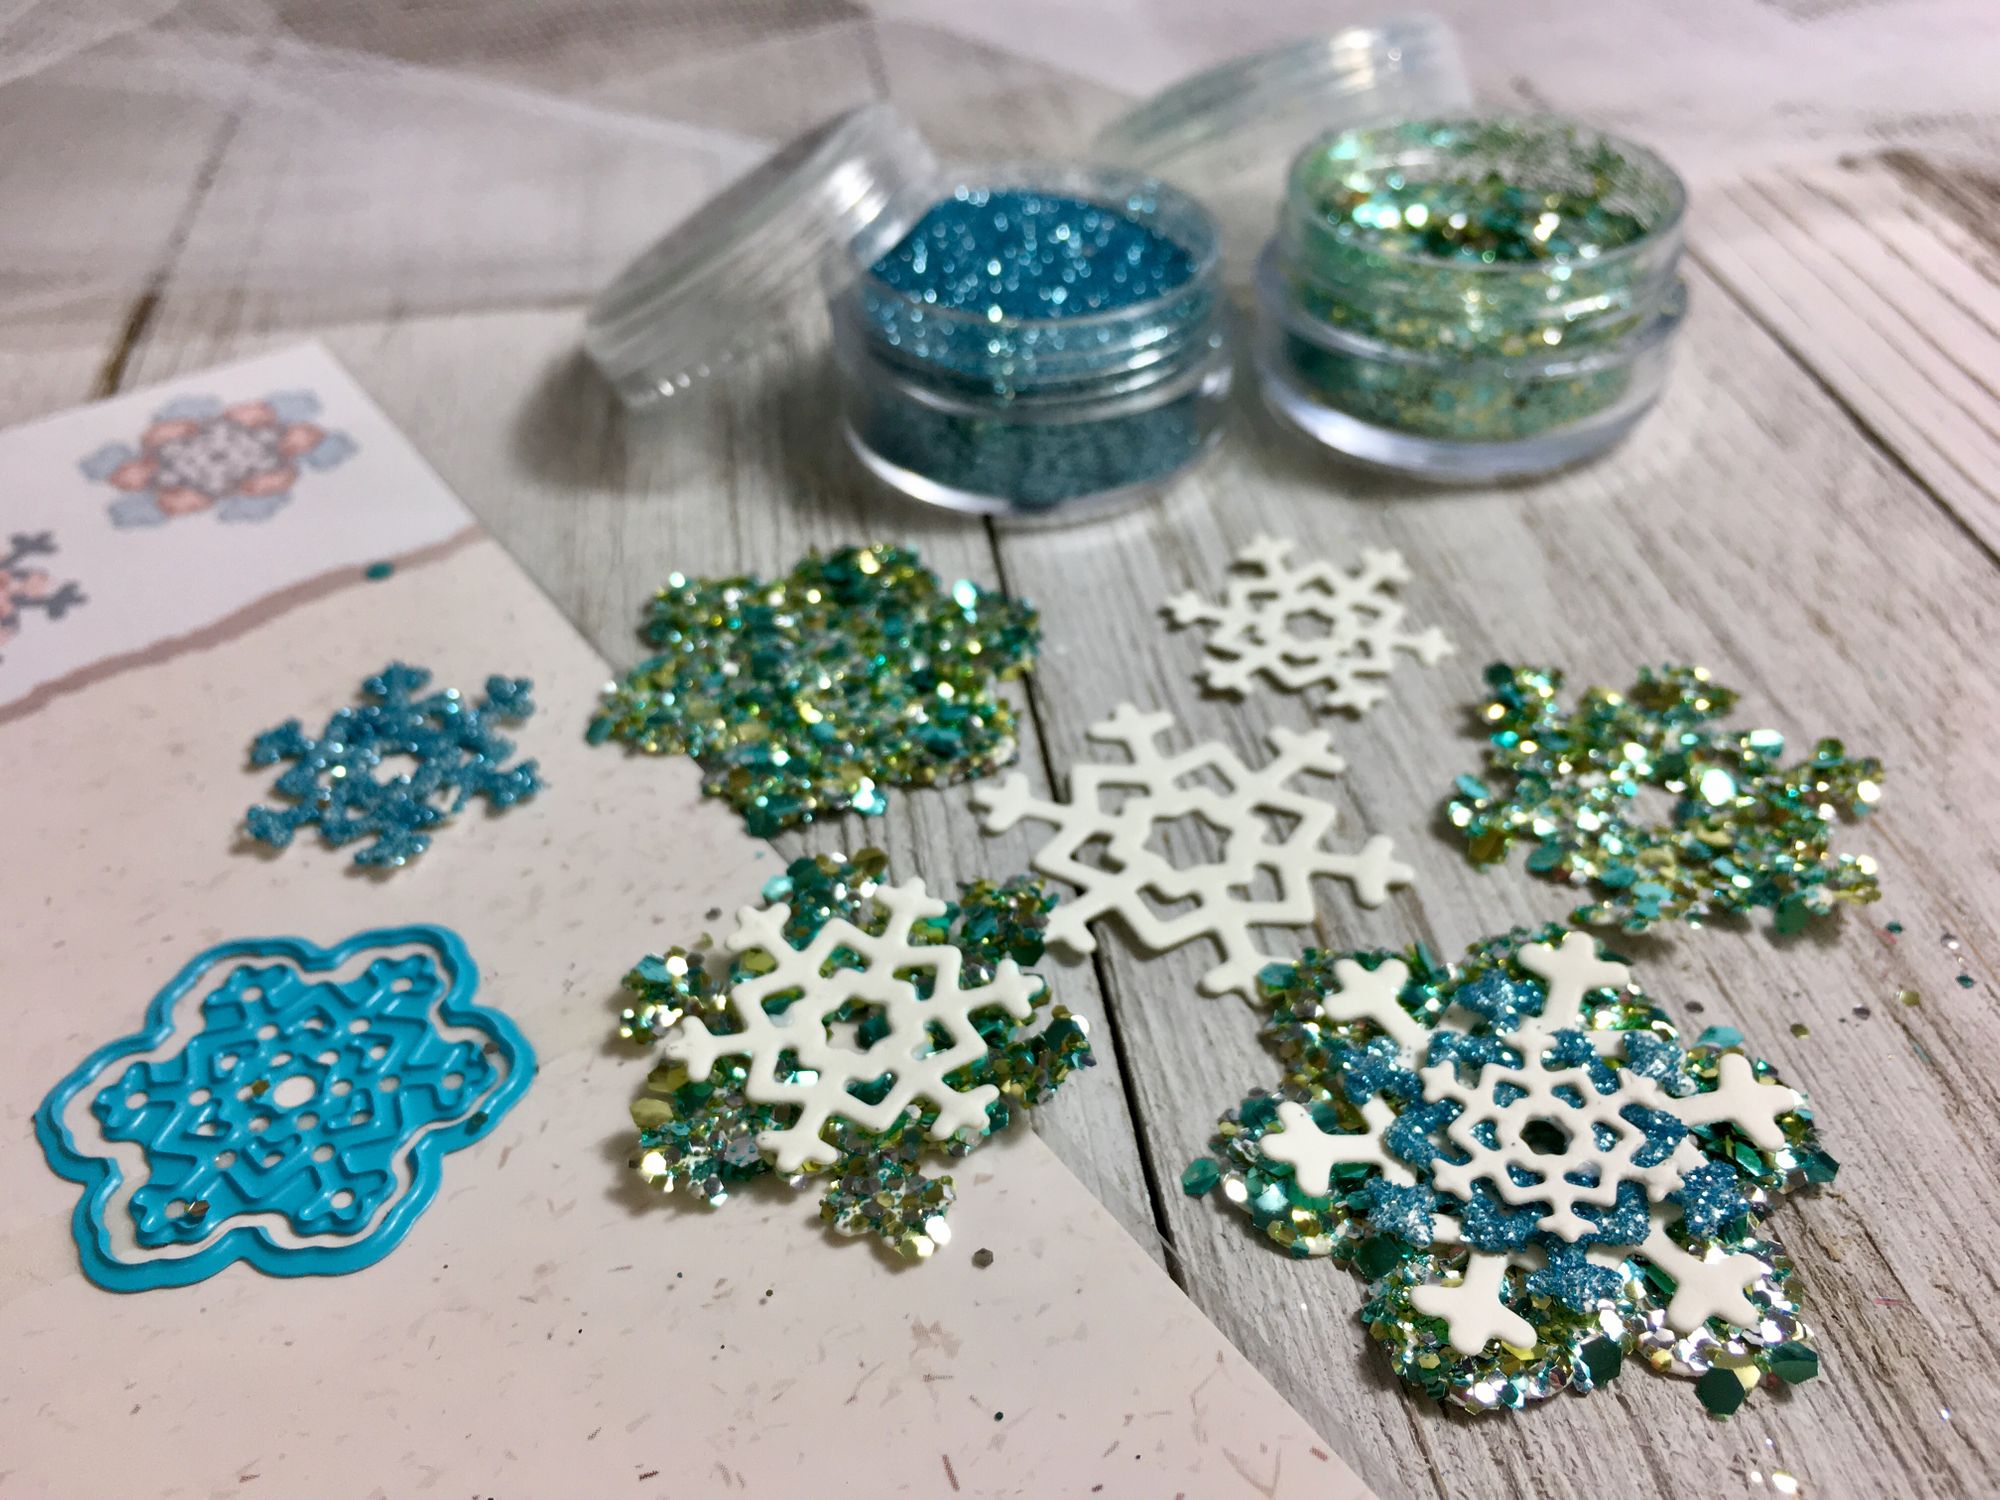
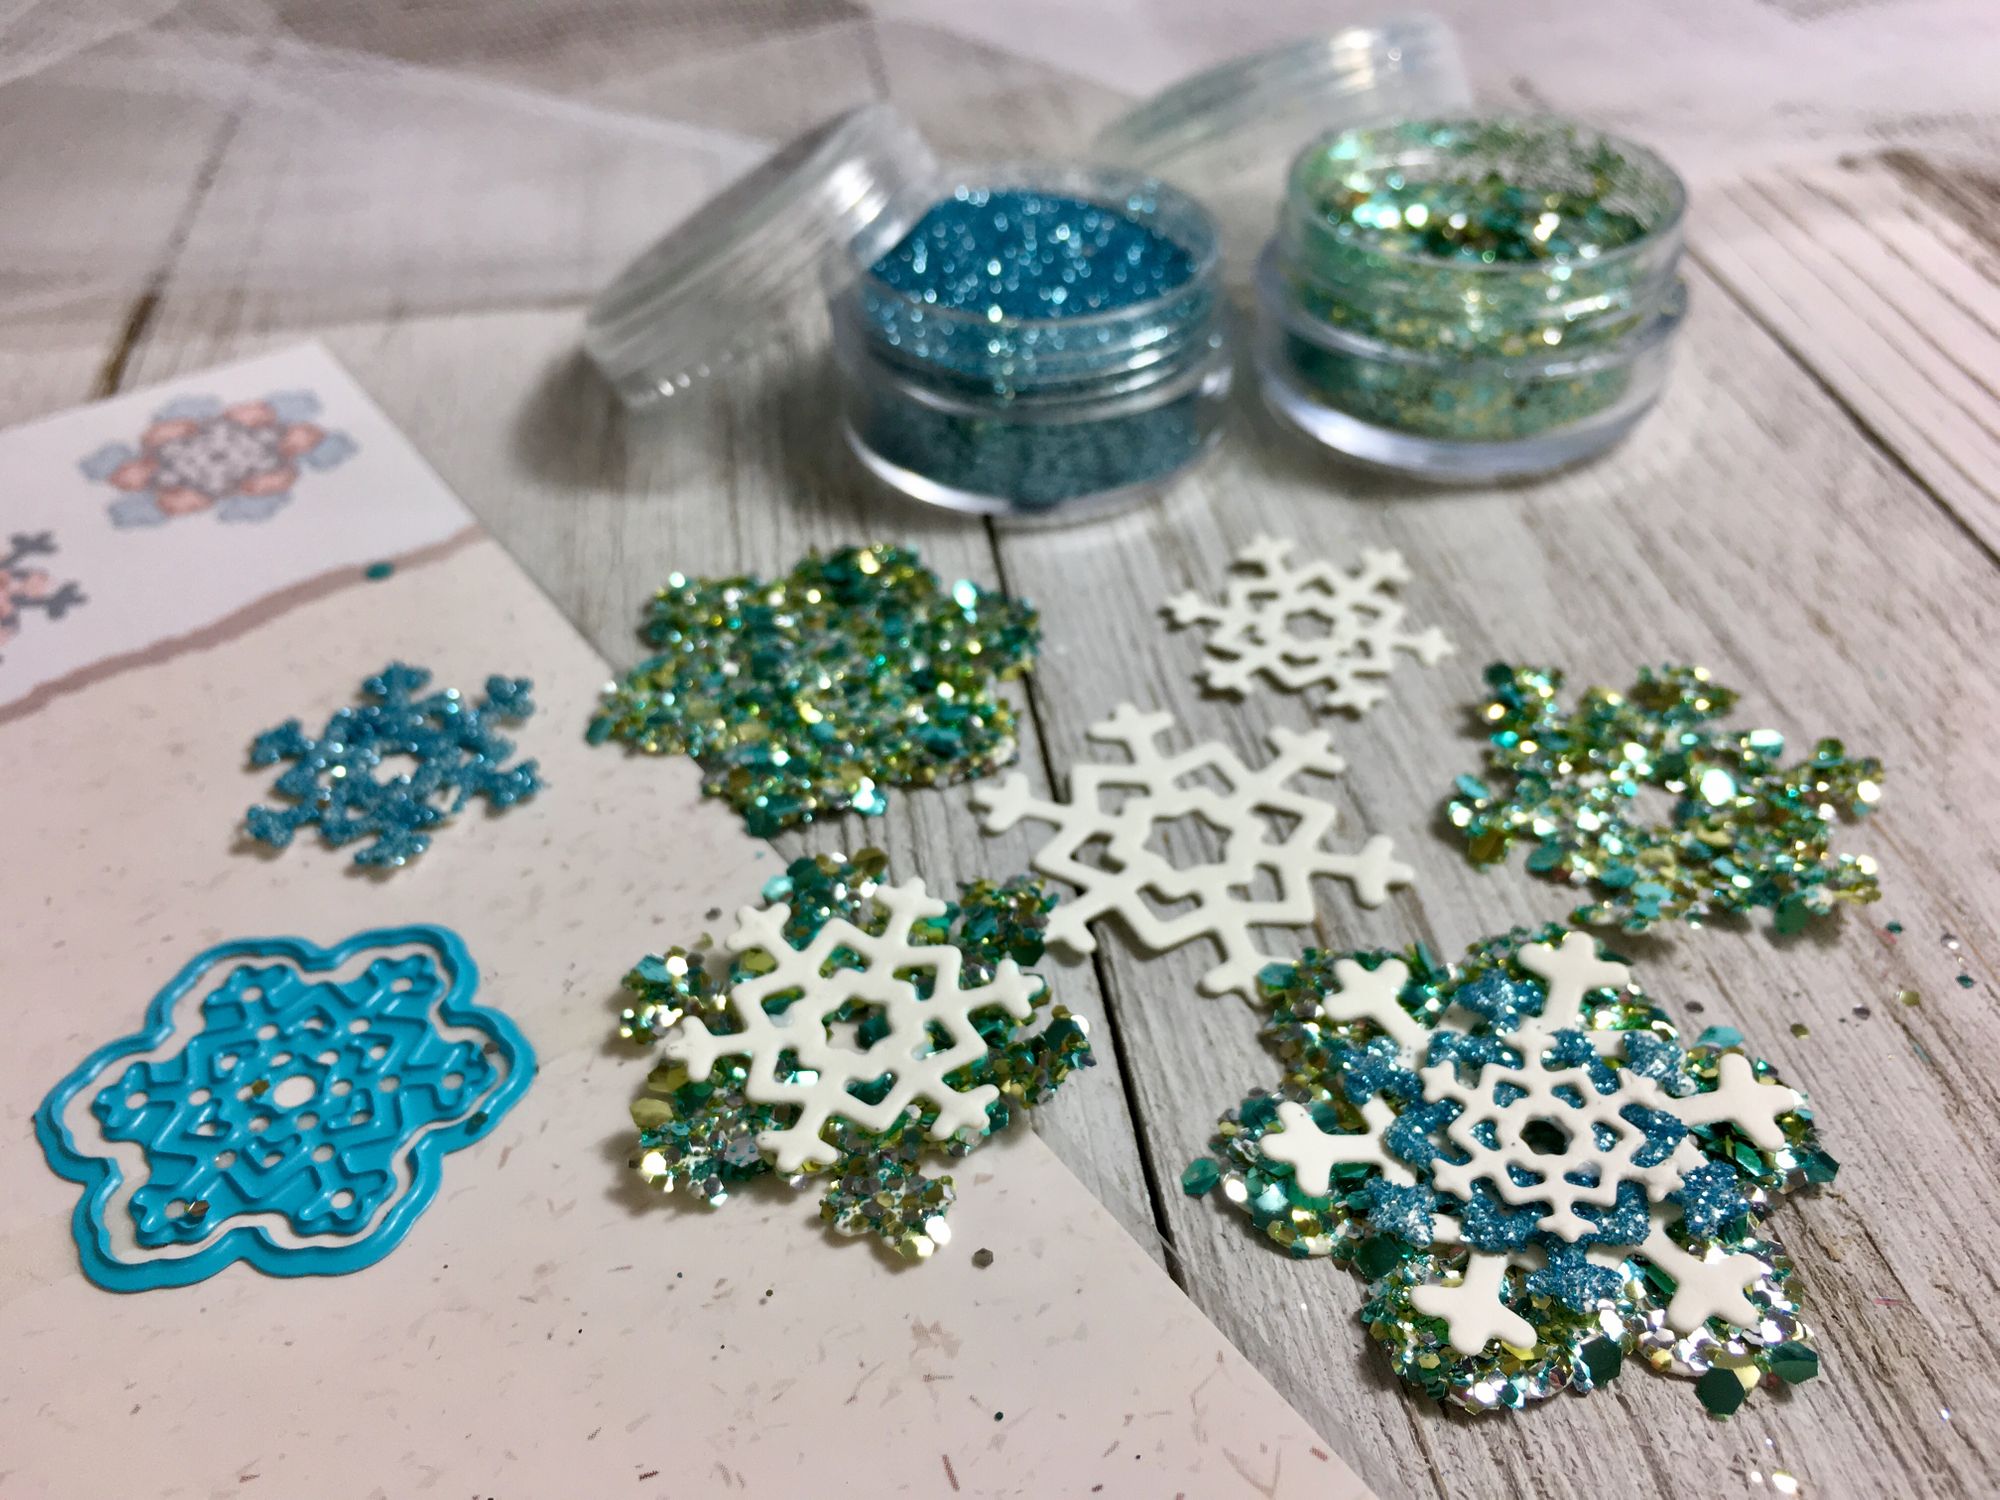
I really loved the effect these Biodegradable Glitters by Cosmic Shimmer made when applied with some Flake and Glitter Glue. I used Sparkling Sage which was my favourite. I like the different sizes of glitter flakes add depth to these snowflakes. I also used Ocean Blue for a finer glitter as an accent colour.
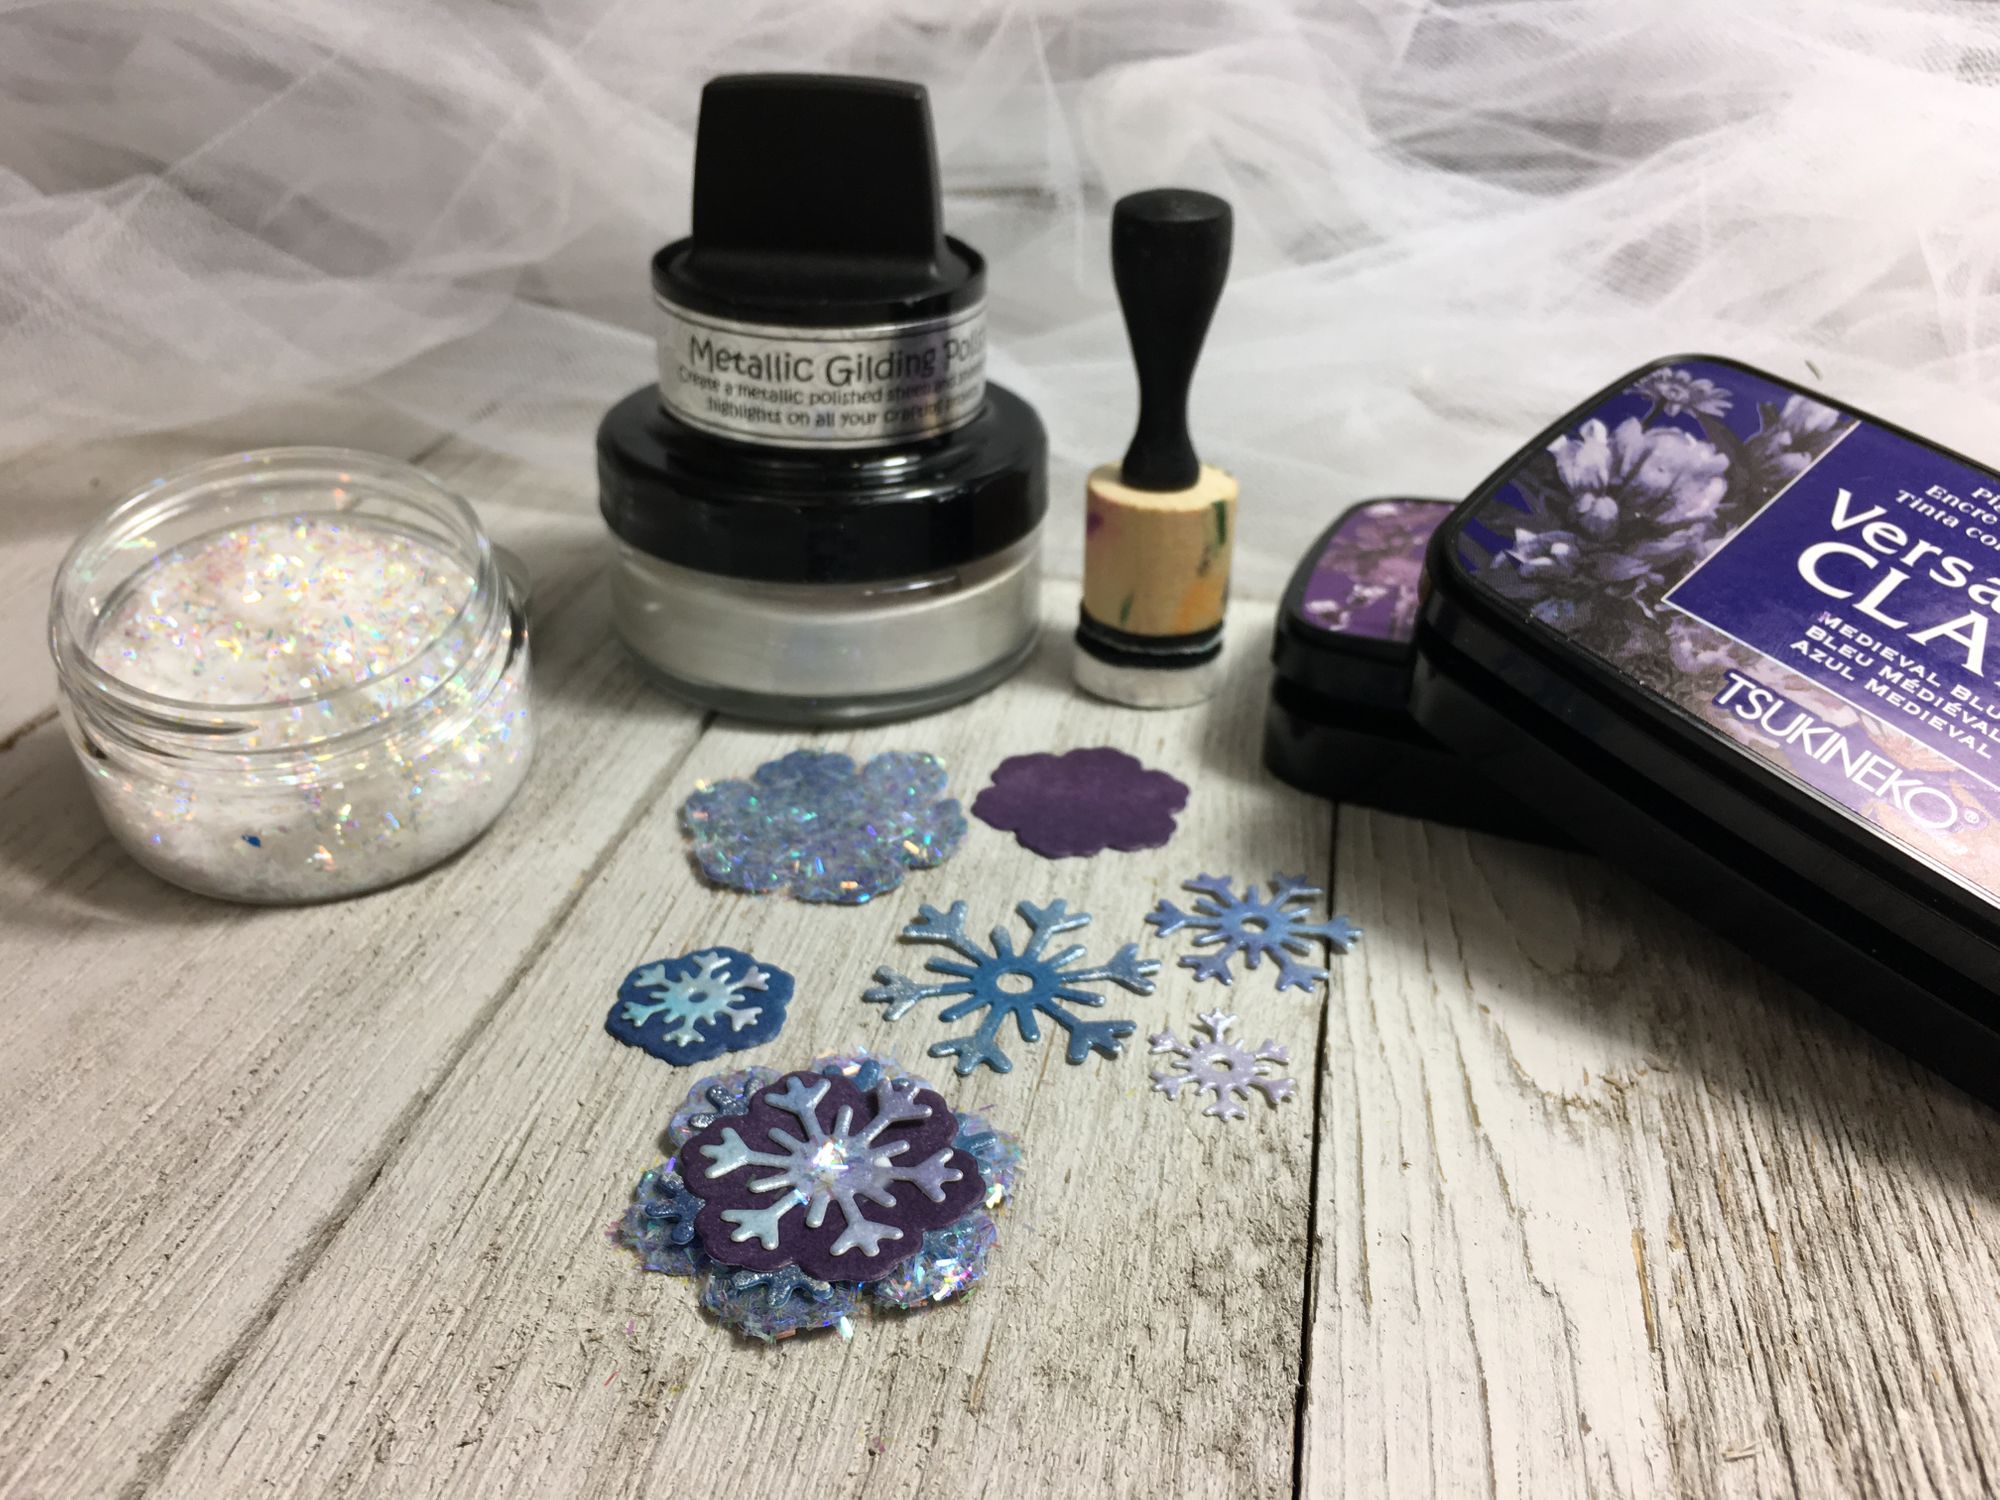
I think these COSMIC SHIMMER GLITTER JEWELS in Icicle Sparkle turned out to be my favourite finish, along with some purple and blue toned VERSA FINE CLAIR inks. They just turned out so perfectly icy! I added another layer of intricacy by finishing off the tips of the snowflakes with some Pearl Luster Gilding Polish.
I used this last snowflake set as inspiration for a card using the whole collection of Layered Snowflake Dies.
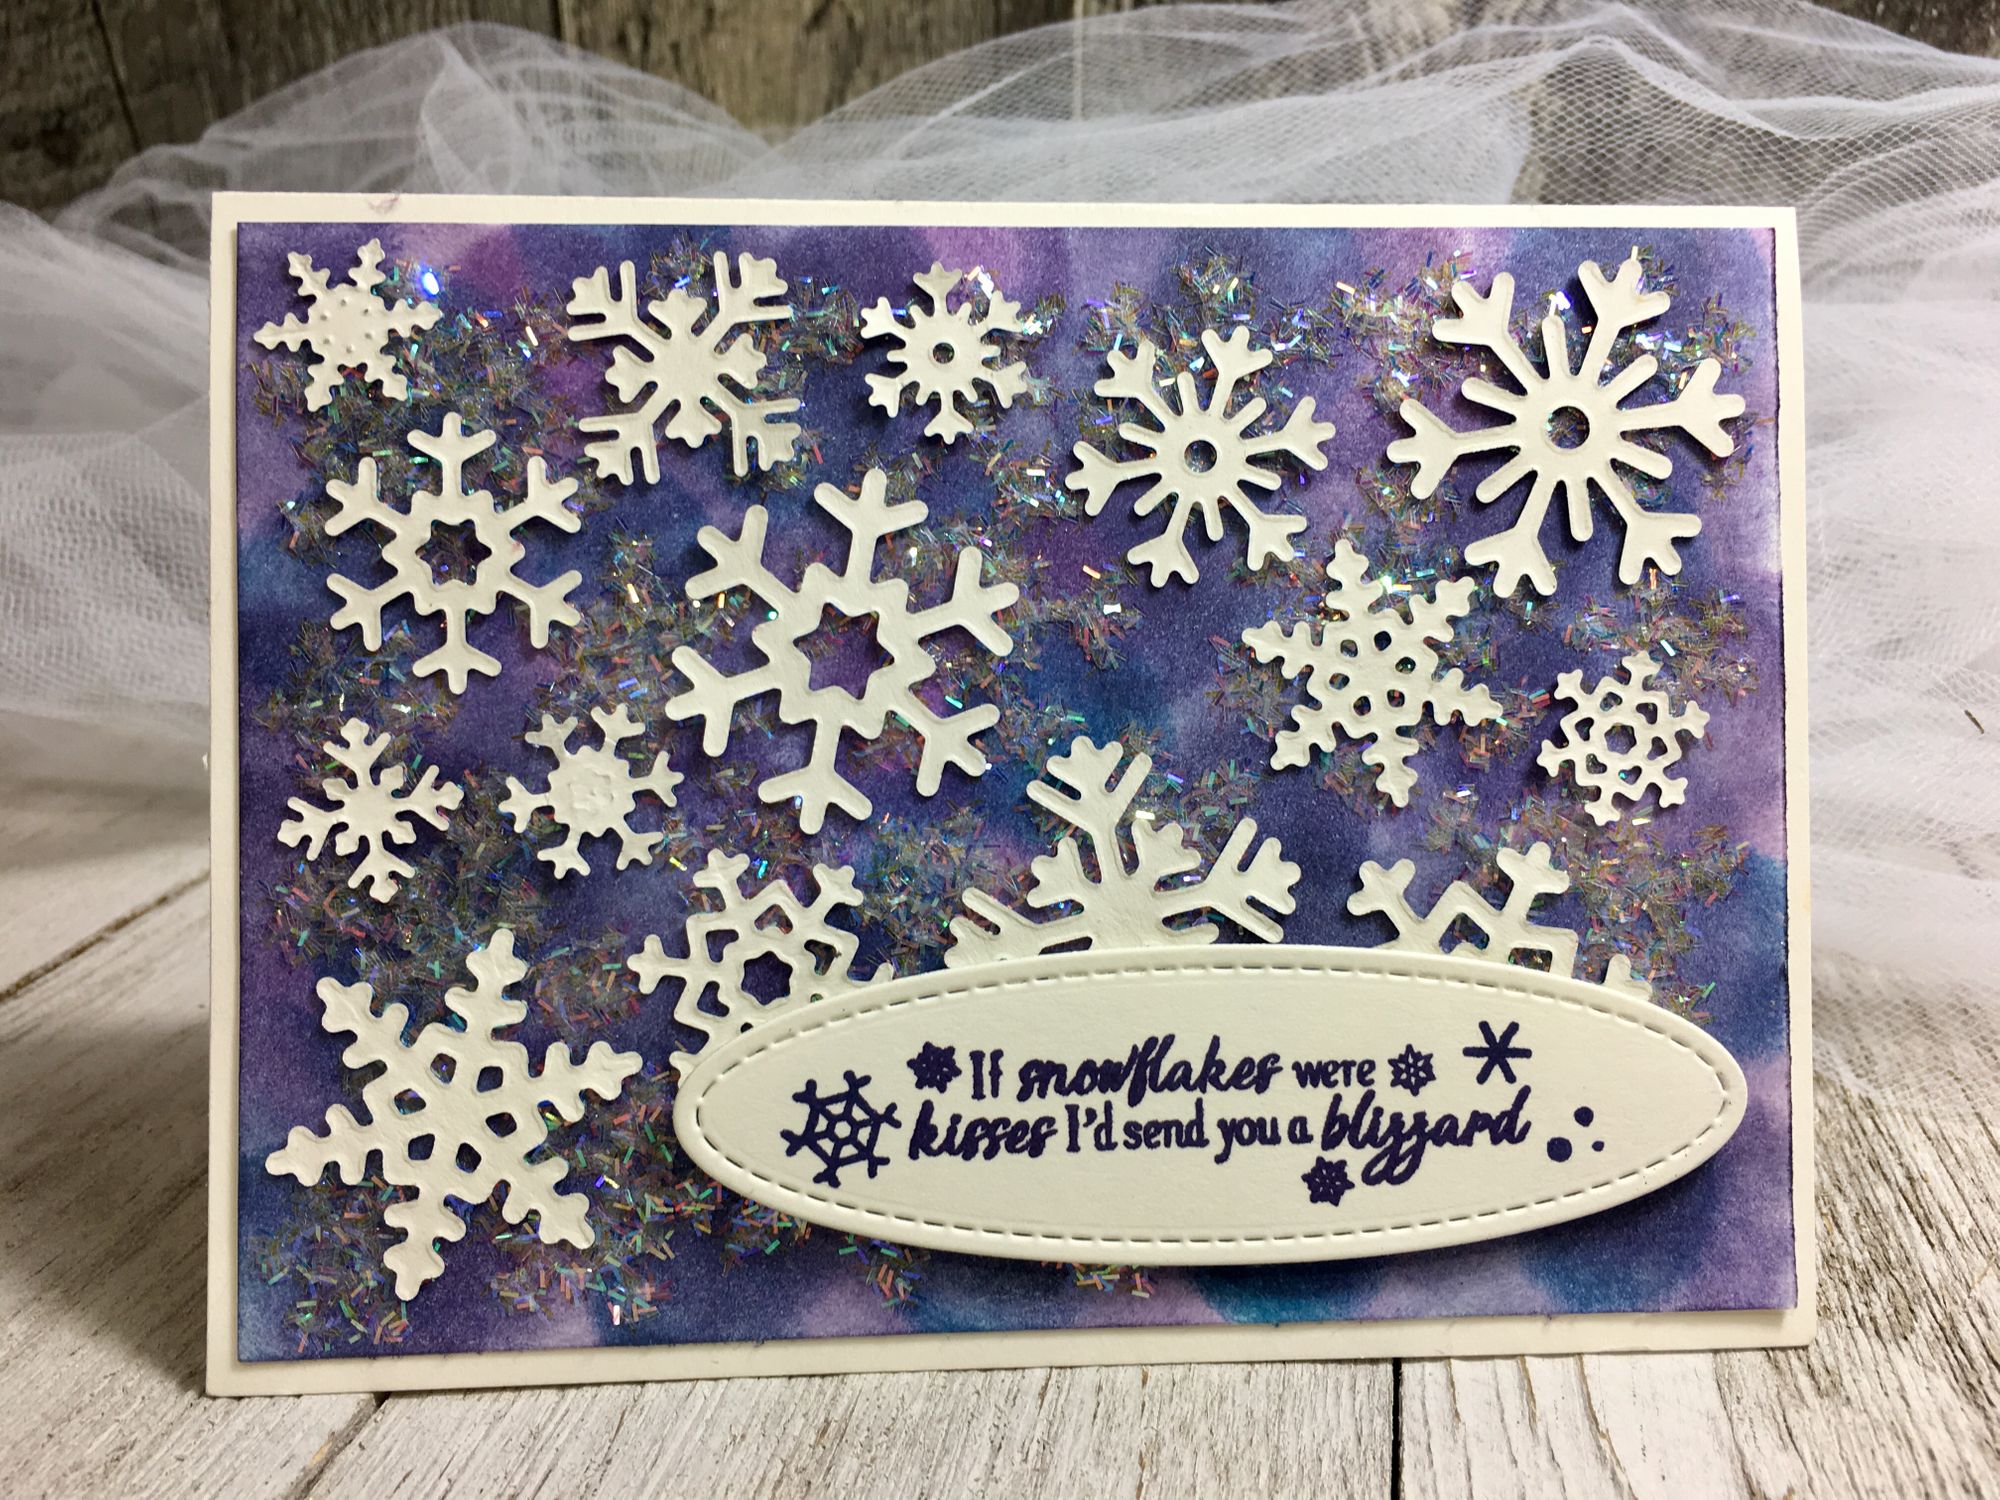
The background is done with the VERSA FINE CLAIR inks applied using a blending sponge, then I cut out snowflakes on a Tape Sheet and stuck them on to the background.
I then peeled off the top layer of the Tape Sheet Snowflakes and dusted the card with the COSMIC SHIMMER GLITTER JEWELS in Icicle Sparkle.
Next I cut out more snowflakes from white cardstock and applied them to the card.
I finished the card off with a cute sentiment from a Sparkling Snowflakes stamp set from Hunkydory.
I hope these cute little snowflakes help to get you excited for the winter season, and serve as some inspiration for your winter card making!
We'd love to see the snowflakes you create! Show off your designs on our Facebook Group: Crafting with Ecstasy or on Instagram by using the hashtag #craftingwithec