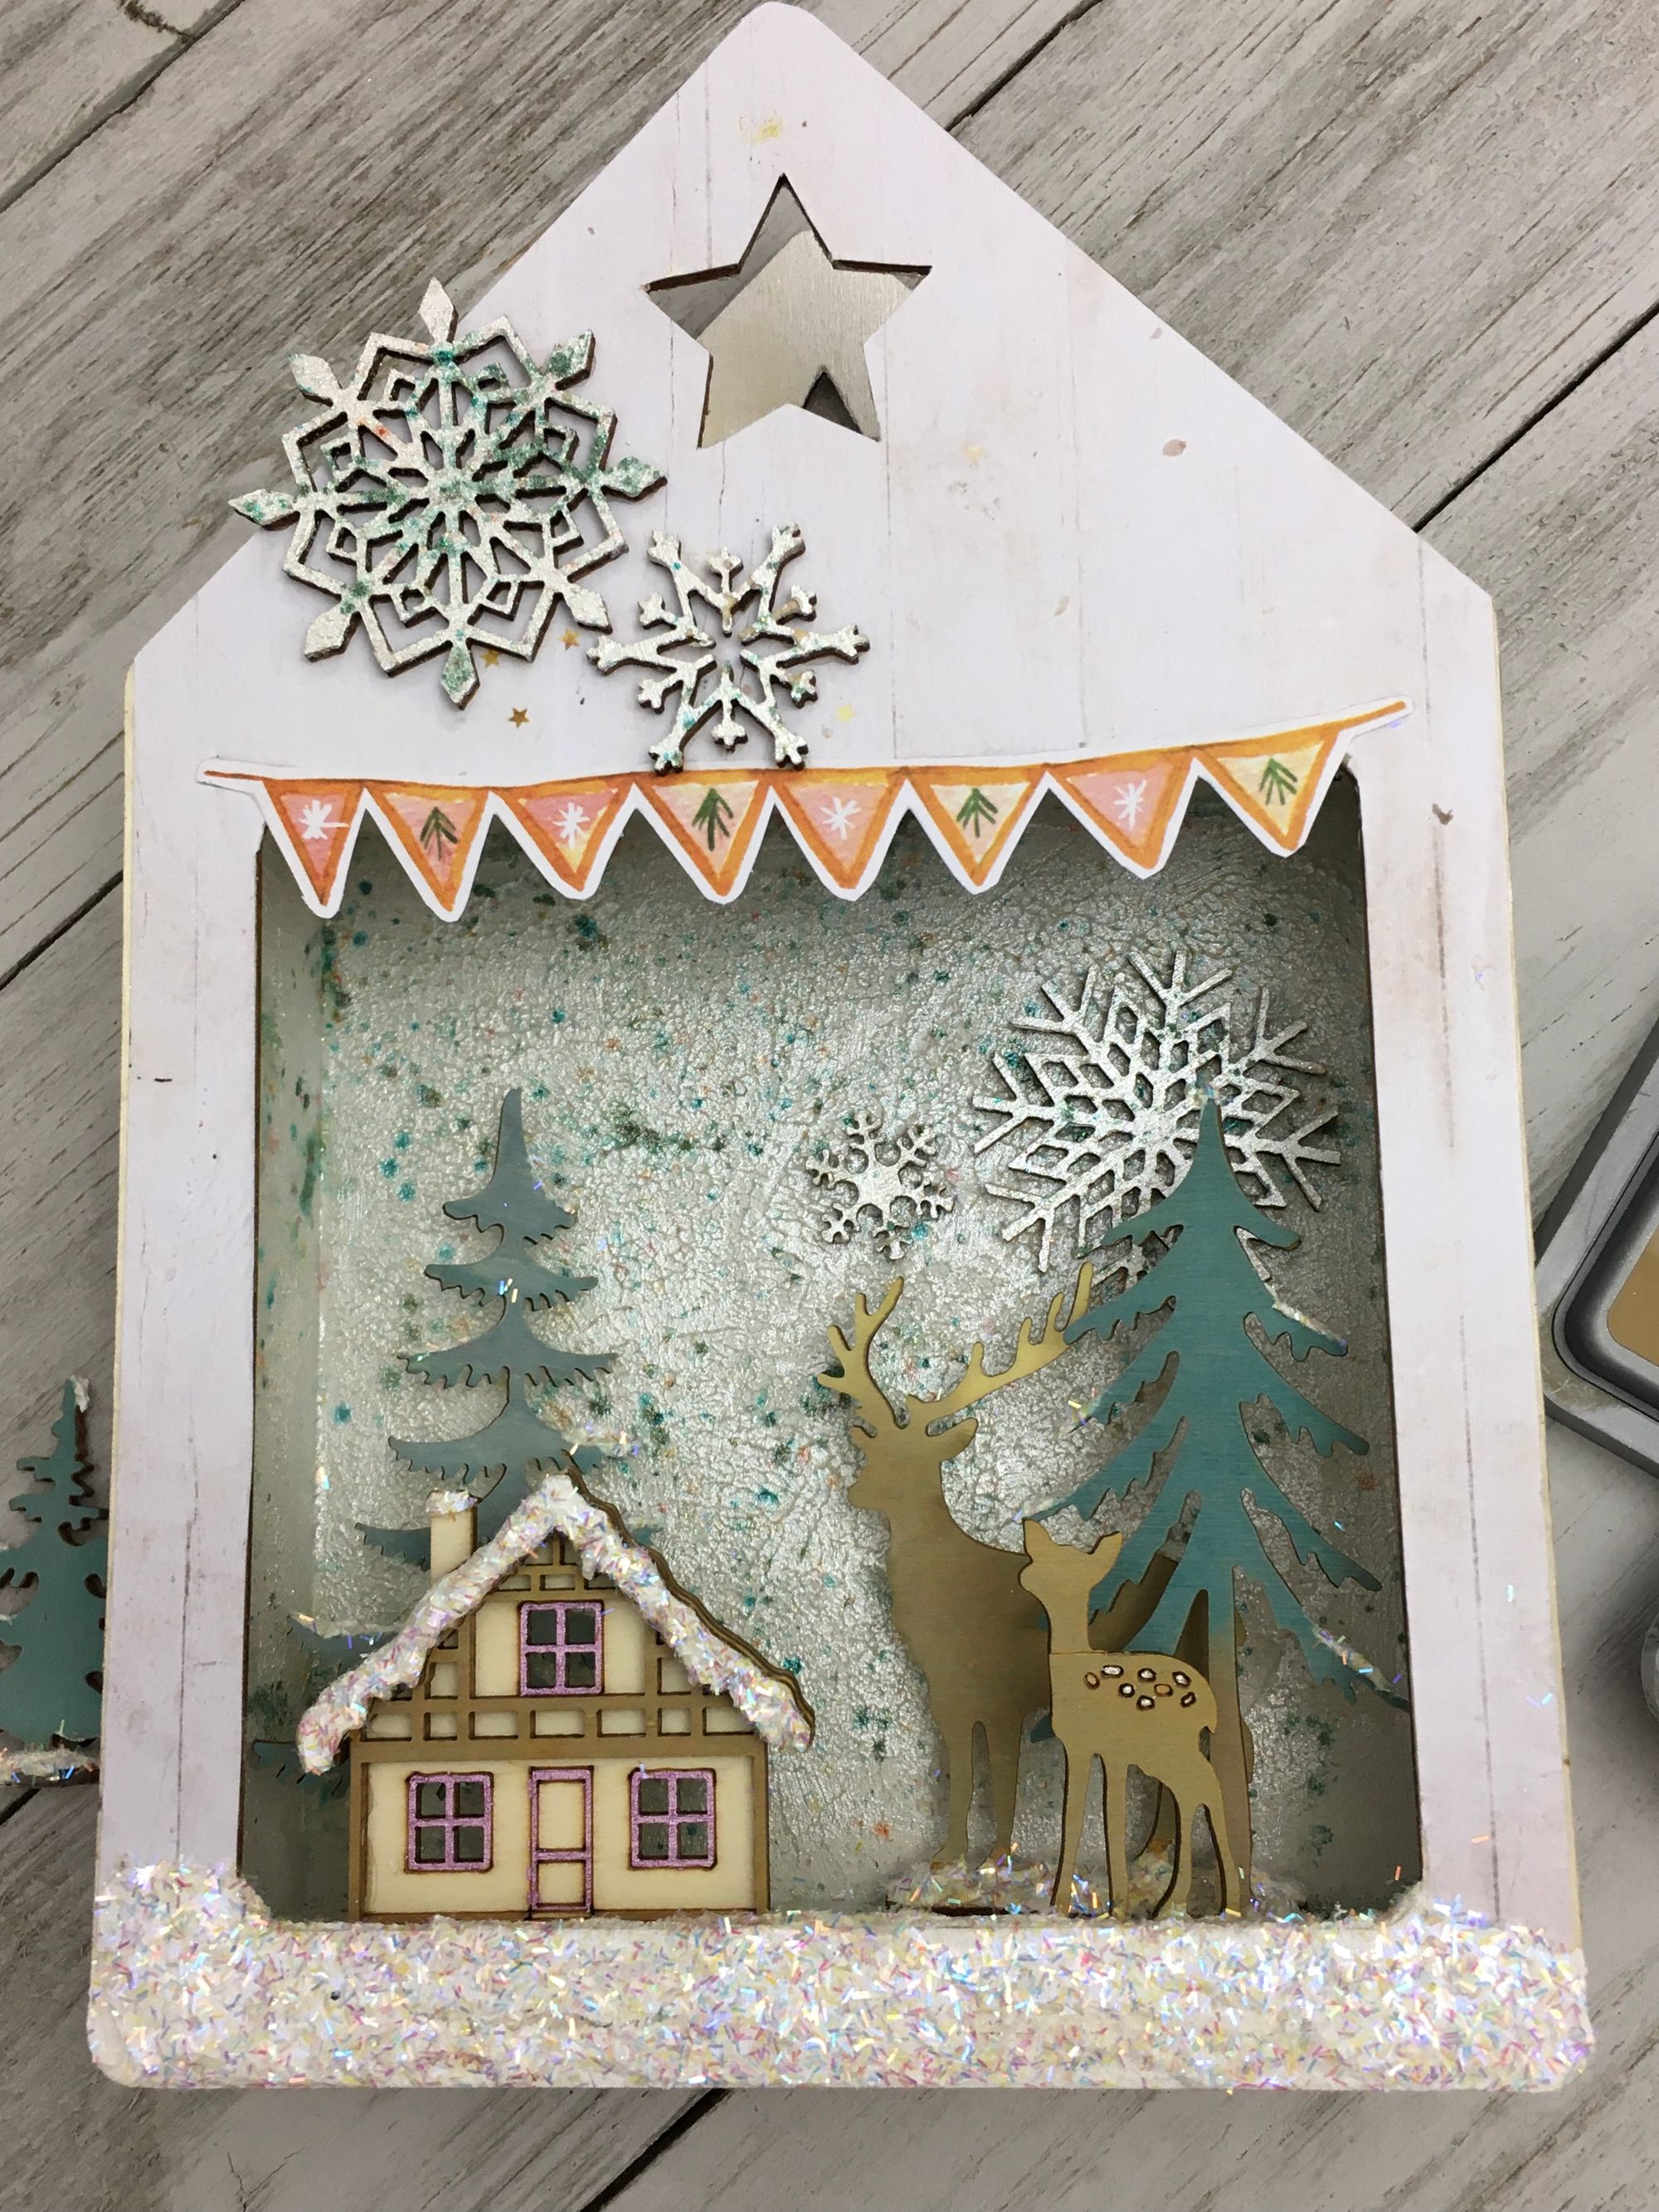
Layered Mixed Media Techniques
Playing with different mediums to create depth and dimension in a 3D Christmas Scene.
Follow along with the video and written instructions to be inspired!
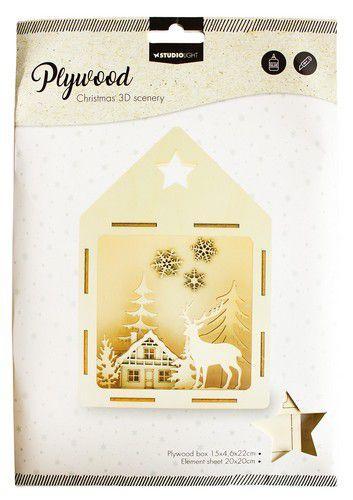
For this project, we use a Plywood Christmas 3D Scenery set as our canvas, however, the techniques can be applied to any paper or plywood surface. I definitely want to try some of them out with the Heffy Doodle Shadow Box Die Set.
We begin by attaching all of the elements in this set using acrylic glue, except for the front face of our scene. This will be attached once we have decorated our scene.
Layer Mediums to Create a Detailed Background:
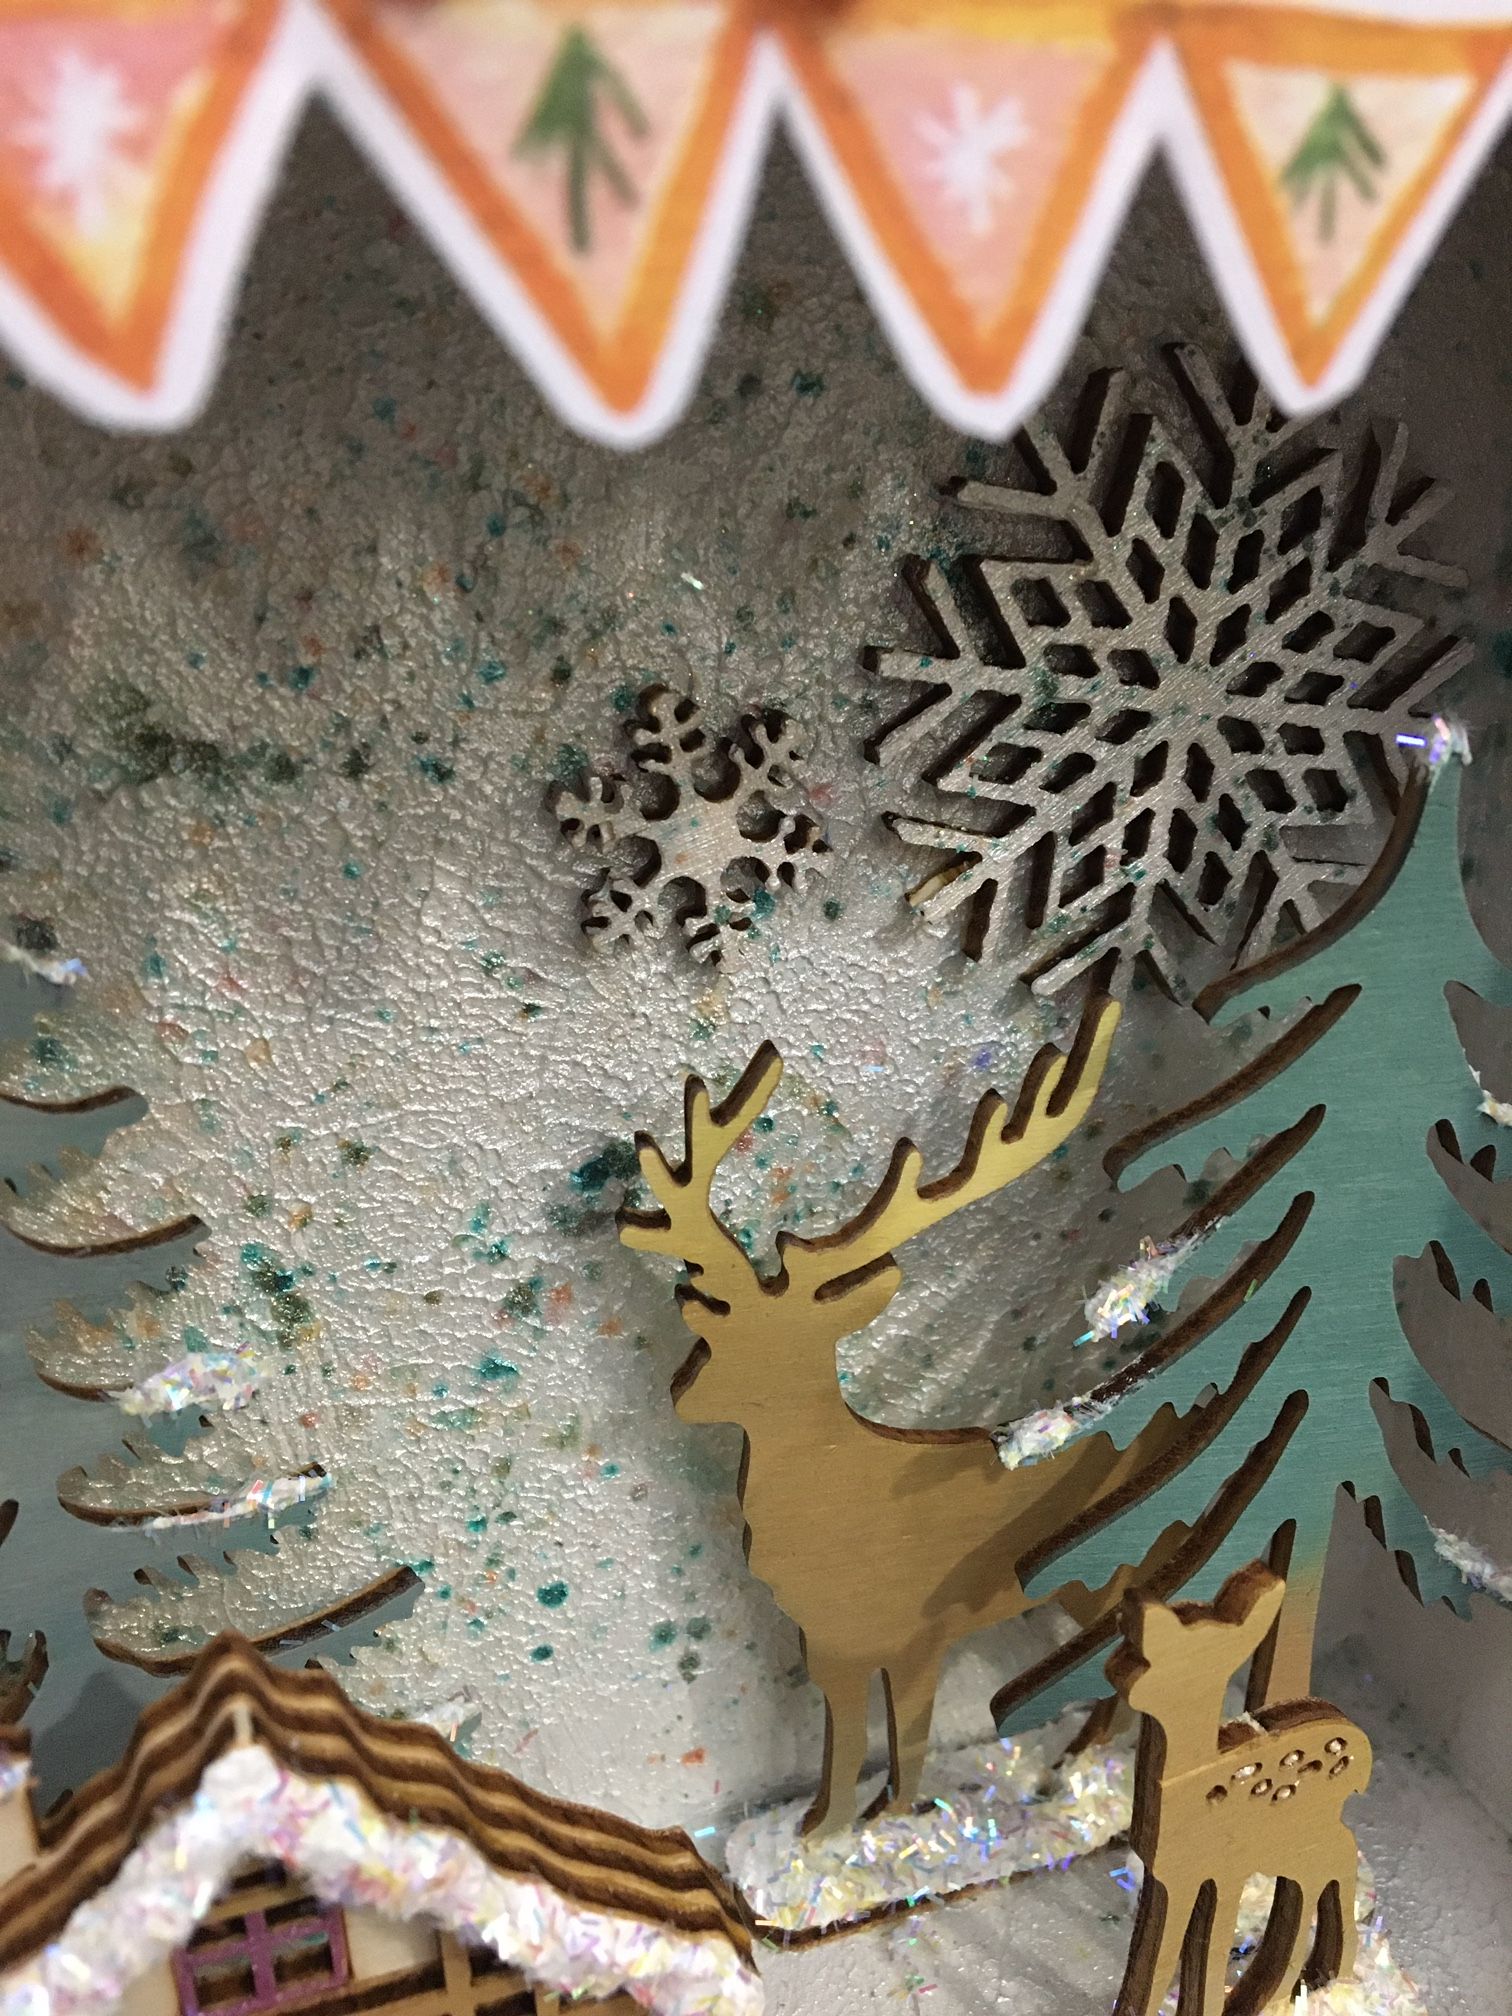
To create the textured background, we first apply Structure Paste using a palette knife. Once we have a nice base layer on, we tap the flat surface of the knife on the applied paste to create a stippled effect.
Once the texture paste is dry, we coat the background with Pearl Luster Gilding Polish using the built in applicator and a small foam brush to add some sheen to this winter-y background.
Next, we lightly dust the background with Pixie Powder in Spearmint, to really bring together the winter forest scene. Once the background is dusted, we spritz with water to activate the pigments in the Pixie Powder.
The Gilding Polish and Pixie Powders can also be applied to the Plywood snowflakes to tie them into the scene.
Using Paper Products to Finish the Exterior:
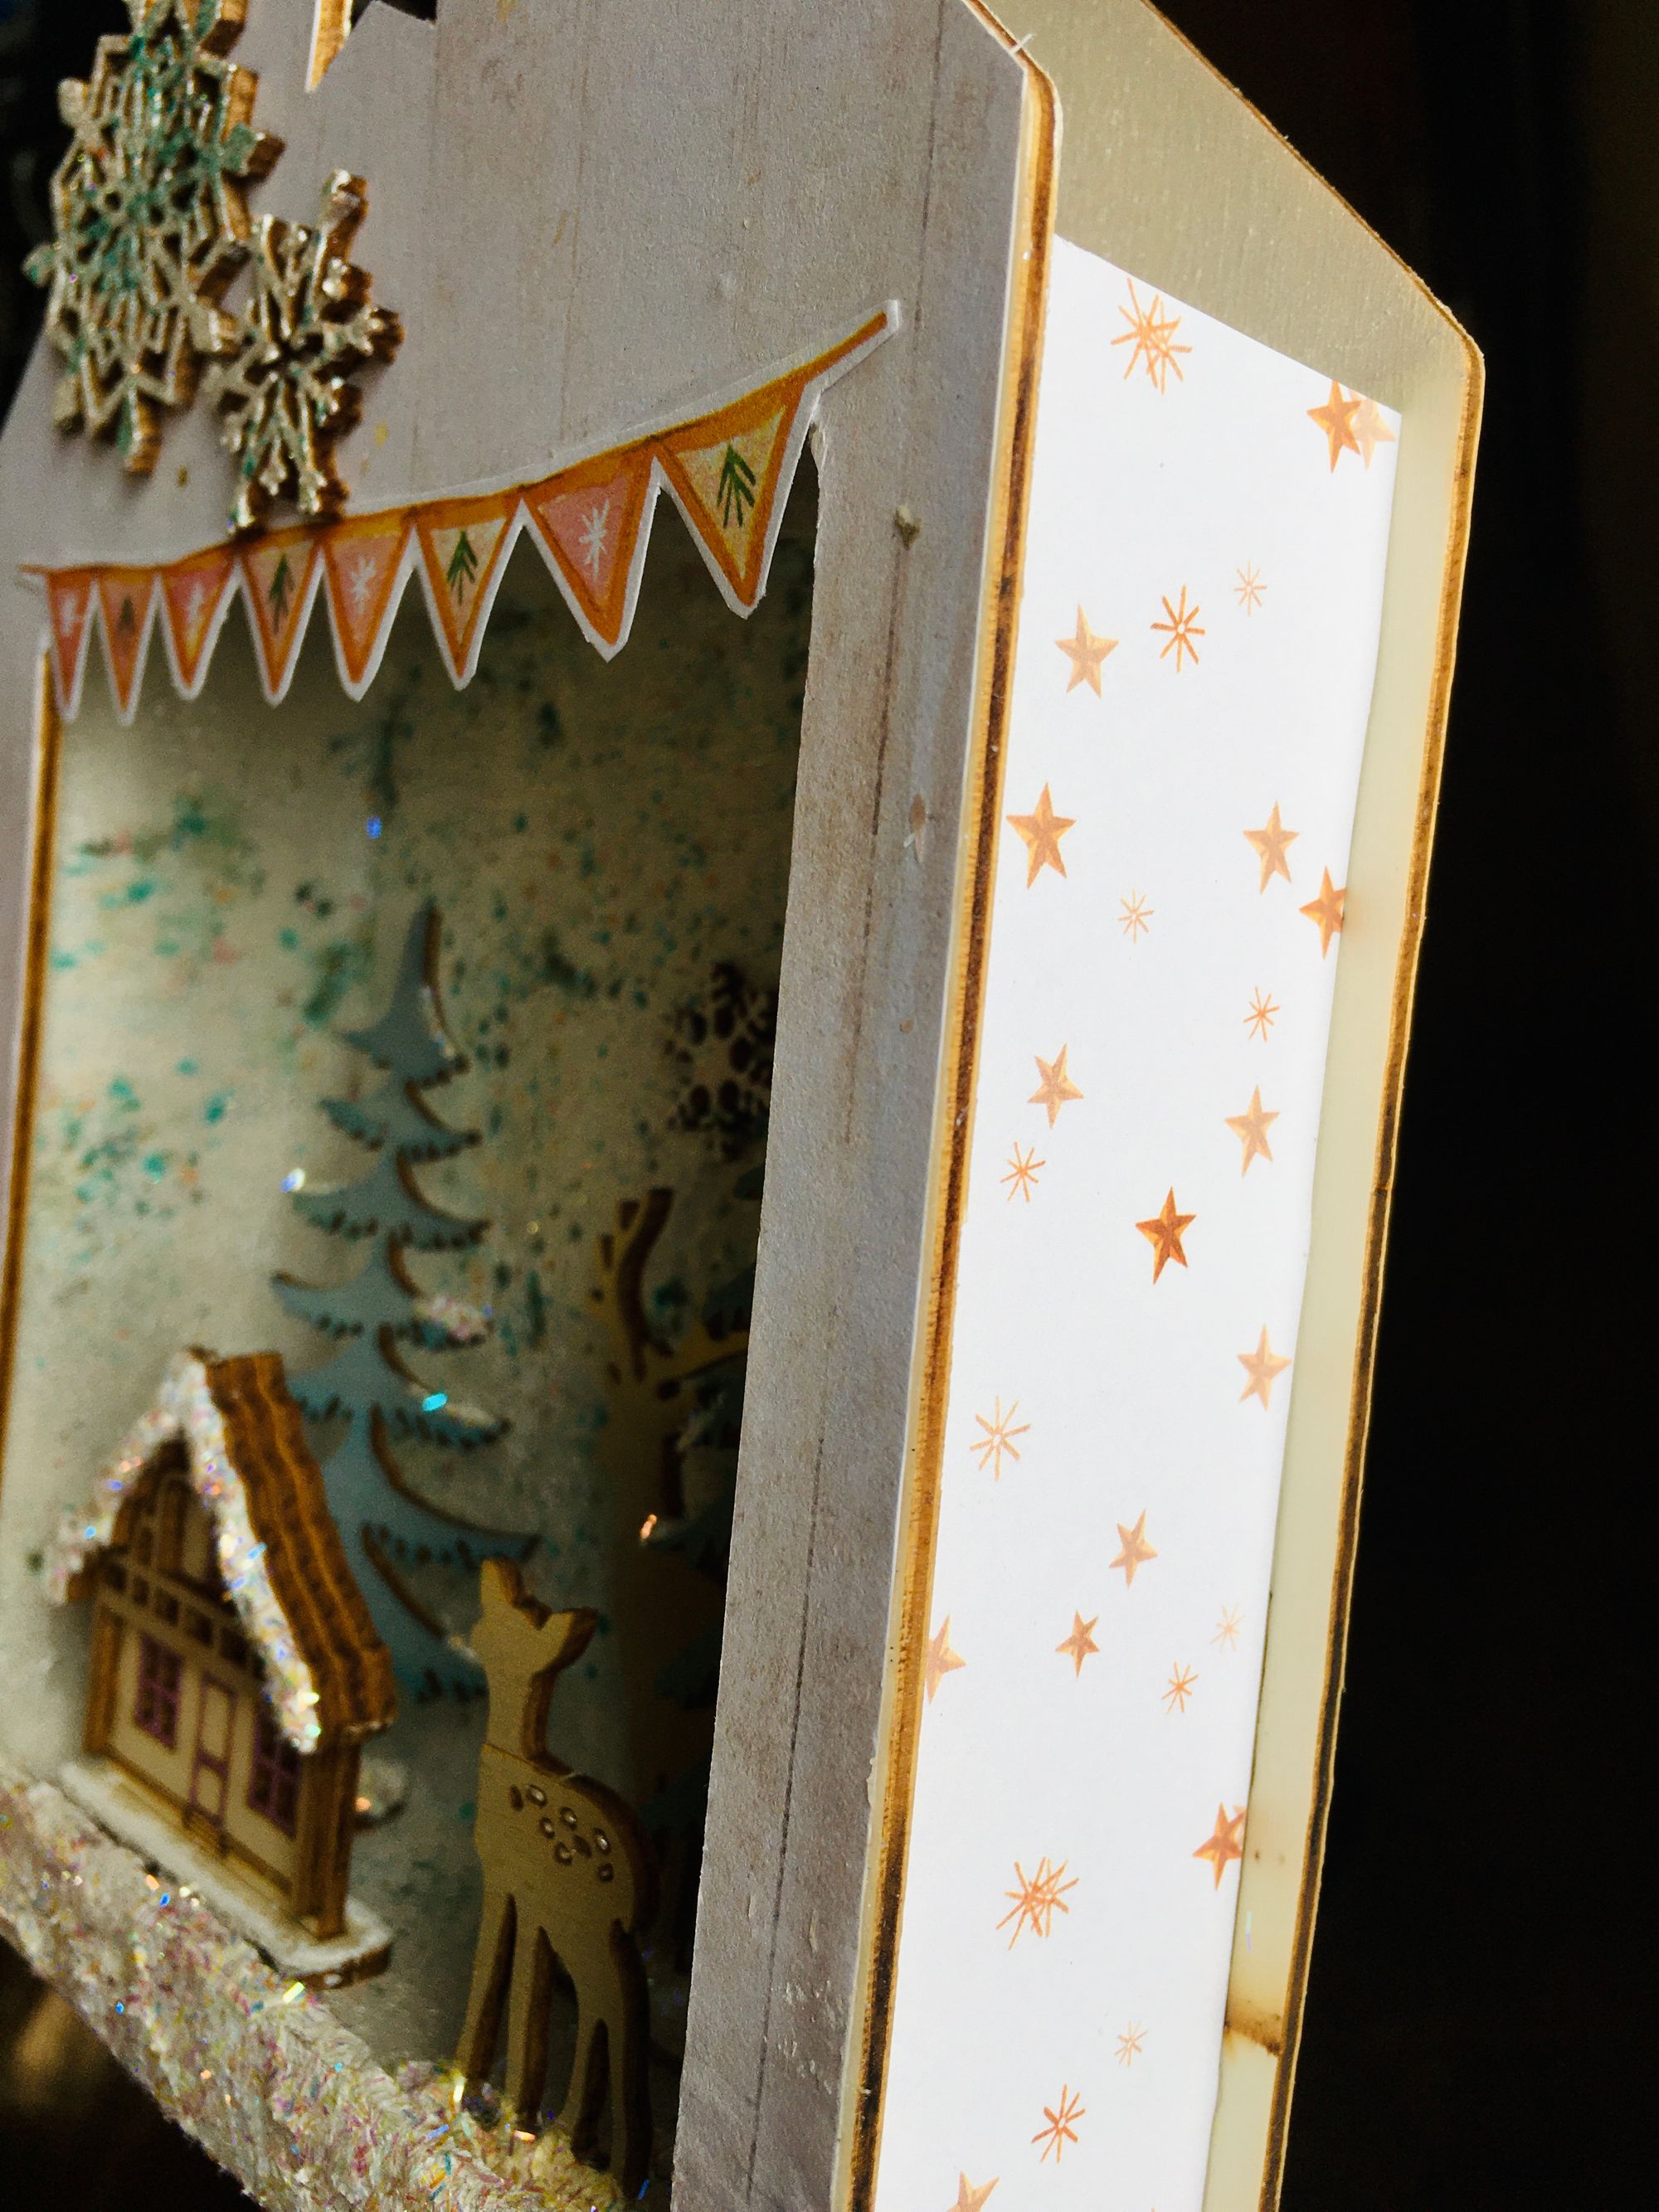
By cutting coordinating paper to shape, and applying with a small amount of acrylic glue, we can easily give the exterior of the plywood a more finished appearance that it would be if we just left the plywood exposed.
Decorating the Plywood Elements:
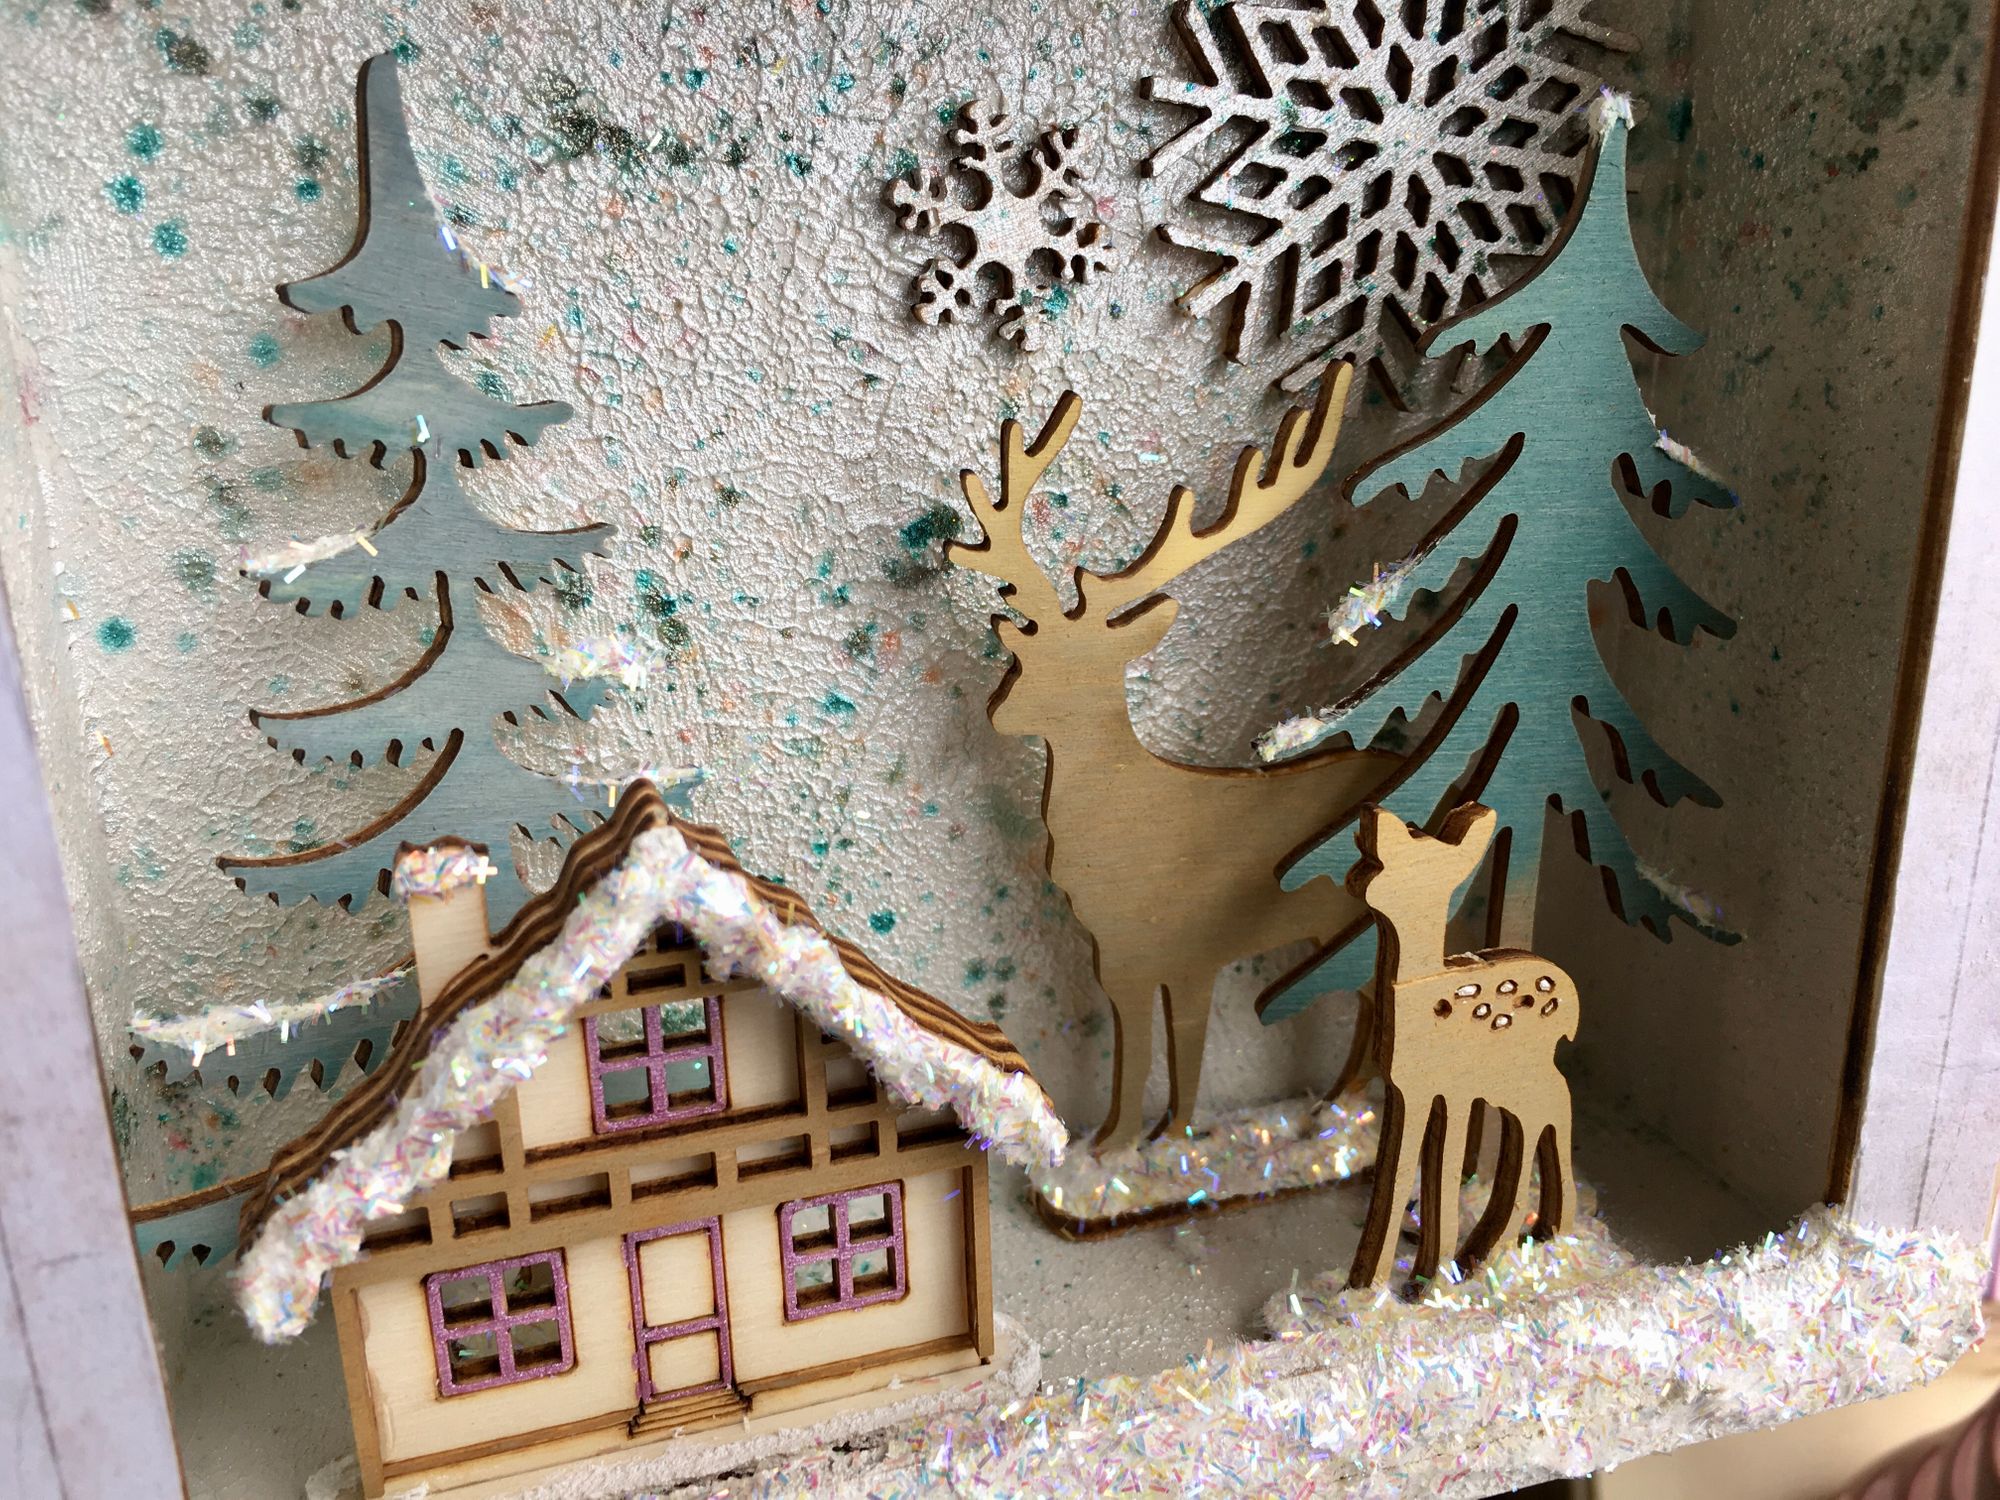
Adding Distress Oxide inks to the different Plywood elements is a great way to add colour! We used an ink applicator to colour the trees, cottage and deer in this scene.
At the base of our elements, we added Snow Effect topped with some Icicle Sparkle Glitter Jewels. This technique was also applied to the base of our scene on the front and back walls to create the look of a snow bank.
Building the Scene:
After we have decorated all of the elements of our scene, we can choose to attached them to the base using acrylic glue, or leave them detached so they can be re-arranged and played with.
To complete our scene, we attach the front of our scene to the walls using acrylic glue.
Products Used:
Plywood 3D Scenery (Deer in Forest) - PWSL13
Cosmic Shimmer Structure Paste - CSASSTRUCT
Gilding Polish in Pearl Luster - CSMGP08
Pixie Powder in Spearmint - CSPP26
Studio Light Paper Pads - PPSL154 & PPSL151
Distress Oxide Inks
Thanks for following along with us! Be sure to share your Mixed Media creations with us in our Facebook Group, Crafting with Ecstasy.
Happy Crafting!