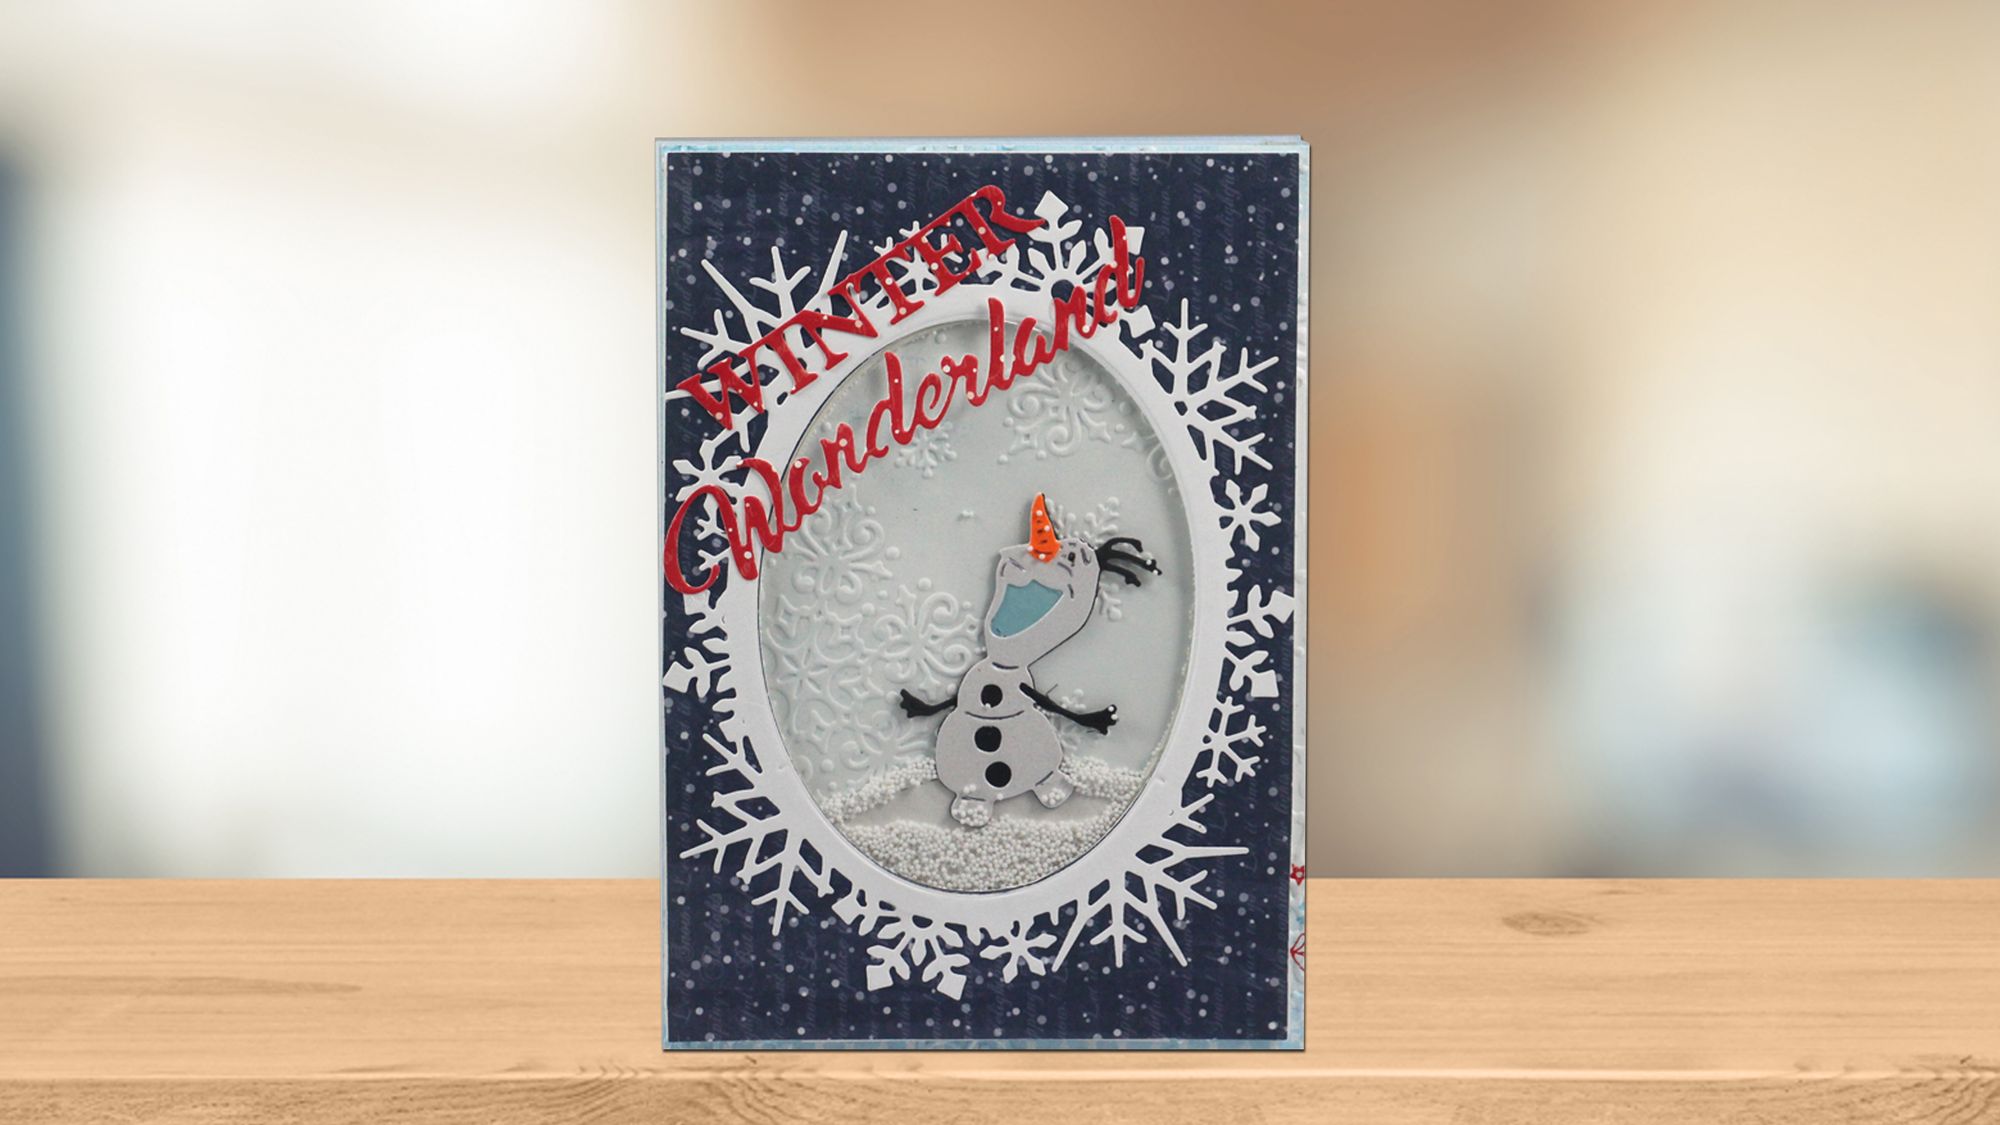
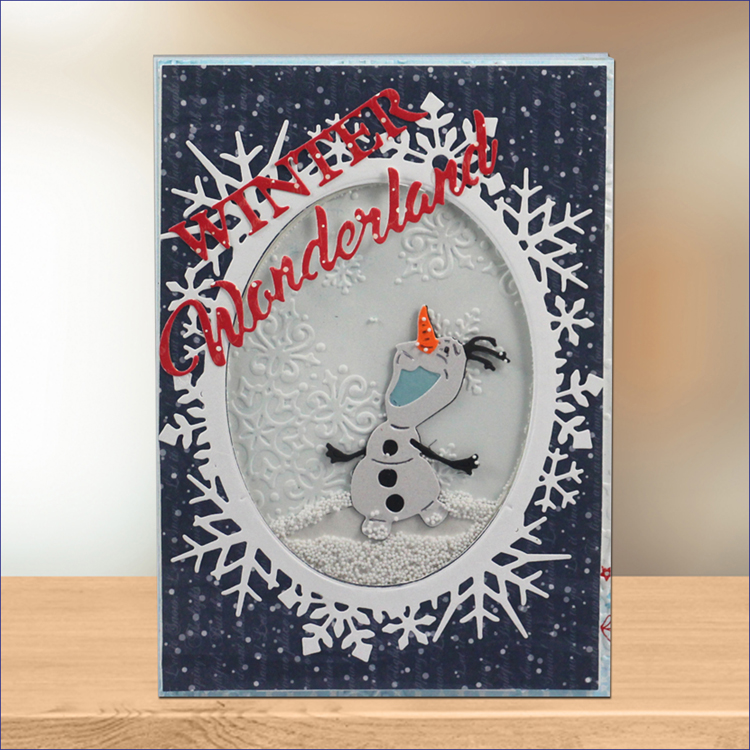
Olaf Shaker Card Project
A fun and festive project featuring Disney's Olaf and a dynamic snowglobe effect
A fun and festive project featuring Disney's Olaf and a dynamic snowglobe effect
Materials
- Disney Olaf Die (DUS0221)
- Glue Stick (or alternative)
- Background Embossing Folder (359777)
- Let It Snow Frame die (IME218)
- Cardstock in Ivory, Orange and Black
- Sue Wilson Winter Wonderland Die (CED3097)
- Marianne Pretty Paper Bloc - Winter World (PK9077)
- Creative Expressions Opaque Micro Beads in “Snow White” (CSB02)
- Cutting machine
- A6 Envelope in a Coordinating Colour
- Foam
Get all of the supplies you need to make this project on our website:
Directions
Step 1
Step 3

Step 8
 Step 9
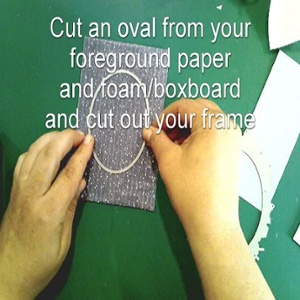
- Preparation
Using your scissors or knife, cut out the following pieces: Cut your background and foreground card stock and foam in rectangles to fit the front of the A6 card 4.1 x 5.8 inches. - Use the inside of the snowflake frame die to cut an oval from the centre of your foreground paper and the foam.
- Cut a slightly smaller rectangle from your acetate. Be careful to ensure it is smaller than your foreground, but large enough that the edges will not be viewed behind your oval.
- Cut a semi-circle from ivory card stock to form the hill Olaf stands on.
- Use the Snowflake Background embossing folder to emboss your background paper.
- Cut your sentiment from a coordinating paper.
- Cut your snowflake frame from ivory cardstock.
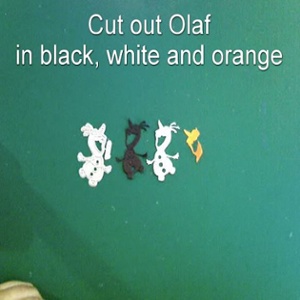
- Assemble Olaf
Cut out Olaf die 3 times: once each on black, ivory and orange cardstock. Cut a small rectangle from the light blue cardstock to cover the inside of Olaf’s mouth. The black Olaf will remain whole, this is your background. - Trim the arms, buttons and hair from your white Olaf. Using your craft glue, adhere the scrap of blue cardstock behind Olaf’s mouth. Attach the white Olaf onto the black Olaf.
- Trim Olaf’s nose from the orange cardstock and attach to your character to finish.
- Assemble card
Attach your acetate between the back side of your foreground paper and the foam to create the window of your shaker card. - Attach your snowflake frame to the front of the card, framing the window. Attach your sentiment to the front of the card.
- Attach your semi-circle hill piece to the embossed side of the background. Be careful to ensure the placement will be visible through your window. Adhere Olaf to the background so he appears to be standing on the hill.
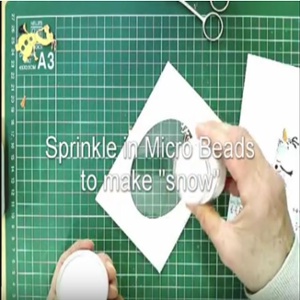
- Lay the front of the card upside down so the foam is facing up and pour in some of the microbeads to create the falling snow effect.
- Attach the back of the card to the front of the card. This is your finished design piece.
- Attach the finished design to your A6 card.
Want to save these instructions for later?
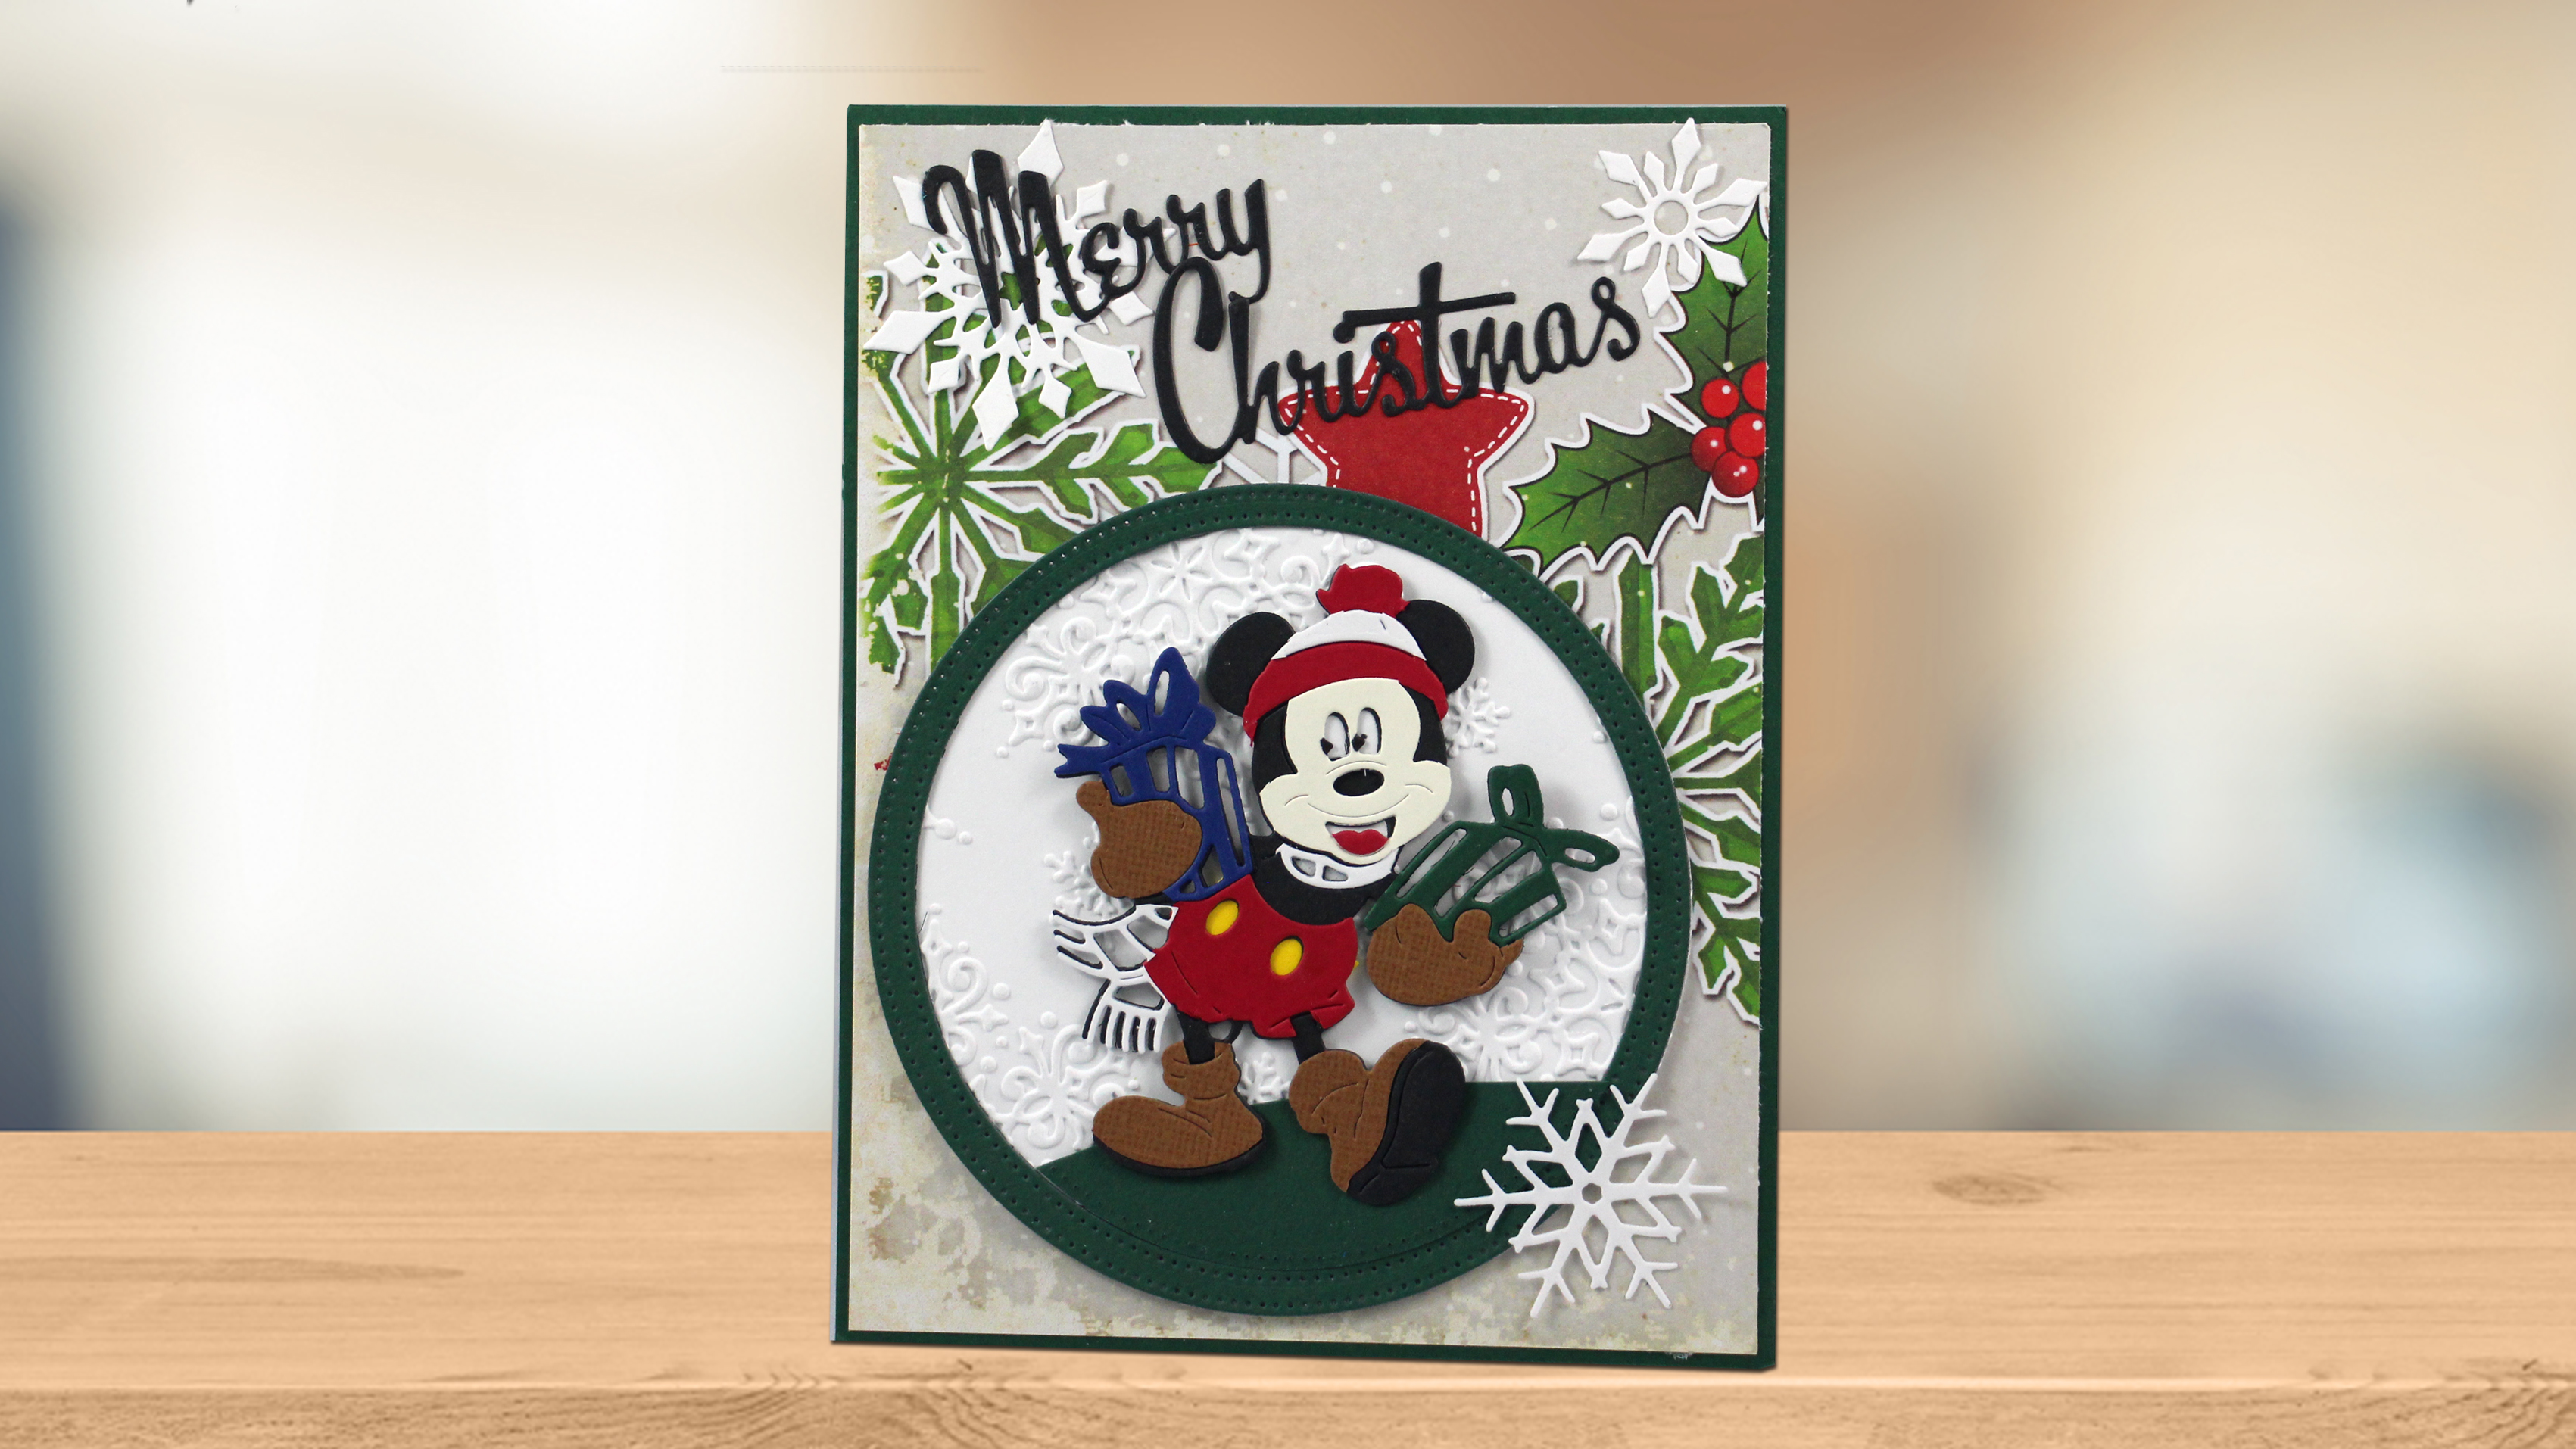
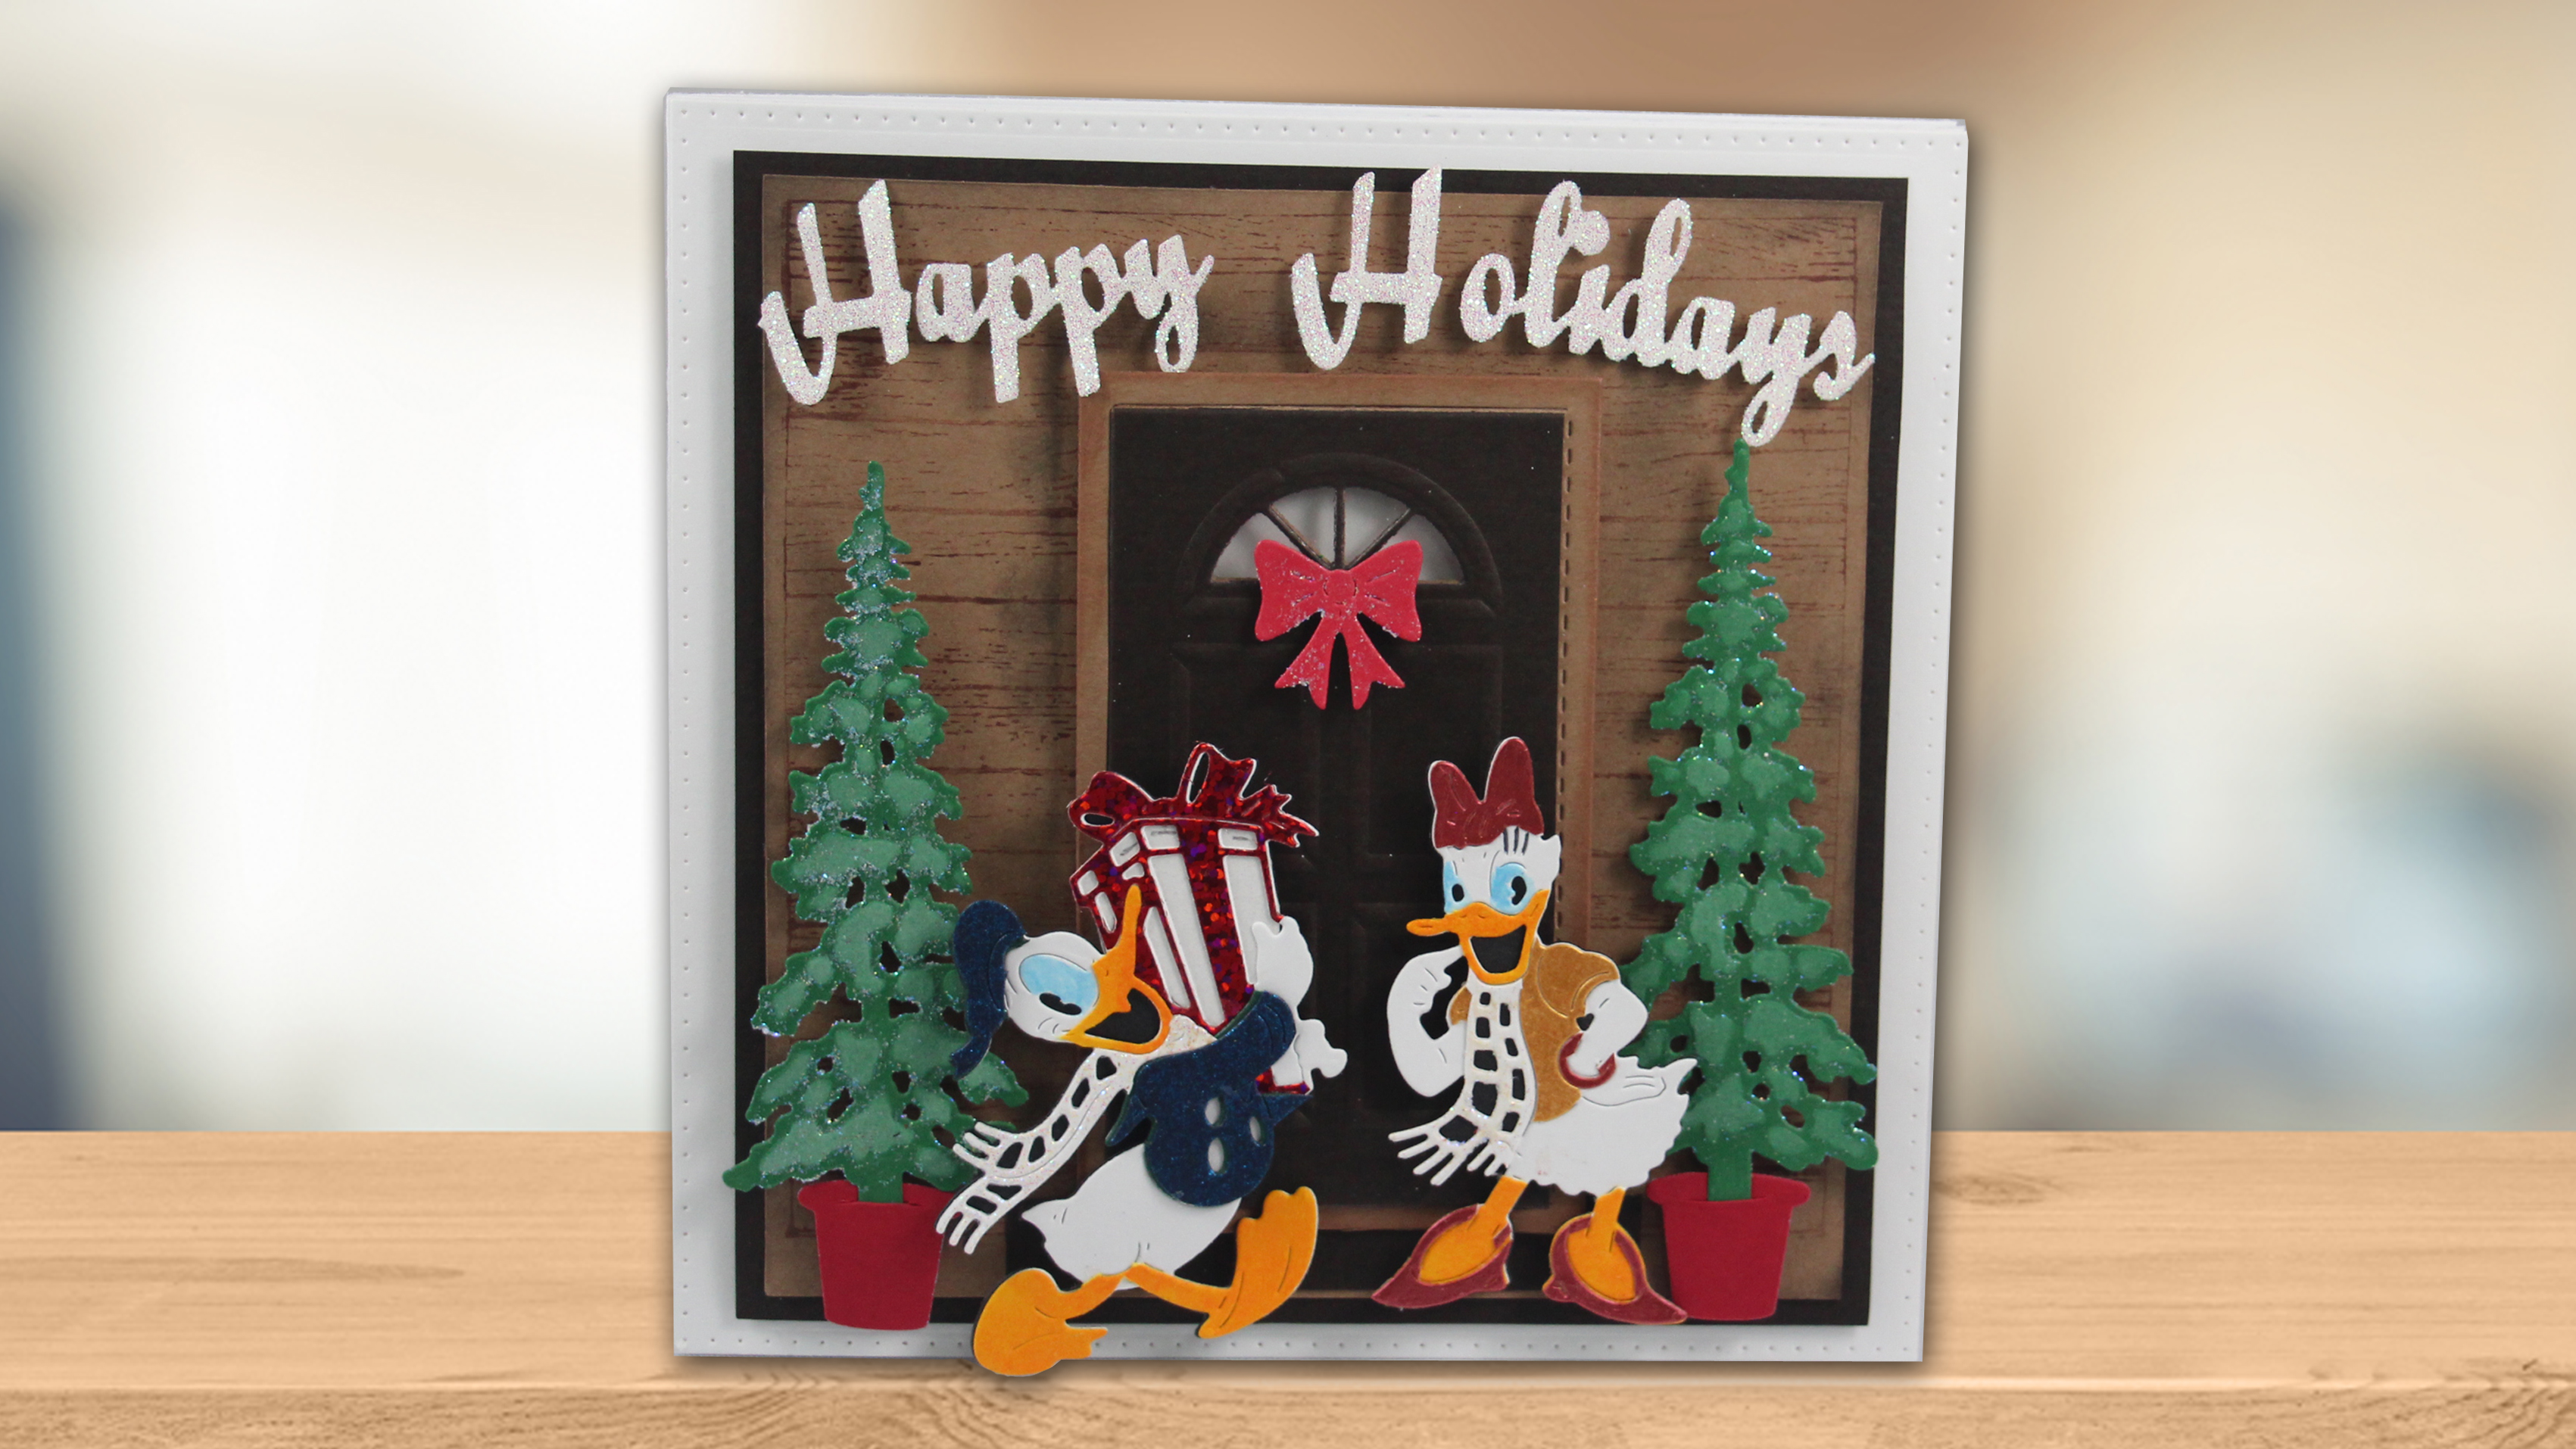
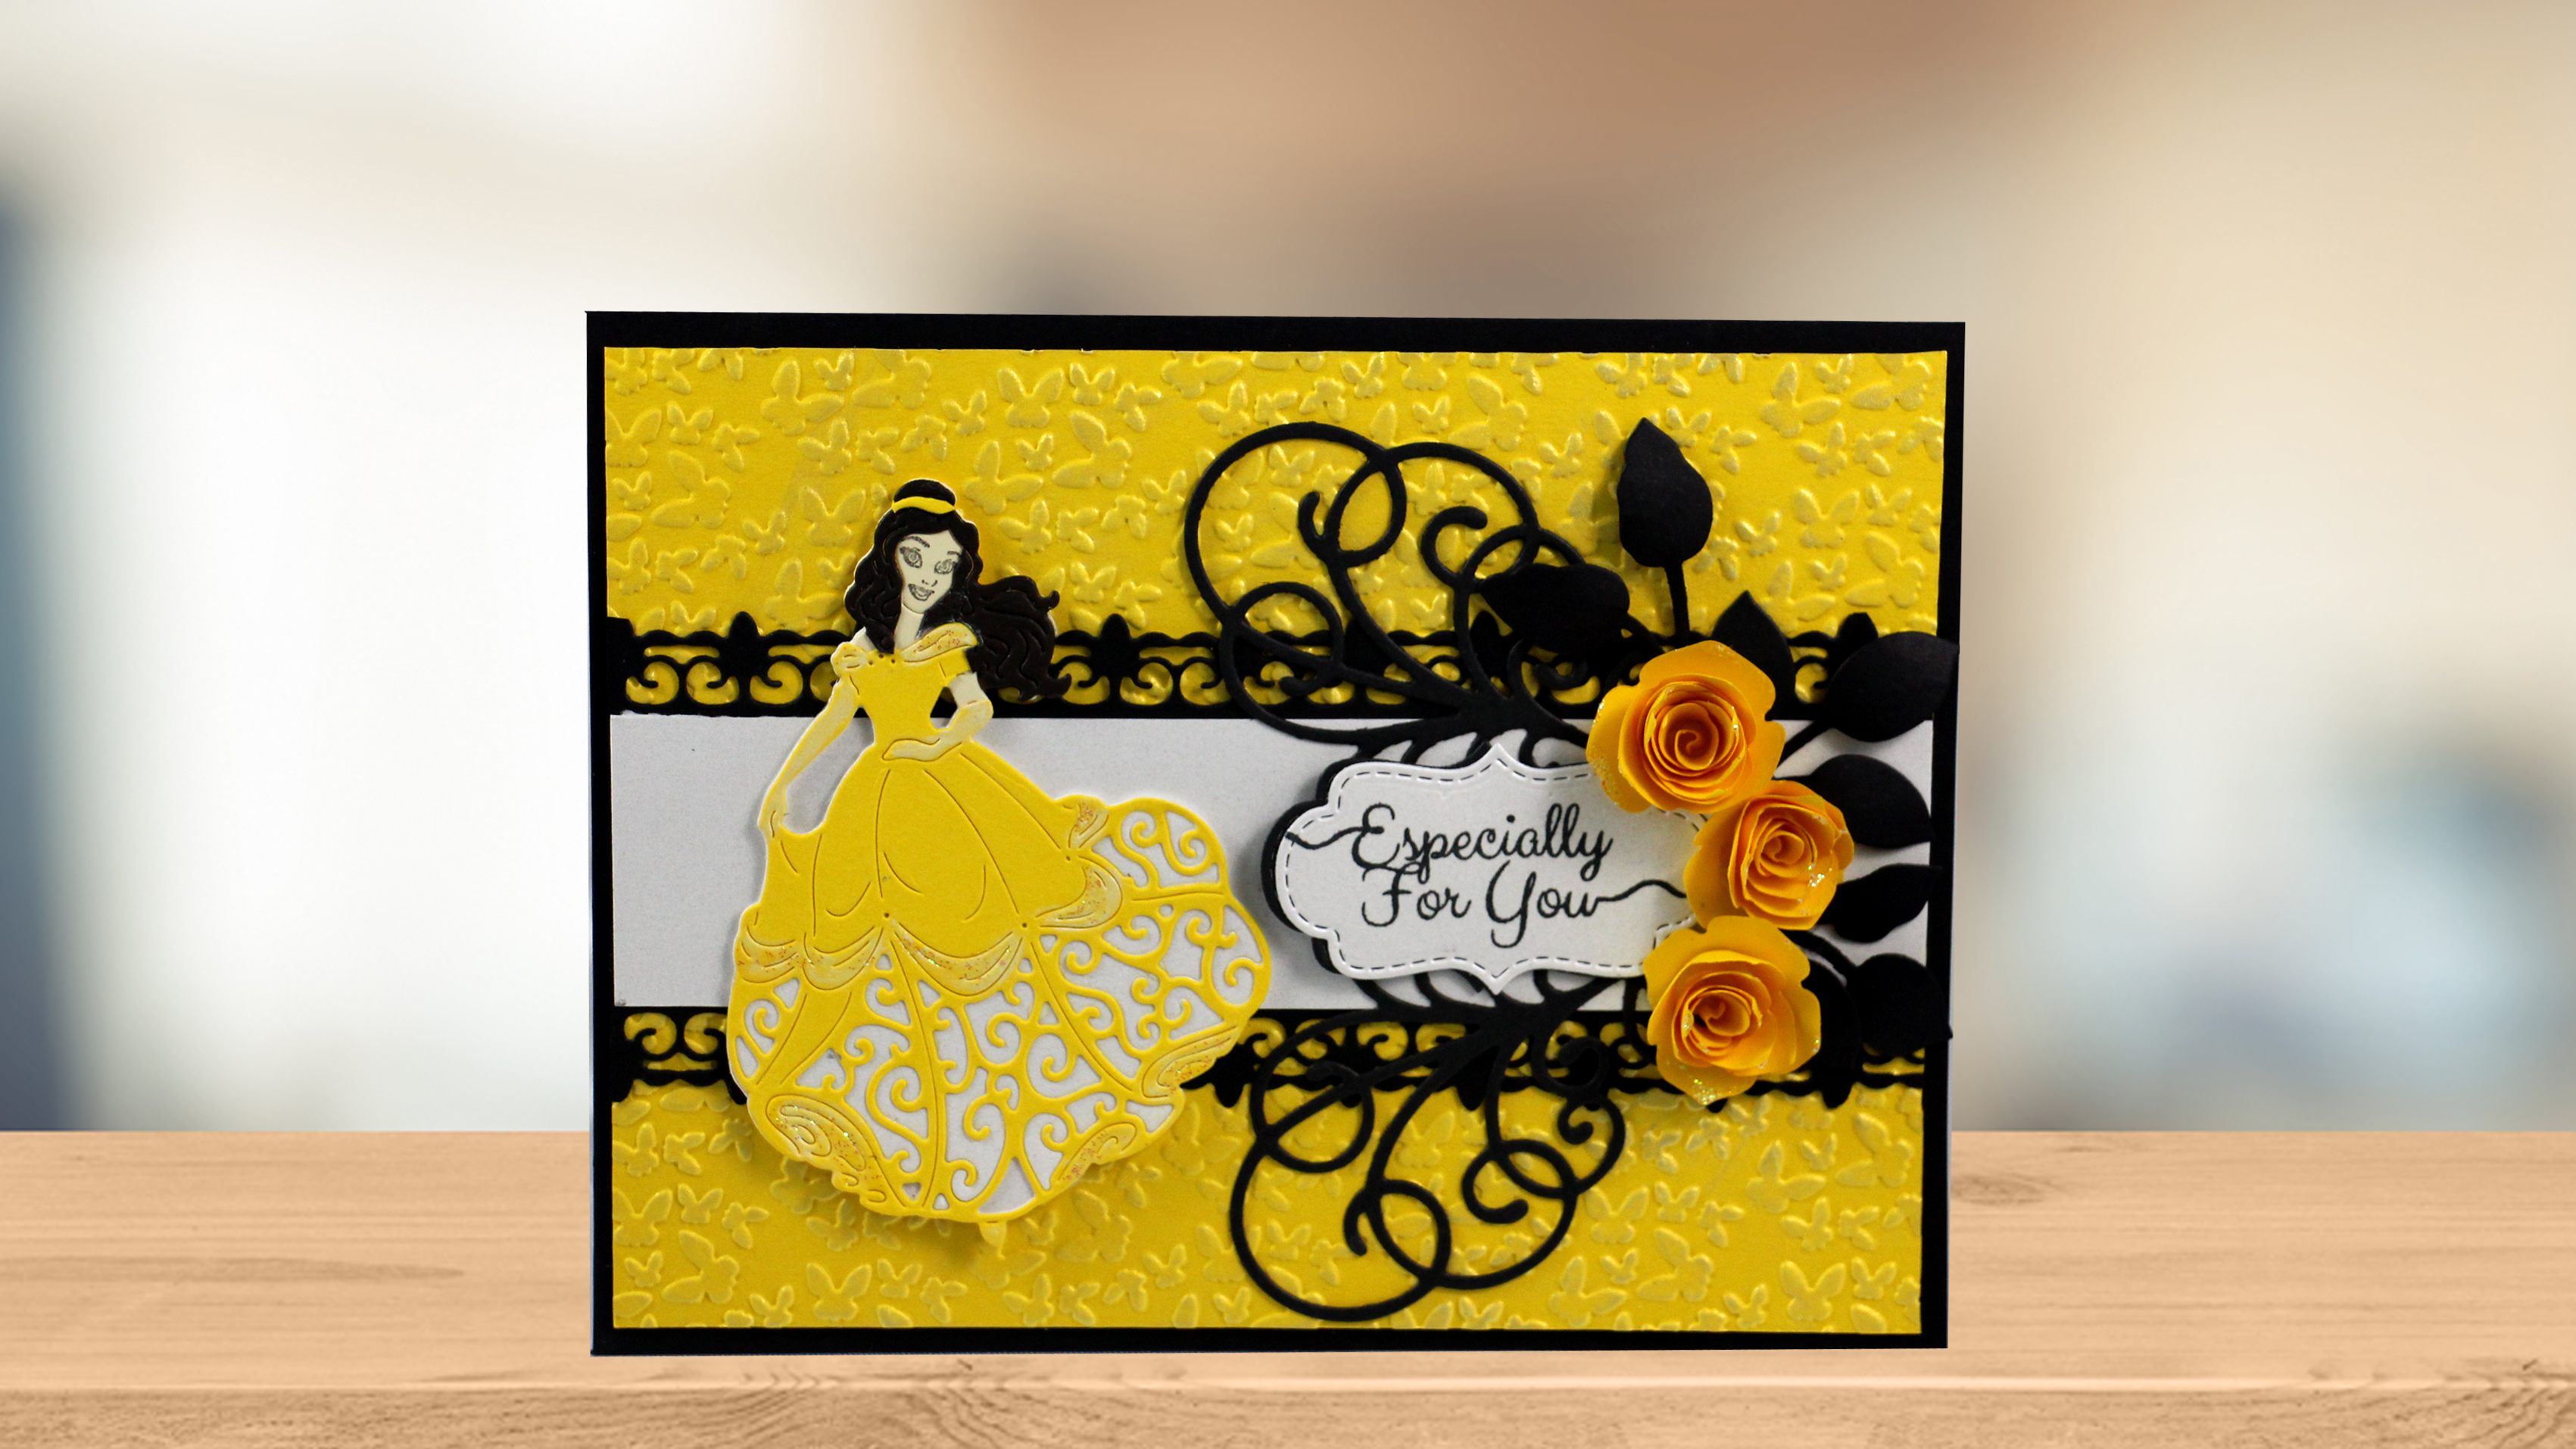
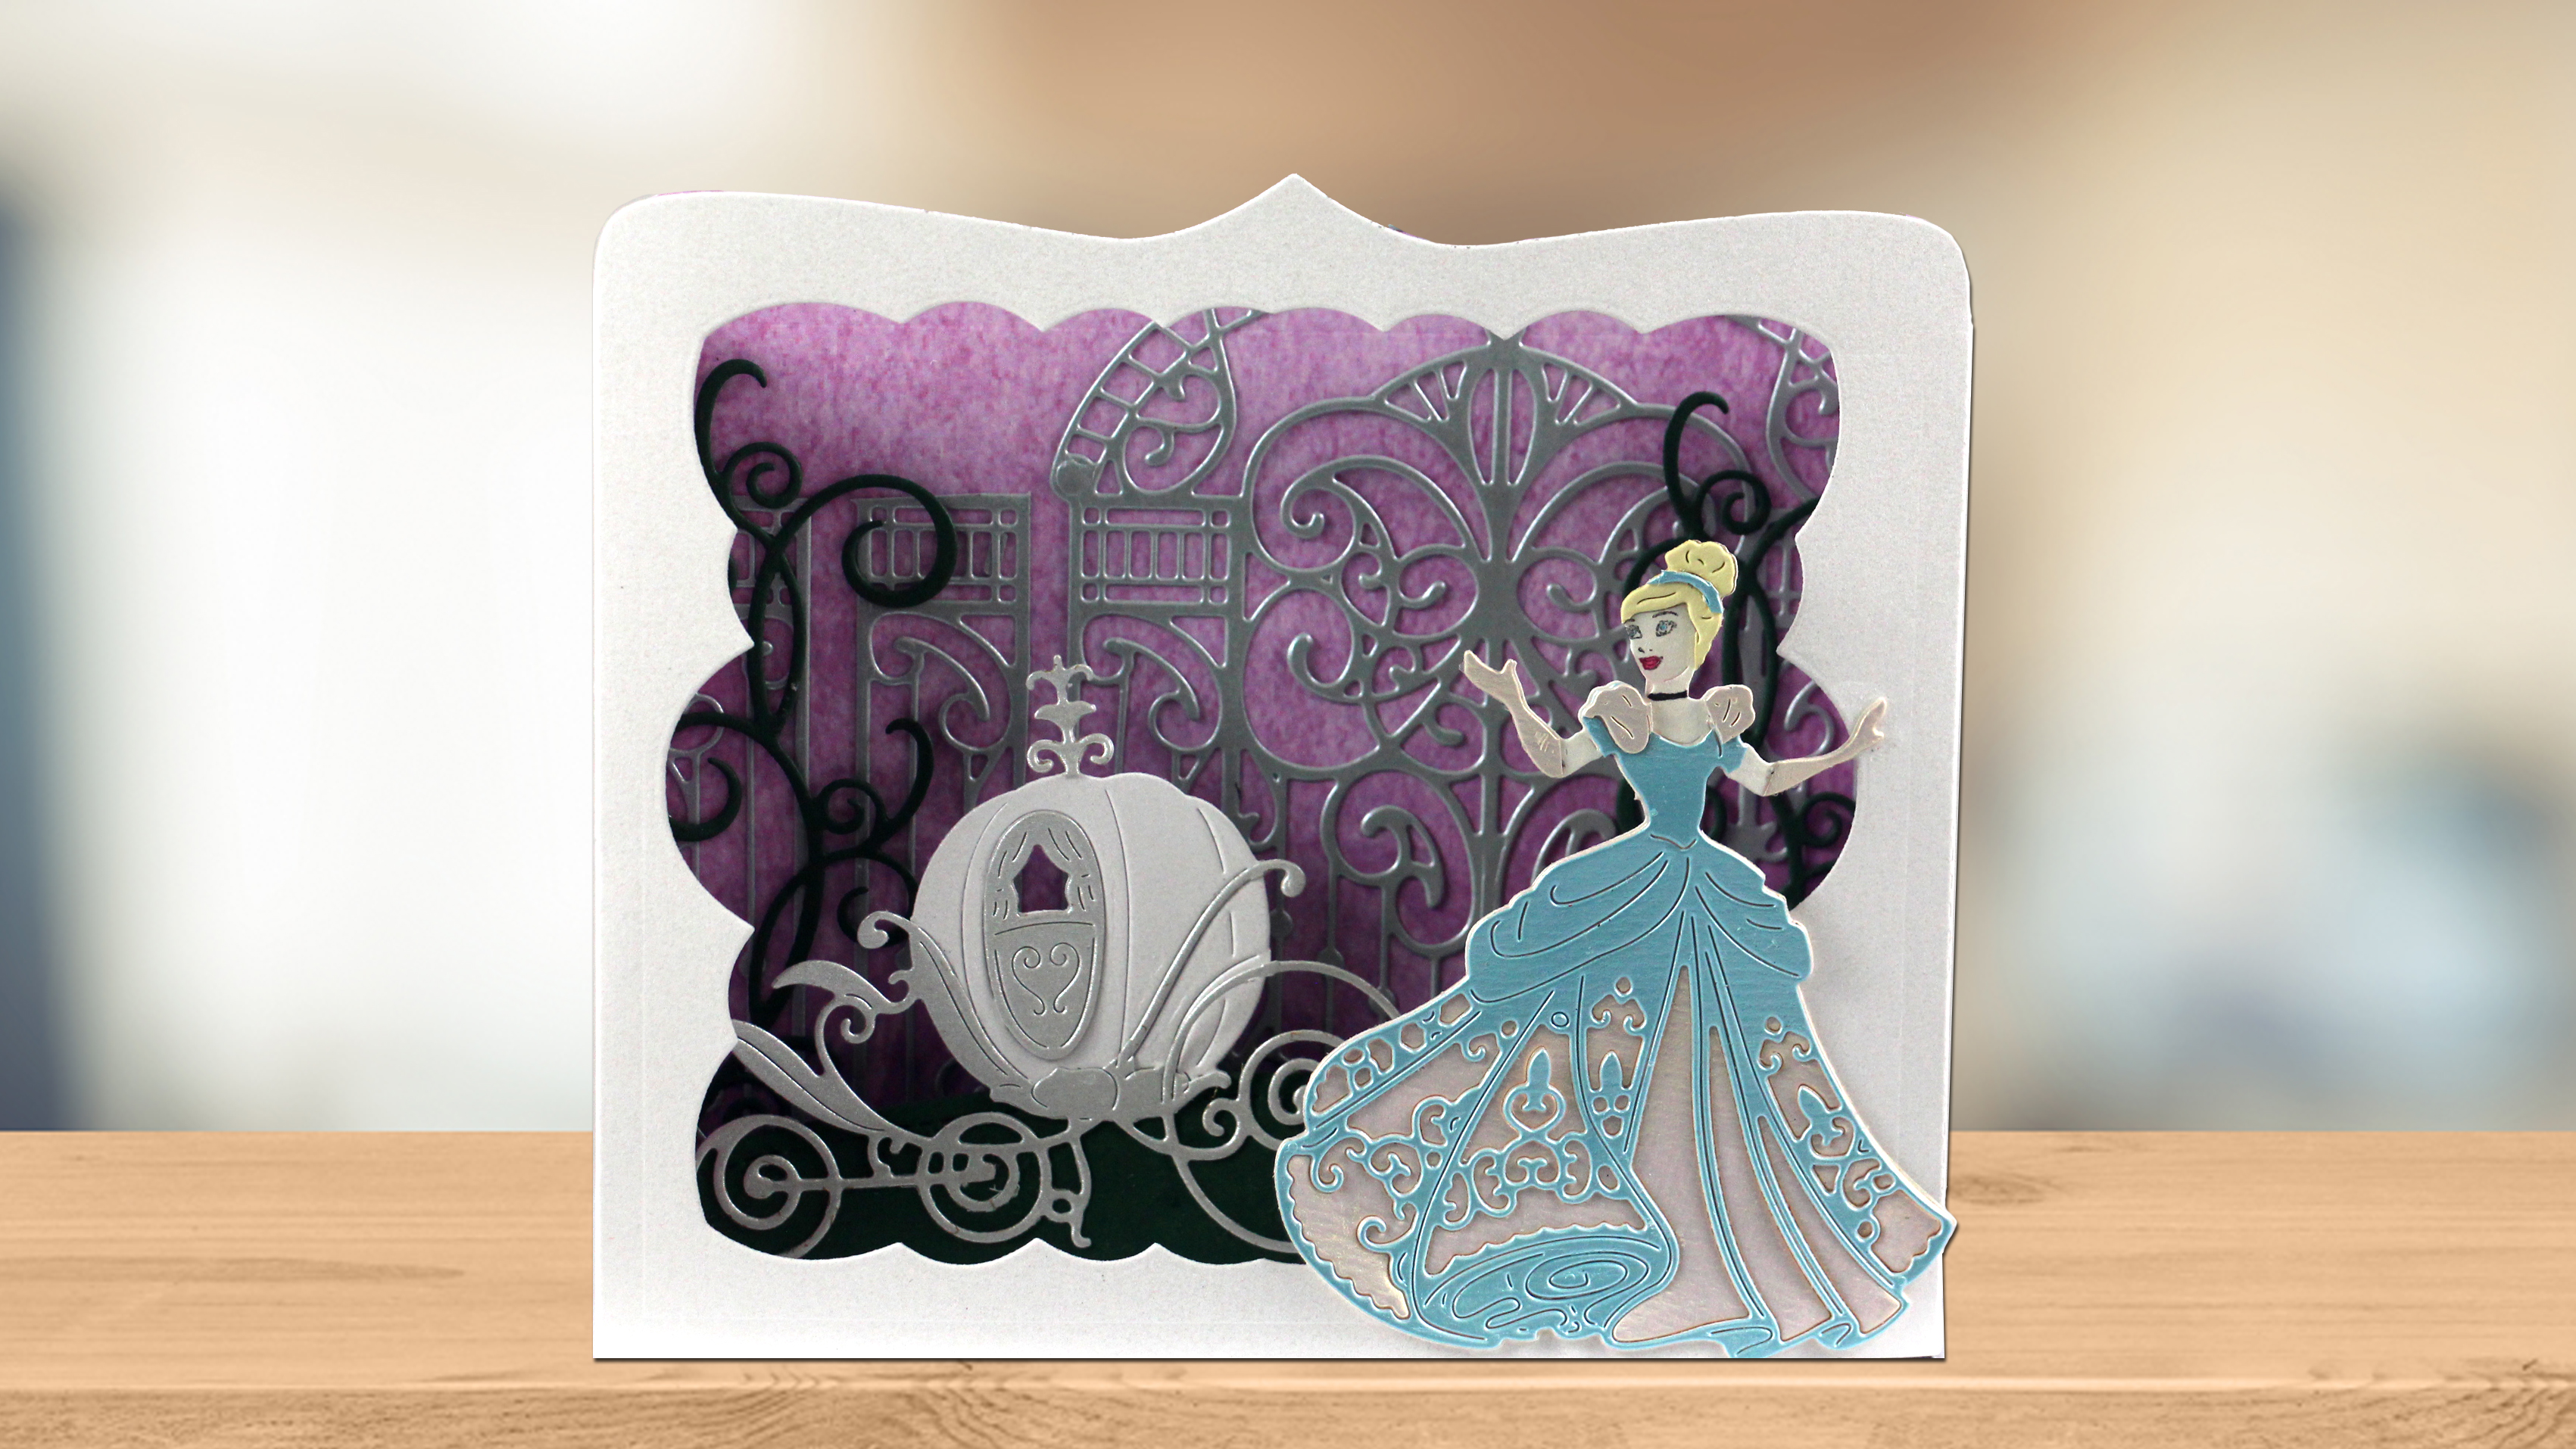
More Disney Inspiration
If you liked the Olaf Shaker Card project, you may be interested in our full range of Disney dies. Be inspired by more characters from Frozen, including Elsa and Anna, or check out our vintage Disney characters like Mickey Mouse and the gang and Disney Princesses Belle and Cinderella.