Masking Fluid and how to use it
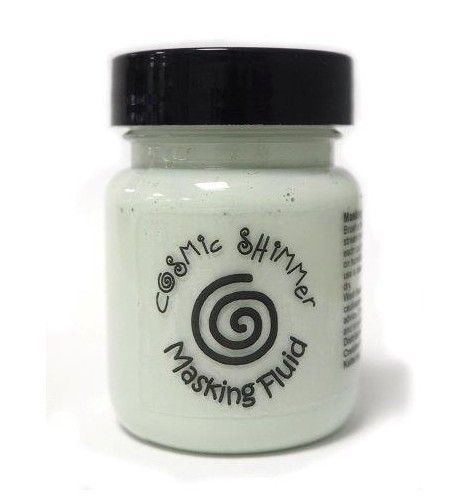
Today's card involves using masking fluid, it is used to preserve white areas on your projects by creating a mask that can be coloured over by ink or paint. Then once your design is completely dry, the Masking Fluid can be gently rubbed away with your finger to reveal the masked area.
Hello and welcome back to our blog. Today's card involves using masking fluid, it is used to preserve white areas on your projects by creating a mask that can be coloured over by ink or paint. Then once your design is completely dry, the Masking Fluid can be gently rubbed away with your finger to reveal the masked area. This product was very intimidating for me at first, but as with everything else in the craft world, you just need to play and experiment with it to find out how it works best for you.
Late last year I became obsessed with stamping and was always wondering how am I going to color the background without coloring over my stamped image?? ... well here's the way it's done !
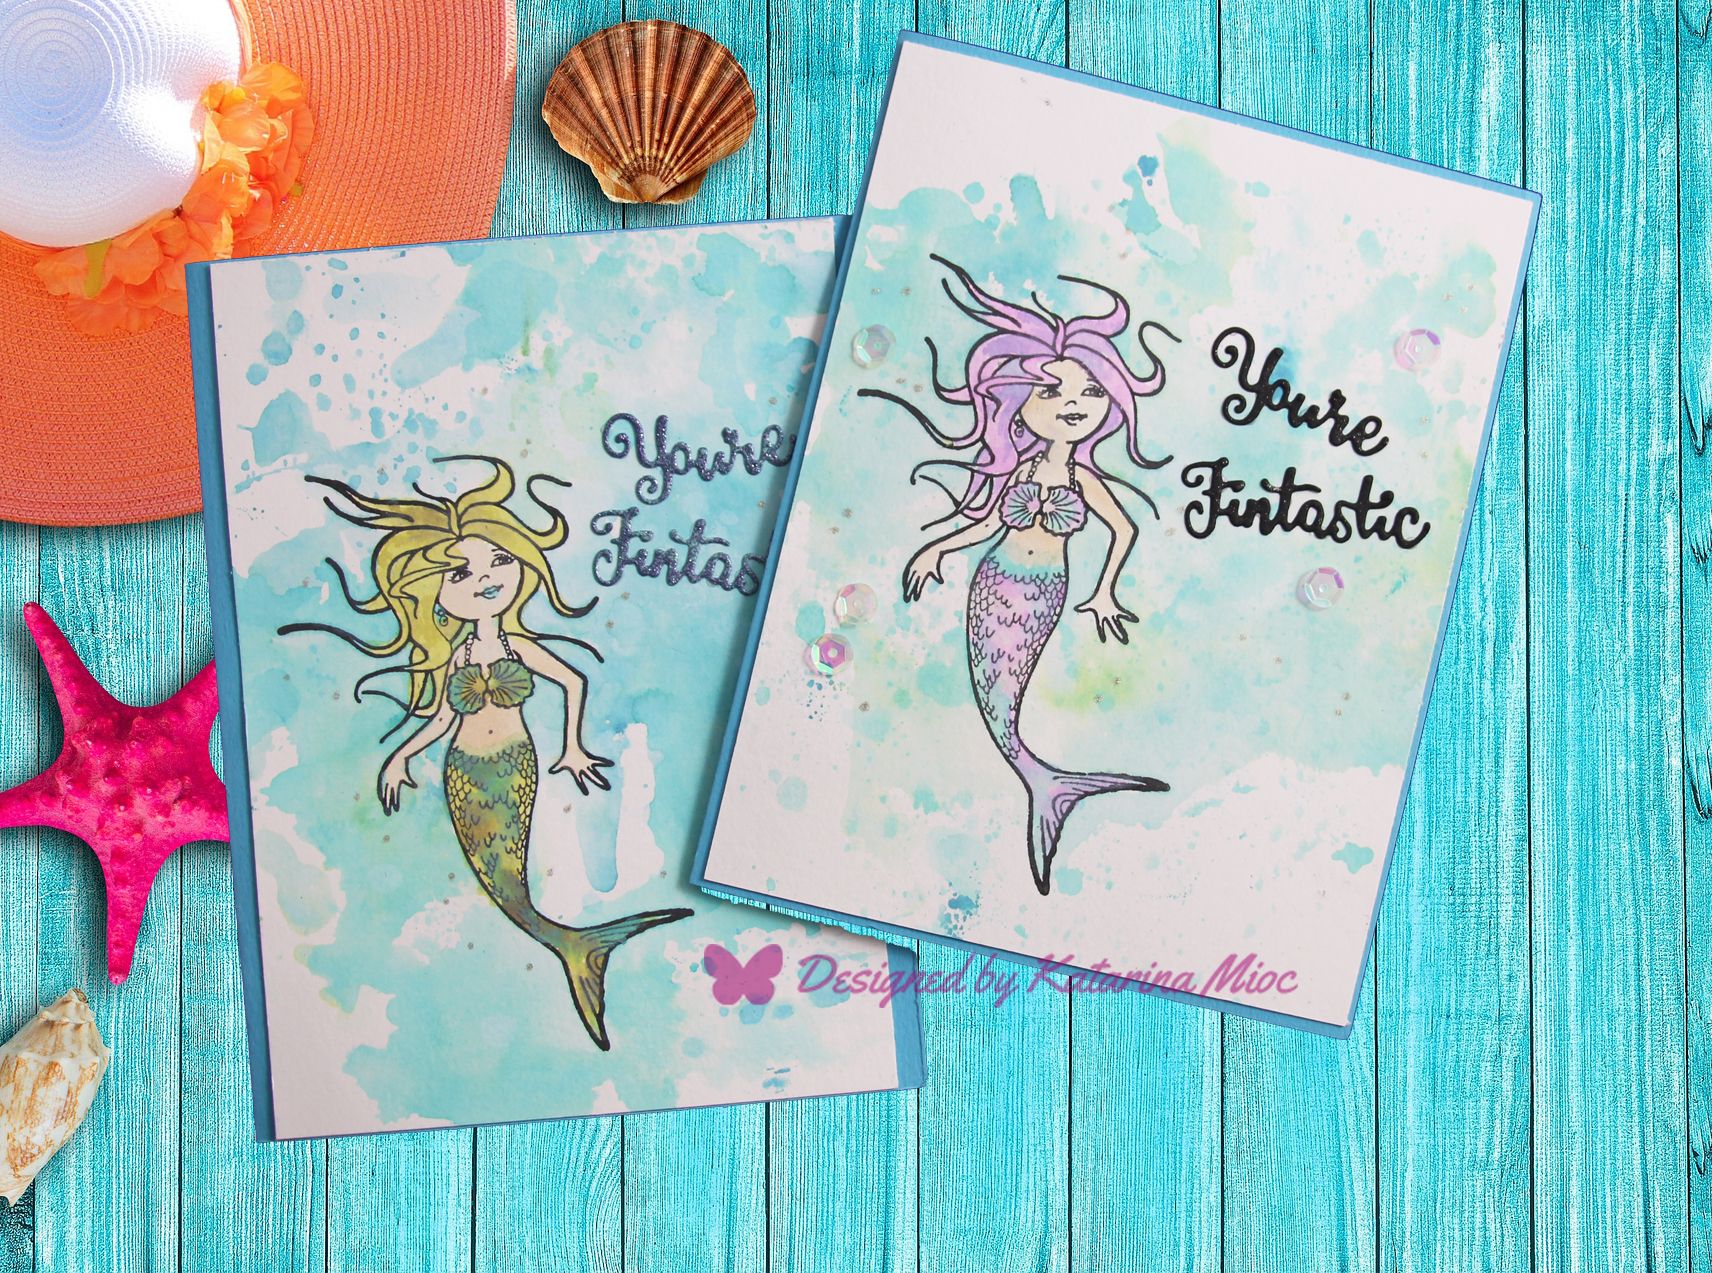
For today's card I choose to use a popular mermaid stamp form Marianne Design. This card was intended for a birthday coming up in the family but it could be for any occasion. With the sentiment "You're Fintastic" from the Underwater Accessories Die set, this is a perfect card for any mermaid lover.
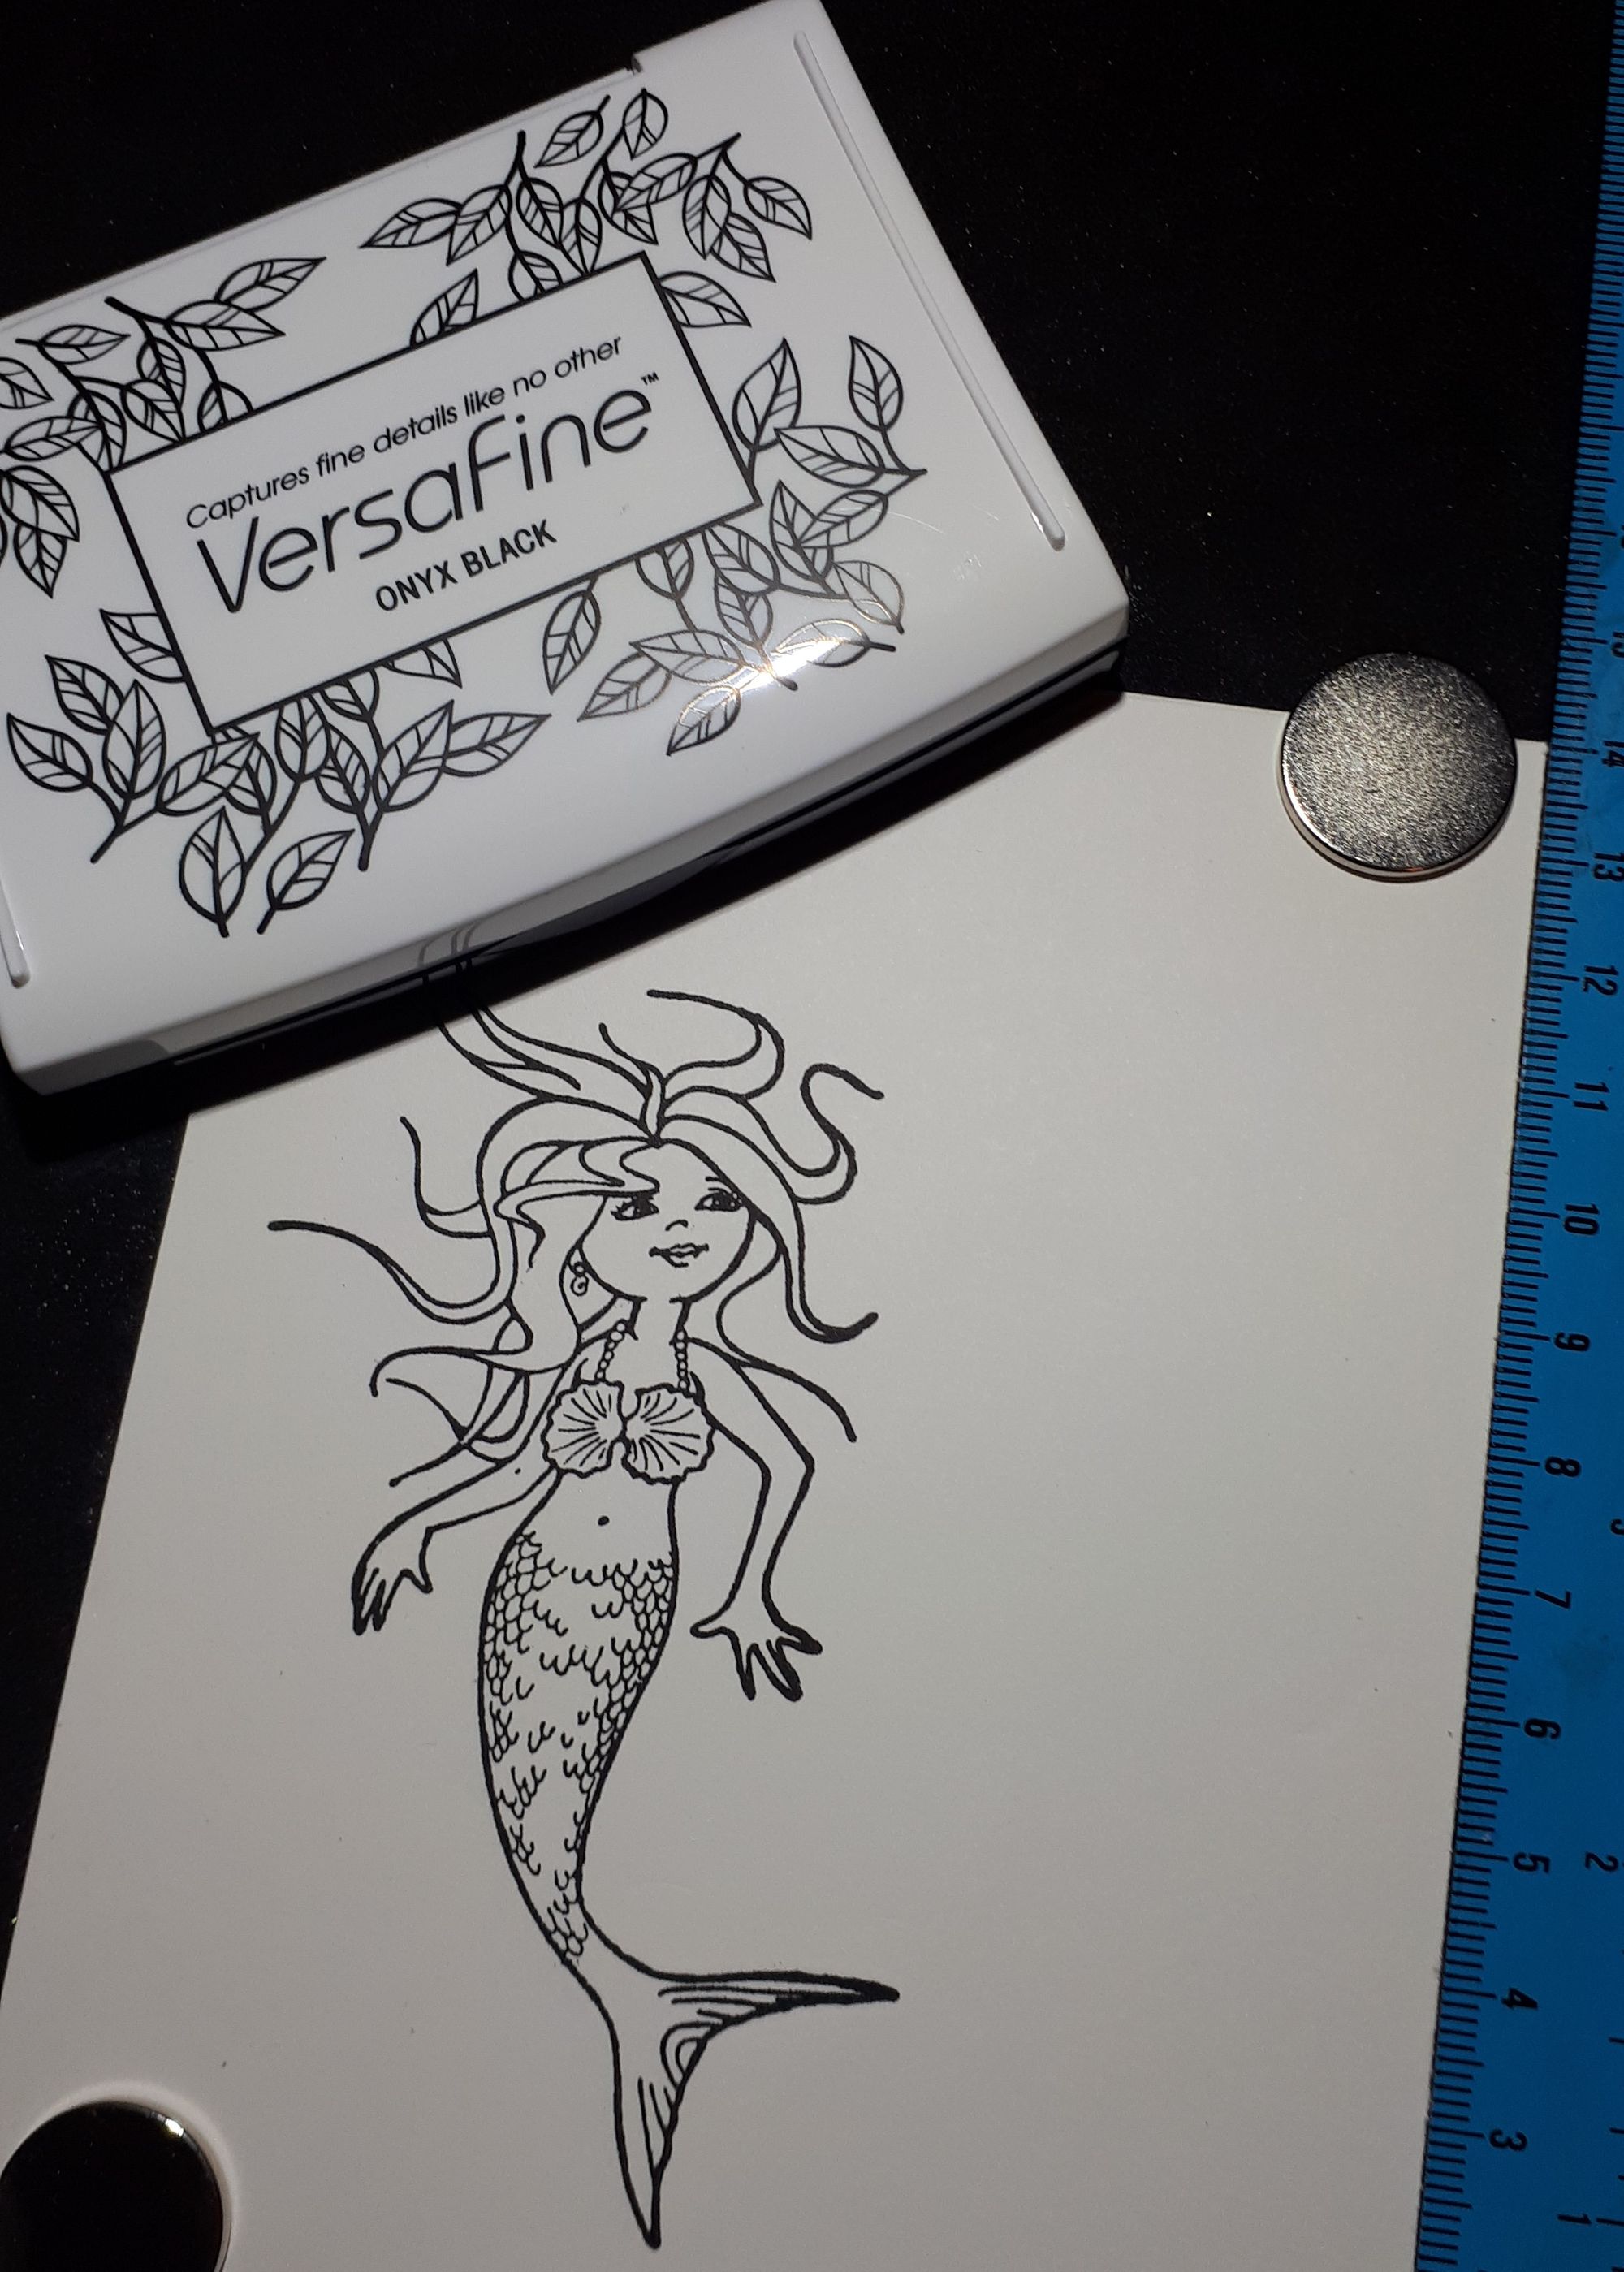
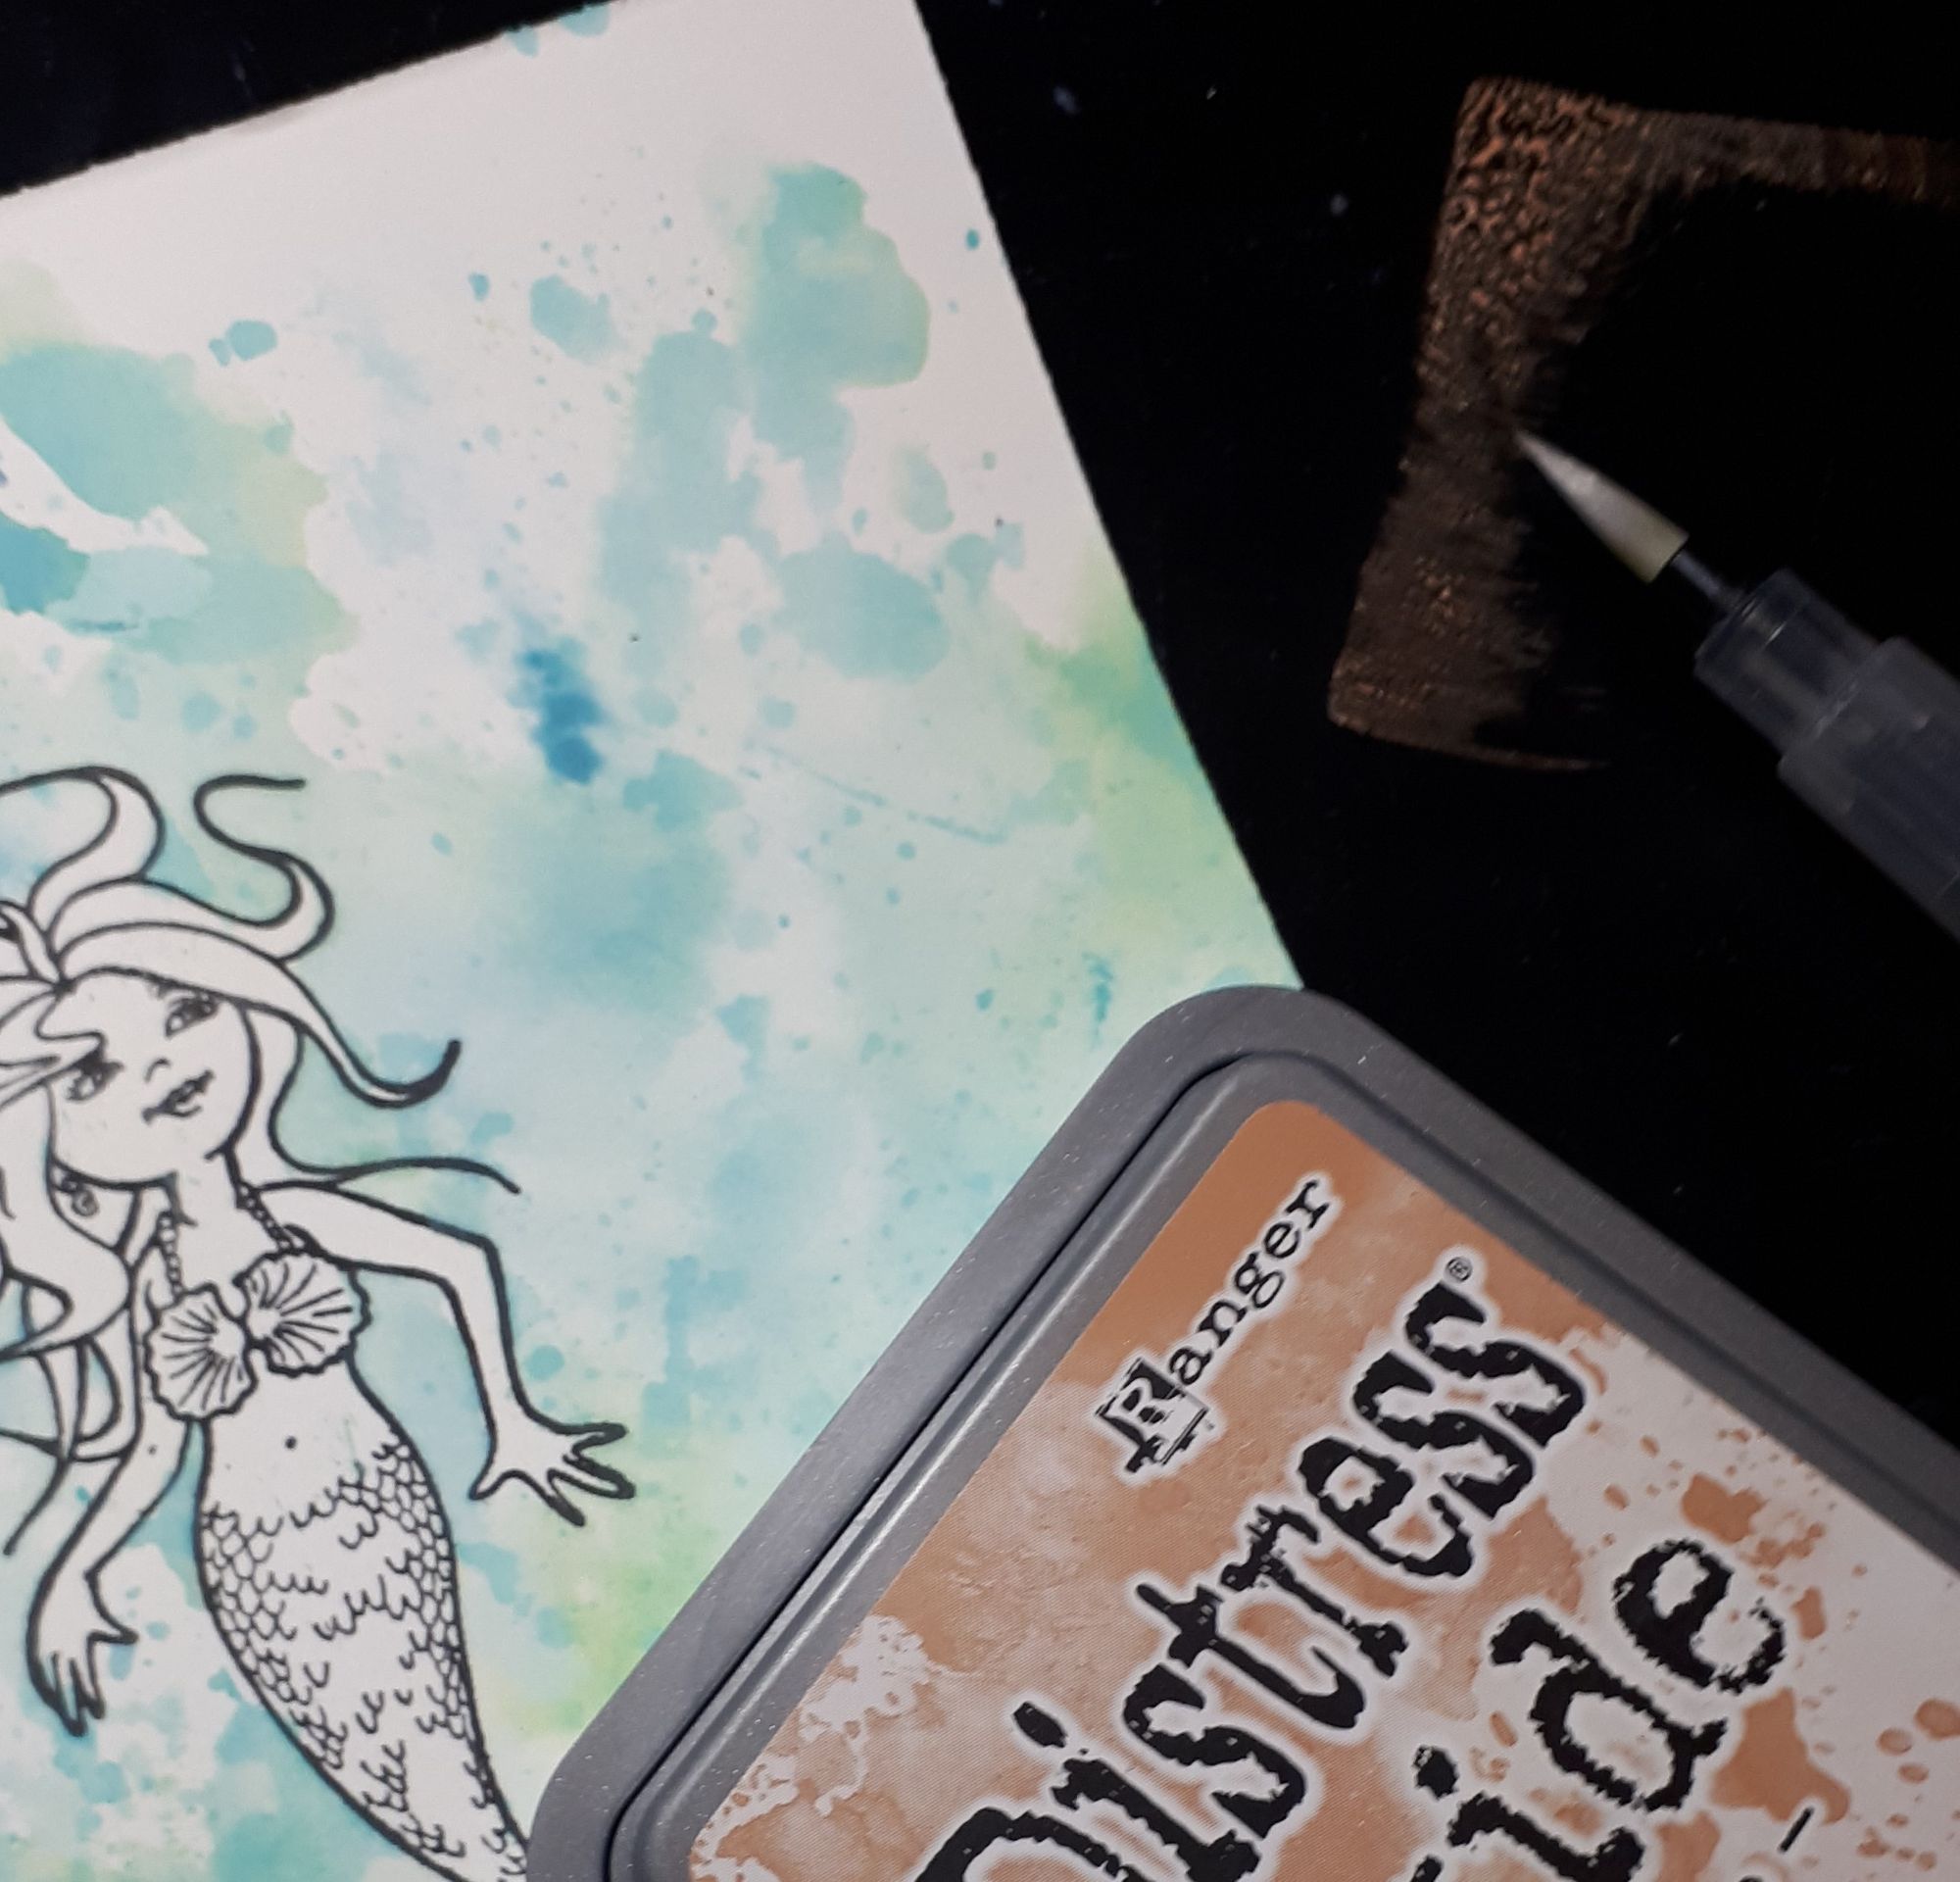
To get started on this card I stamped the mermaid using Tsukineko Versafine Ink Onyx Black. This ink is great for projects like this one. The ink, once dry, won't smudge or run when you colour it in with ink and in this case distress oxide ink.
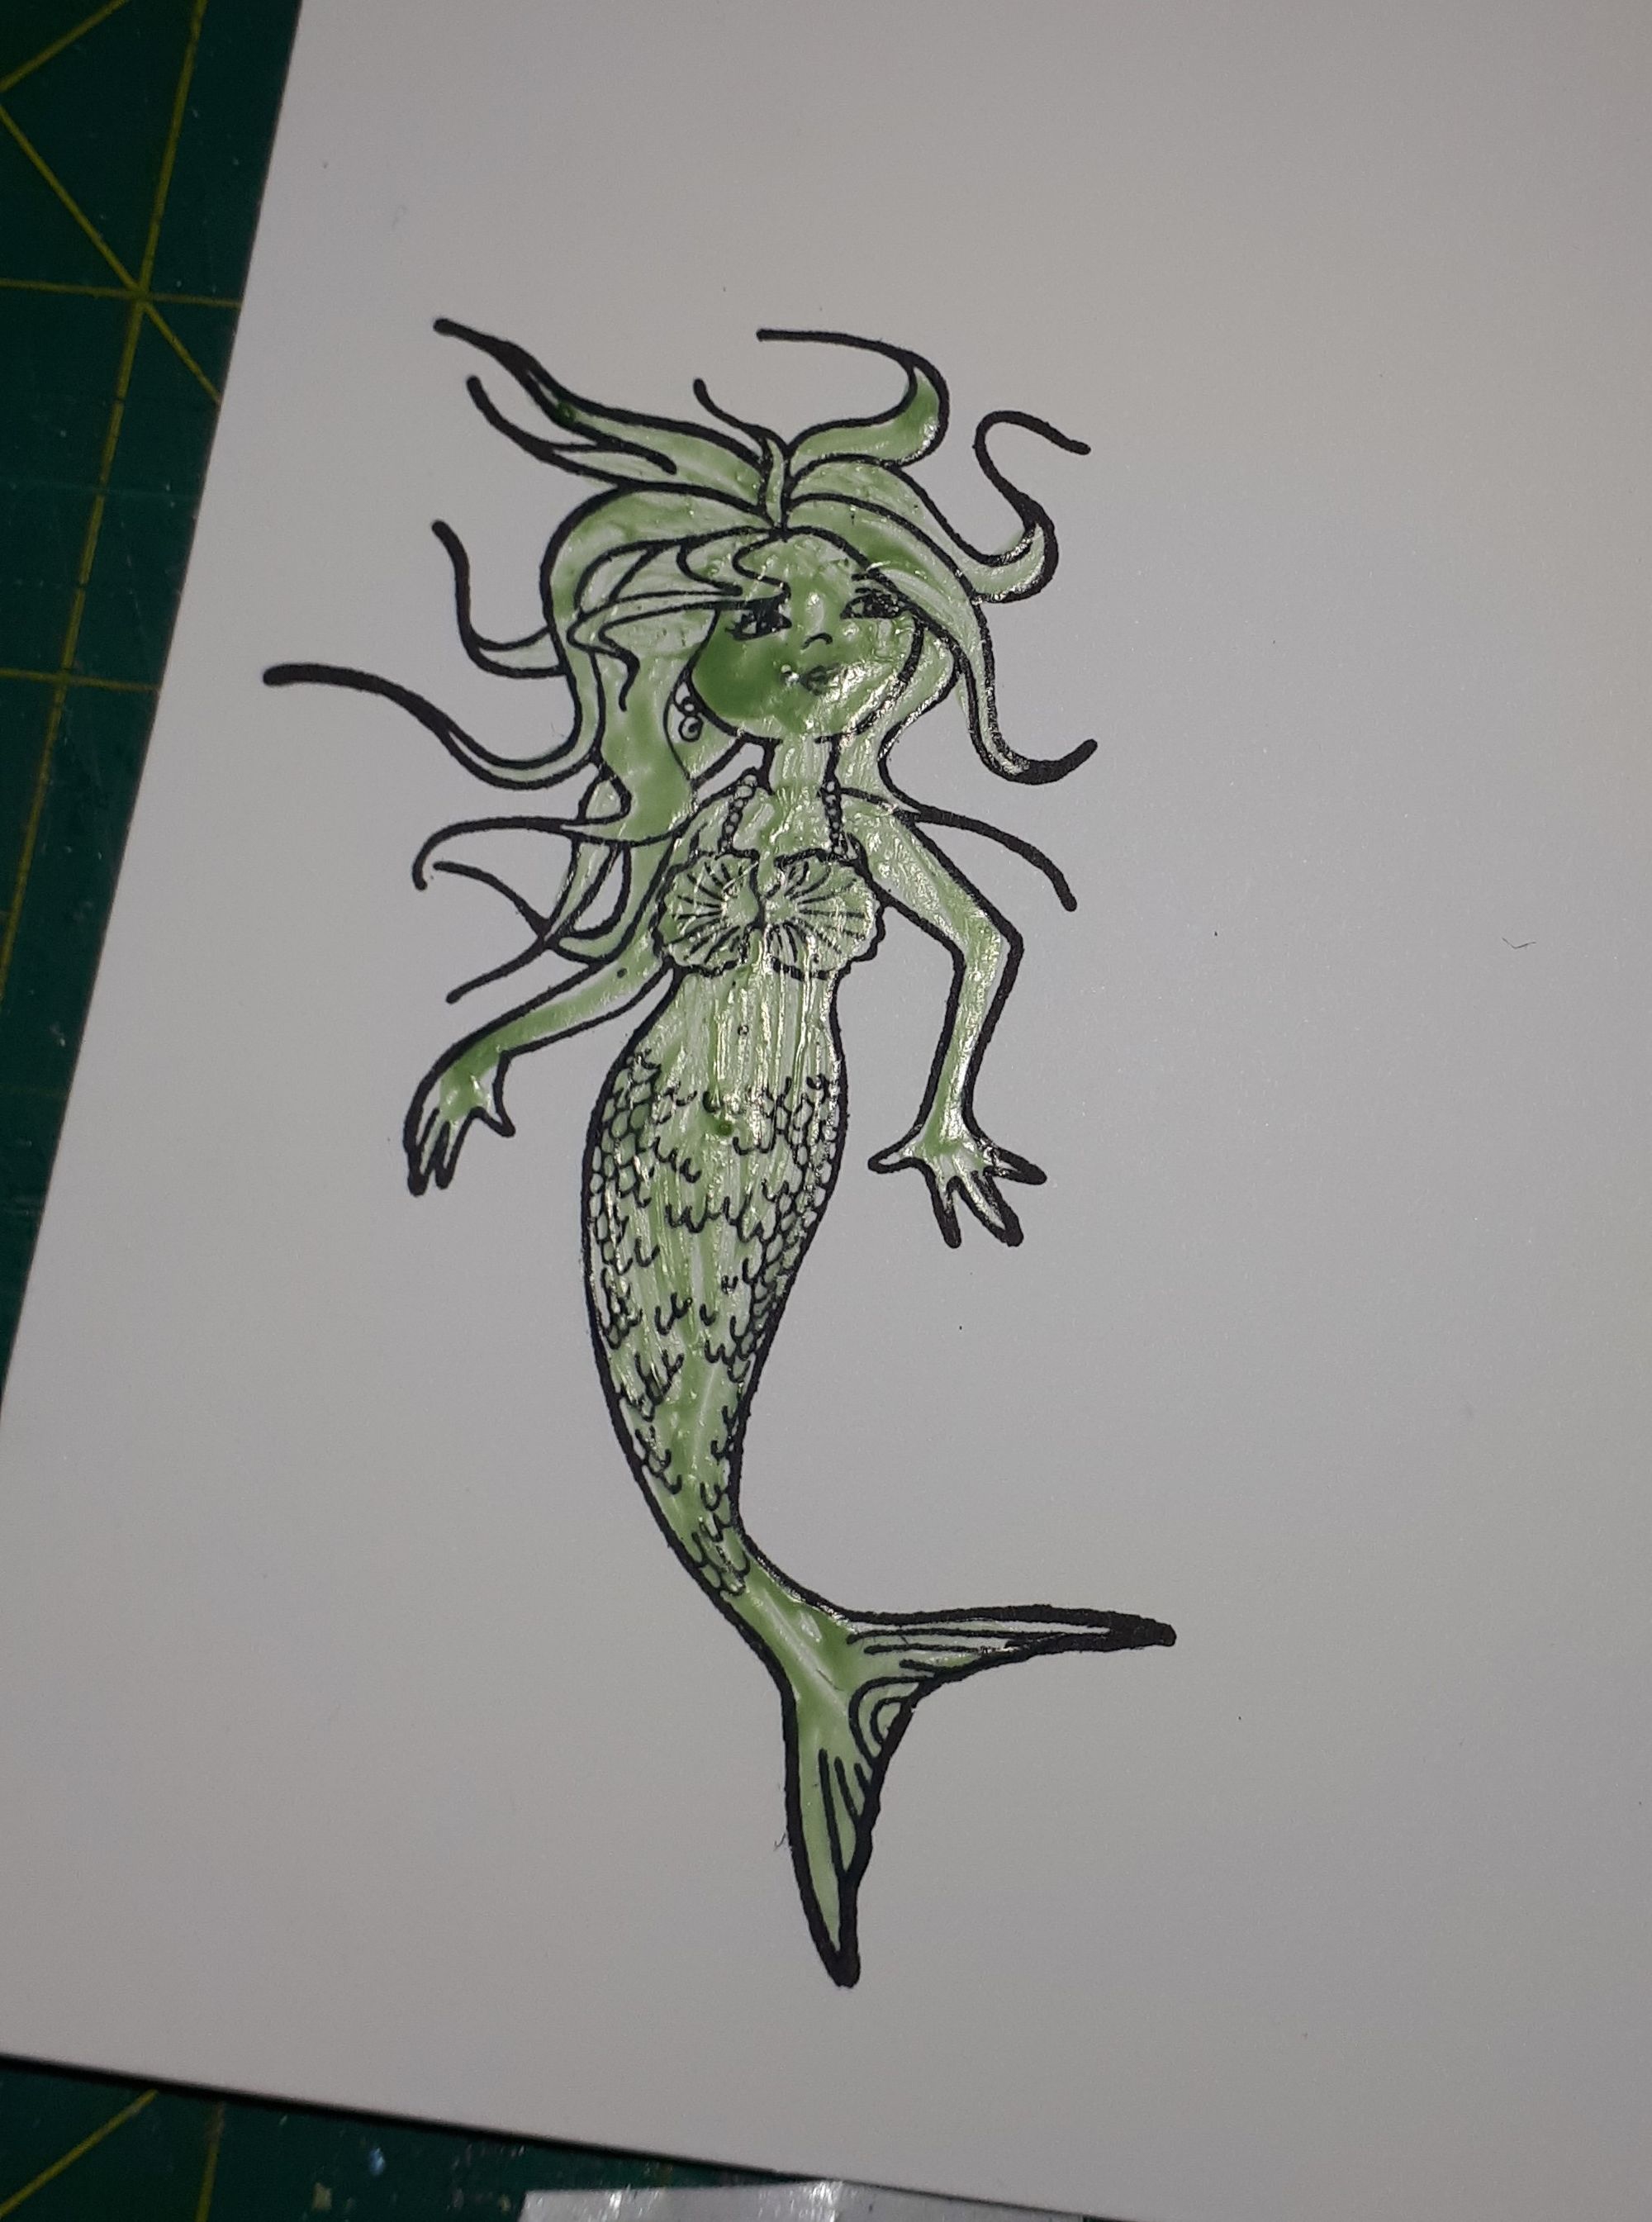
Once the ink is dry I used the masking fluid to paint over the stamped mermaid. Here is a very important tip : Always, always use soapy water on your brush before you use the masking fluid. This ensures the bristles won't absorb the fluid and stick and dry on your brush and then you can use it over and over again.
For the background on this card I used a couple different Distress Oxide Inks. Cracked Pistachio and Peacock Feathers. Using a craft mat or blending mat, something you can easily wipe off, blot the ink pad onto the mat in a random pattern two or three times. mist with water a couple of times and squish your stamped and dried image onto the ink. Dry with heat gun and repeat with other colours until your happy with the background. Make sure not to have the heat gun to close to you image so not to mess with the masking fluid.
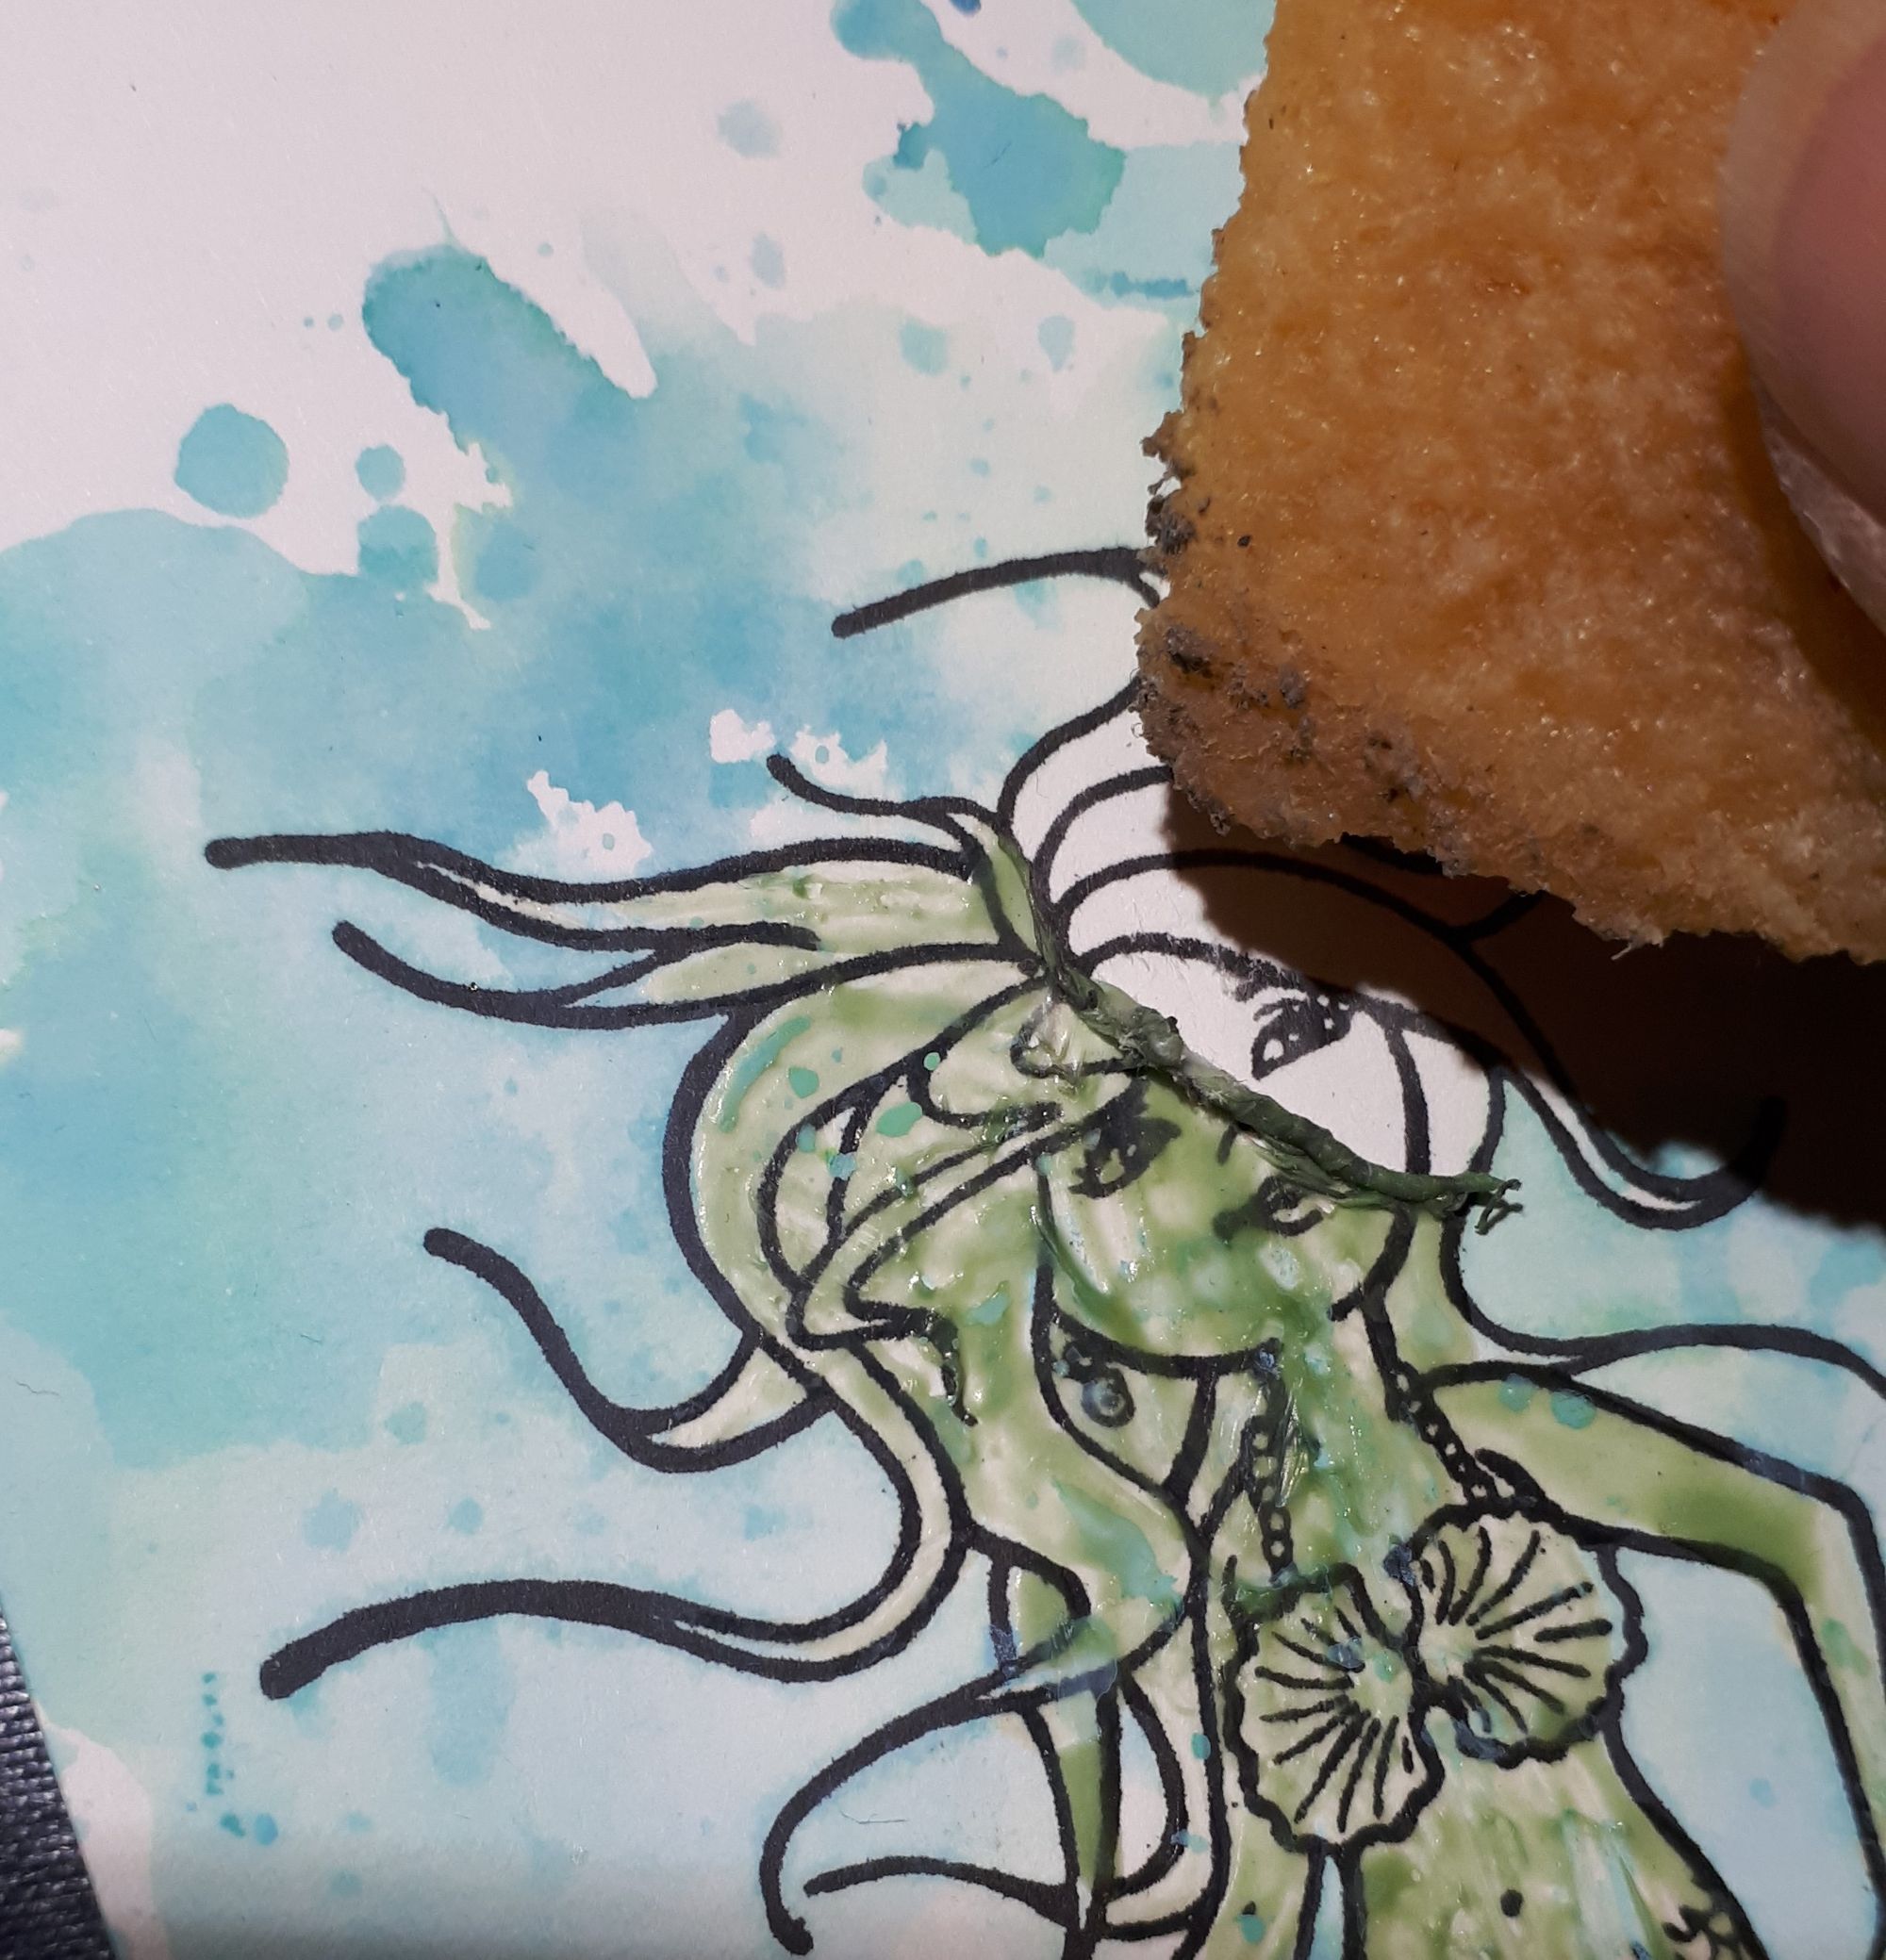
Once your happy with the background wait until the entire background is dry and gently rub off the masking fluid with your finger. It should wipe away easily, but you can always use your Adhesive Eraser to help take off the masking fluid.
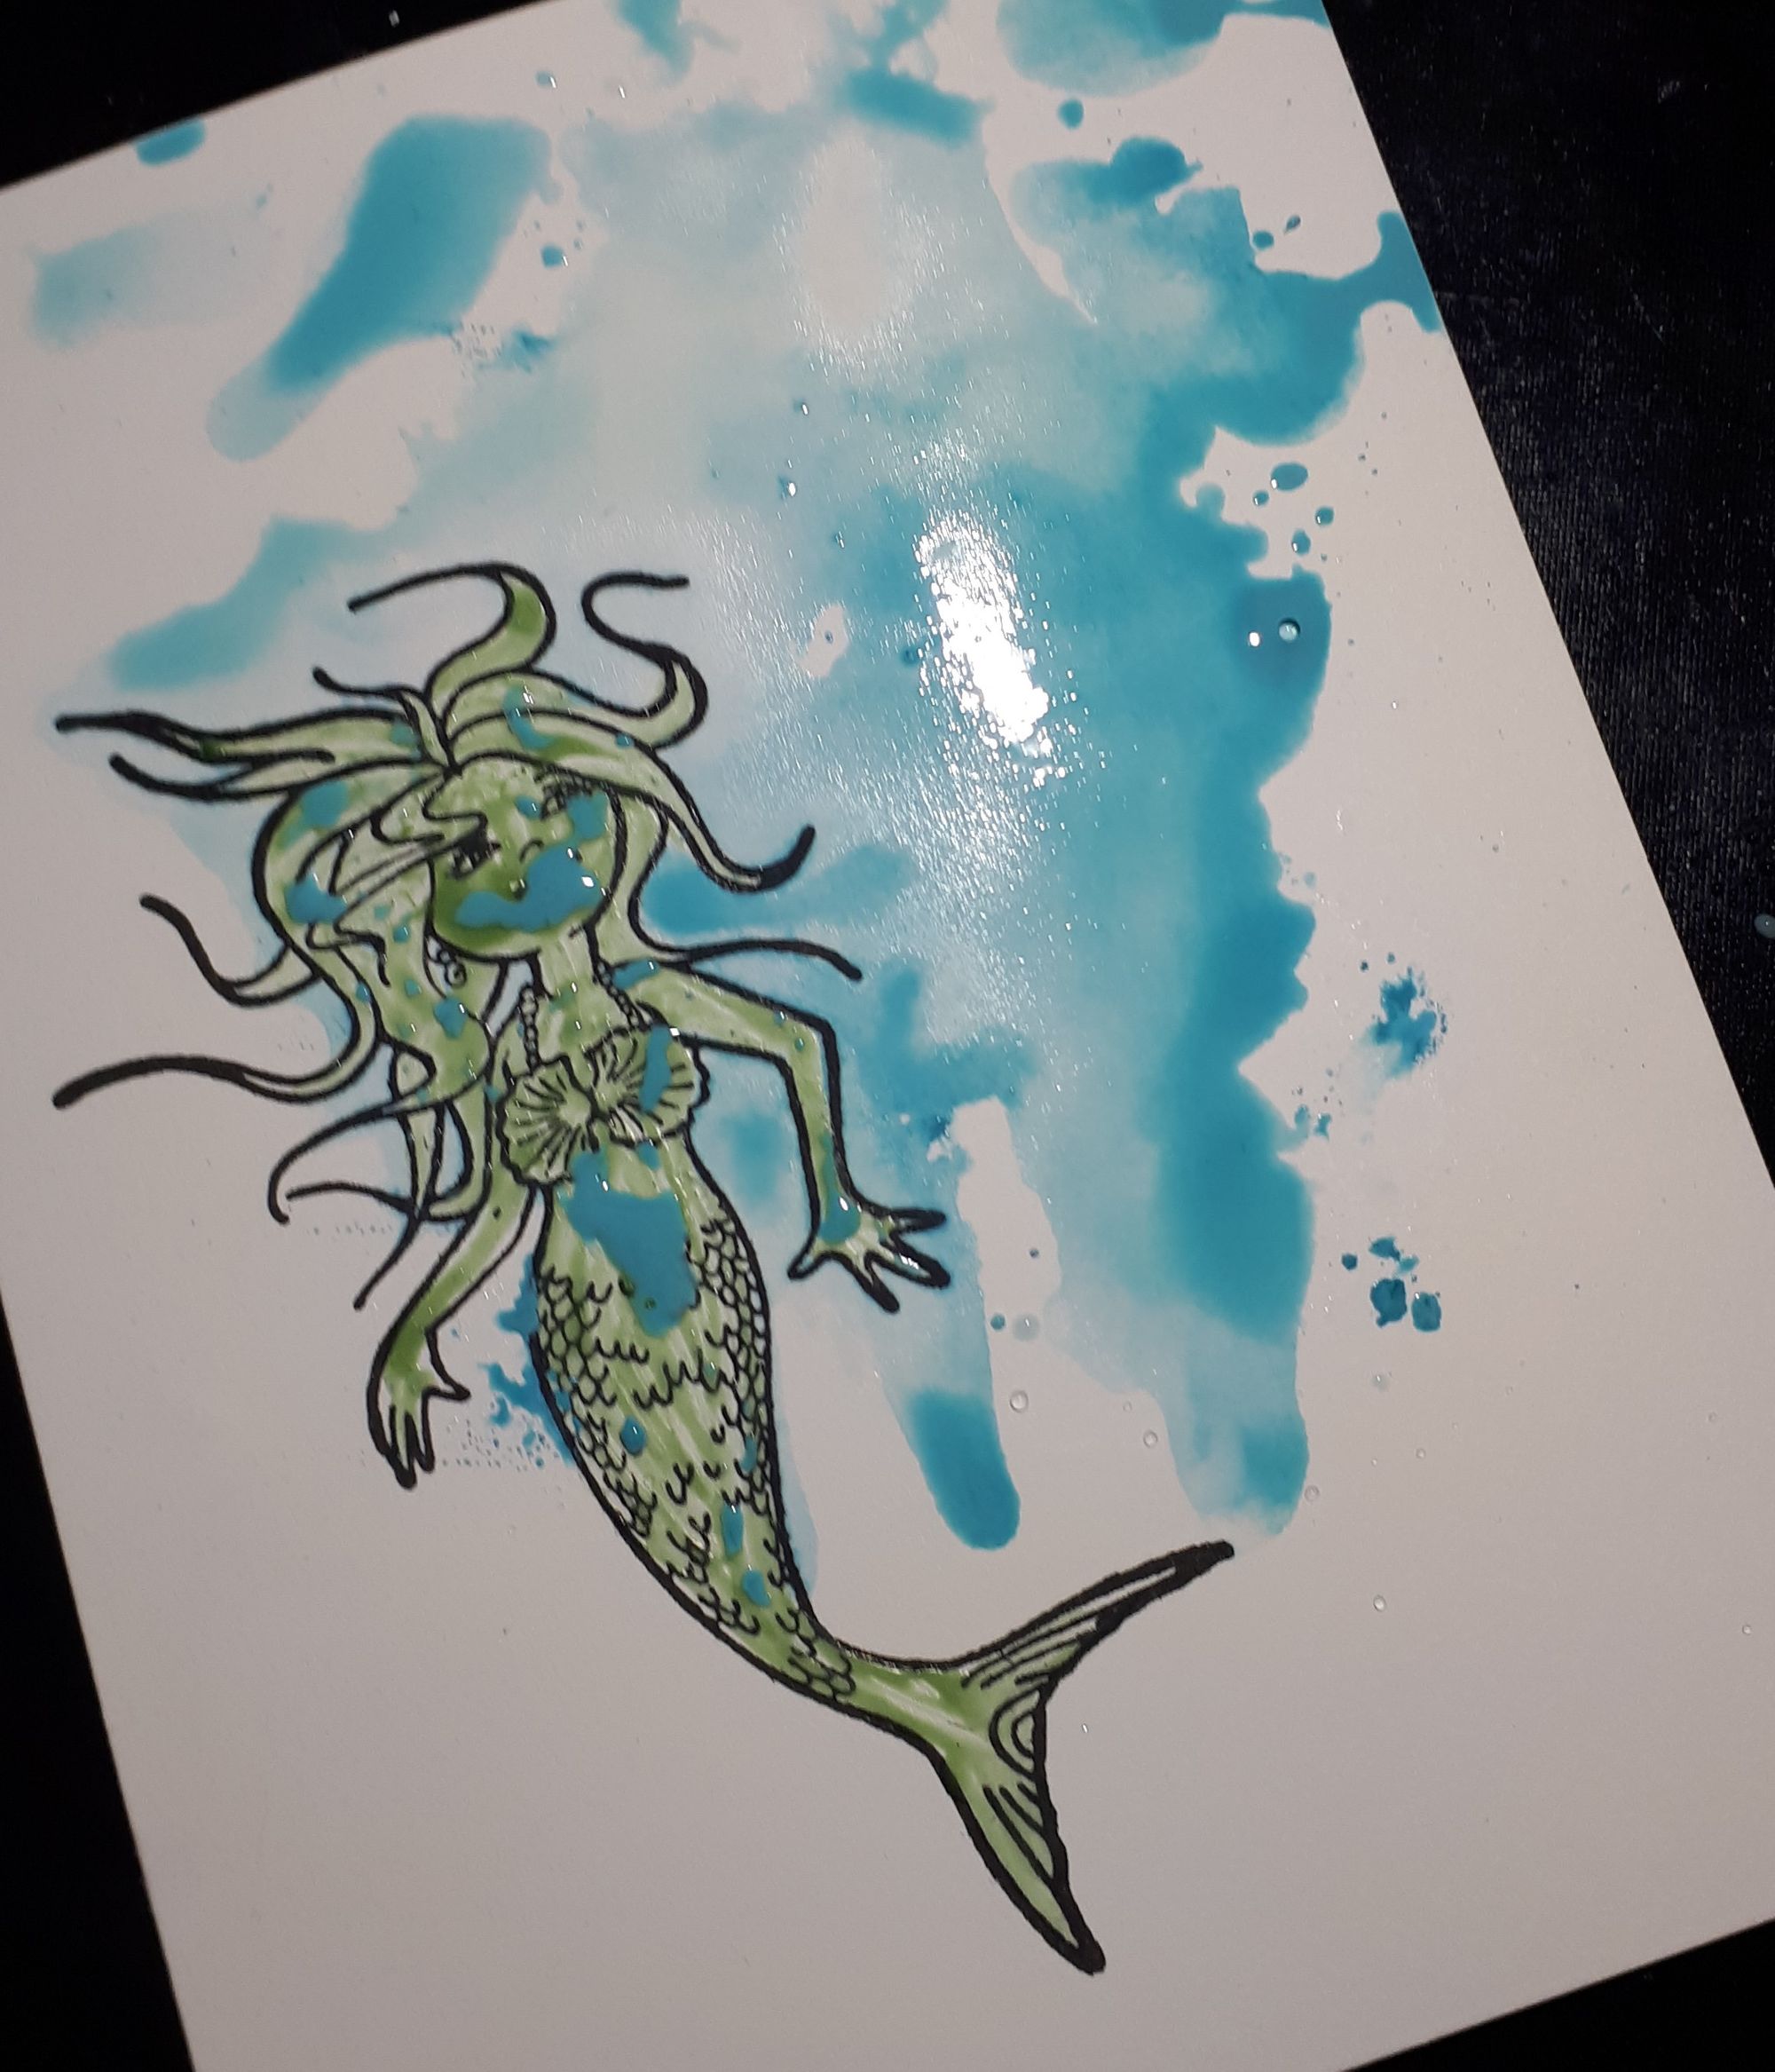
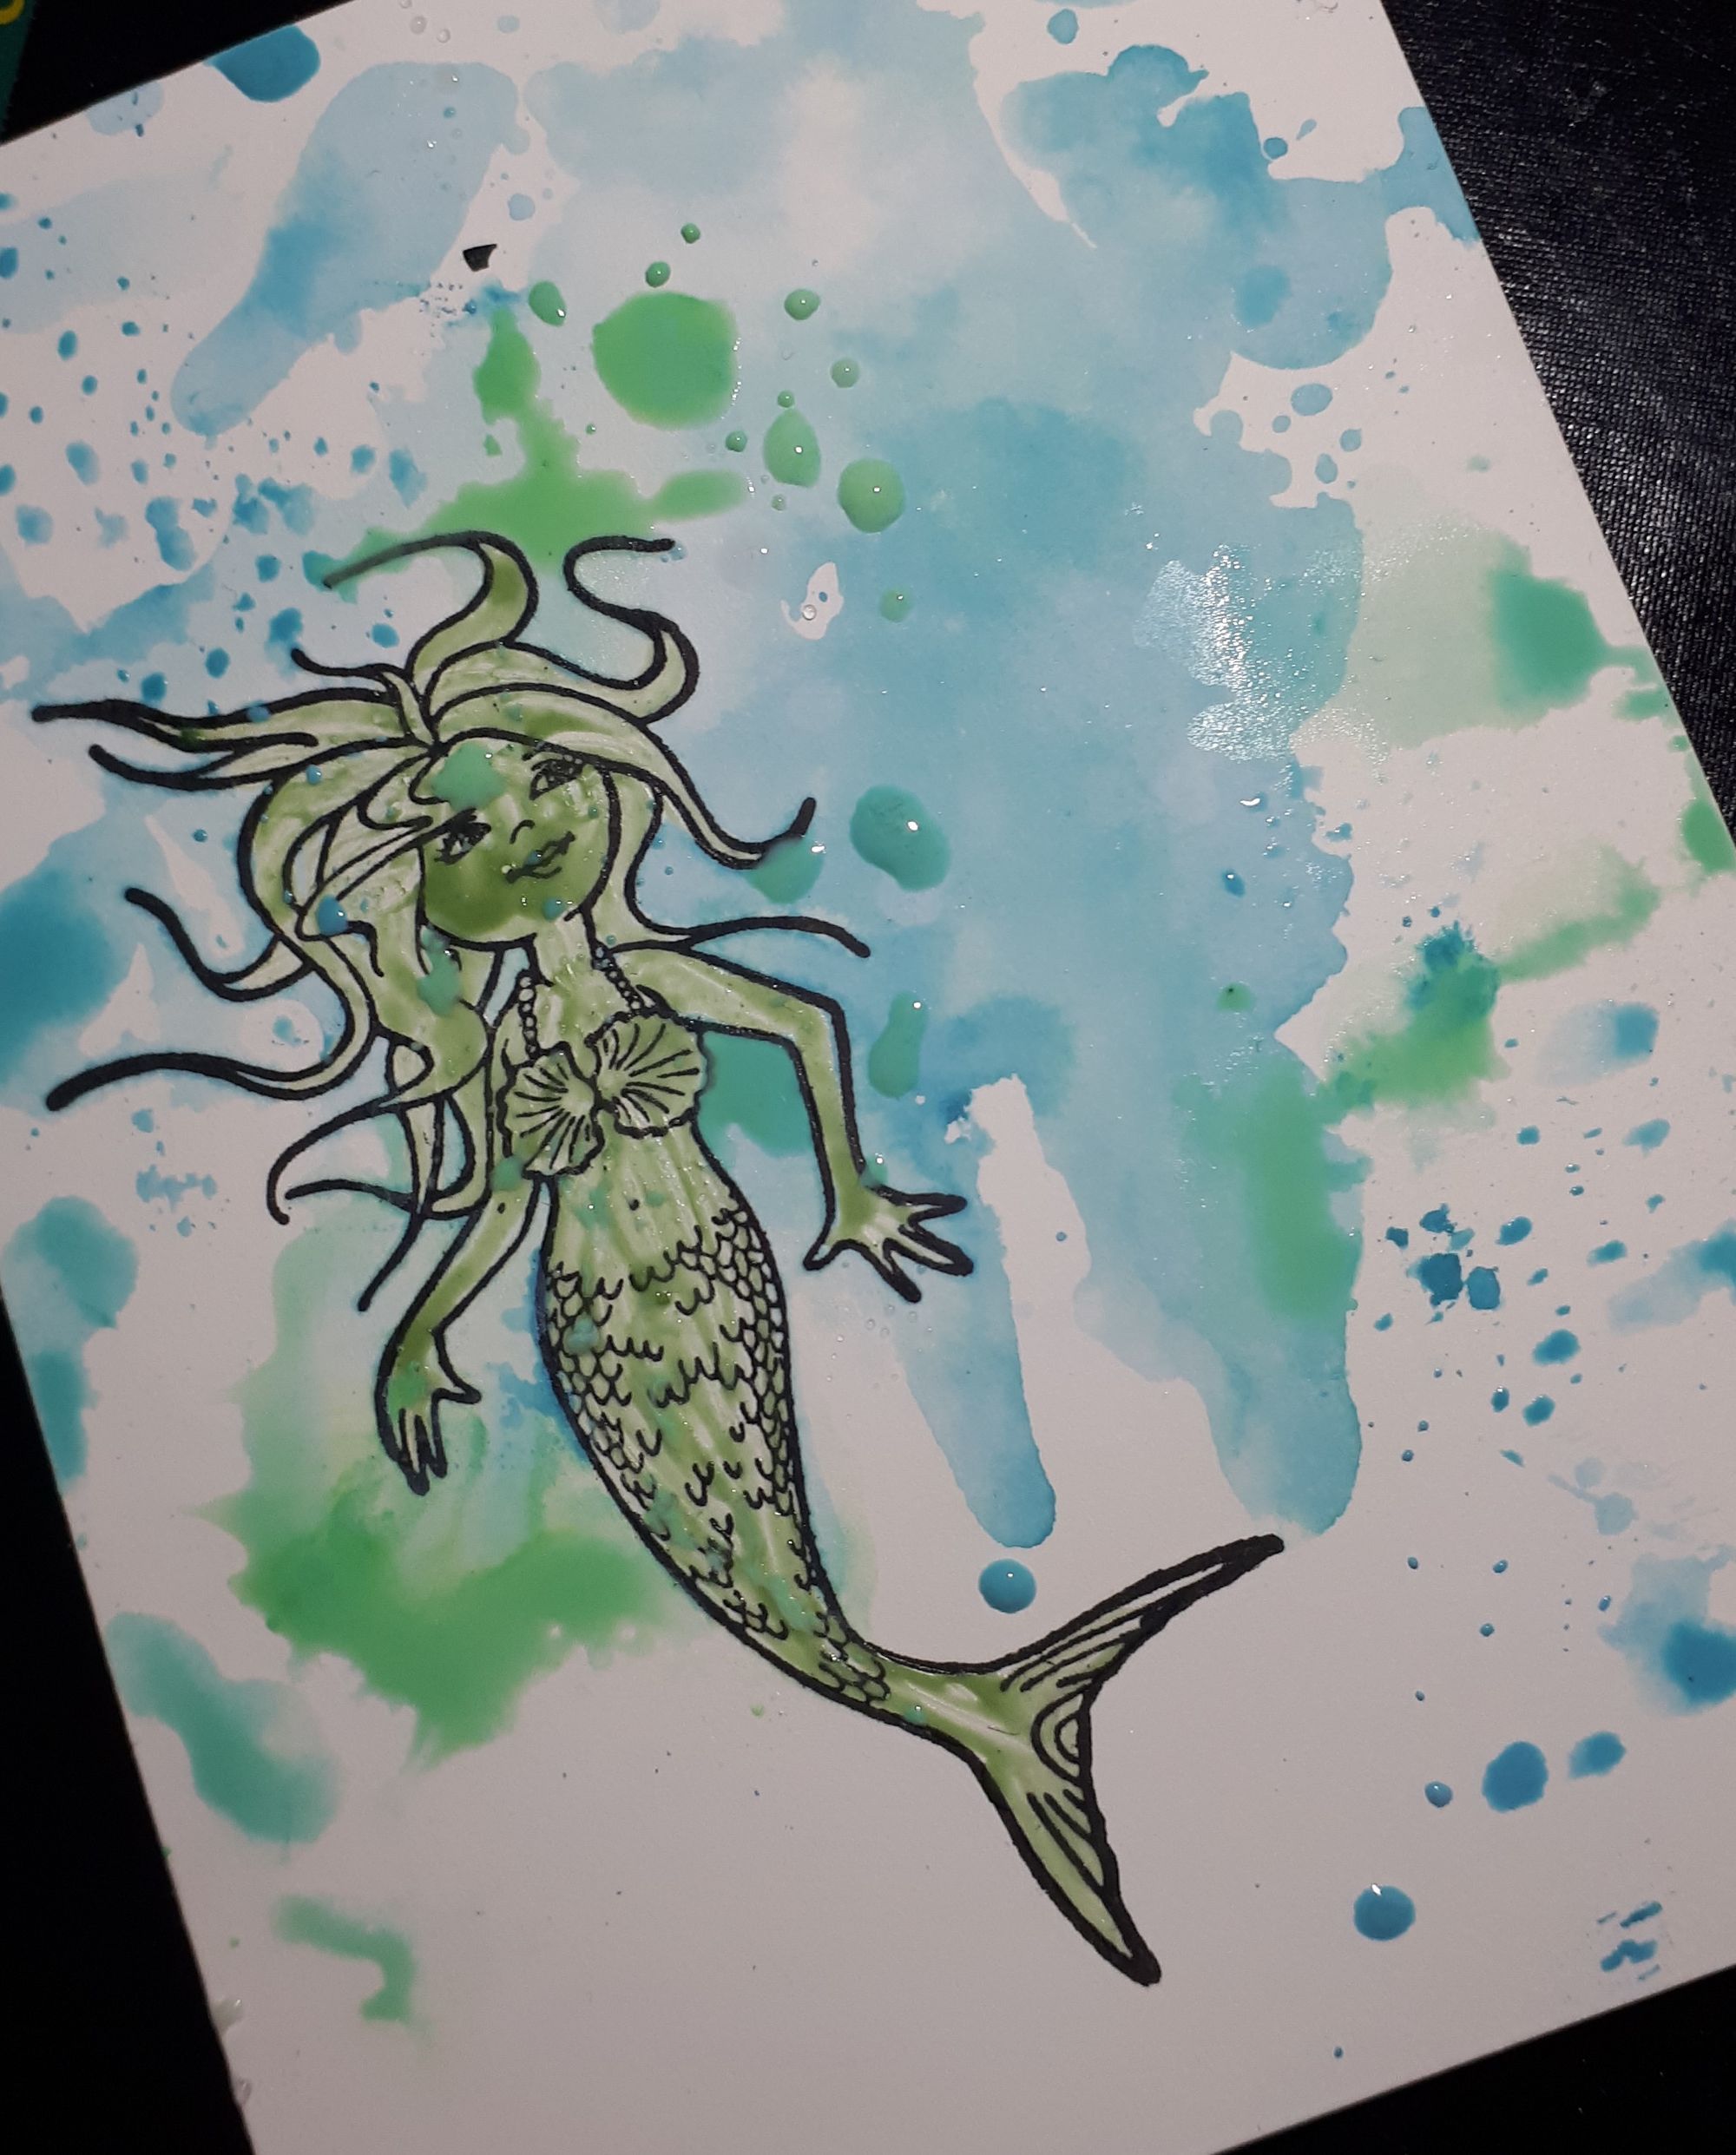
Now you can go back and colour in your image. Here I used the same oxide inks as the background plus Wilted Violet and Tea Dye for the mermaids skin. Here you can get creative and make your mermaid any colour you wish. Blot the ink once onto the craft mat and with a paint brush add water to each colour as you paint in your mermaid.
I cut out the sentiment from a scrap of glitter paper I made for an earlier project and attached to the front of the card, and mounted onto a 4 1/4 x 5.5 " card base. I added a white rectangle on the inside of the card and stamped a small critter form the stamp set in the corner and painted it the same way I did the mermaid.
I hope you enjoyed this blog and give masking fluid a try.
Until next project
Katarina
Products used :
Tsukineko Versafine Ink Pad Onyx Black - VF082
Creative Expressions Adhesive Eraser - CEADER01