Let it Snow Pop-Up Card
A snow-themed card with a glittering pop-up interior featuring Cosmic Shimmer Glitter Kiss
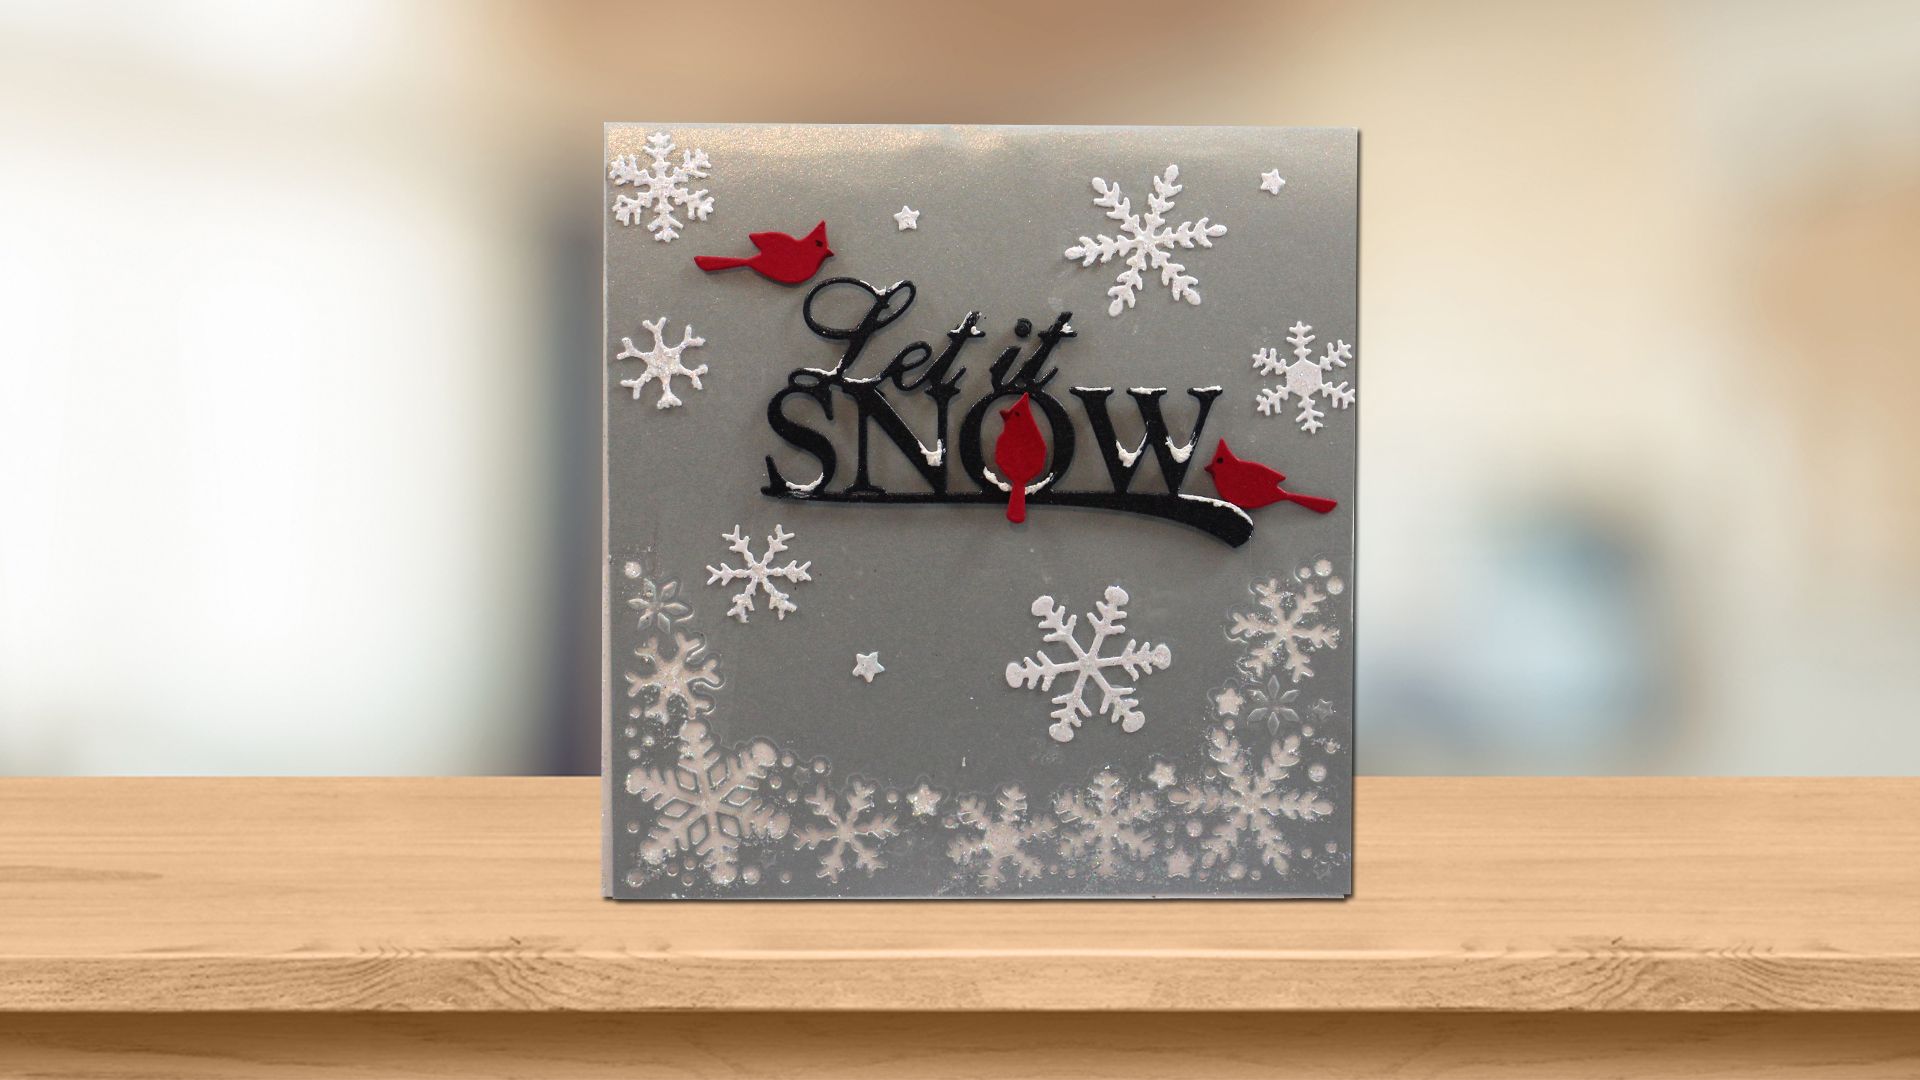
A snow-themed card with a glittering pop-up interior featuring Cosmic Shimmer Glitter Kiss

Materials
- Pop-up Snowflake die (60032005)
- Cosmic Shimmer Glitter Kiss in Frosty Sparkle
- Mini Cardinals 1 die (IME221)
- Let it Snow die (IME247)
- Snowflakes Border die (LR0498)
- White and Black Card Stock
- Scissors or craft knife
- Card Stock in black, red, steel and icicle white
- Doodles stencil (60020904)
- Mixed Media Effect Snow (EFSNE001)
- My Christmas stamp
- Black ink pad
- Glue or Double-Sided Tape
- Cutting machine
Get all of the supplies you need to make this project on our website:
Directions
 Step 6
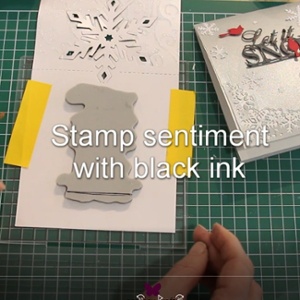 Step 8
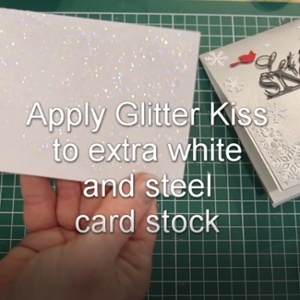 Step 8
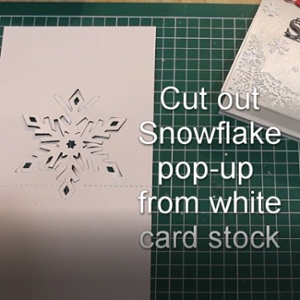 Step 8
- Preparation
Using your scissors or craft knife cut a 5.5” x 11” rectangle from your icicle and steel card stock. Score your steel card stock halfway along the long edge to make a 5.5” x 5.5” card. - Using your cutting machine, cut the following pieces.
- Using your icicle rectangle, cut the Pop-Up Snowflake (this will score as well). This is the inside of your card.
- Using scrap paper, cut out the Pop-Up Snowflake again. You only need to cut the snowflake itself, as this will act as a mask later.
- Using your steel rectangle, cut out the Snowflake border along the bottom edge of the front of your card.
- From red card stock, cut out cardinals. Use your black marker to add faces to the birds.
- From black card stock, cut out “Let it Snow” sentiment. Using your Mixed Media Effect snow, add some snow to the letters to give it a snowed-on effect. Set aside to dry.
- Apply Glitter Kiss
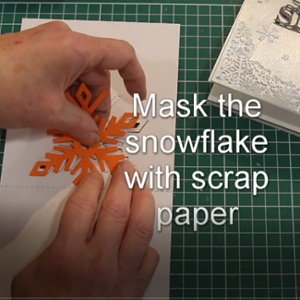
- Lay the inside piece of your card flat. Using the extra snowflake you cut from scrap, cover your pop up snowflake to mask it.
- Cover the top of your card (the side with the snowflake) with your stencil, and apply Glitter Kiss using the applicator included. Only apply to the top half of the card. When you remove your stencil and mask, you will have a glittering background. Let dry for approximately 5 minutes.
- In the meantime, take a piece of scrap icicle paper, and apply Glitter Kiss to the edge. Once dry, you will cut out this area using the Snowflake border die to create glittering snowflakes for the front of the card. You may also choose to cut the snowflakes first, and apply the Glitter Kiss after.
- Assemble card
Using double-sided tape, attach the white rectangle with pop-up snowflake inside the steel card stock. Before taping, be sure to double check that your score lines match up, and that the snowflake pop-up is on the same side as the snowflake border. - Using Glitter Kiss on the front of the card, add glitter to your snowflake border.
- Using black foam tabs, attach your sentiment to the front of the card. Using foam tabs, attach three cardinals to the front of the card, arranging them to perch on the sentiment. Using glue, attach your white snowflakes to the front of the card.
- Stamp sentiment
Once you are sure everything is dry, open the card and using black ink stamp your sentiment below the pop-up snowflake to the right hand side of the card. - Using glue, attach your leftover steel coloured snowflakes the inside of the card to balance out the sentiment.
Tip: You may find that your Snowflake needs some additional stability. You can add some double-sided tape to the back of the snowflake (be sure it isn’t visible, and don’t remove the backing).
Want to save these instructions for later?
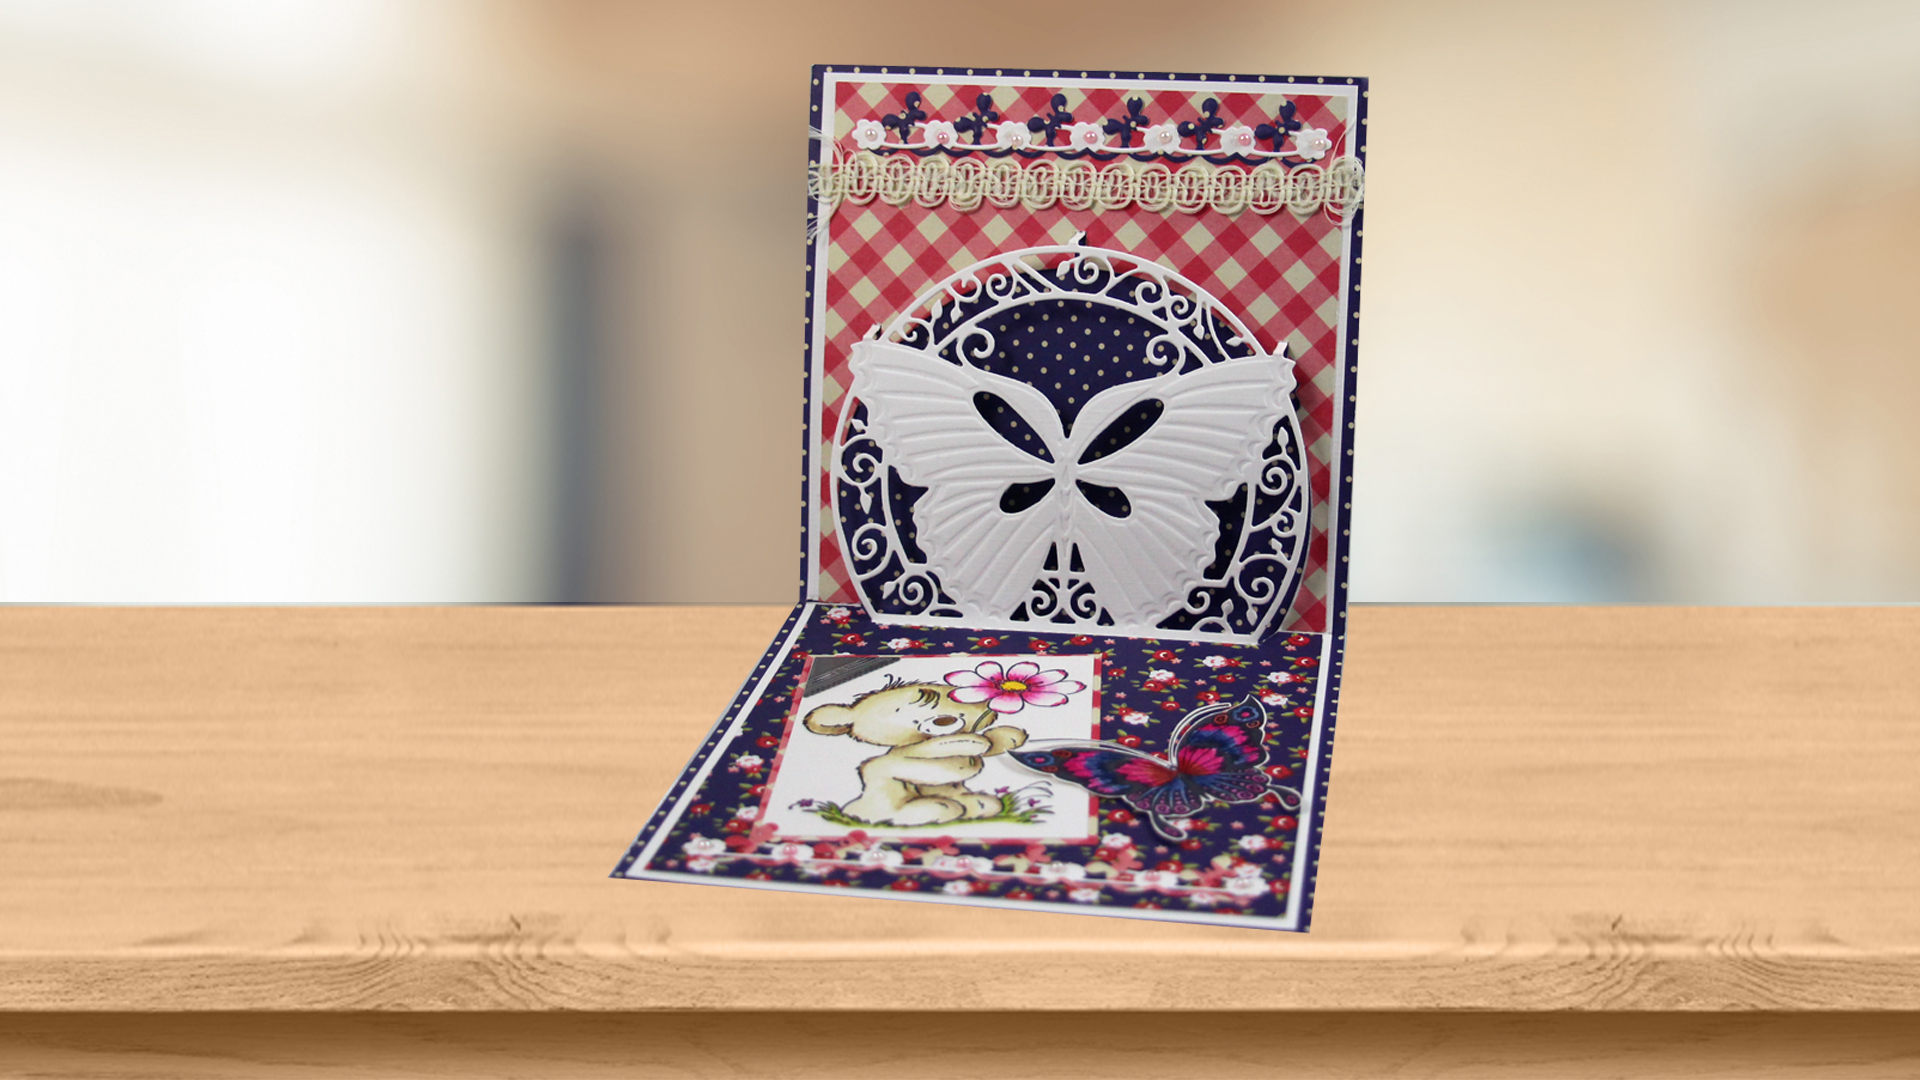
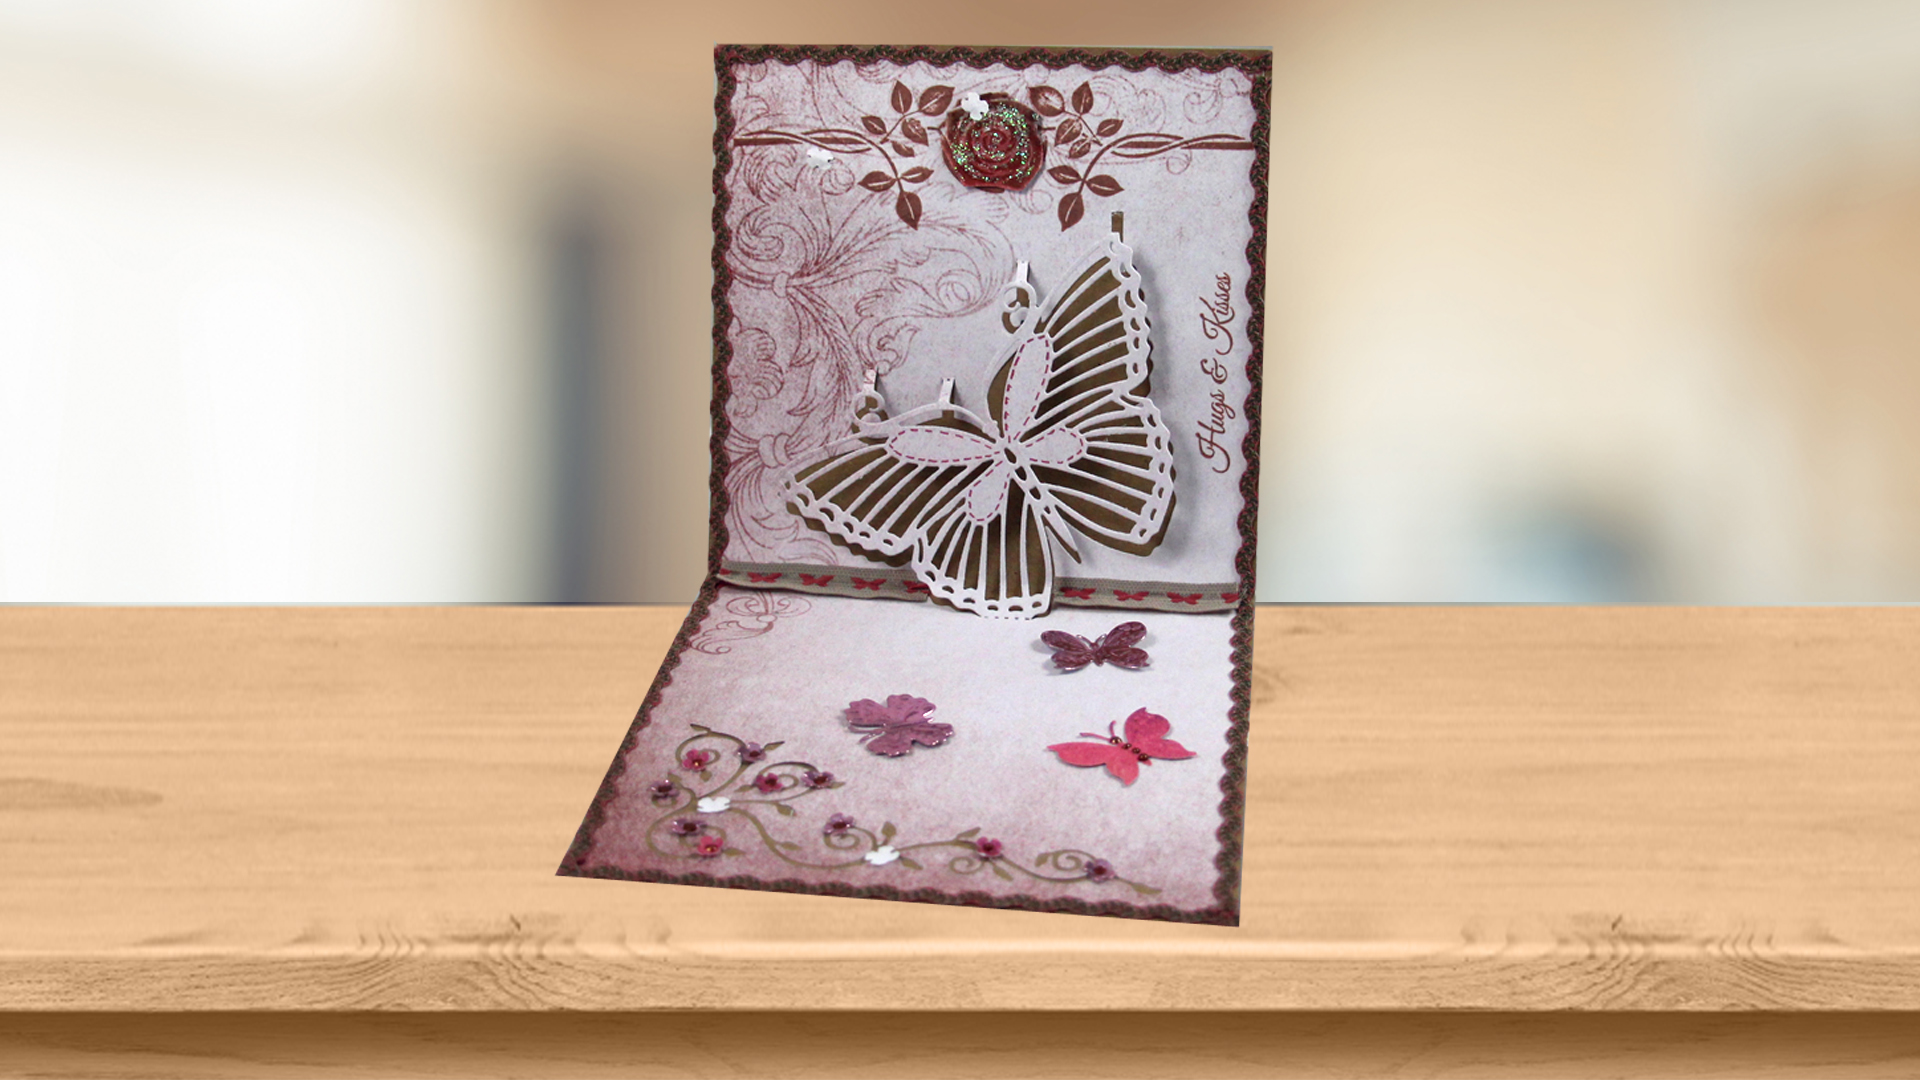
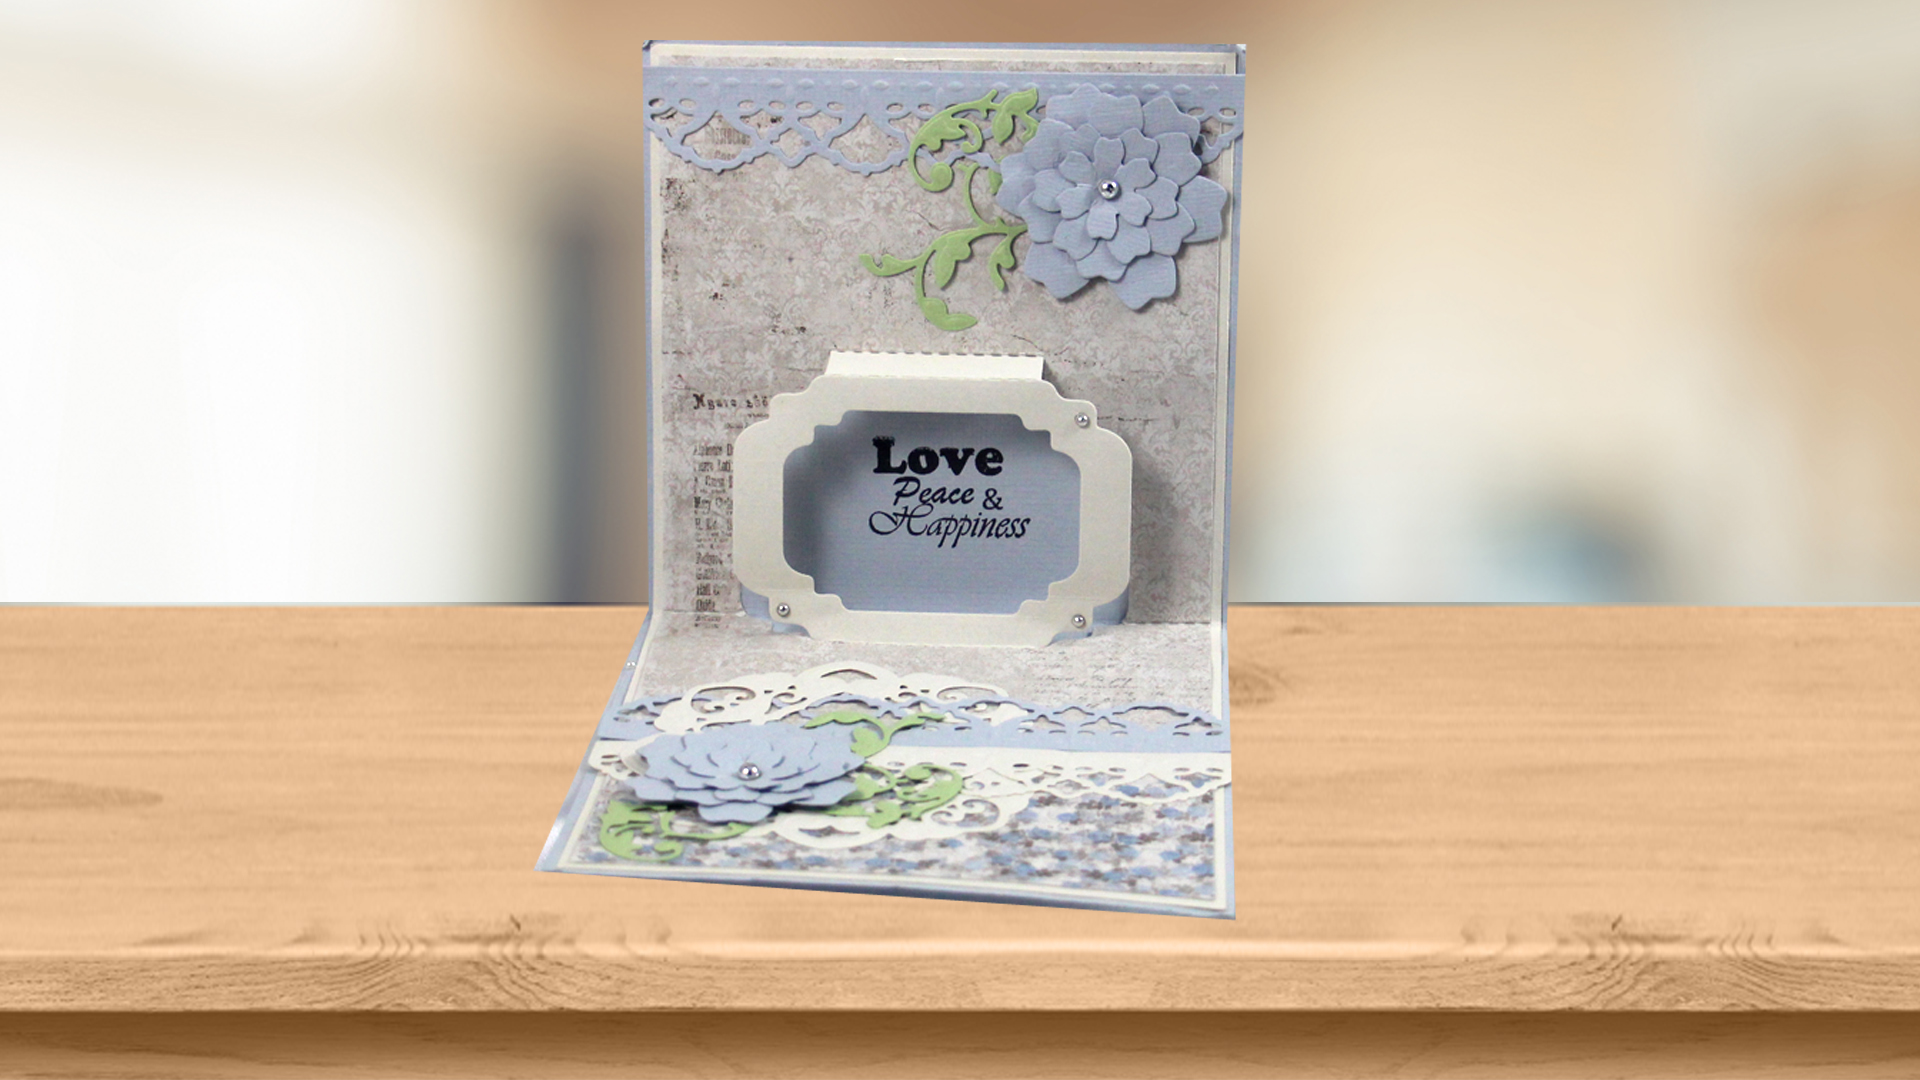
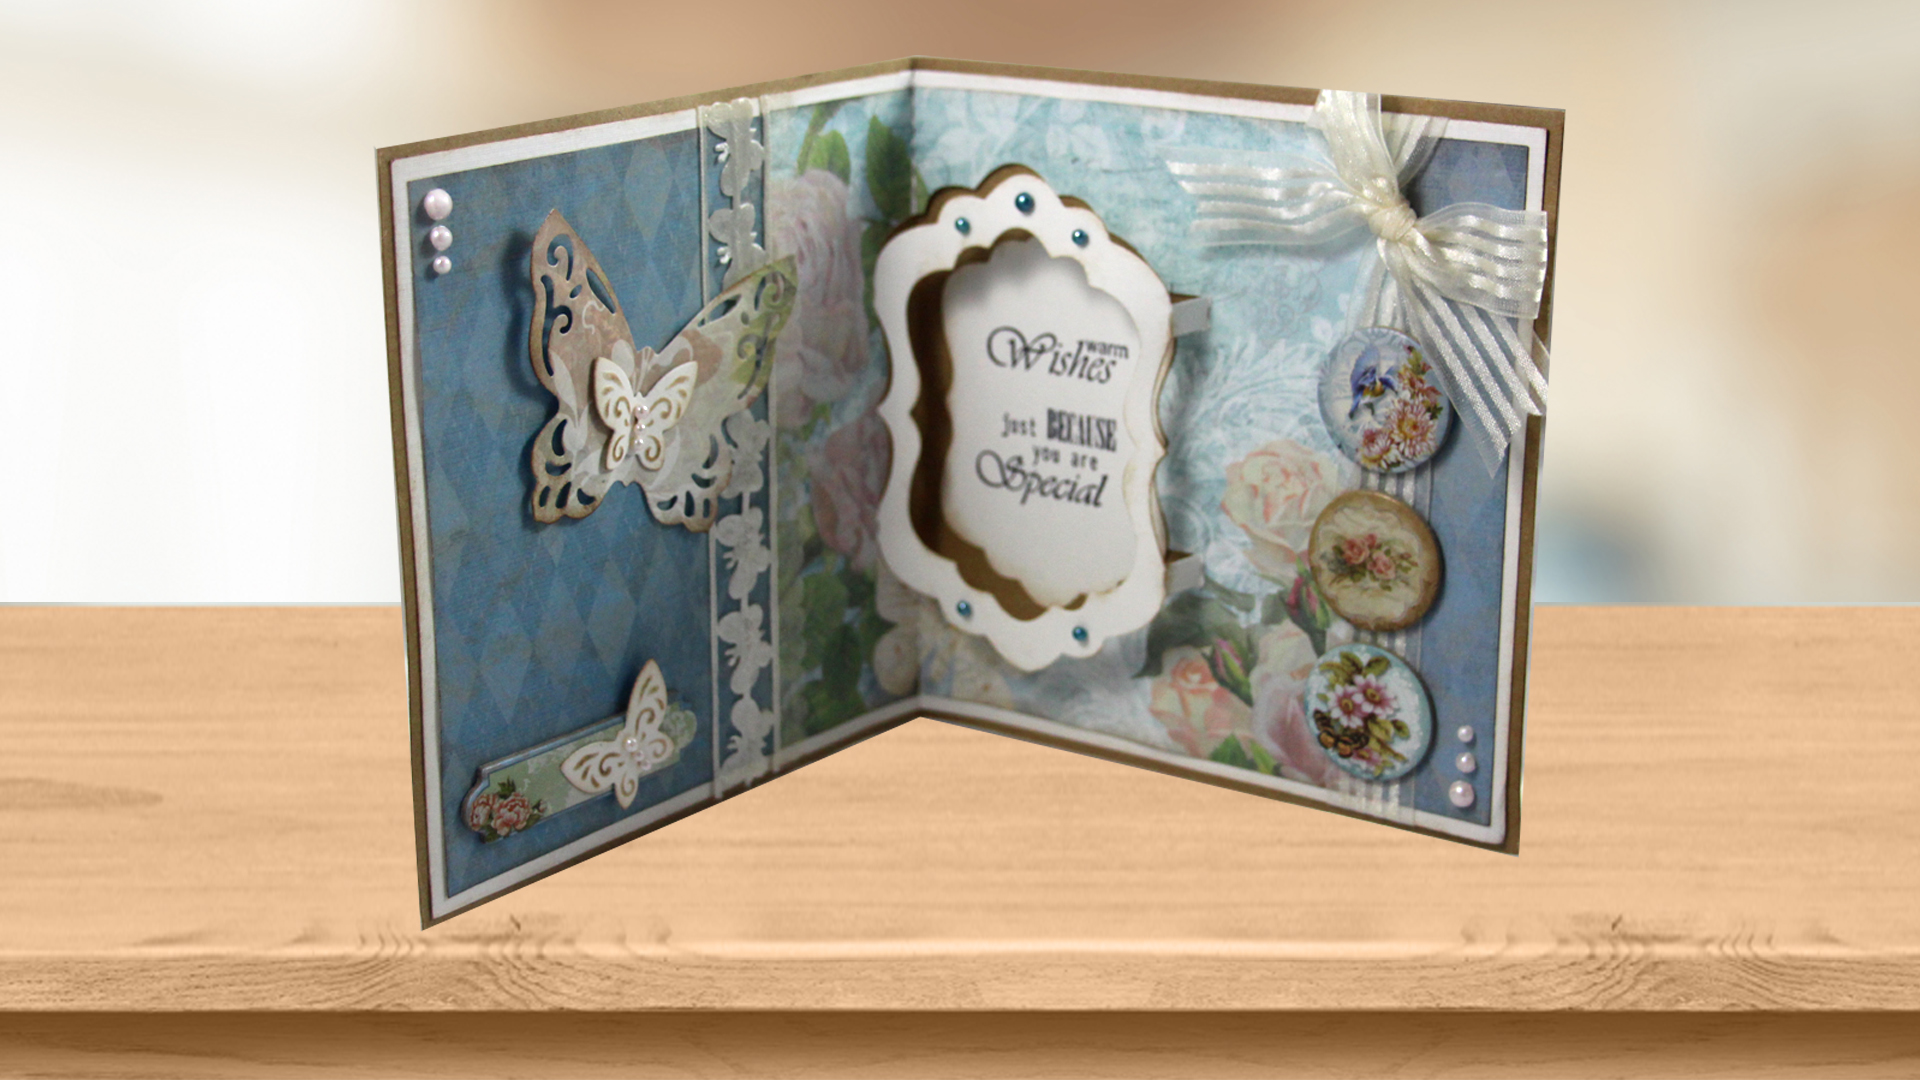
More Pop-Up Inspiration
If you liked the Let it Snow Pop-Up Card project, you may be interested in some of our other great ideas using pop-up dies. Also, don't forget to pick up your own Snowflake Pop-Up die along with a 50ml jar of Glitter Kiss at a discounted price with our project bundle.