Gilding Flakes Merry & Bright
Recently we revisited the world of gilding flakes, and the results were stunning. This simple to make shimmery card is done using simple products like double sided tape and the flakes.
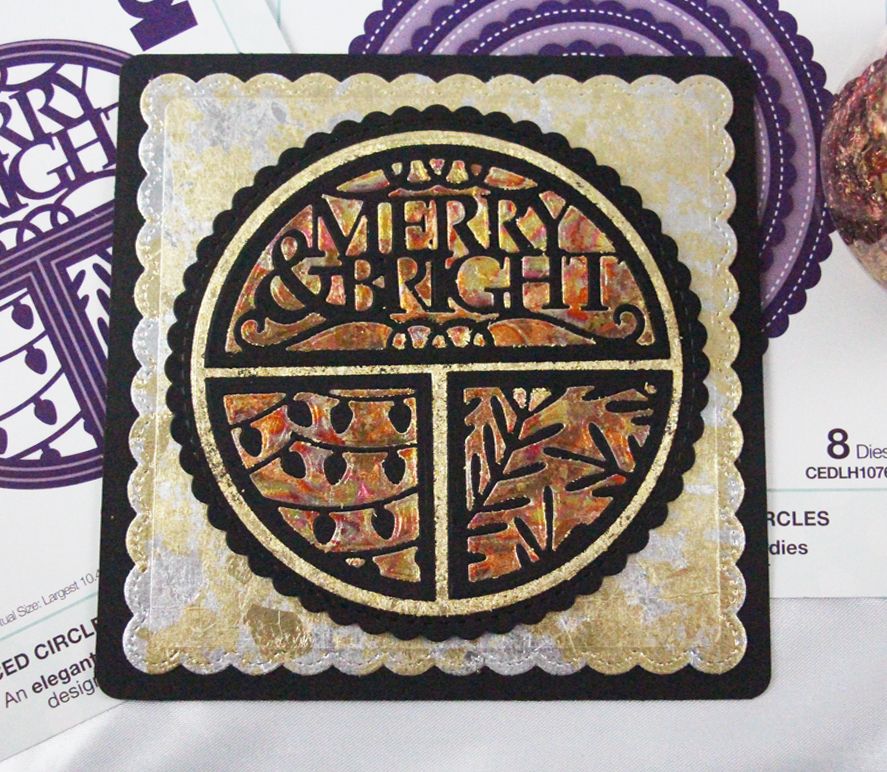
Recently we revisited the world of gilding flakes, and the results were stunning. This simple to make shimmery card is done using simple products like double sided tape and the flakes. Along with a new die set Split Circles Merry & Bright by Creative Expressions. Let's get started.
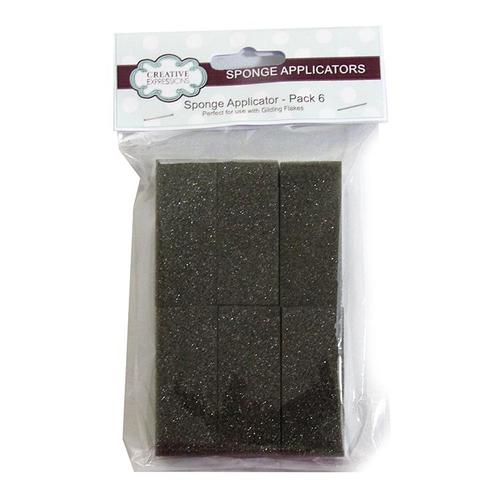
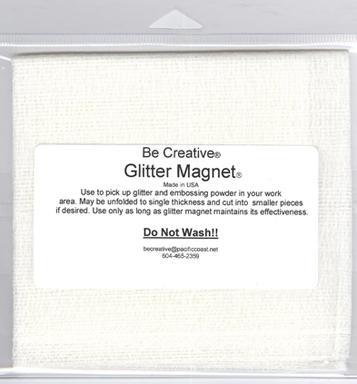
To use the gilding flakes there a couple of things that will make it easier to use. This sponge applicator is used to spread the flakes around and help adhere them to your paper. Once your paper is covered wipe off the excess flakes and put back into the container for your next project. Then burnish your piece. I use my fingers to do this and it will make your flakes shine that much more. To help clean up I used the glitter magnet sheet. Used mainly for glitter this sheet will pick up the flakes and there will be less mess. One more tip, try and use this product, gilding flakes, in a non breezy place. the flakes are very light and will fly everywhere if there is any kind of wind or fast breeze.
Ok so these are the steps to create this card:
Out of Black card stock cut a Card Base at 5.5" x 5.5" and round the corners. I used the corner punch that comes with my Joy! Crafts Envelope maker.
Bottom layer is cut to 5.5" x 5.5" then lay it out on to double sided tape paper cut to the same size. Cover this layer with the sunlight speckle gilding flakes. Then cut out the largest scalloped frame die from the stitched collection scallop layered squares. This layer is adhered directly to the card base using BC5 tape.
The next layer is the largest scalloped circle from stitched collection scalloped circle die set and is cut out of black cardstock and left black.
Then next layer is a straight circle cut out using the sliced circle collection. Before you cut this one out cover it with double sided tape paper. Once cut out remove the release paper and cover using the golden jewel gilding flakes.
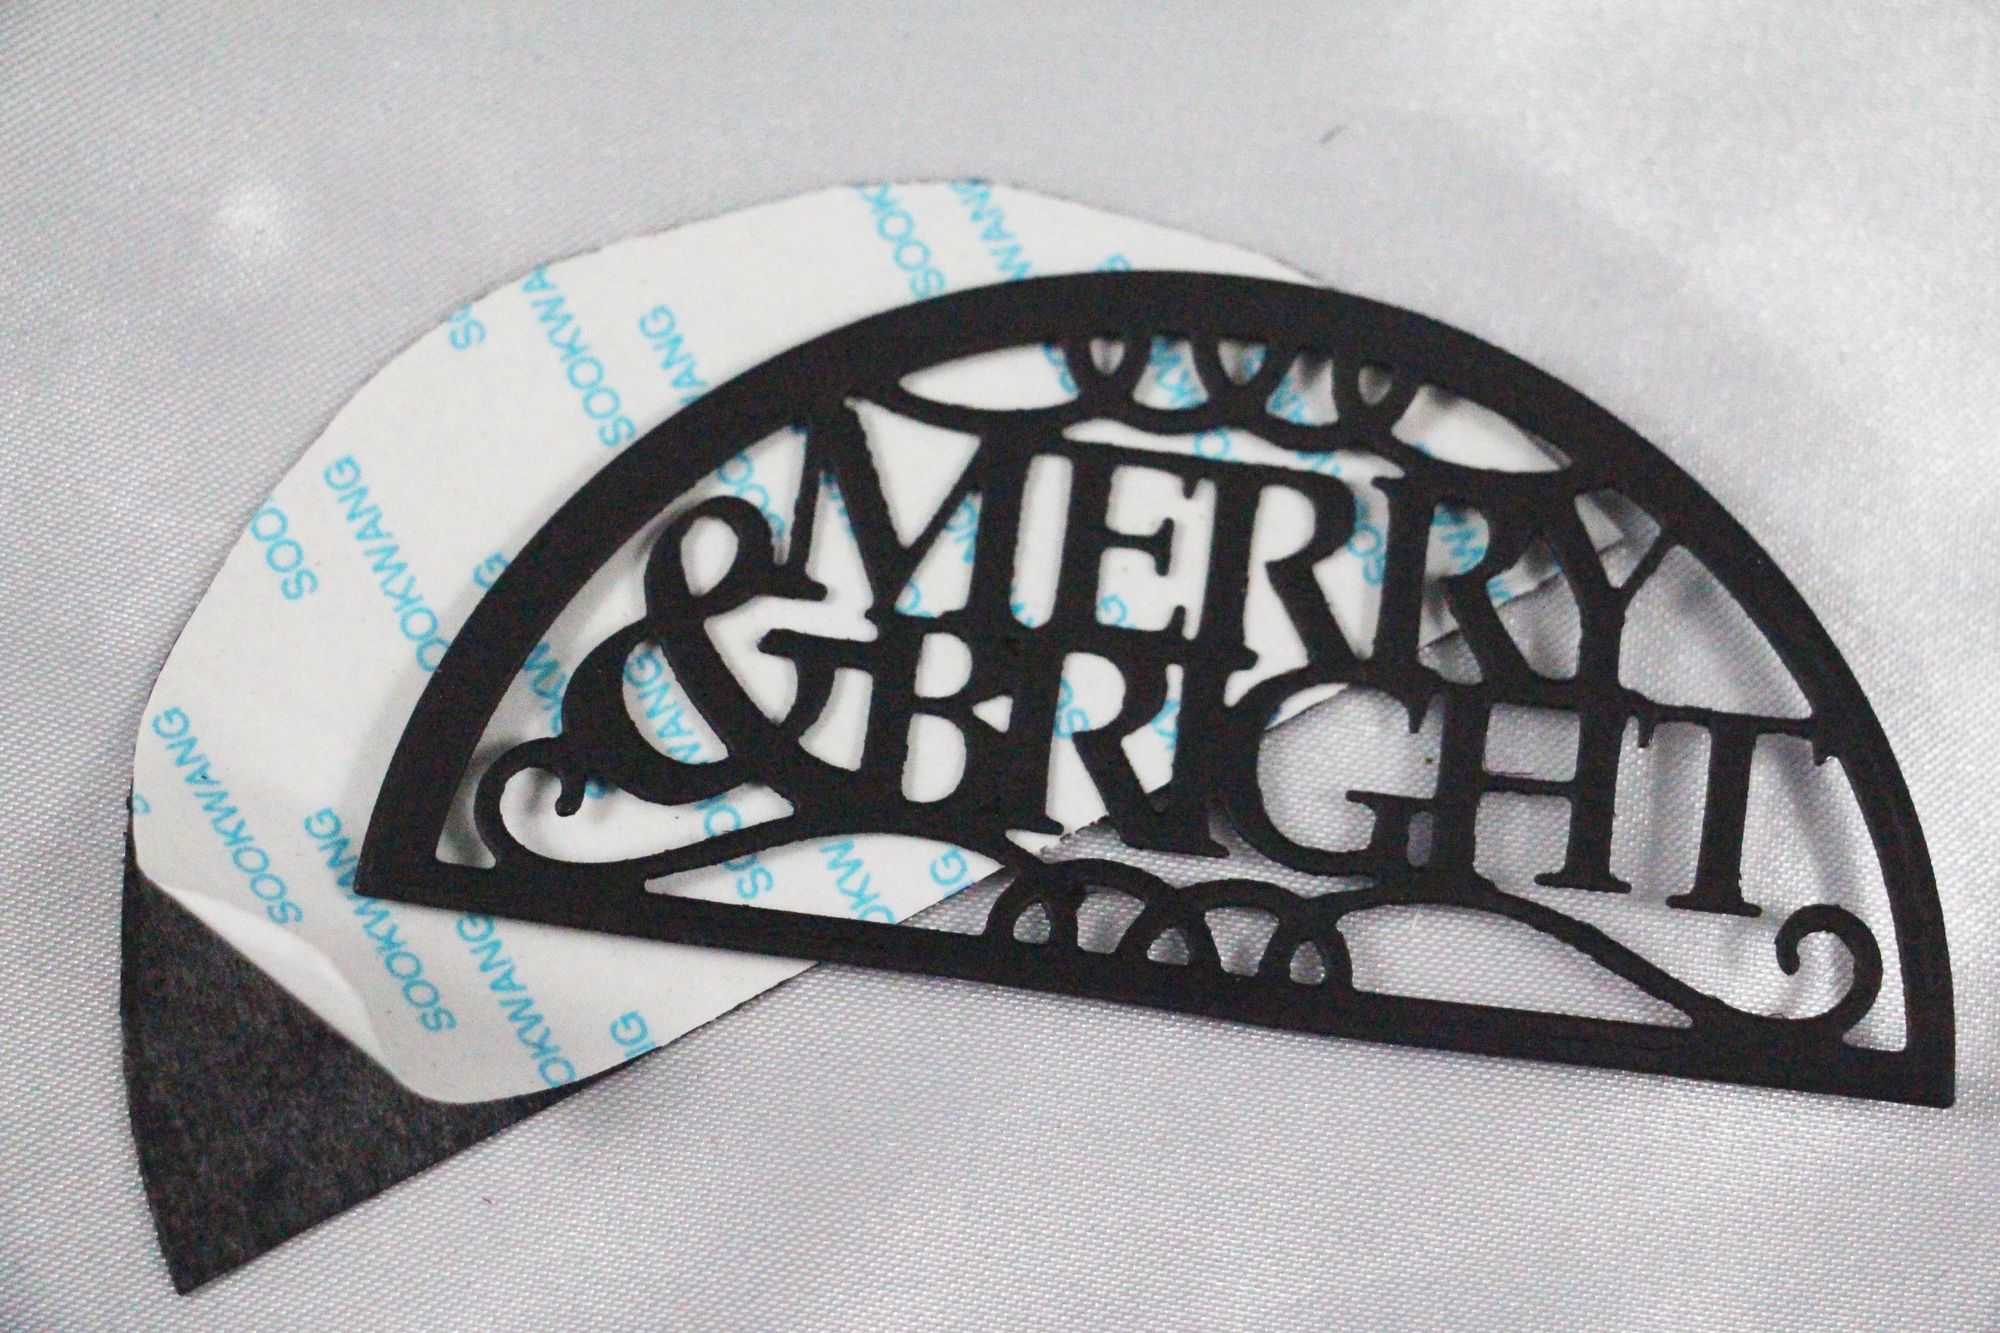
Using the Merry and Bright Die set cut out the patterned elements along with the frames that go with each section in black cardstock. Trace and cut out a matching shape out of cardstock that is covered with double sided tape paper. Placing the cut out onto the sticky side and then apply Red Blaze gilding flakes to those pieces. For this part you may want to use an old tooth brush. This brush will help get the flakes into all the little spots between the patterns.
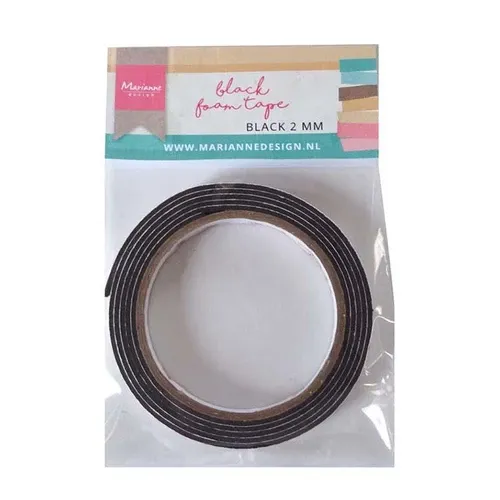
Layer the black scalloped circle, the gold covered circle and the red blaze covered patterned pieces. This piece, once assembled, is adhered to the card base with 3D Foam tape to give a little dimension.
I just love how this card turned out and it really came together quickly. There are so many colors of gilding flakes to choose from so go ahead and play with them and find a color combination that works for you. Have fun with it.
Until next project
Katarina
Products used :
Split Circles Merry & Bright CEDLH1080
Stitched Collection Scallop Layered Squares CEDLH1055
Joy! Crafts Envelope maker with punch 62000053
Foundation Cardstock 25 shts 220 gms - Black 40071
Stitched Collection Scalloped Circles Craft Die CEDLH1076
Creative Expression Sponge Applicator CESPONGE