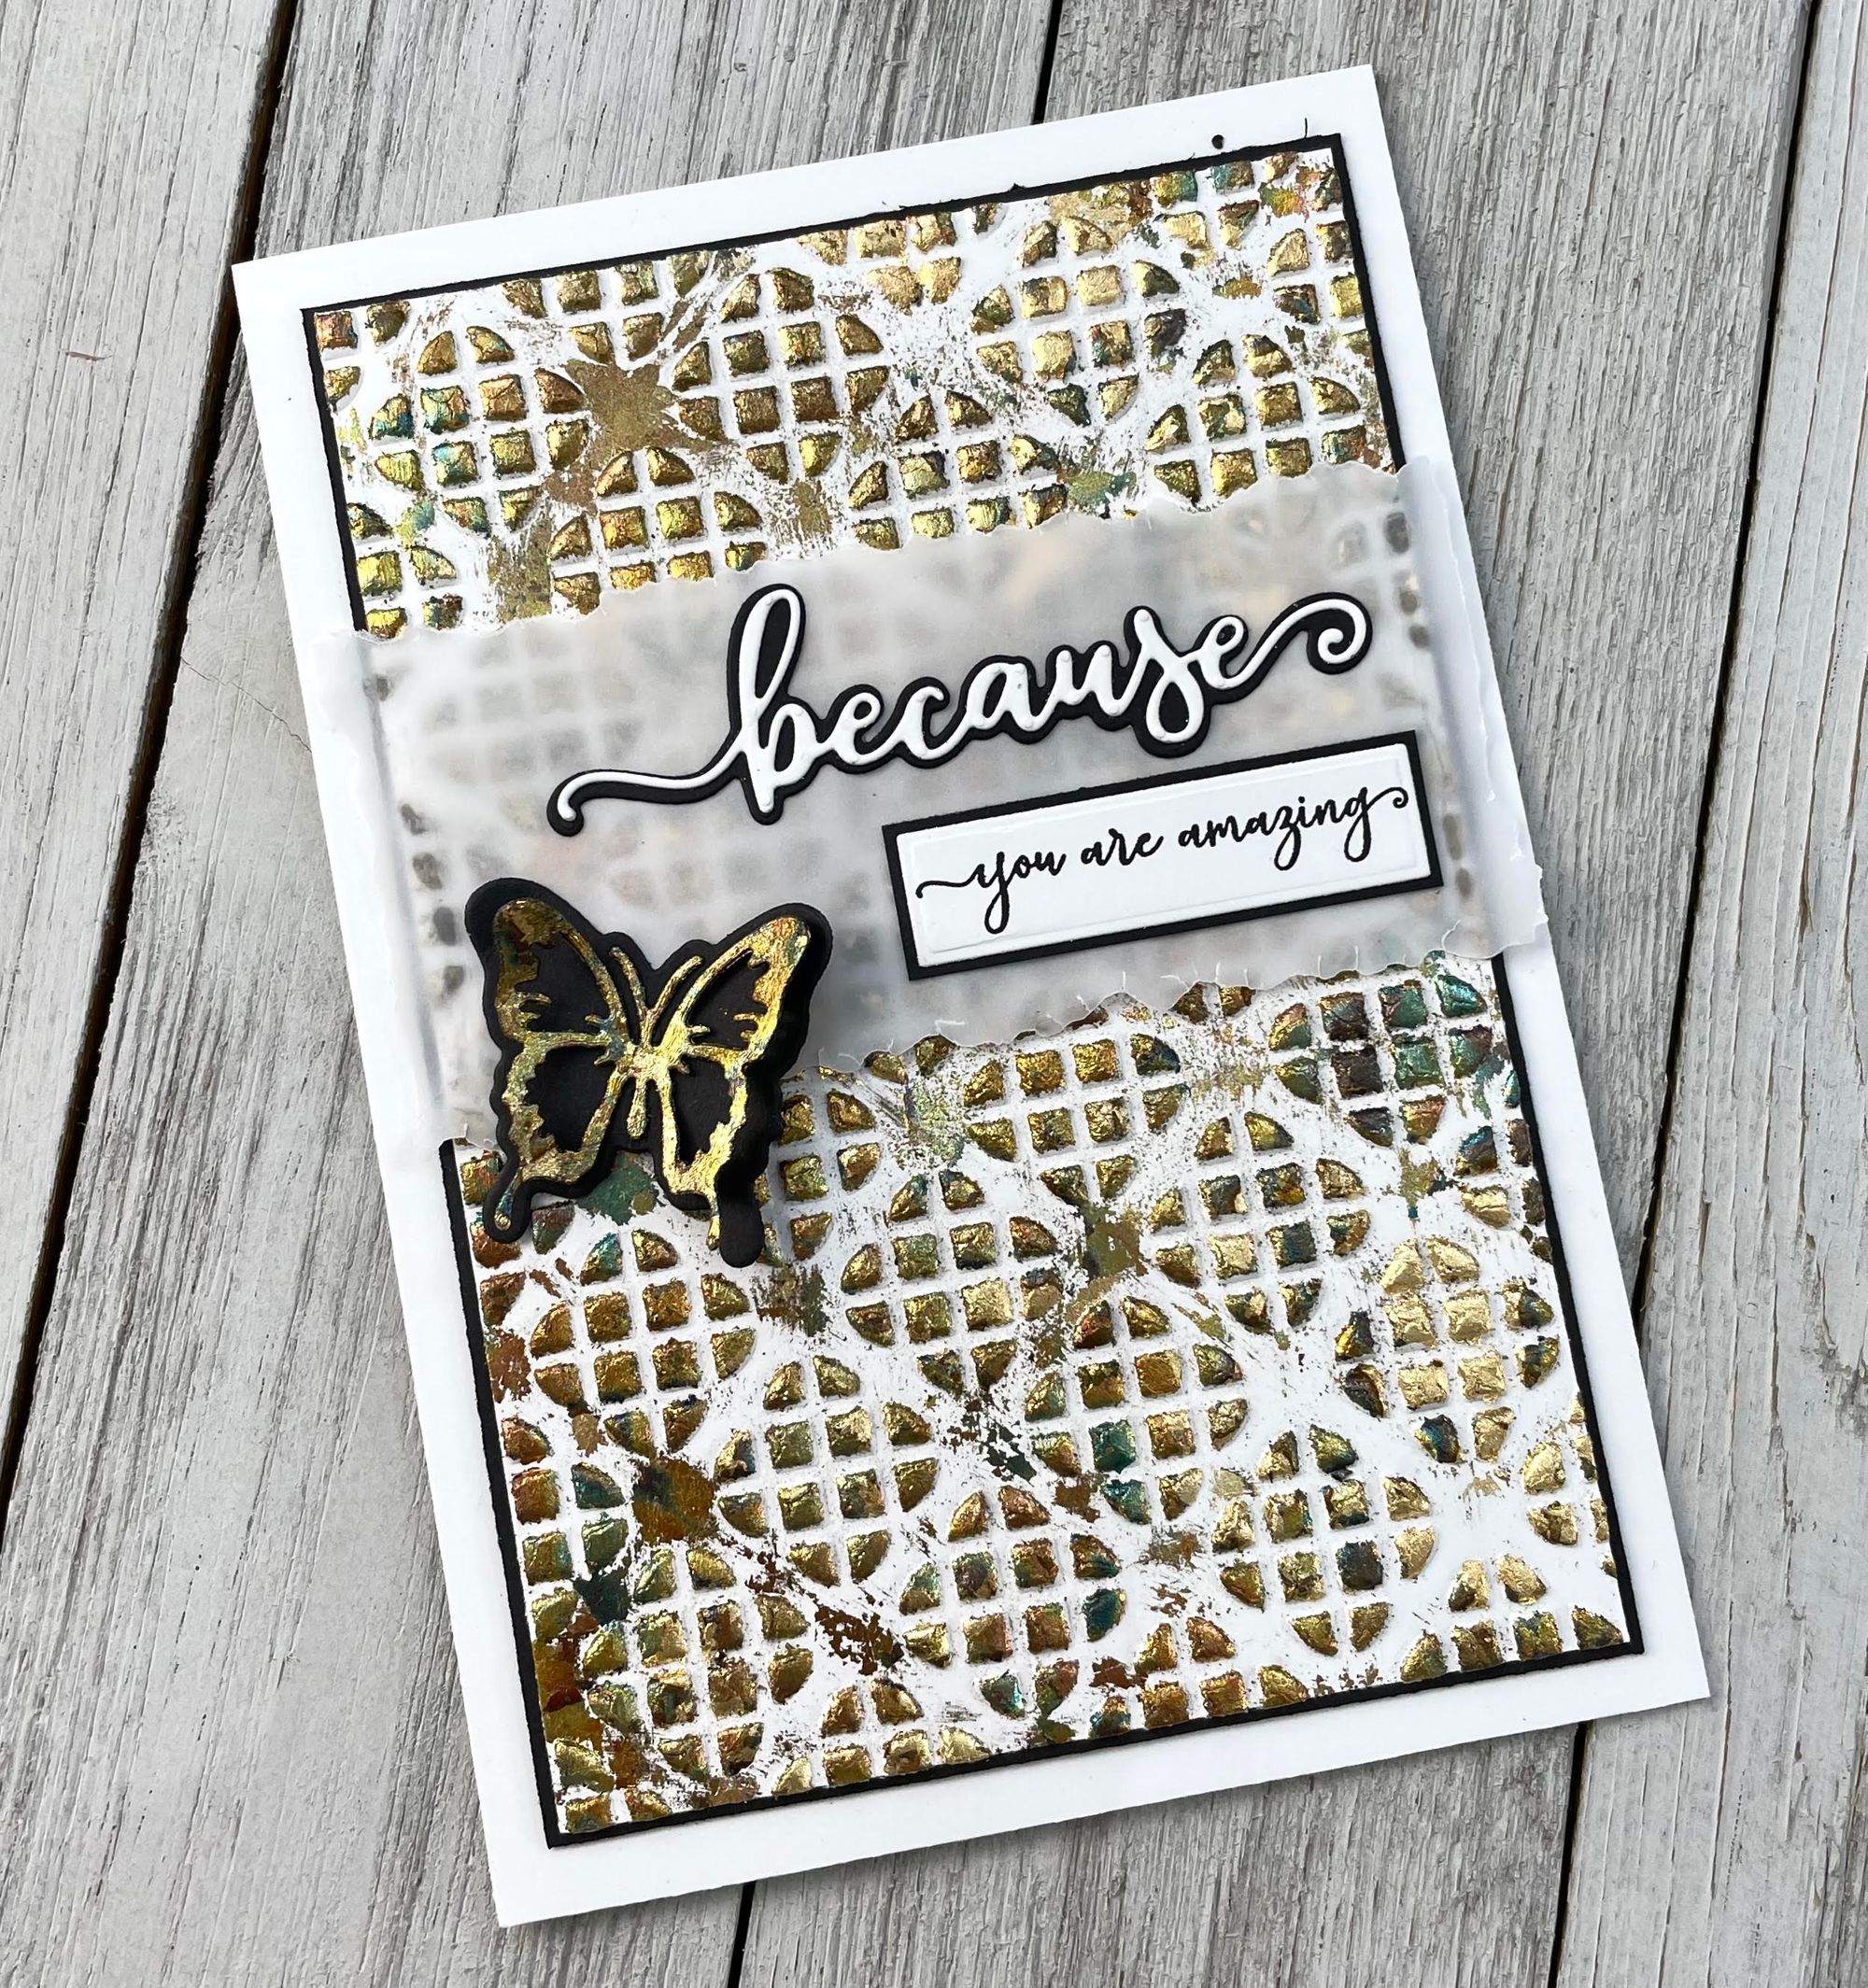
Gilding Flakes Embossed Card

Here is a fun way to use Gilding Flakes and Embossing Folders together to create something new. We had fun using Embossing Folders with lots of embossed detail to see the cool effect this combo has together.

Gilding Flake Card Instructions:
- Begin with a 5”x7” white cardbase
- Trim a piece of black cardstock to 4 1⁄2” x 6 1/2” and attach to cardbase using 1mm foam tape
- Trim a piece of white cardstock to 4 3⁄8” x 6 3⁄8”. Emboss with 3D embossing folder (EF3D047)
- Using a sponge applicator, apply a fine layer of Flake & Glitter Glue to the embossed portions of the white cardstock. Let the glue set and become tacky, then apply gilding flakes and brush off the excess. Attach embossed card to the cardbase.
- Using a deckle edge ruler, trim a piece of parchment paper to 4 3⁄4” x 2” and attach to the card-base.
- Die cut and stamp the sentiment from CEDSD012 and attach to parchment.
- Die cut the background of the medium sized butterfly from SD196 with black cardstock.
- On black cardstock, apply double sided tape and apply gilding flakes to tape. Die cut using the inner die of the medium butterfly from SD196. Attach just the centre of the die cut to the background butterfly and attach to the card base.
Materials Used for Card Project:
- Gilding Flakes (CSGFSMSUMM)
- Cosmic Shimmer Flake & Glitter Glue (CSF05)
- Stiff Foam Applicators or toothbrush
- White Cardstock (41051)
- Black Cardstock (40071)
- Creative Expressions Bold Shadowed Sentiments Stamp & Die (CEDSD012)
- Creative Expressions 3D Embossing Folder - Geo Trellis (EF3D047)
- Nellie’s Choice Shape Die - Butterflies (SD196)
- Tape Sheet (BC SHEETS)
- Deckle Edge Ruler (CEDECKLE)
- Sticky Specks (ECSSA5)
- Foam Tape (65000020)