Getting Creative with Your Embossing Folders
Embossing folders come in a variety of different scenes and designs and some even to big for standard cards. At first glance you might not know how to use them but I'll show you how to get started and get inspired.

I have never been a huge fan of embossing folders but over the last few months I am learning how to incorporate them more into my card making. For today's blog I want to visit these embossing folders and hopefully inspire you to be creative using them.
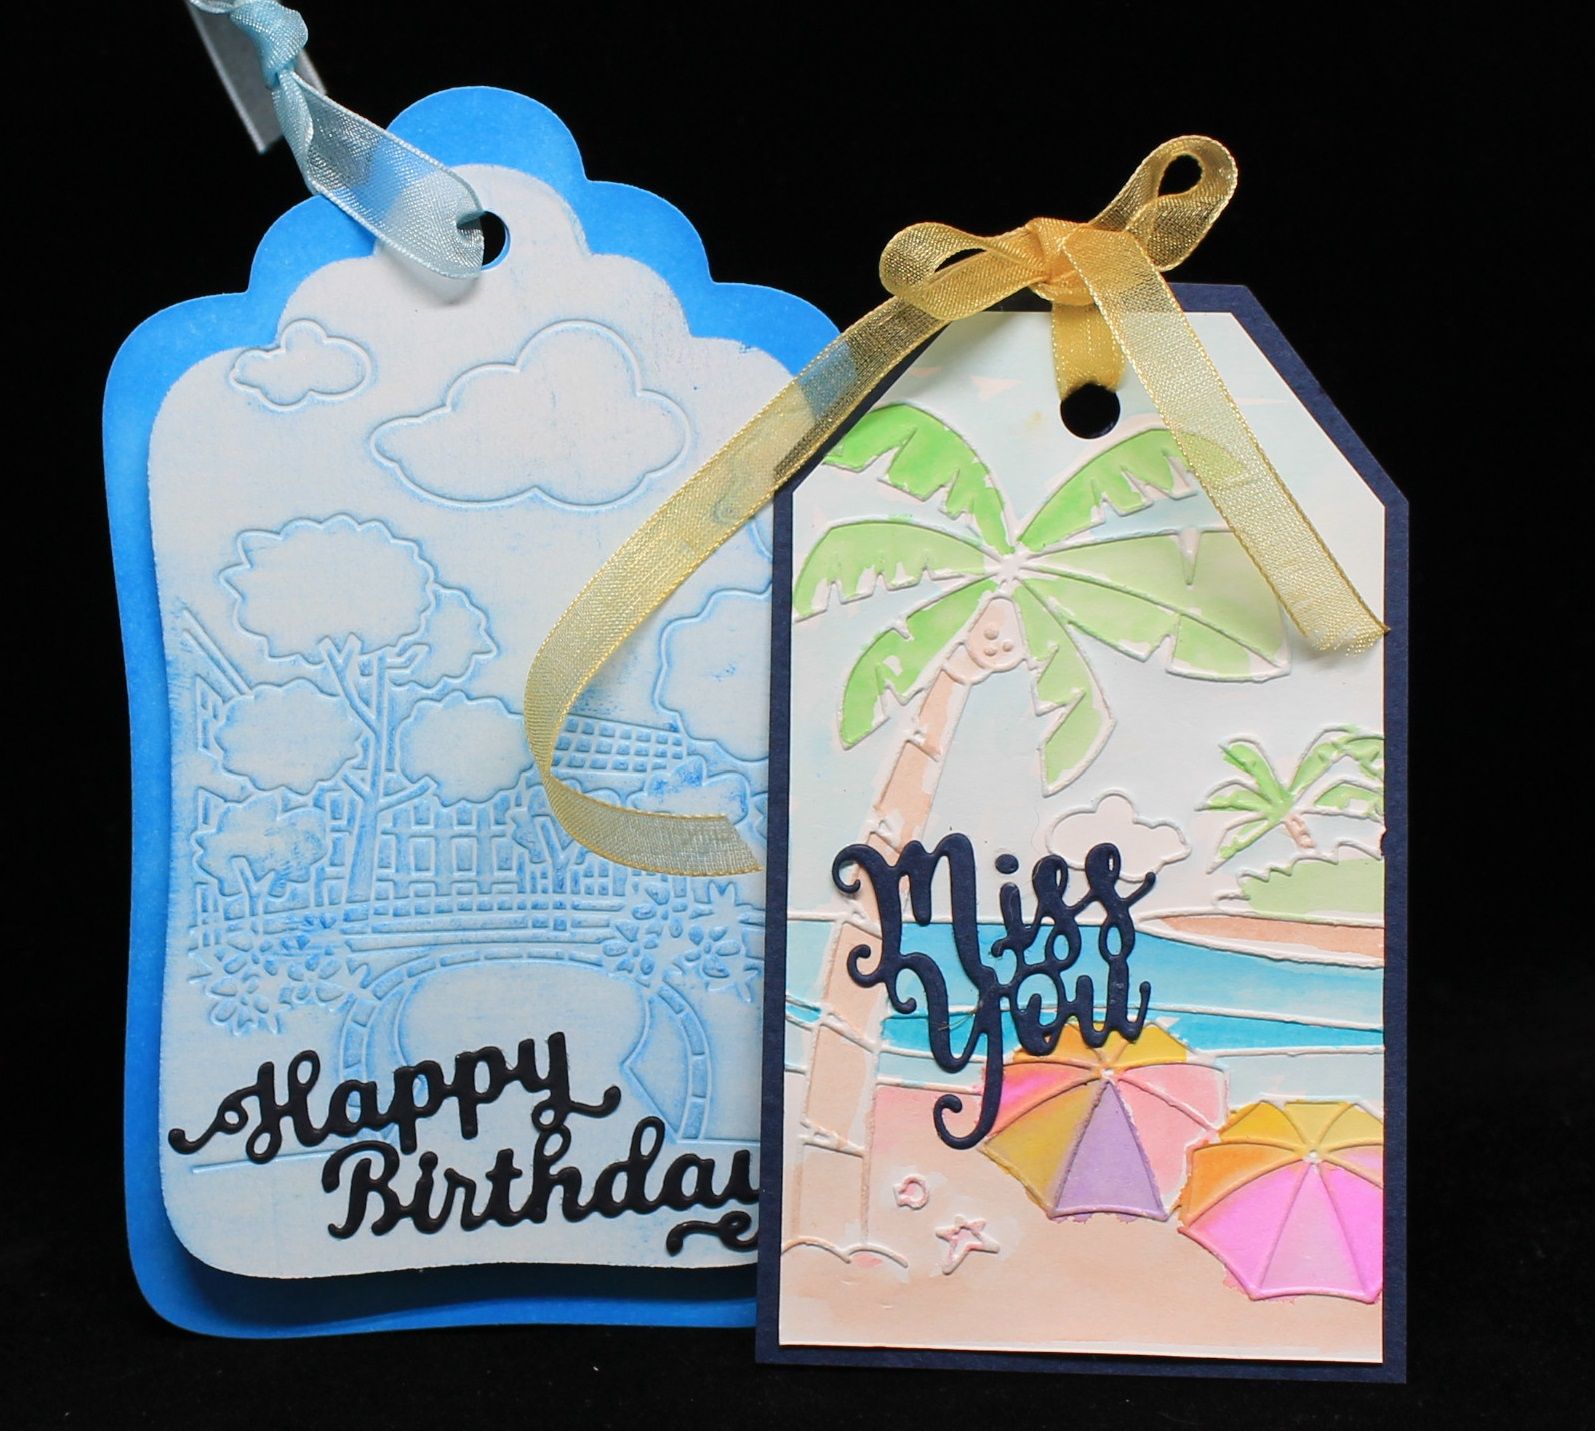
Let's start with the Scene Embossing Folders. In my samples here I used PiF007 and PiF008 to make these tags. Simply run them thru your machine and for the Birthday tag I just ran my ink pad over the back side of the embossing. When you do this you highlight all the raised image and the fine detailed embossed image stays white. For the beach Miss You tag I used my Izink Dye Ink as watercolor and just quickly painted in the tag. Both tags are simple to make with the help of the embossing folders and make for great little tag for your gift.
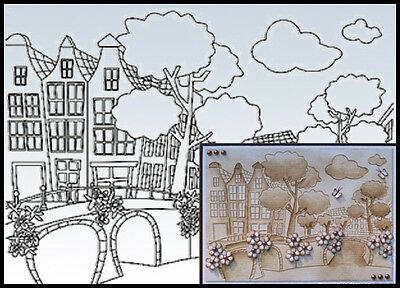
These embossing folders can also be used as a whole image and add elements to them to finish them off like in this example. They used the same embossing folder and added some shading to the background image and finished it off with simple flowers, butterflies and pearls. Mount it and there you have a simple to make but lovely card, great for many occasions.
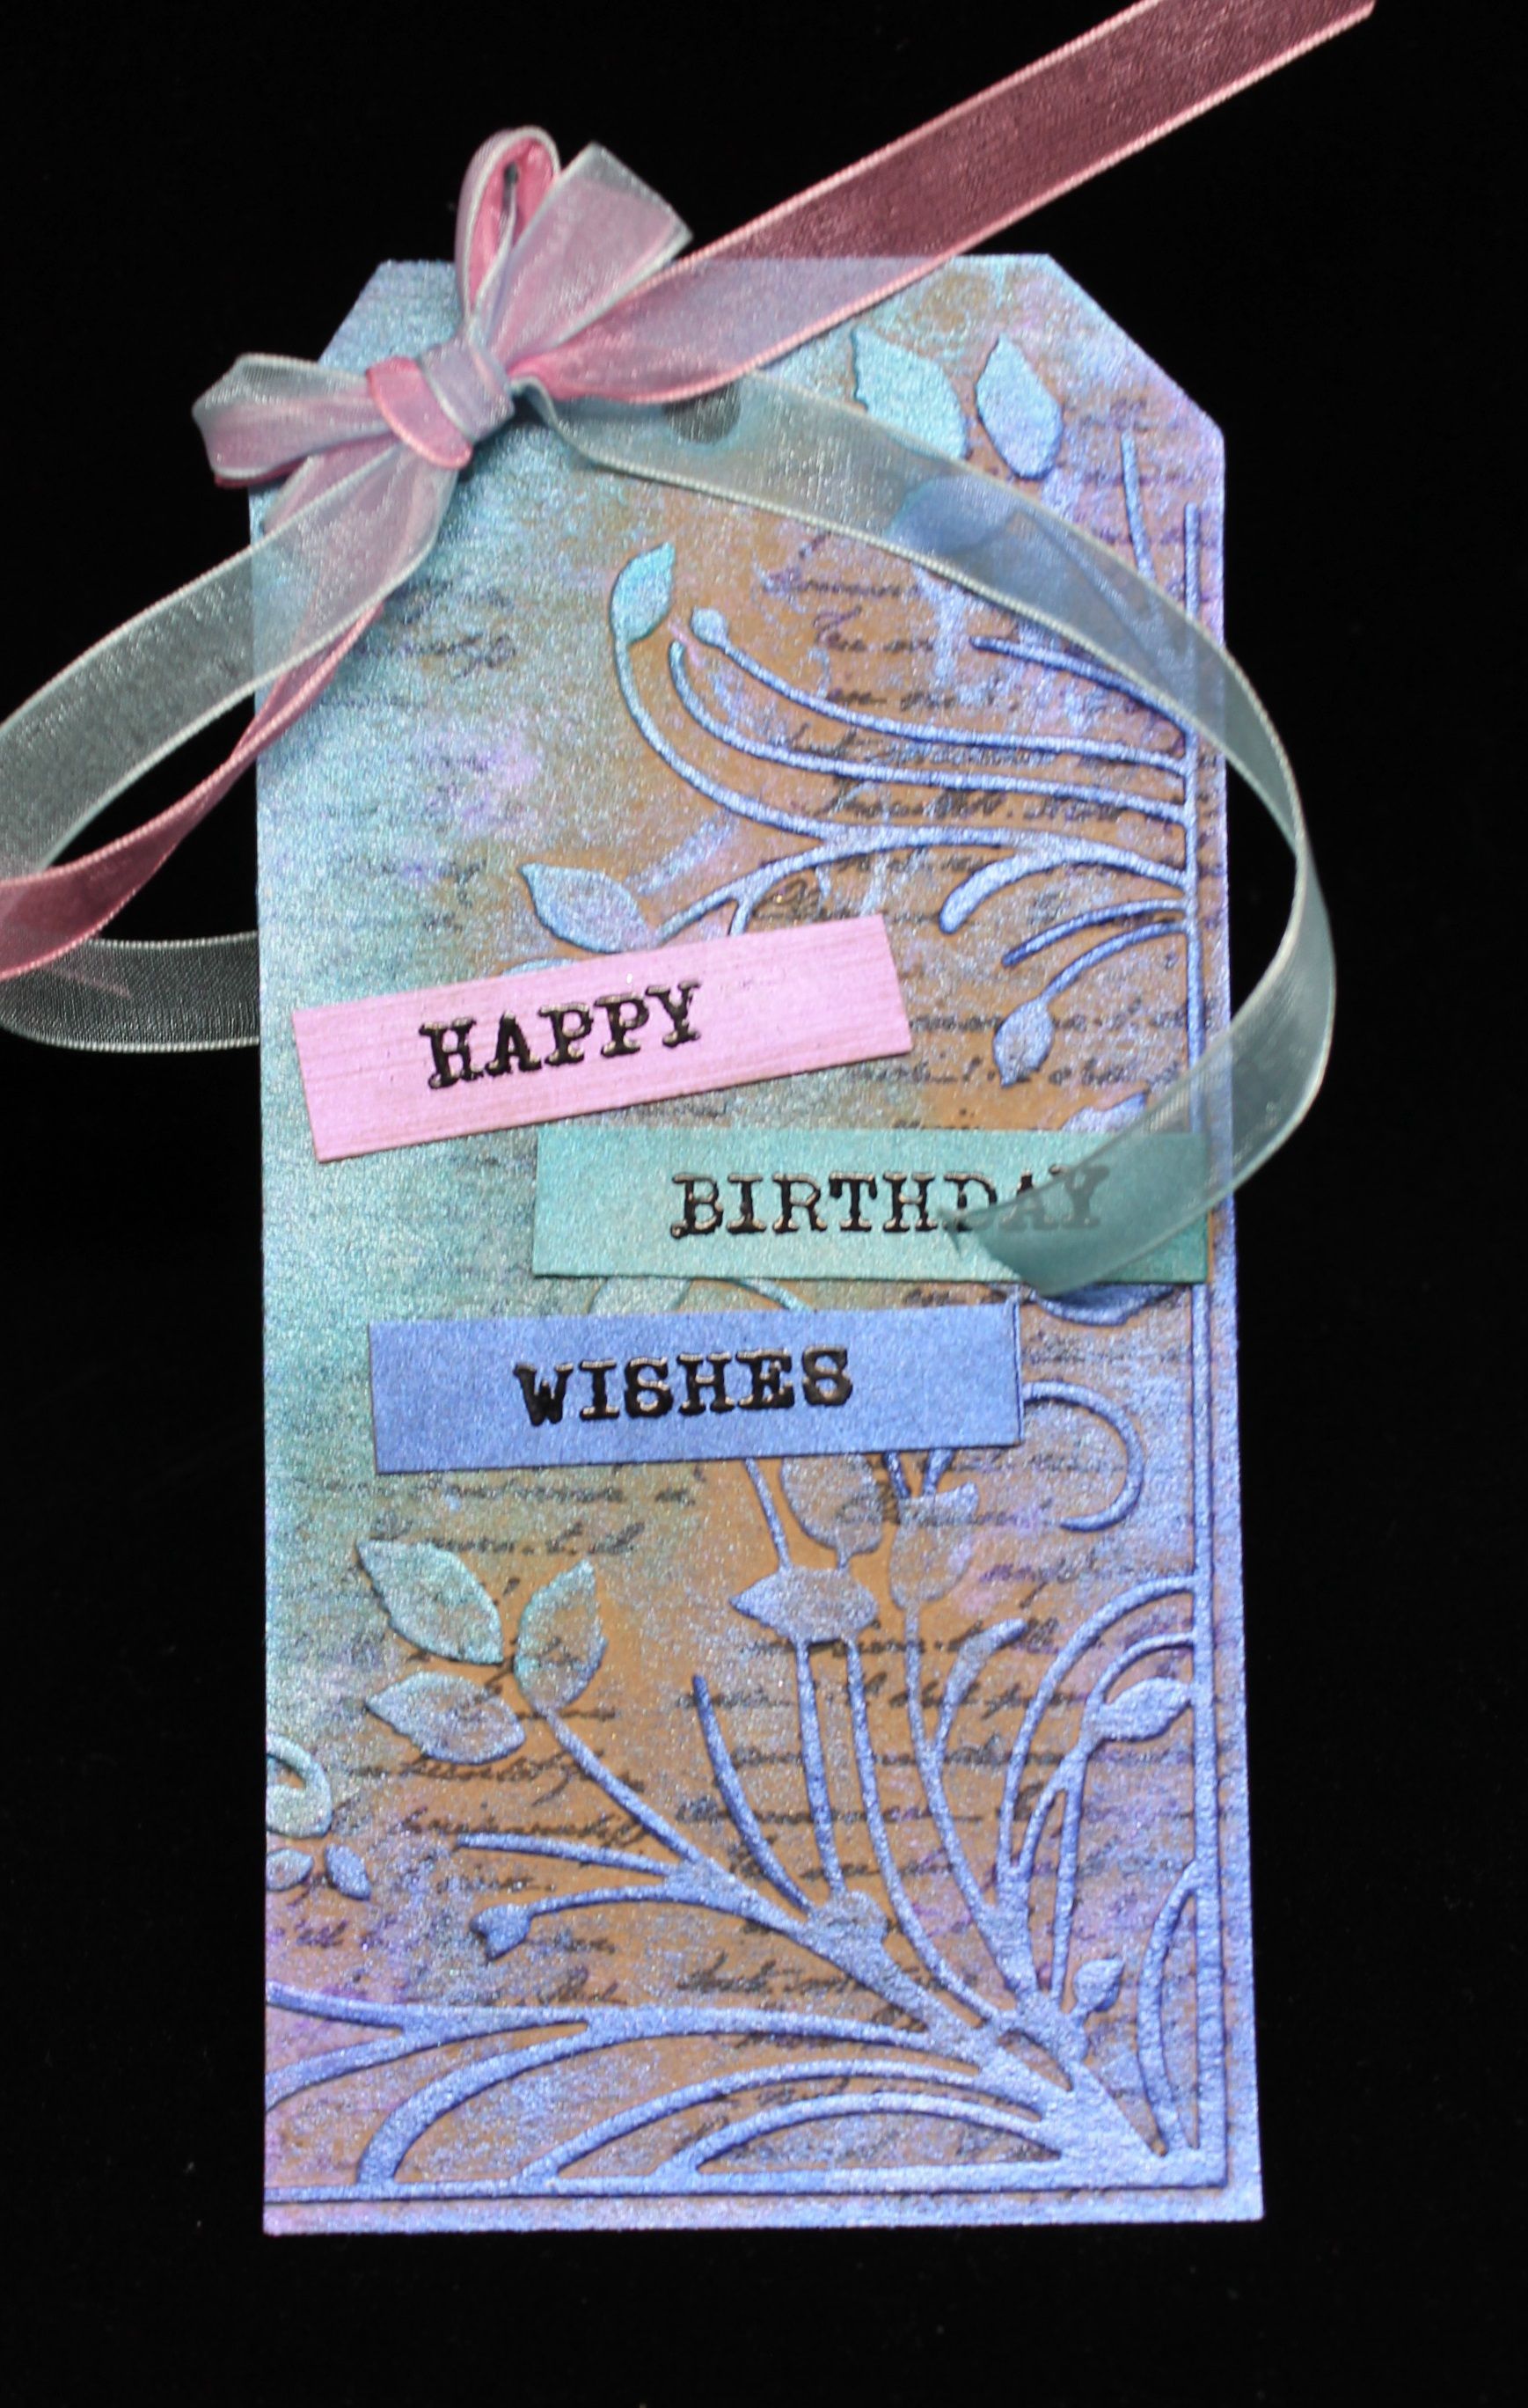
For the other set of embossing folders I was inspired by the recent cards I have been making with the IndigoBlu Mixed Media Kit and made this tag. There is a stamp set included with the IndigoBlu Kit and I used the cursive stamp from there and stamped it in the background onto my Canvas Corp Kraft Tags, added some Lilac Pearl Opal Polish to the background. Then I embossed the tag using ECF1008, added some Mediterranean Blue Gilding Polish to highlight the embossed part and then added Ocean Teal Gilding Polish to the opposite corner. I also colored some scrap paper to make the sentiments at the same time I had these colors out. I heat set the sentiments using the stamps from the IndigoBlu Kit, attached them to the tag and added a ribbon.
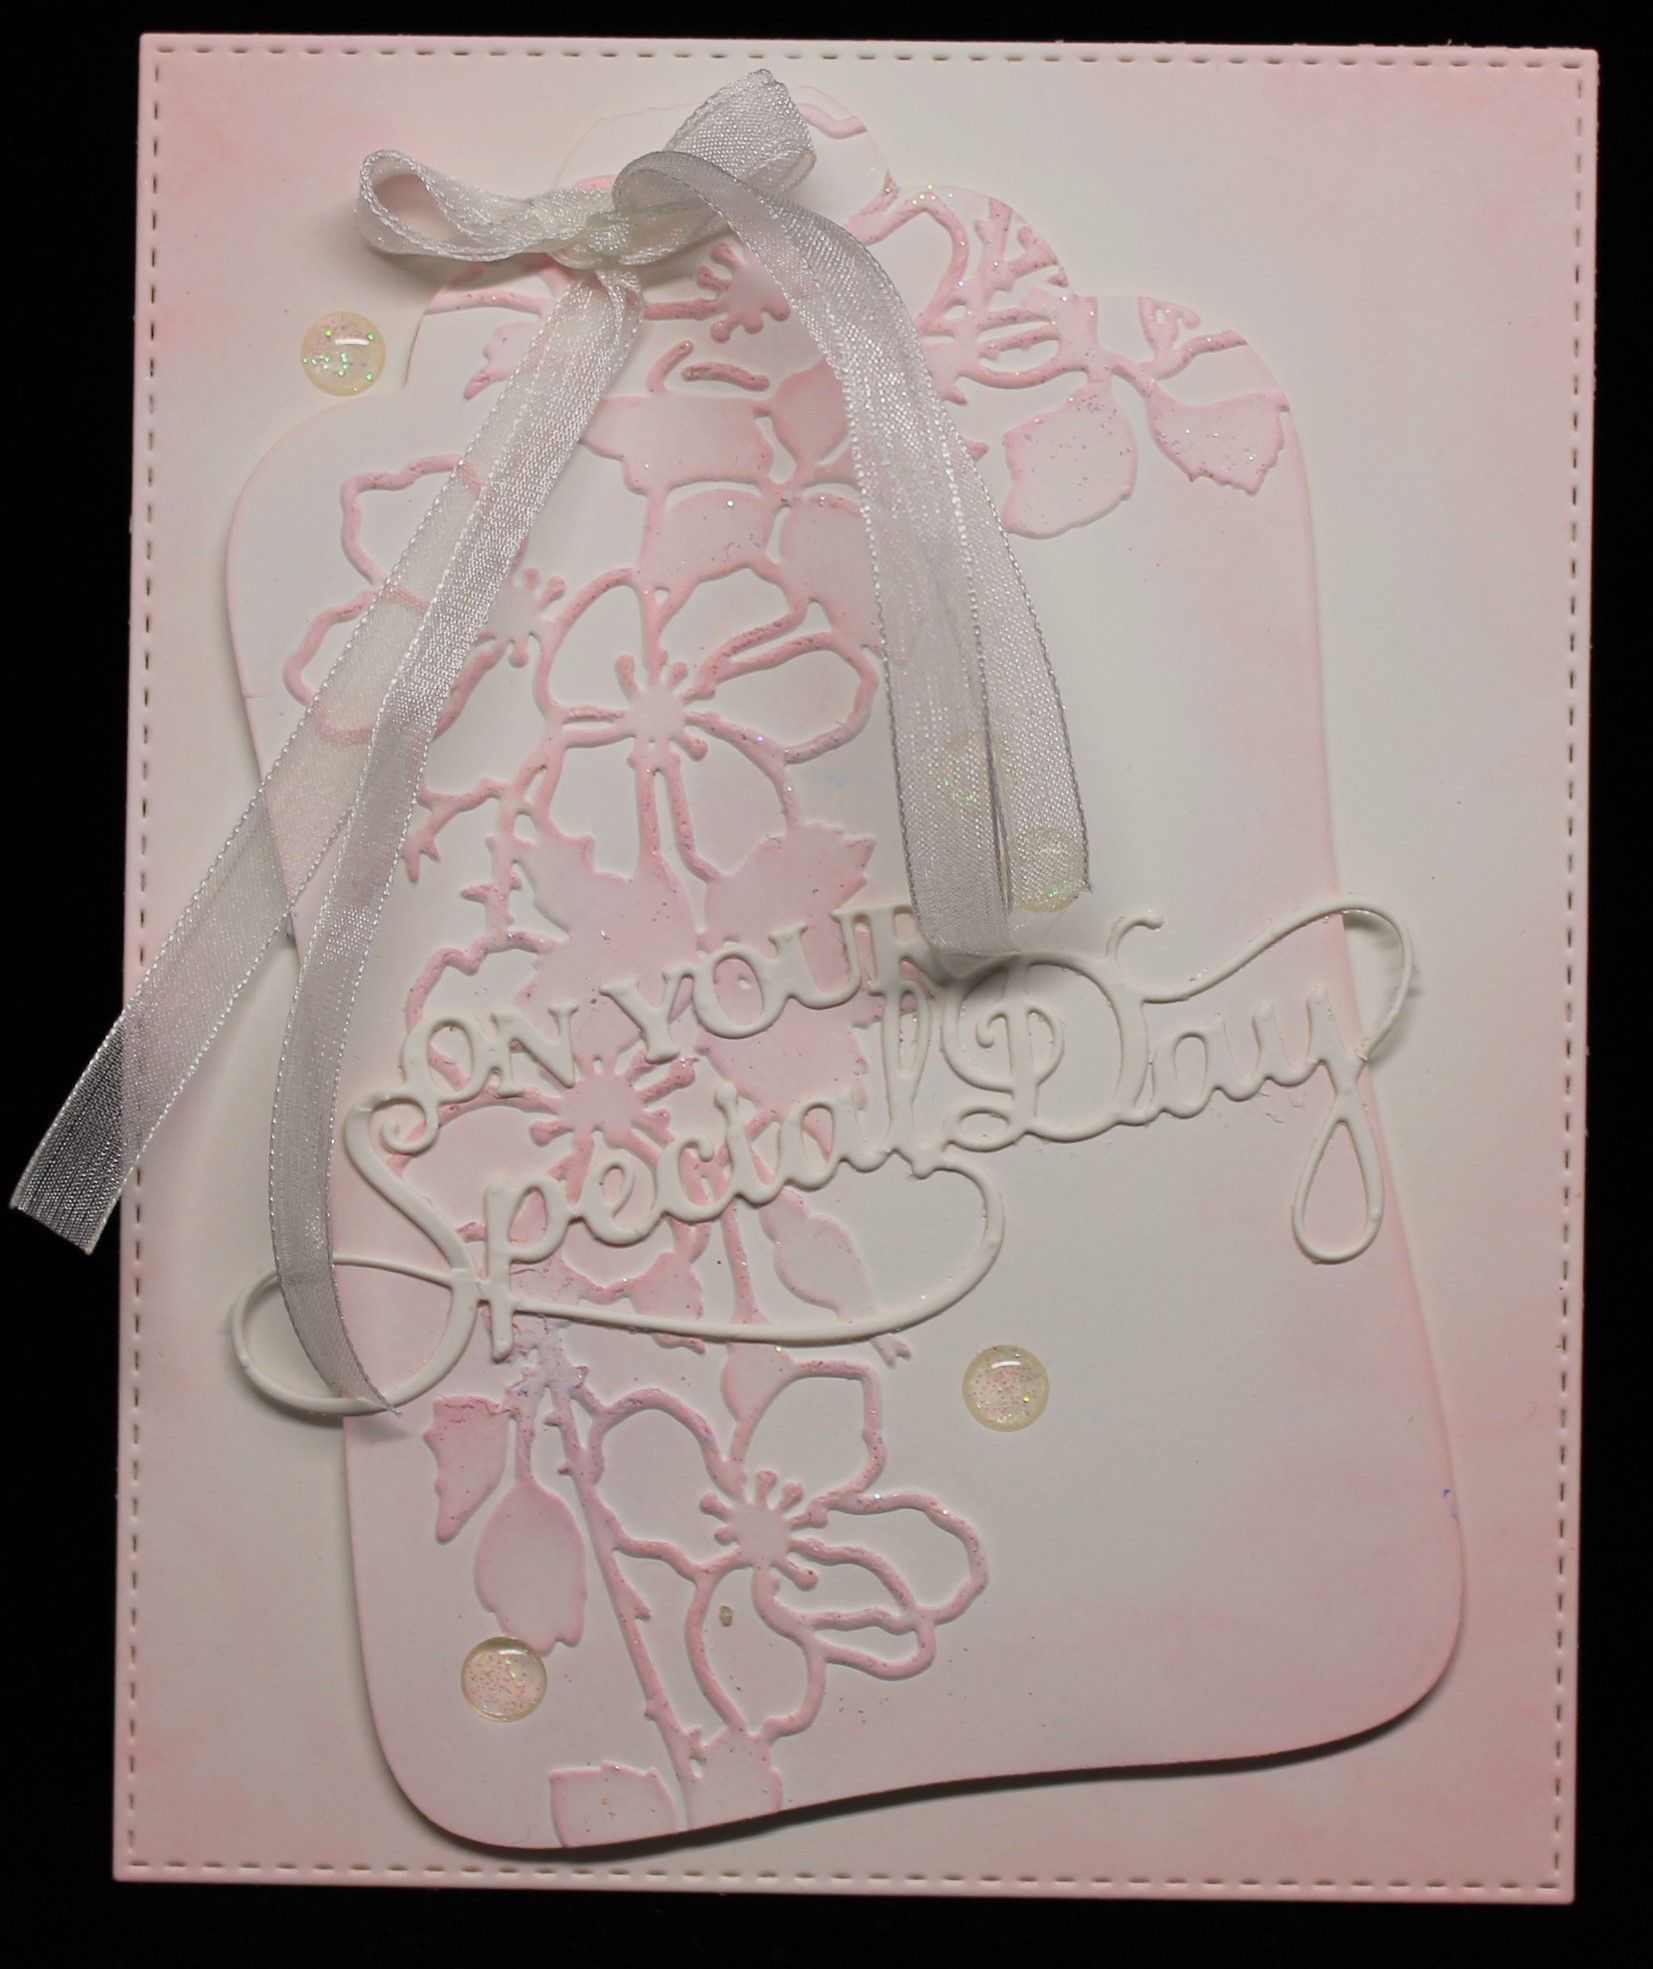
For the second sample I wanted to create a more softer look and used ECF1002 to emboss the image onto my tag. Then using Spun Sugar Distress Oxide Ink I Softly blended onto the embossed area to highlight it and around the tag to give it some color. I then added Frosty Sparkle Glitter Kiss to the embossed area and I think this gives it a little bit of sparkle it needs. I mounted it onto a softly colored card base using die cutting foam sheet. Then I simply added a sentiment, ribbon and enamel dots to finish off this card. Great for my nieces birthday that's coming up.
I am so excited to have come across these embossing folders, it was like getting new stuff again. If you are interested in these embossing folders Ecstasy Crafts is offering them in bundle deals.
The first bundle will include 5 - 4 x 6 embossing scene folders. The second bundle will include 3 of the 5 x 7 embossing folders . Click this link to browse the selection. https://ecstasycrafts.com/collections/product-bundles
I really hope you like today's samples and perhaps give these old but new embossing folders a try.
Until next project
Katarina
Products used:
Scene Bundle Embossing Folders Bundle
Elegant Floral Embossing Folders Bundle
IndigoBlu Mixed Media Kit - INDO600
Canvas Corp Kraft Tags -CCBTAG4444
Mediterranean Blue Gilding Polish