Distress Oxide Blending Card
I'm just loving working with Distress Oxides and I can't get enough of them. The color combinations you can create are endless and they blend into each other so well. I am no expert at using these inks but as I'm discovering it's quite easy.

I'm just loving working with Distress Oxides and I can't get enough of them. The color combinations you can create are endless and they blend into each other so well. I am no expert at using these inks but as I'm discovering it's quite easy.
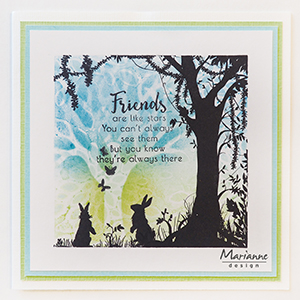
My inspiration for this card was the card design submitted by a designer from Marianne Design. Here is the original card.
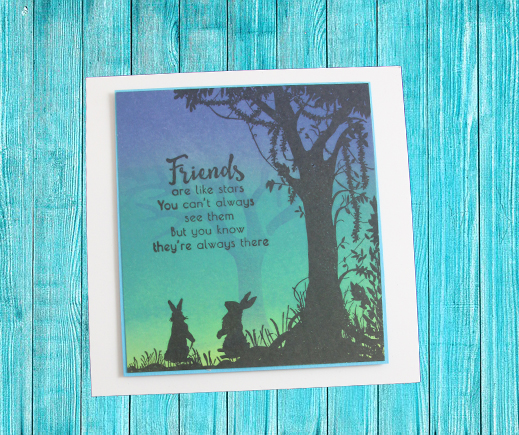
This is the card I created based on the original. I wanted to use the distress oxide inks to showcase how well they blend. For this card I used Twisted Citron, Pine Needles and Chipped Sapphire to blend together.
I began with a 4 1/4 x 4 1/2 paper and trimmed it down after I finished stamping my images so that there is no border around the stamped image. I used the Creative Expressions Milk White Paper.
After watching so many videos about how to blend using these inks I have a few tips to get your colors to blend well.
- Start with a light hand when starting to add color and gradually apply more pressure as your blending tool runs out of ink. Each time you add more ink to you tool start with a light hand.
- Start with the lightest color first, and then move to your darker colors.
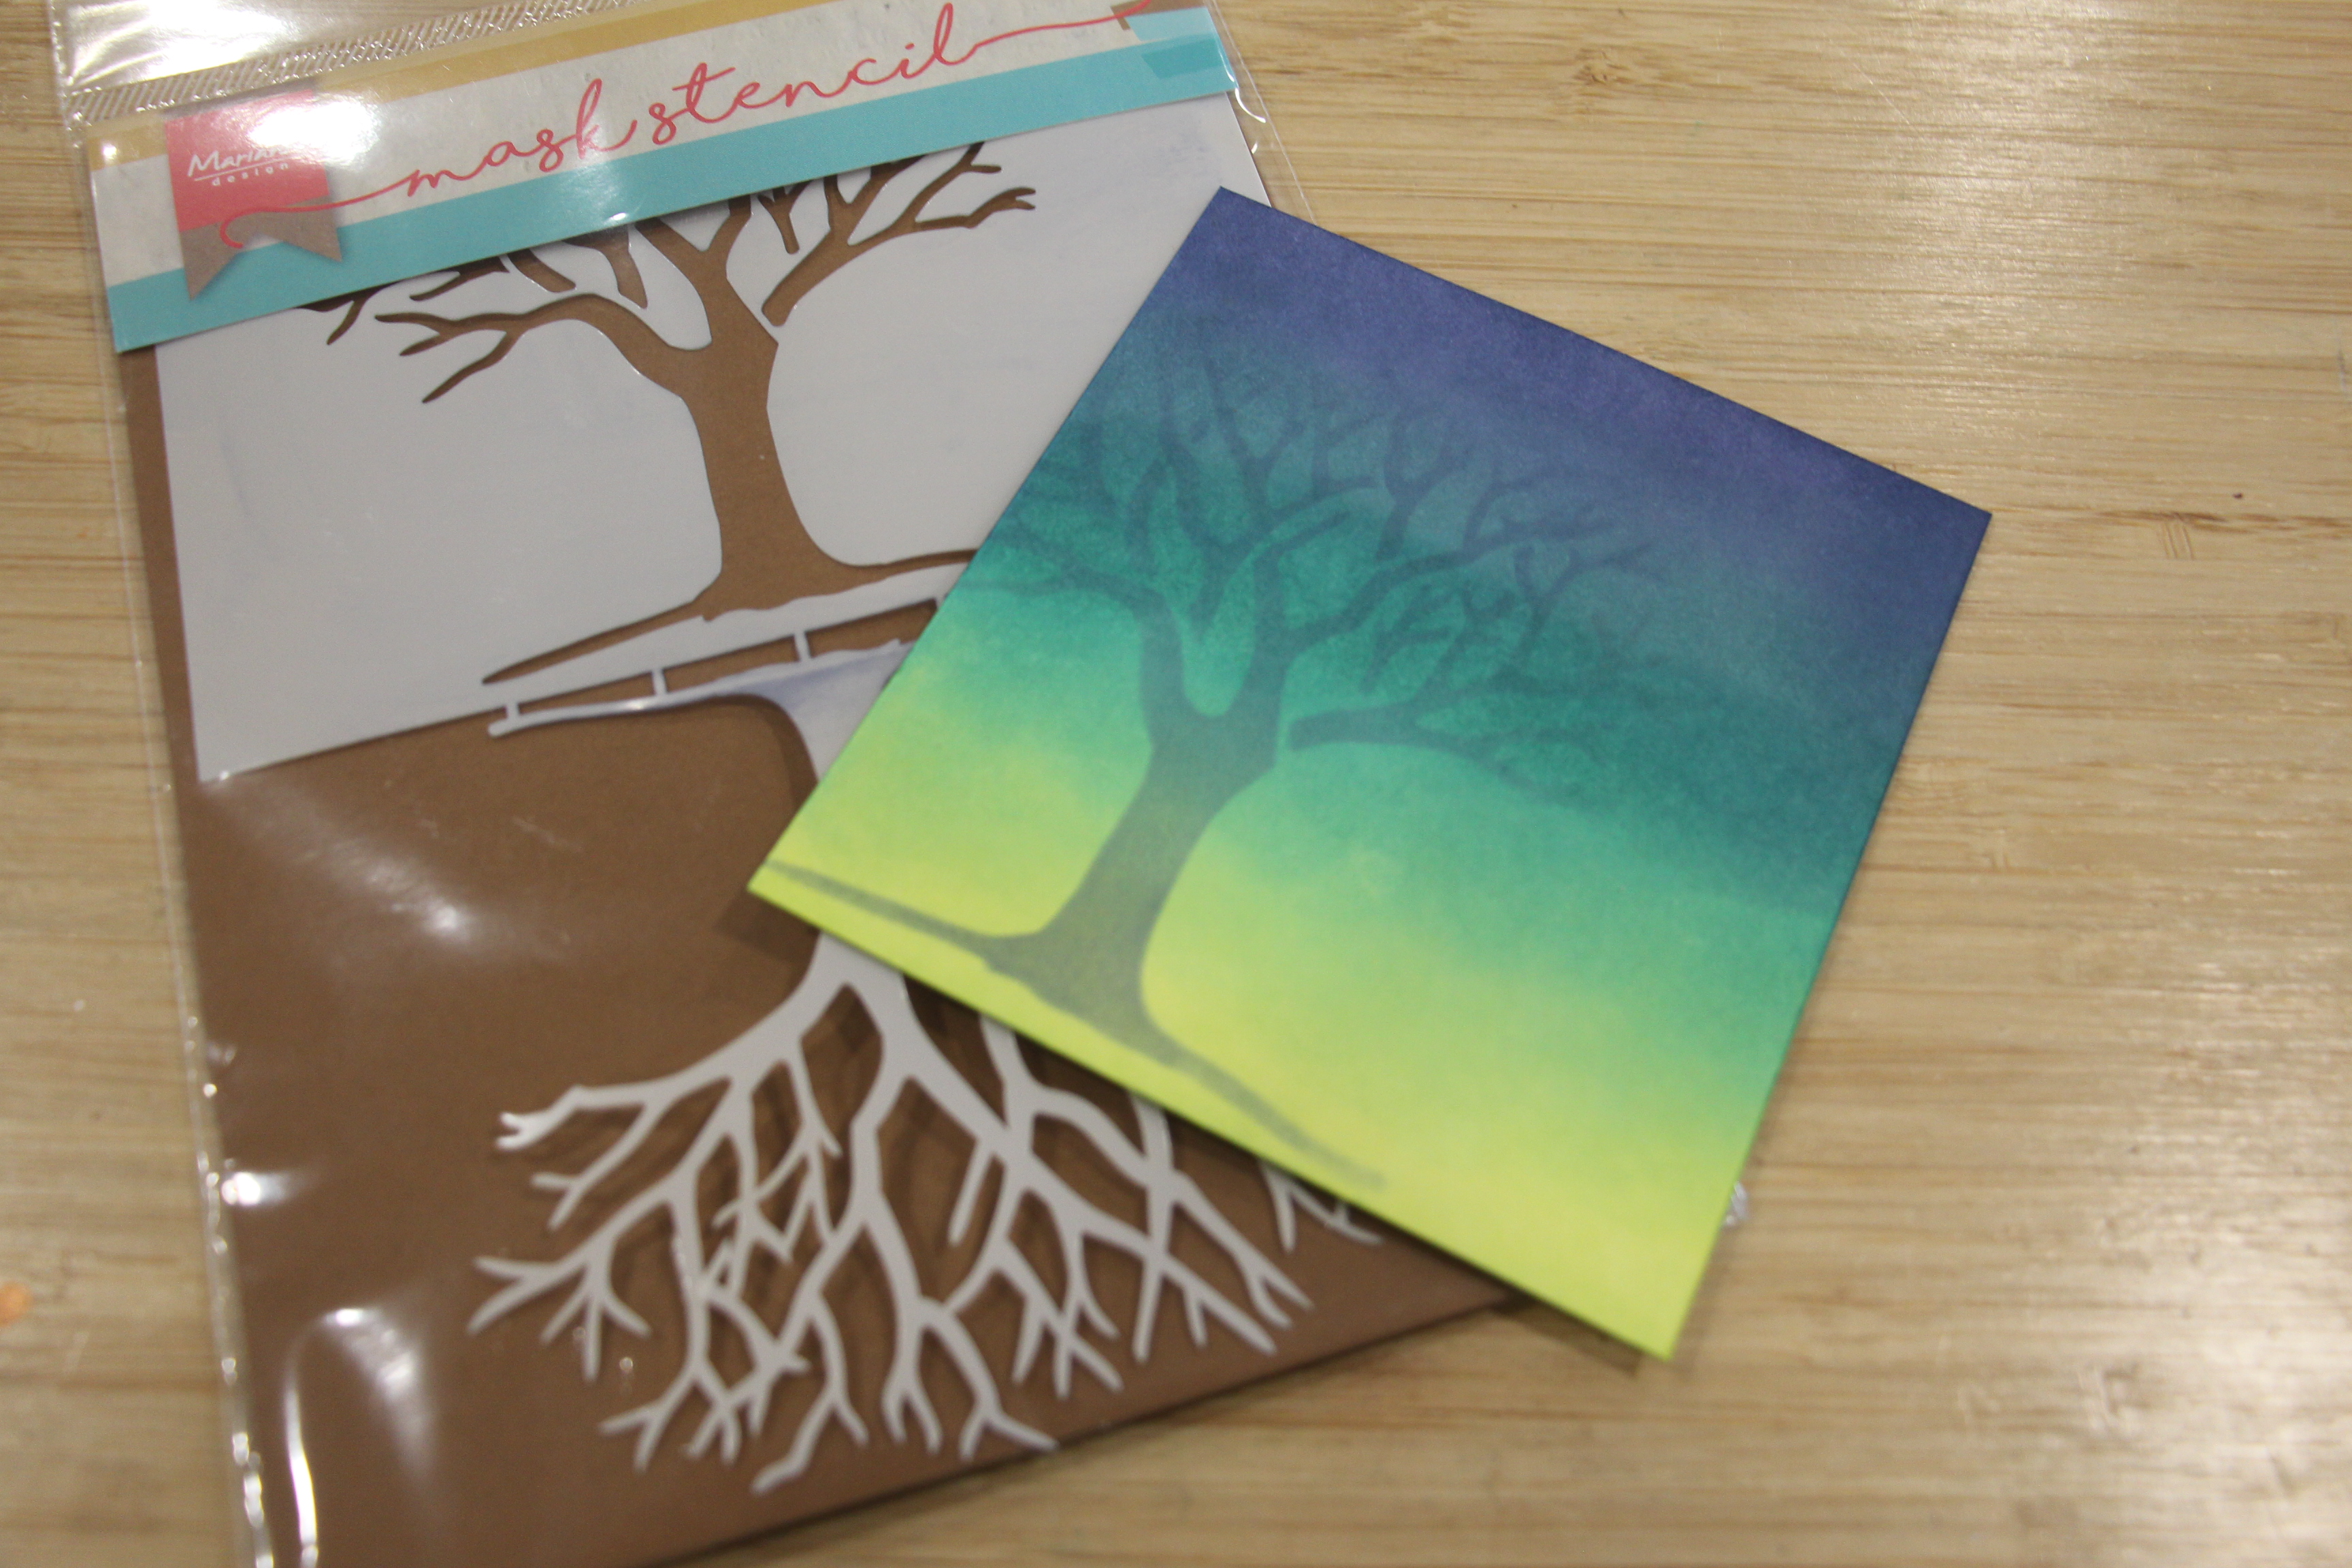
3. You will have to go from the citron to the pine back and forth blending out the colors until you have a transition you like. And again between the pine and sapphire until you get that smooth blend.
Also keep in mind once the ink dries the blending will look smoother.
Once your blending is done, use the stencil to put the tree in the background, using the darkest of the three colors in the background. For this technique I used my clarity brush, I find the brush gives me the best detail. Doing this will make it look like there is a tree in the far background once you stamp the tree in the foreground in black.
After I allowed the background inking to dry I went ahead and positioned the tree and the bunnies along with the sentiment onto my stamping buddy and stamped the images a few times until I got a sold transfer.
I cropped the image and framed it with blue paper and attached to a 5 x 5 card base.
Hope you give these distress oxides a try.
Until next project
Katarina
Products I used :
Creative Expressions Milk White Paper -40109
Tsukineko Versafine Ink Pad Onyx Black VF082
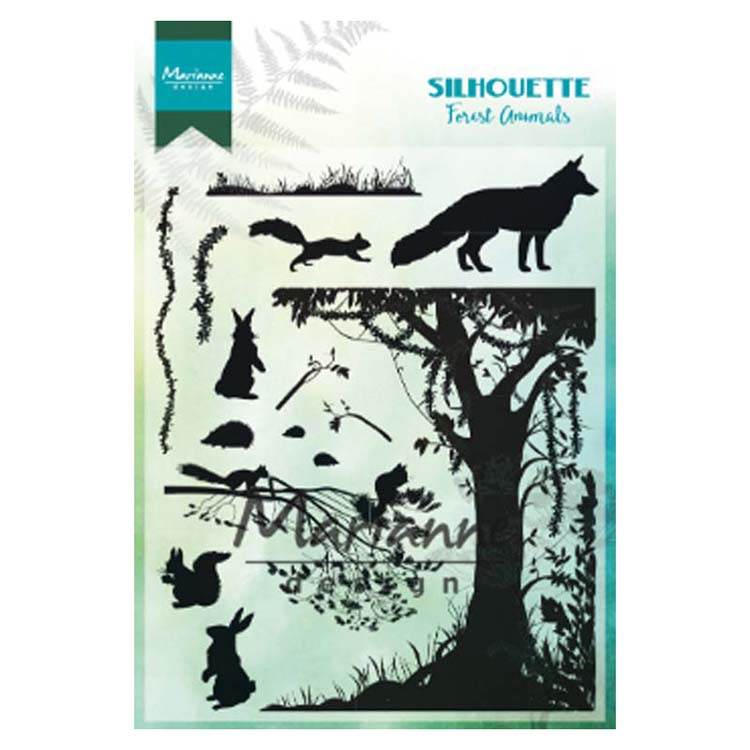
Marianne Design Stamp Silhouette Forest Animals CS1021
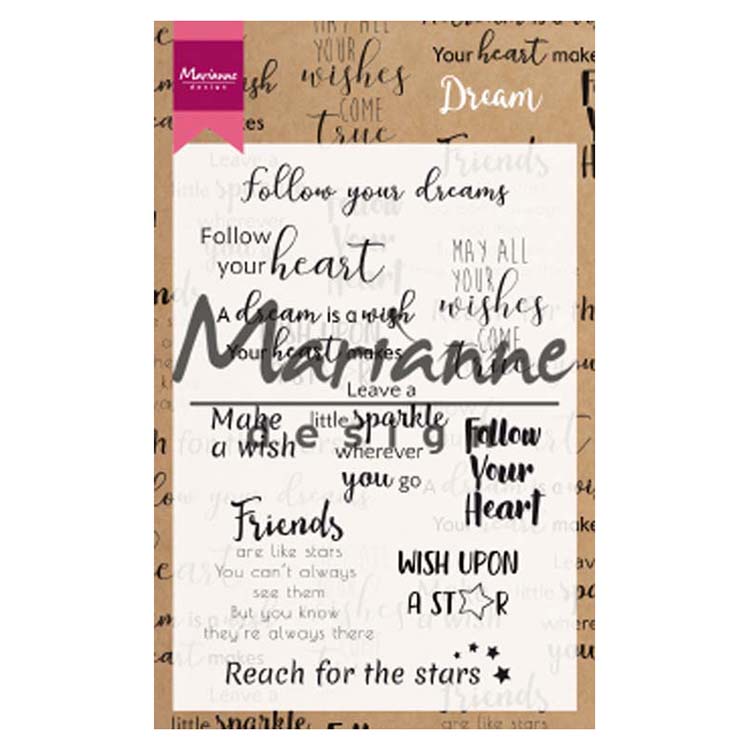
Marianne Design Stamps Dream SentimentsCS1018
Nellie's Choice Stamping Buddy Pro STB002
Mini Ink Blending Tool Set 62000226