Alcohol Ink Art Journal

Jazz up your art planner with fun personalized elements or DIY your own art journal from scratch. In this blog, you will learn how to easily build and decorate your own journal. We featured our new alcohol ink markers in this blog colouring in stamps and using an alcohol ink background.
Card Instructions:
Step 1 Begin by cutting a front and back cover using STENCILSL347 from a printed cardstock.
Step 2 Use the largest die from SL-GR-CD22 to cut the background out of an accenting colour cardstock. Feel free to add inked details. We used Distress Oxide in Brushed Corduroy and applied it to the edges with a blending brush.
Step 3 Using the plain large rectangle die from SL-GR-CD22, cut a piece of cardstock that matches your front cover and layer it onto its background.
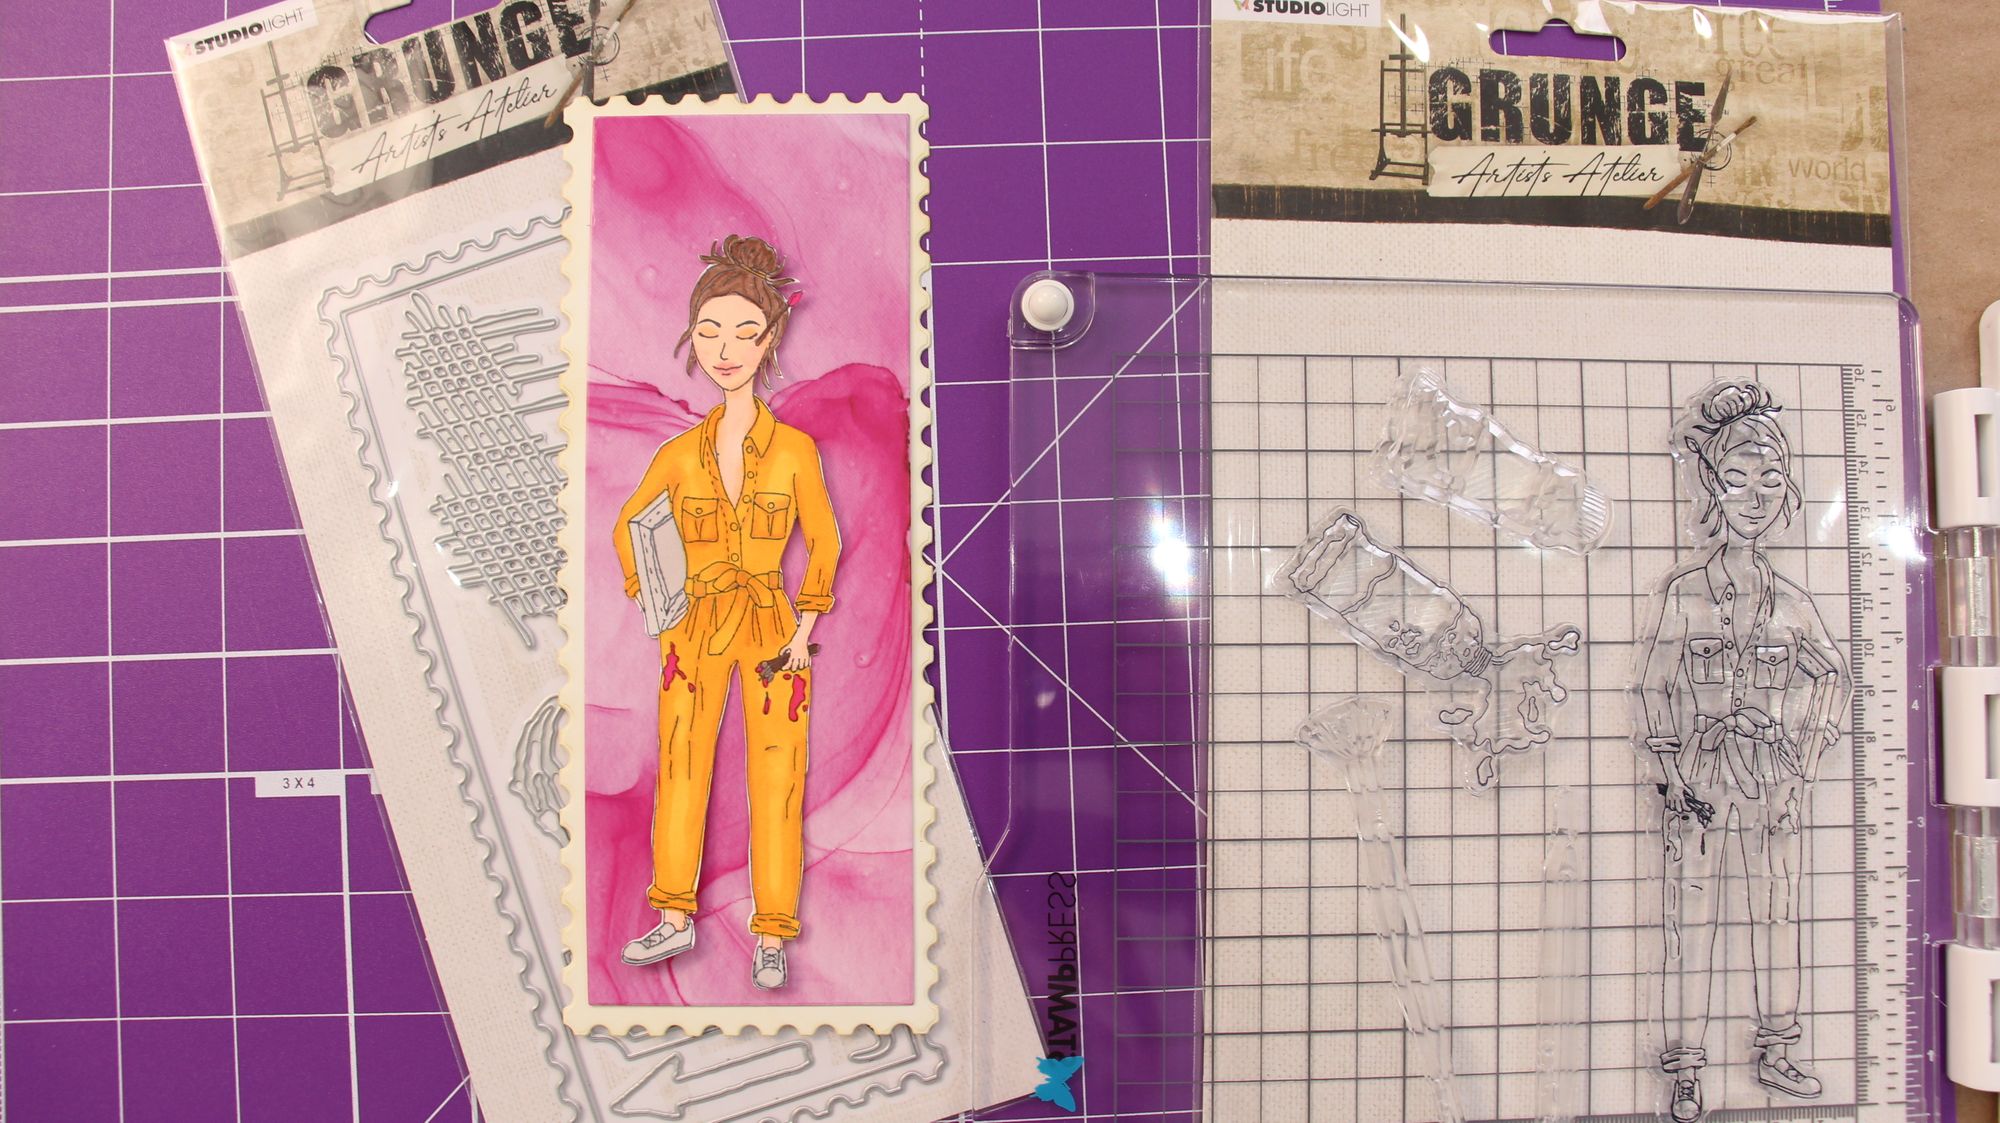
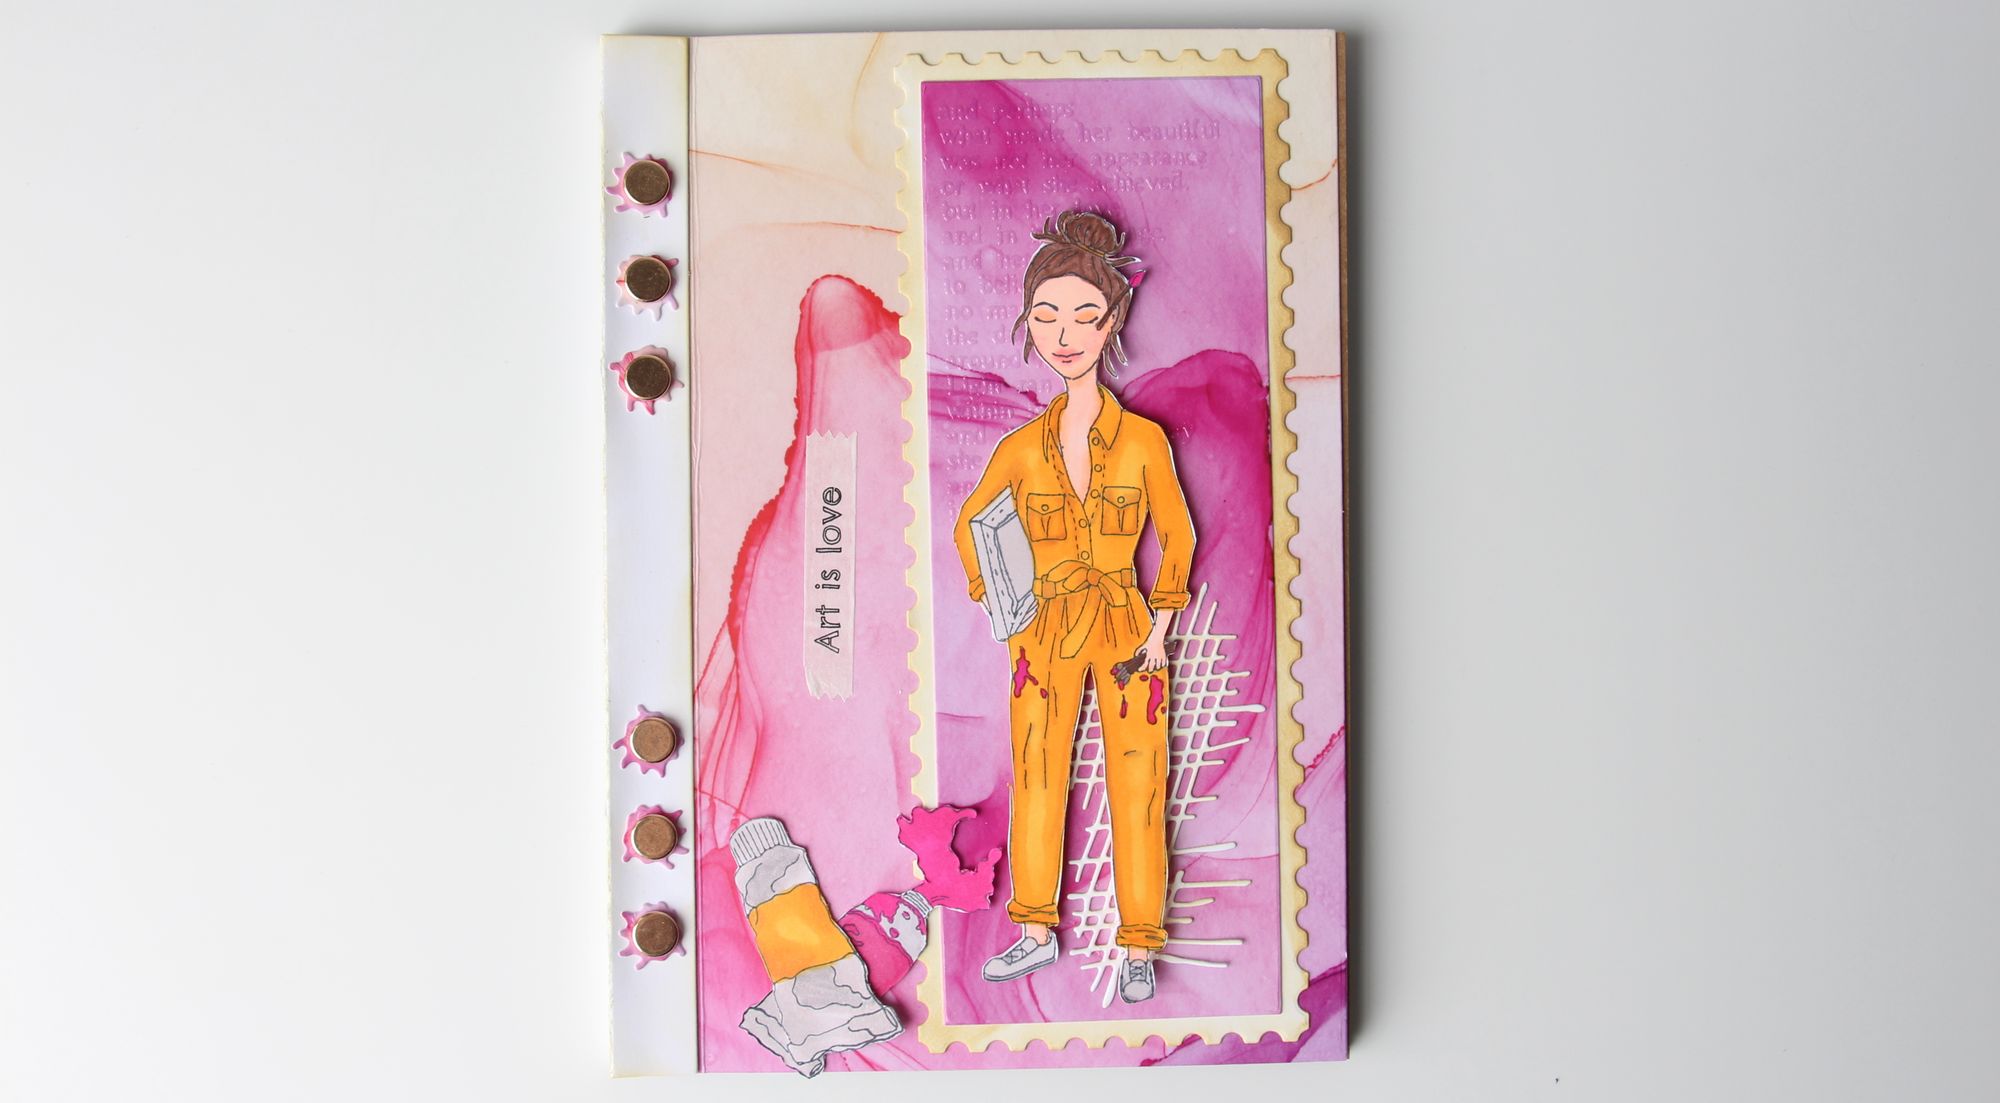
Step 4 Using a stamping platform, stamp the figure from SL-GR-STAMP31 in a light grey water based ink. Be sure to leave the stamp in the same spot on your stamping platform. Colour in using alcohol ink markers. Return the coloured image to the stamping platform and line up exactly as before. Stamp again with Stayz in Place black ink.

Step 5 Using a blade and a self-healing mat or a pair of scissors, carefully cut out your figure and mount to the front of your journal.
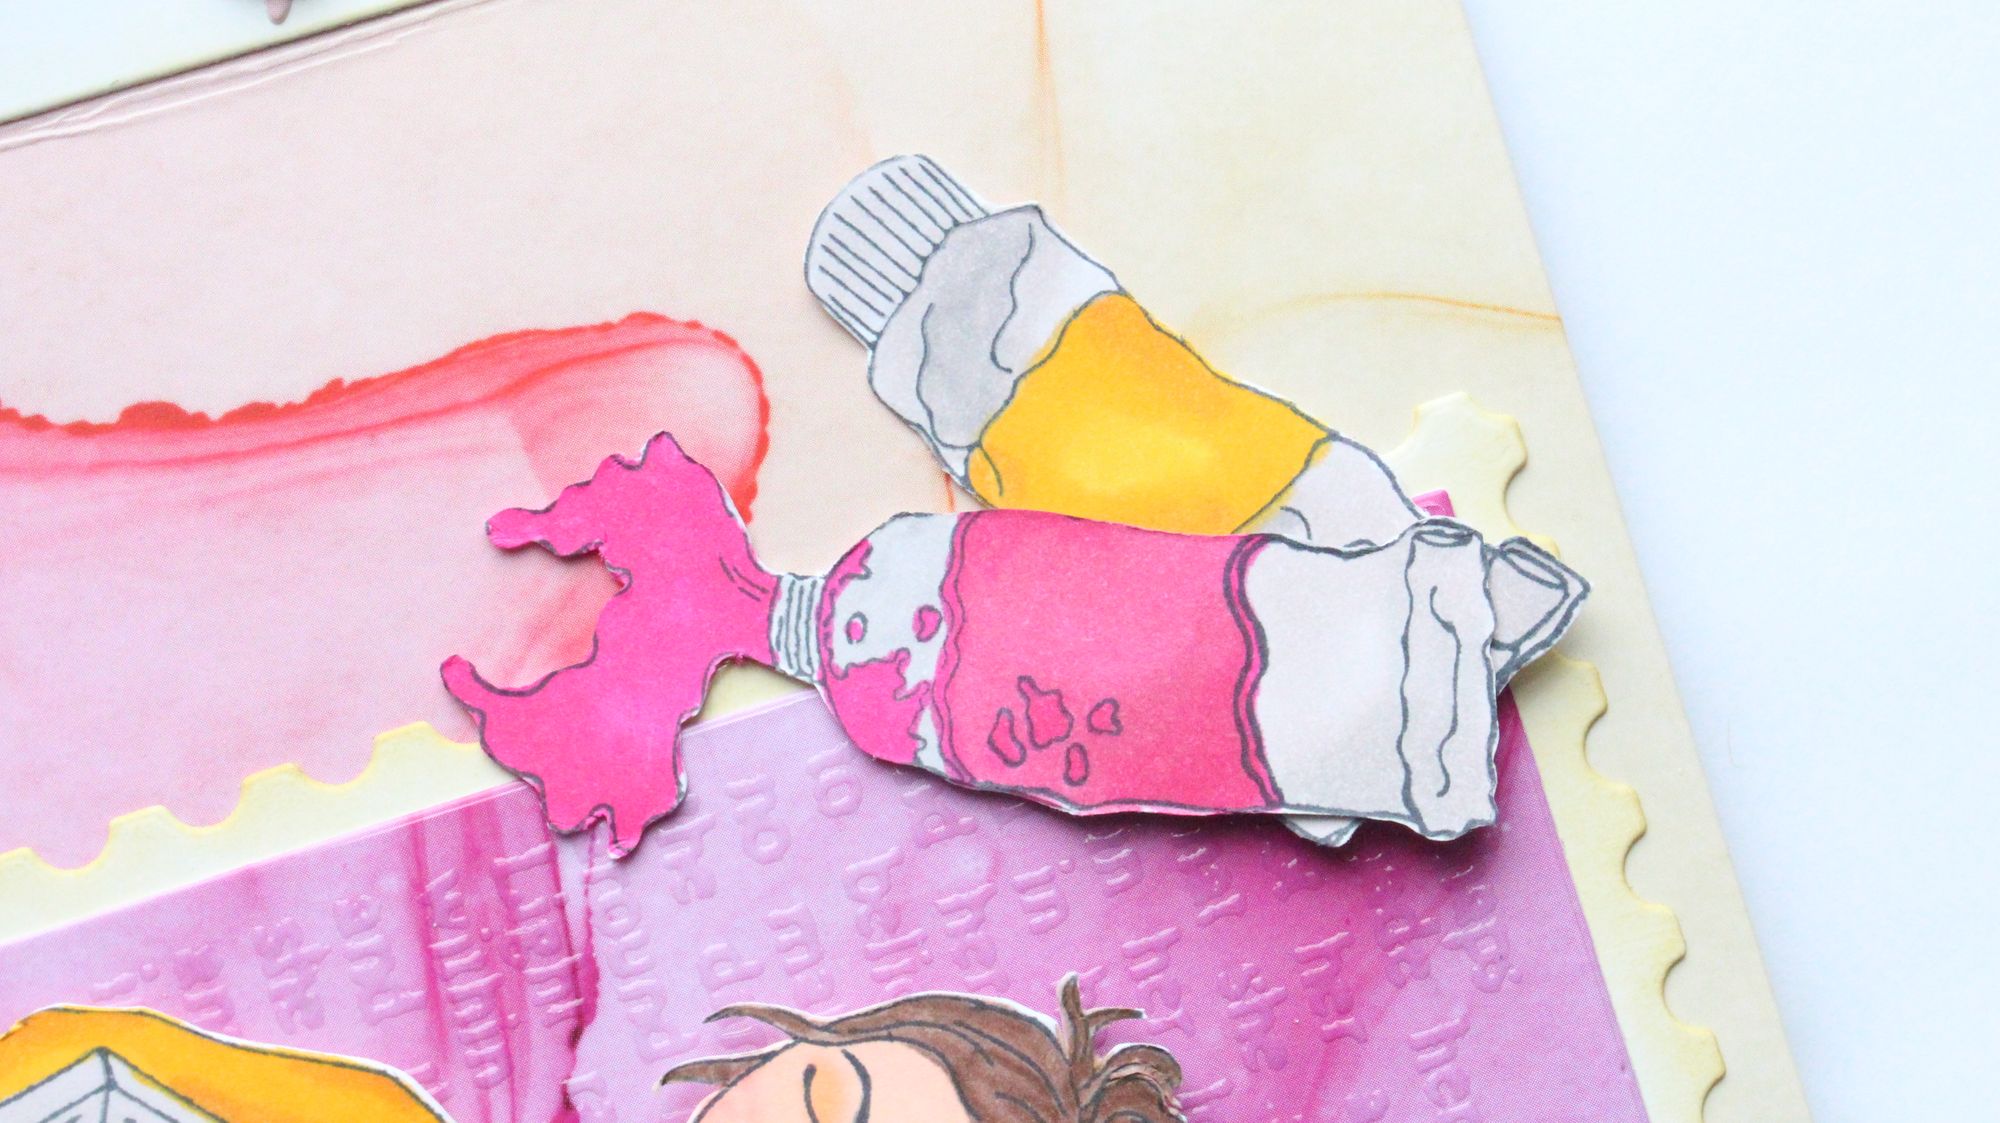
Step 6 Repeat steps 4 and 5 with any other stamped elements you wish to add to your cover.
Step 7 Fill your journal with pre-cut planner pages from SL-PES-PLP01, or use STENCILSL347 to cut blank pages to use.
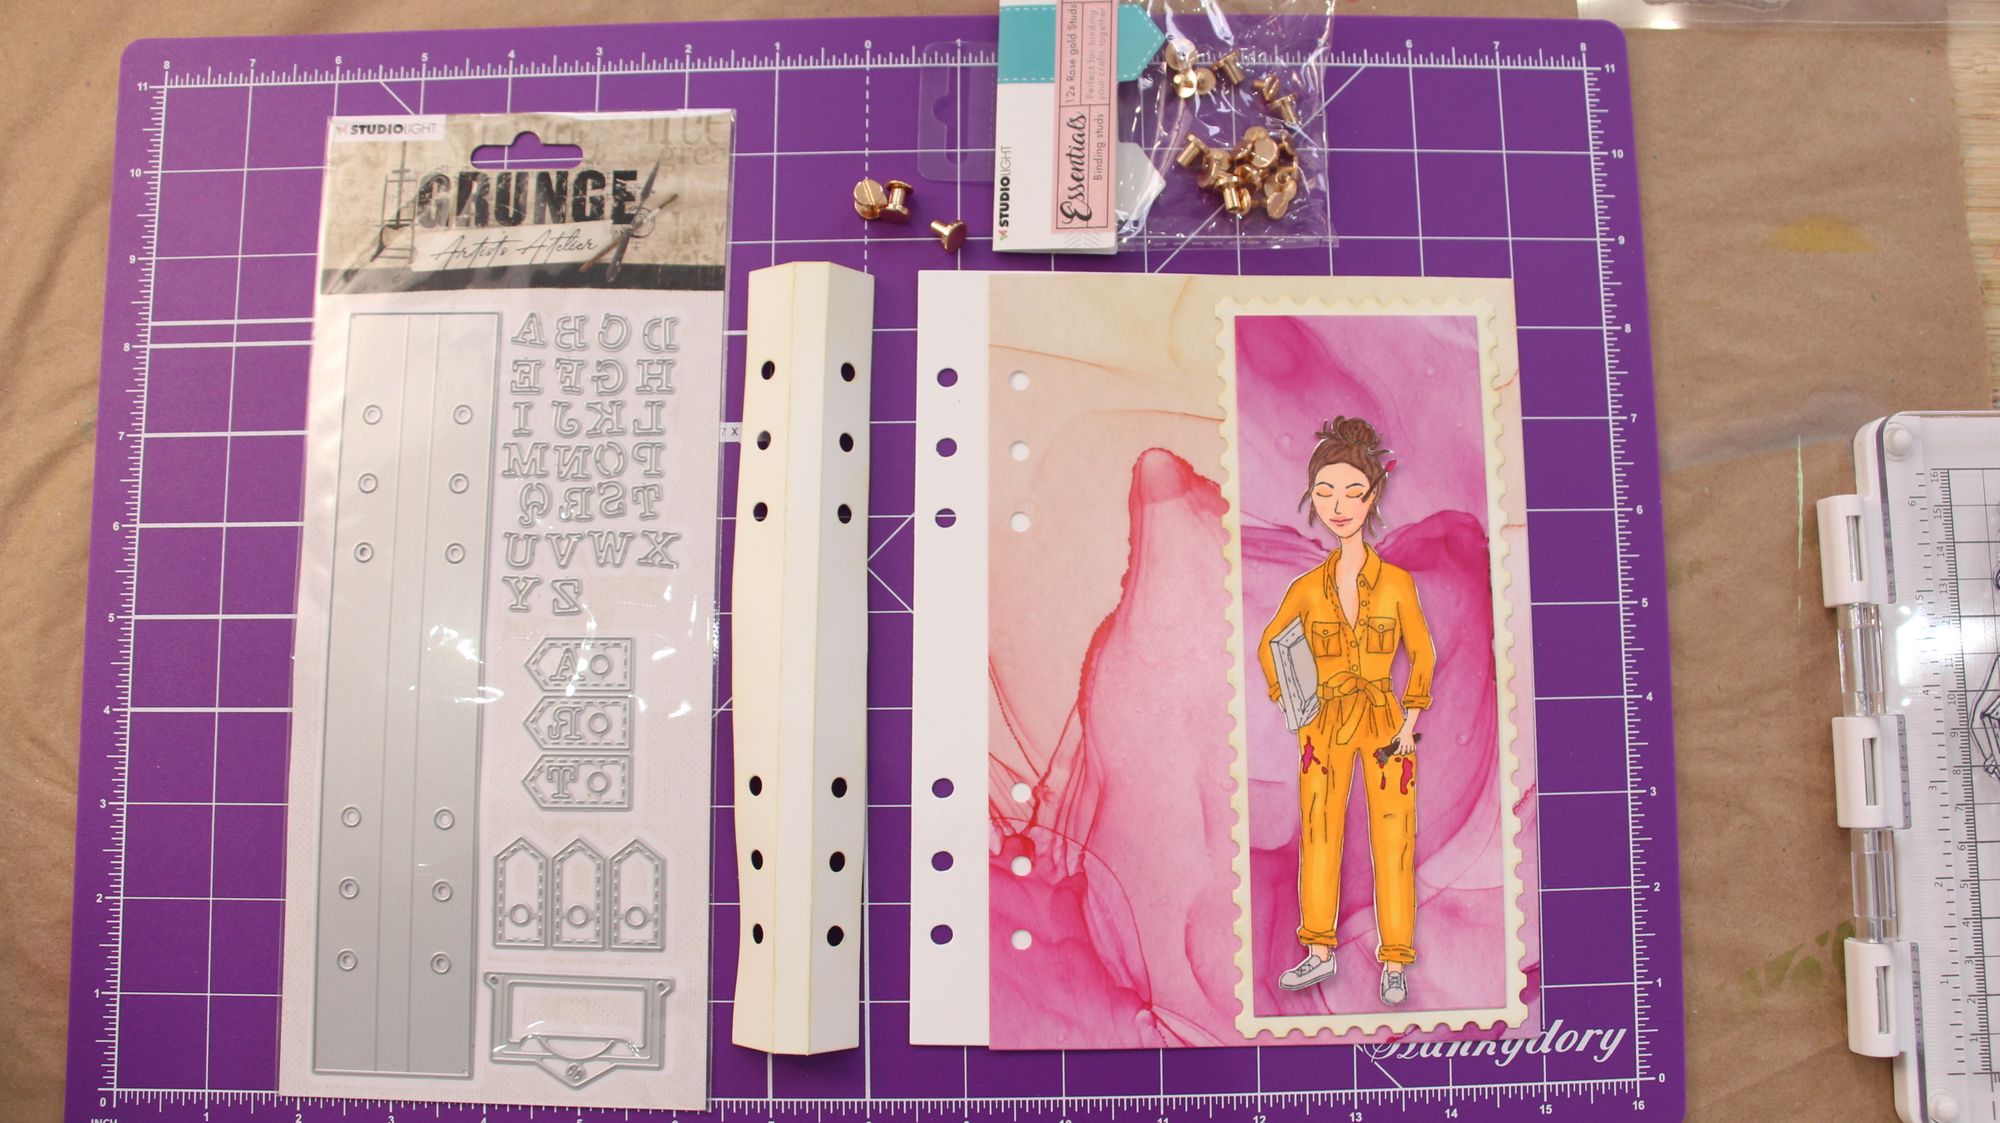
Step 8 Use the die from SL-GR-CD23 to cut your binding from an accenting cardstock. Feel free to add inked details.
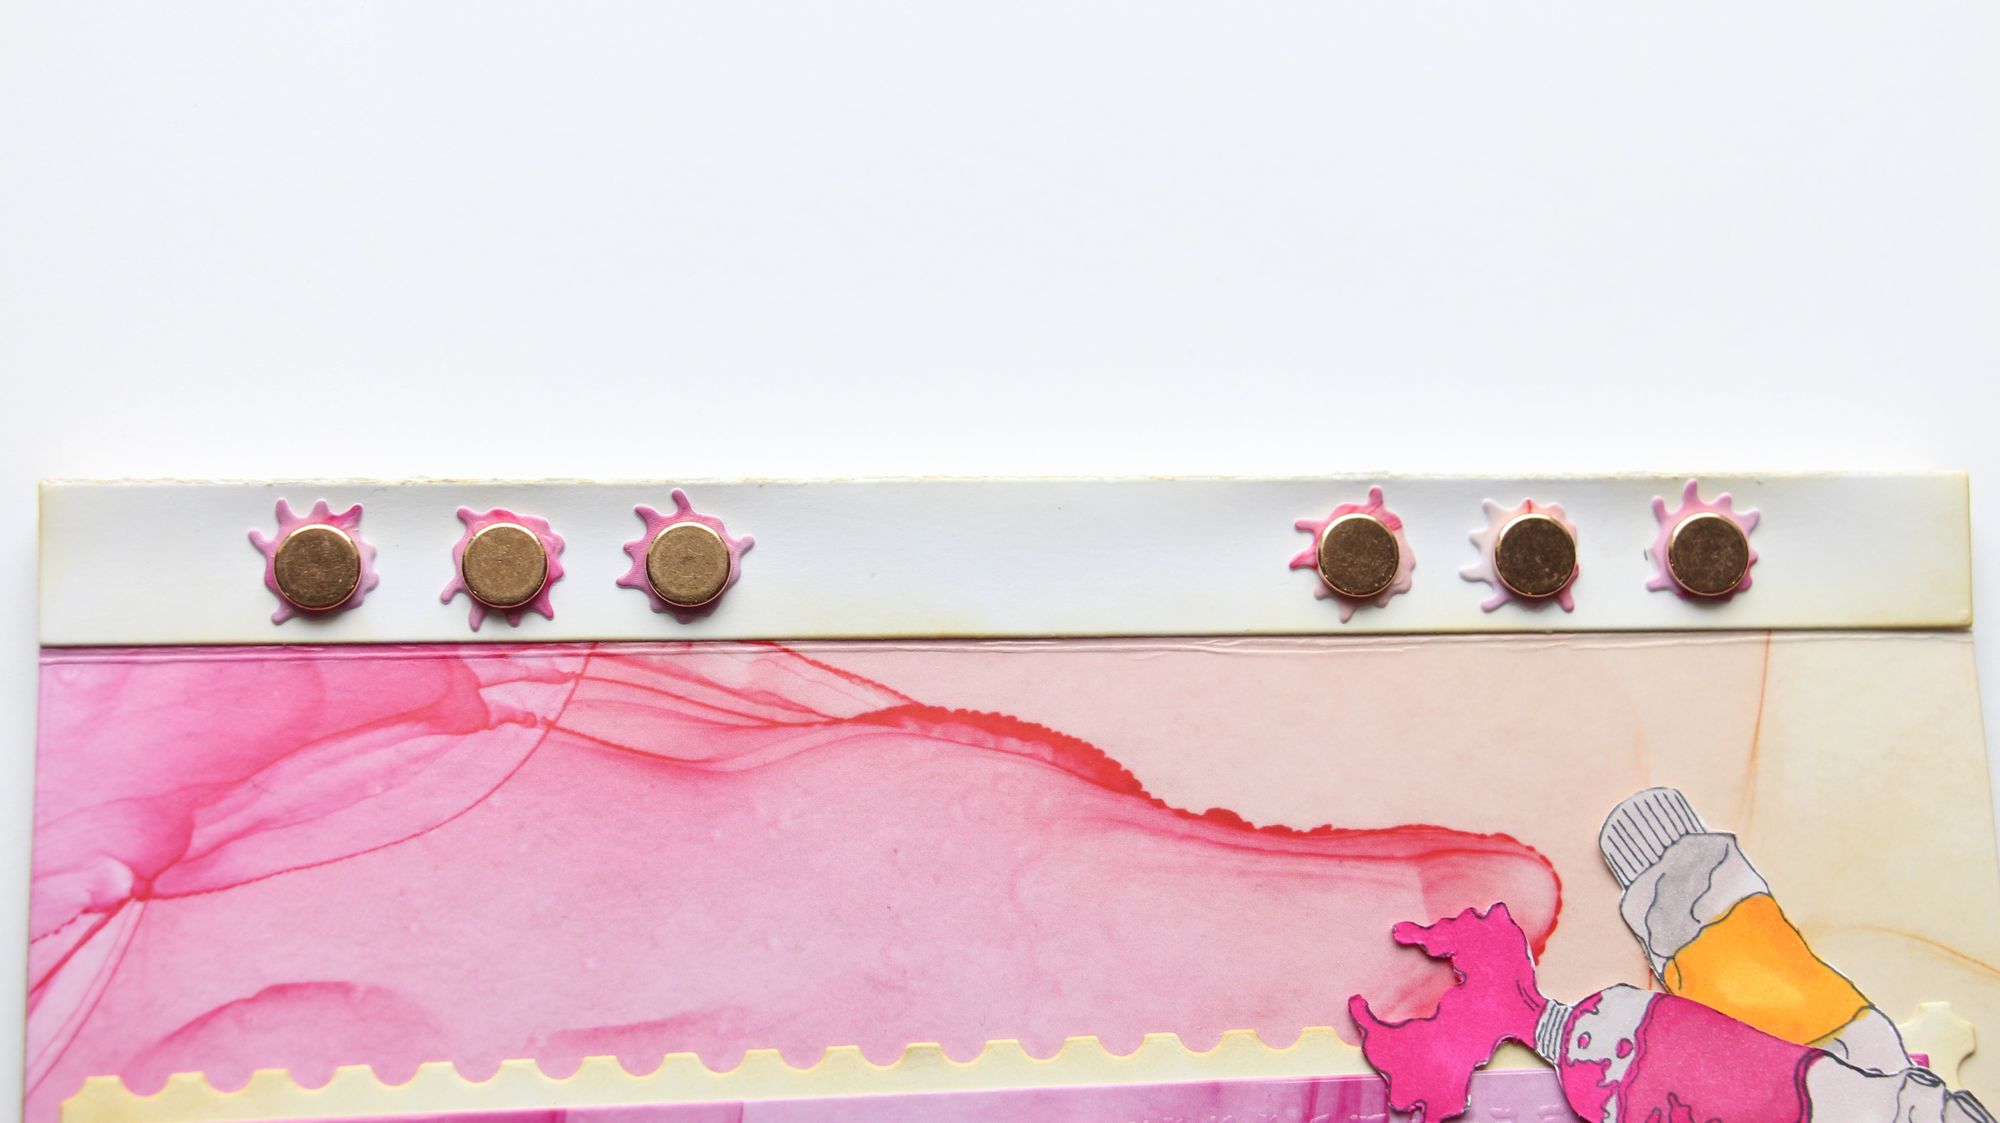
Step 9 Fold the binding around the pages and line up the six punched holes all the way through your journal. Insert the flat half of the studs into the front and screw in the slotted half into the back of the journal. Tighten so that they are secure.
Step 10 Add embellishments like additional stamped images, die cuts, and washi tape to further decorate your Artists Journal and make it your own! The whole range of Studio Light Grunge - Artist’s Atelier coordinates beautifully together!
Materials Used
Cutting Die Rectangle Planner (STENCILSL347)
Cutting Die Elements Artist’s Atelier (SL-GR-CD23)
Binding Studs Rose (SL-PES-STUD04)
Planner pages Black, Craft, White (SL-PES-PLP01)
Cutting Die Slimline Artist’s Atelier (SL-GR-CD22)
Clear Stamp Painter Artist’s Atelier (SL-GR-STAMP31)
Memento Ink Pads - Gray flannel - (MDEW902)
Stamping Platform (Stamping Buddy Pro)
Stayz in Place Inkpad - Matte Jet Black - (728095)
Washi Tape Background Artist’s Atelier (SL-GR-WASHI03)
Ink Drops Vivid - (CCEPAD013)
Distress Oxide Ink Pad - Brushed Corduroy - (TDO55839)
Blending Brush (NMMB009)