Cotton Candy Card Project
Step-by-step instructions to make this beautiful card featuring Cosmic Shimmer Gilding Polish. Great for Valentines day!

For someone sweet
Materials
- CED1426 Delicate Fronds
- CED5509 Double Pierced Squares
- CED1420 Mosaic Leaves
- MFD072 Nested Wavy Heart
- LR0162 Rose Buds and Leaves Dies
- EF082 Brambled Rose Embossing Folder
- Dotty Daisy Embossing Folder
- Foam Tape or Foam Tabs
- HSF011 Dots Embossing Folder
- Gilding Polish - Pearl Lustre, Blossom, & Indian Pink
- Card Stock - Baby Pink, Light Pink, & Coconut White
- Light Weight Card Stock - Light Weight
- Clear-drying Glue
Save on the essential supplies for this project by purchasing the bundle:
Directions
Step 5
Step 8
Step 9
Step 10

Step 11
- Cut a piece of card stock that measures 5 ¾ x 11 ½ “ inches and fold in half.
- Die cut a pierced edge card from this folded card using the double pierced squares die set (4th from the outside). Ensure the folded edge is not in the cutting edge of the die.
- Cut out a five and one-quarter inch square from the Baby Pink Card Stock.
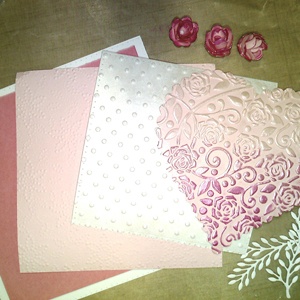
- Die cut one light pink and one white pierced square using the next two smaller sized pierced square dies to create a mat effect with the colours. Emboss the white layer with the polka dot embossing folder. Emboss the light pink layer with the dotty daisy embossing folder.
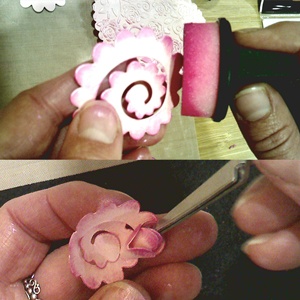
- Die cut three small rolled roses with the rose buds and leaves die.
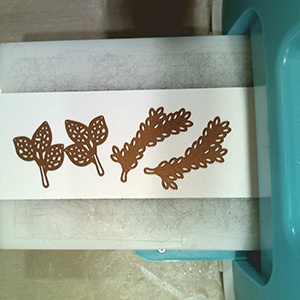
- Die cut two each of the mosaic leaves and delicate fronds and cut into pieces to provide leaves to place under and around the roses.
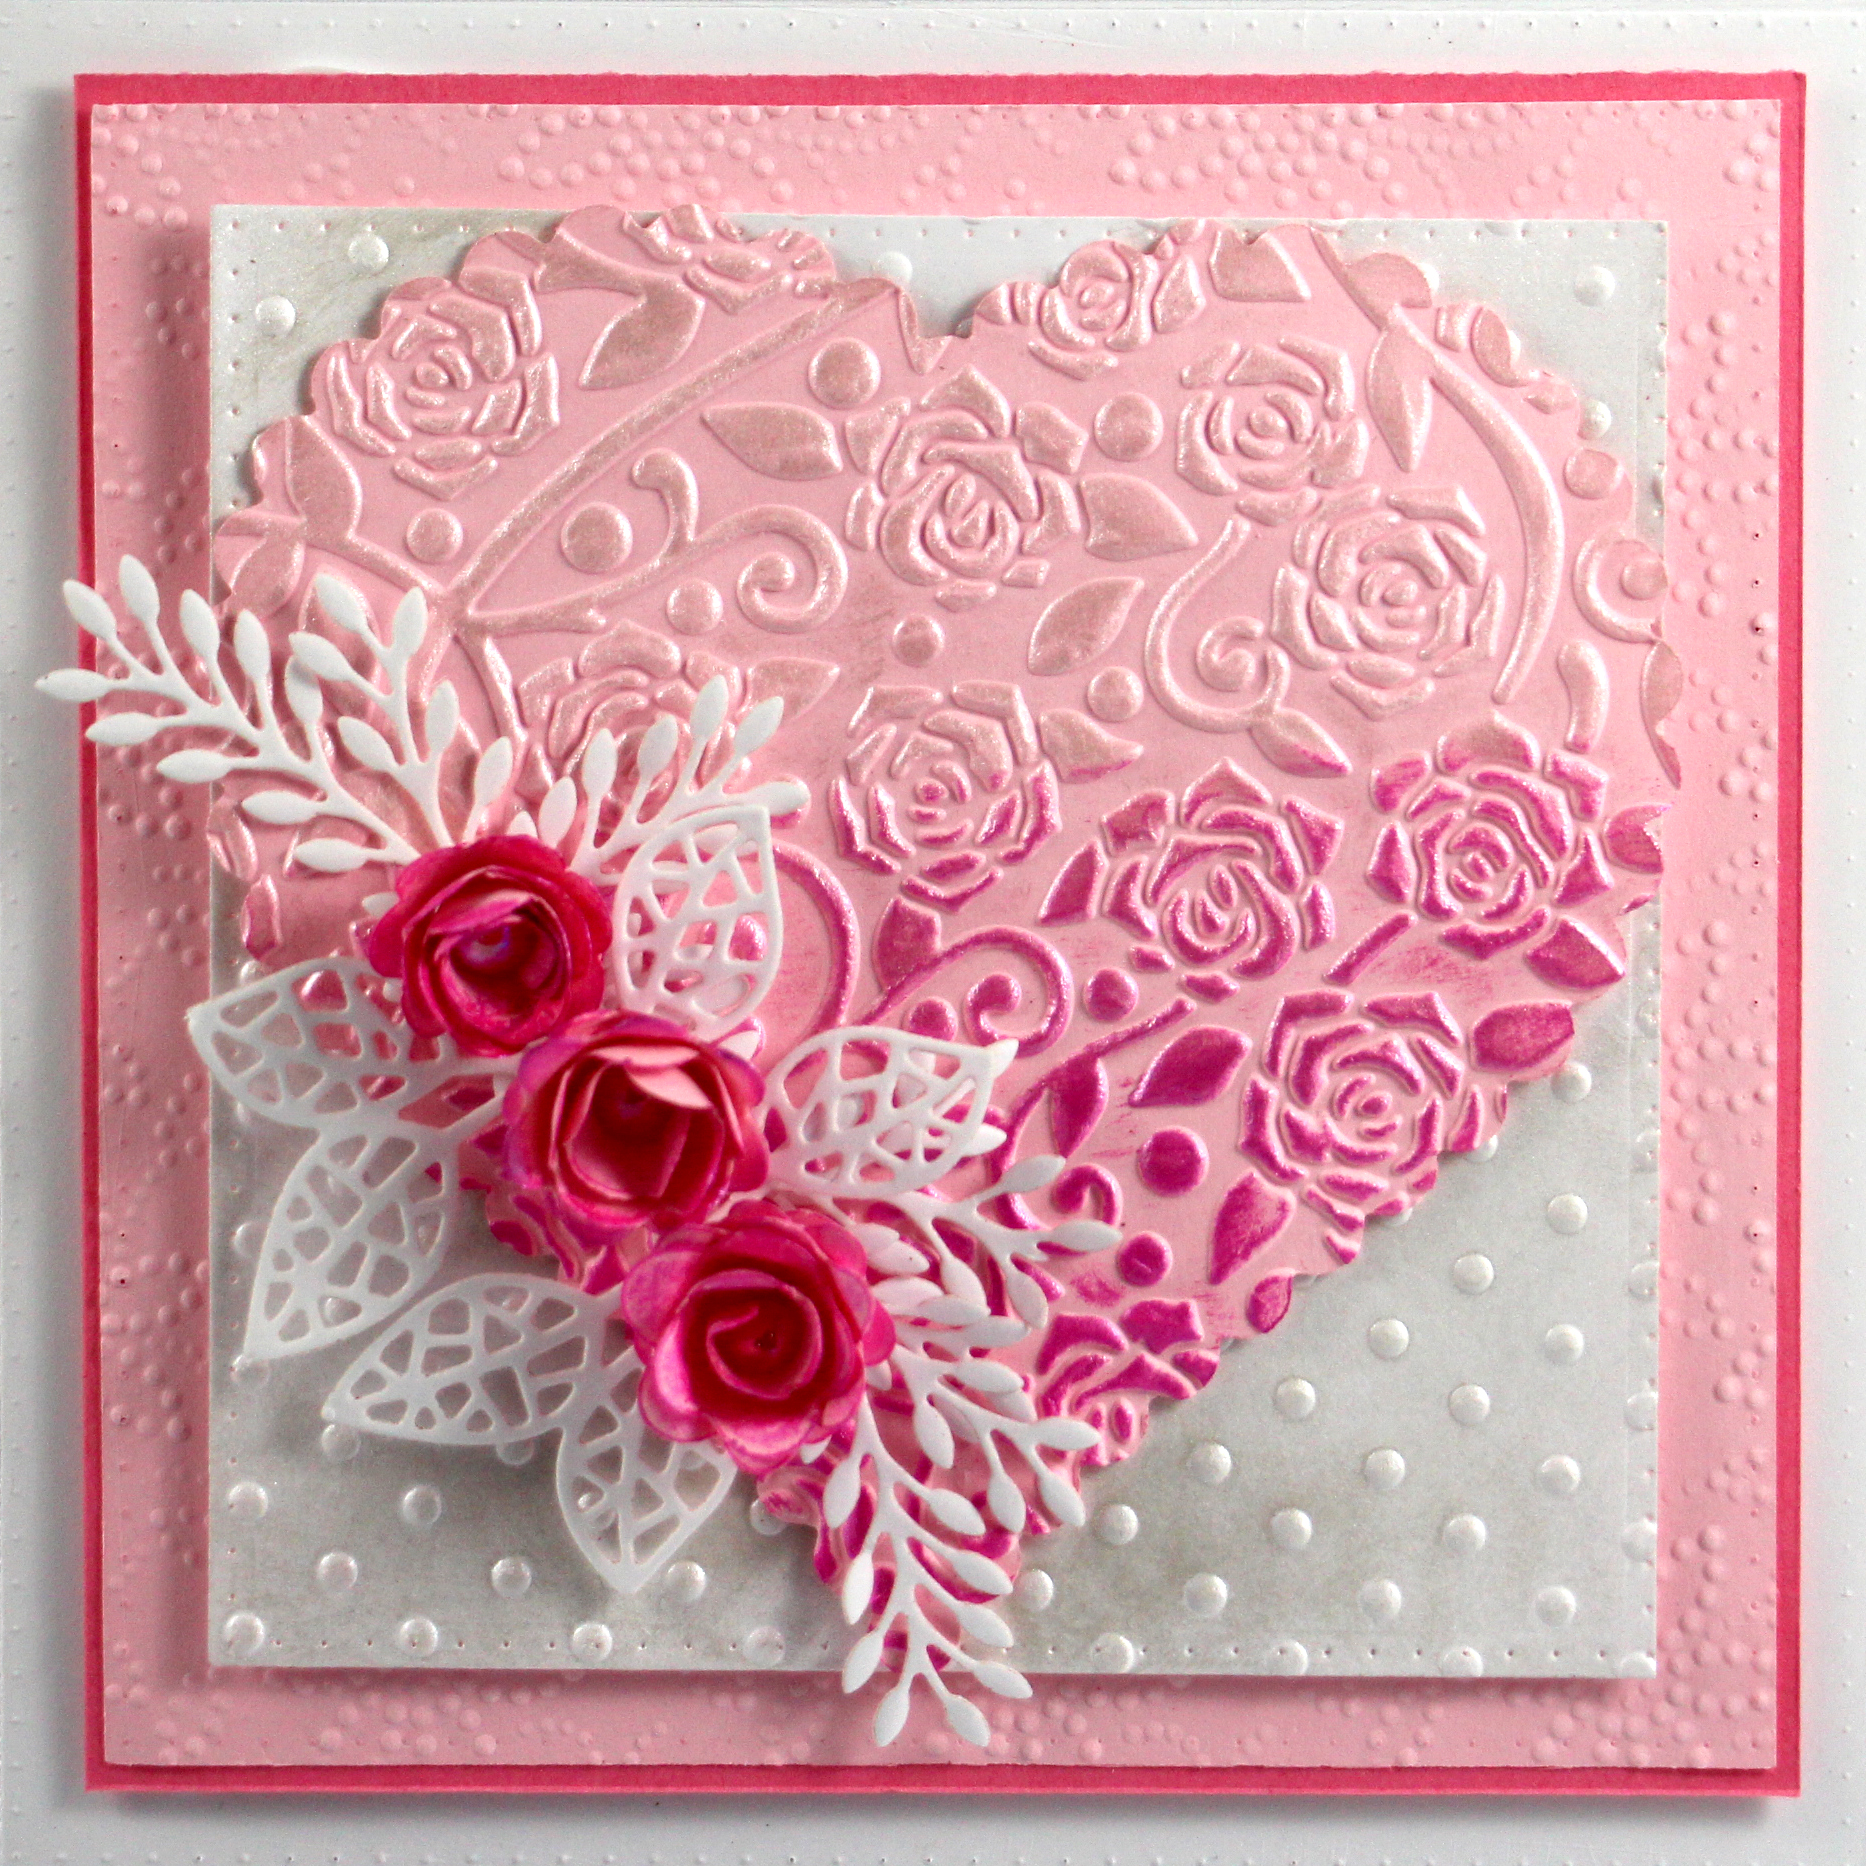
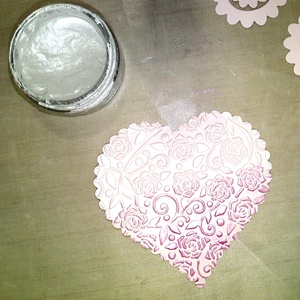
- Cut one of the large scalloped hearts from the nested wavy heart die set and emboss with the bramble rose embossing folder.
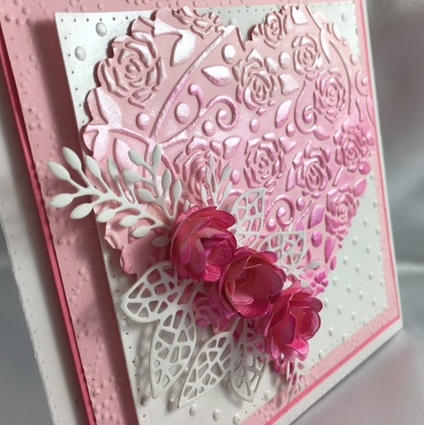
- Use the gilding polish to colour the embossed portions of the large heart. Create an “ombre” effect by starting at the top with pearl lustre, then colour below using blossom and finally the bottom layer is indian pink. You only need to lightly rub a small amount of polish to achieve this effect.
Want to save these instructions for later?
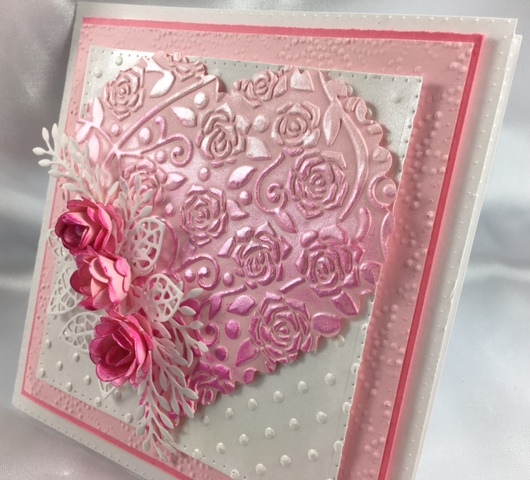
Take a closer look
Check out some different angles on the Cotton Candy Card, and don't forget to pick up your supplies!